This article explains how to connect a pair of wireless headphones to a Nintendo Switch. While the console does not allow you to directly pair Bluetooth accessories, through the use of a USB-C Bluetooth adapter you will still be able to play games with your Nintendo Switch using a pair of wireless headphones. If your headphones don't come with a USB wireless adapter, you can buy a Bluetooth transmitter that has a 3.5mm audio jack.
Steps
Method 1 of 3: Use a USB Adapter in Handheld Console Mode
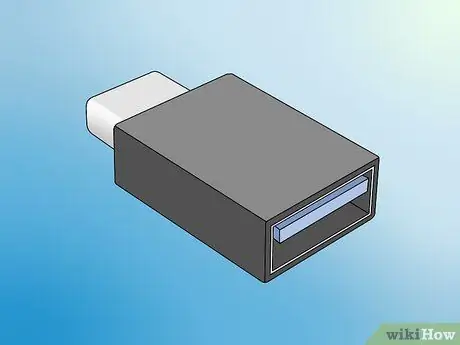
Step 1. Purchase a USB to USB-C adapter
Unless your headphones natively support USB-C connection, you'll need to purchase a USB to USB-C adapter to connect them to the Nintendo Switch when using it in handheld mode. You can buy this type of adapter at any electronics store or directly online.
- Some models of wireless headphones come with a USB-C adapter. Check if it is included in the packaging of your headphones.
- Click on this link for a list of headset models that can be connected to the Nintendo Switch, together with the list of models that do not support this type of connection.
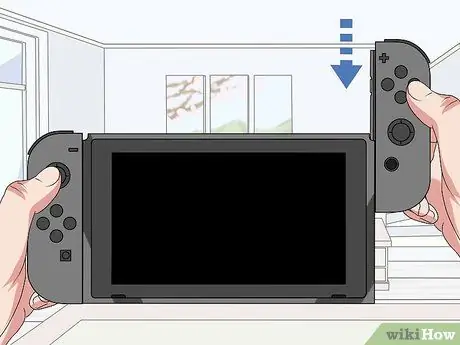
Step 2. Connect the Joy-Con controllers to the Nintendo Switch
If you haven't done it yet you have to do it now. Attach the two controllers to the side of the corresponding console.
The controller marked with the "-" symbol attached to the left side of the console, while the one marked with the "+" symbol is connected to the right side
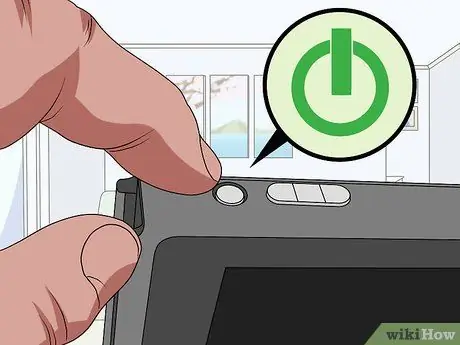
Step 3. Press the console's power button
It is located on the right side of the top of the Nintendo Switch, next to the buttons with which you control the volume. Alternatively, you can turn on the console by pressing the home button on the right controller.
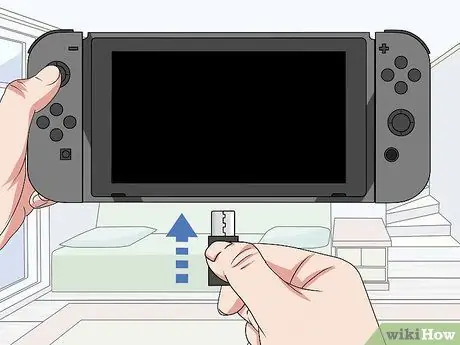
Step 4. Plug the USB to USB-C adapter into the Nintendo Switch communication port
The port to which you will need to connect the adapter is located in the center of the underside of the console.
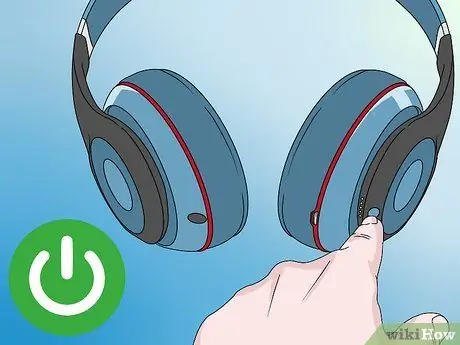
Step 5. Turn on the wireless headphones
Normally you have to press the power button located at a specific point on the headphones.
If the headphones require pairing with the Bluetooth adapter immediately, follow the instructions in the appropriate manual to connect immediately. Normally, the pairing process involves pressing a button directly on the headphones or Bluetooth adapter
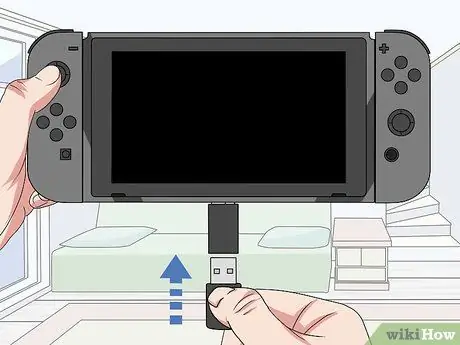
Step 6. Connect the Bluetooth adapter to the USB adapter you plugged into the console port
The wireless adapter of the headphones has a standard USB port that should fit perfectly inside the USB adapter port connected to the Nintendo Switch. Once the console has detected the wireless headphones, you will see a notification appear in the upper left corner of the screen and, from that moment, the audio signal will be sent to the headphones.
Method 2 of 3: Use a USB Adapter When the Console is Connected to the TV
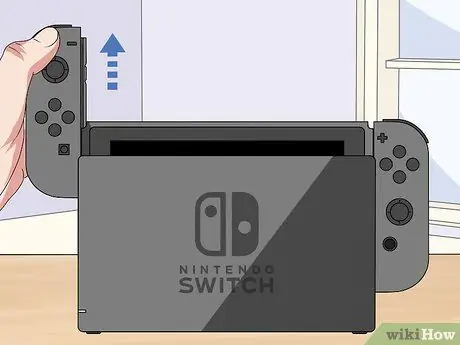
Step 1. Disconnect the Joy-Con controllers from the Nintendo Switch
If your wireless headphones come with a USB Bluetooth adapter, follow the instructions in this method if you want to use them while the Nintendo Switch is connected to the TV. Start by disconnecting the controllers from the console:
- Press and hold the left controller's round release button. It is placed on the rear side of the latter;
- Without releasing the button, gently slide the controller upwards until you are able to separate it from the console;
- Repeat the previous steps to remove the right controller as well.
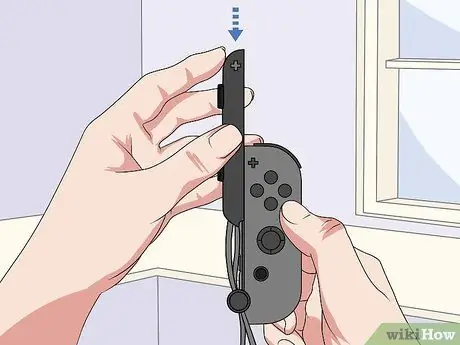
Step 2. Attach the Joy-Con to the grip or straps included with the console
Use the lanyards if you want to hold the controllers individually or use the special handle if you want to use them with two hands, as if they were a standard controller.
- If you've never connected controllers to ties or grips, read this article for more information.
- Click on this link for a list of headset models that can be connected to the Nintendo Switch, together with the list of models that do not support this type of connection.
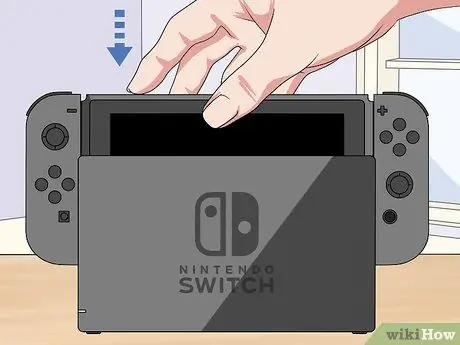
Step 3. Insert the Nintendo Switch into the docking station
Insert the console into the Dock with the screen facing the side where the Nintendo logo is visible.
The Dock should already be connected to the TV. If you need help making this link, please read this article
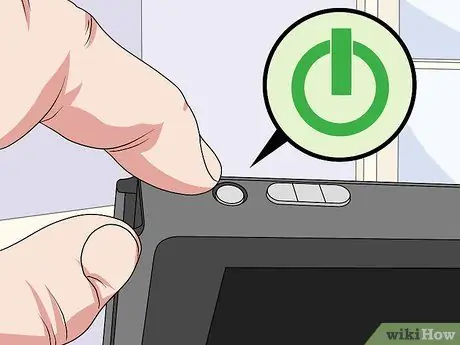
Step 4. Turn on the Nintendo Switch
You can press the Home button on the right Joy-Con or you can press the power button located on the right side of the top of the Nintendo Switch next to the buttons with which you control the volume.
If your TV isn't on yet, turn it on now. If necessary, use the remote to select the correct input source (the HDMI port) you connected the console to
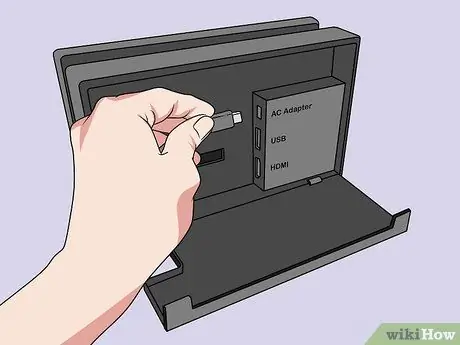
Step 5. Connect the wireless USB adapter to the Dock
There are two USB ports on the left outer side of the Nintendo Switch docking station and one inside the rear housing of the Dock. Now that the console supports the transmission of the audio signal to the USB ports, you can connect the wireless adapter to one of the free USB ports on the Dock.
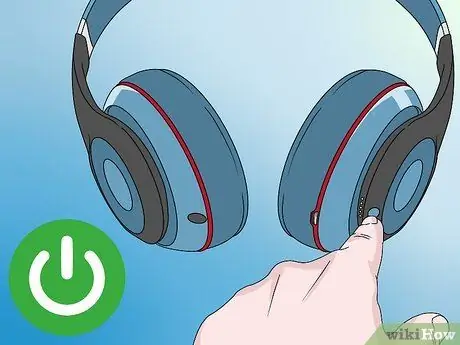
Step 6. Turn on the wireless headphones
Normally, you have to press the power button located at a specific point on the headphones. After turning on the wireless headphones, you will see a notification appear in the upper left corner of the TV and, from that moment, the audio signal will be sent to the headphones.
If the headphones require pairing with the Bluetooth adapter immediately, follow the instructions in the appropriate manual to connect immediately. Normally, the pairing process involves pressing a button directly on the headset or on the Bluetooth adapter itself
Method 3 of 3: Use a Bluetooth Transmitter Equipped with an Audio Jack
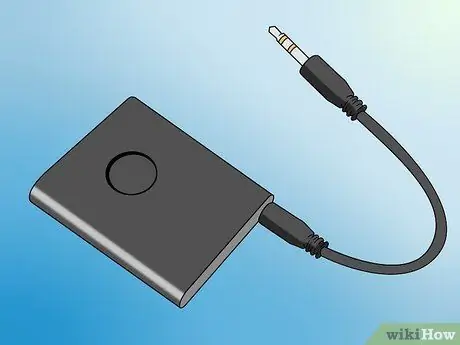
Step 1. Purchase a Bluetooth transmitter with an audio jack
If your wireless headphones don't come with a USB wireless adapter, you can still use them to play Nintendo Switch using a Bluetooth transmitter with an audio jack. You will be able to connect the Bluetooth transmitter to the console using a normal audio cable with 3.5mm jack and the audio jack of the Nintendo Switch. At this point, all you have to do is pair the wireless headphones to the transmitter.
- Click on this link for a list of headset models that can be connected to the Nintendo Switch, together with the list of models that do not support this type of connection.
- You can use this connection method both when using the docked console and when using it in portable mode.
- Many transmitters are sold already equipped with the audio cable needed to connect to the target device. If your one does not come with this accessory, you will need to purchase a 3.5mm jack audio cable from an electronics store or online.
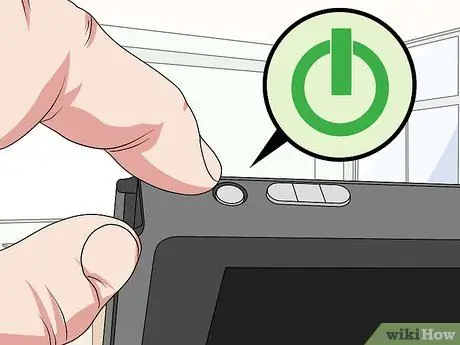
Step 2. Turn on the Nintendo Switch
You can press the Home button on the right Joy-Con or you can press the power button located on the right side of the top of the Nintendo Switch, next to the buttons with which you control the volume.
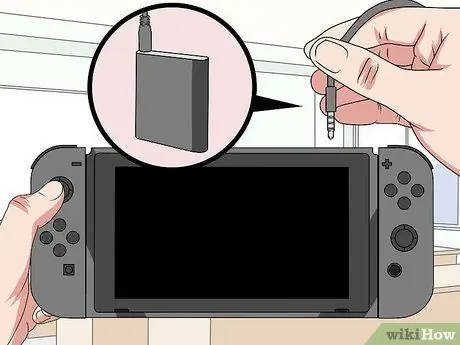
Step 3. Connect the Bluetooth transmitter to the console
Plug one of the two 3.5mm connectors of the audio cable into the matching socket on the Bluetooth transmitter, then plug the other end of the cable into the audio socket on the Nintendo Switch.
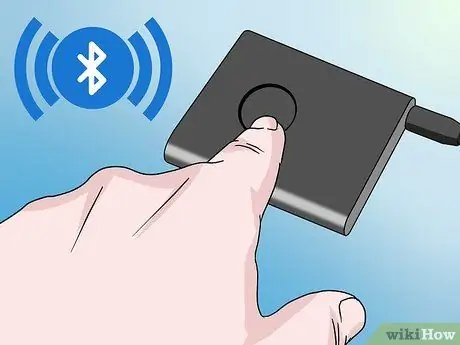
Step 4. Put the Bluetooth transmitter into "Pairing" mode
The procedure to follow varies according to the device model, but normally you simply need to press the appropriate button and wait for the transmitter light to start flashing.
If you don't know how to put your Bluetooth transmitter into "Pairing" mode, consult its instruction manual
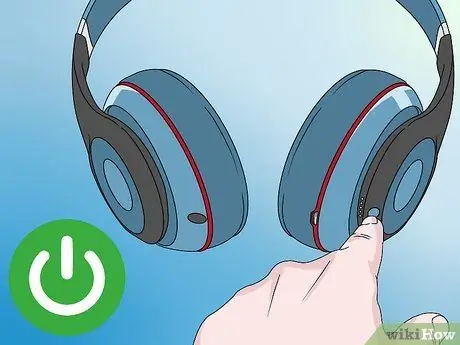
Step 5. Turn on the wireless headphones
Normally you have to press the power button located at a specific point on the headphones.
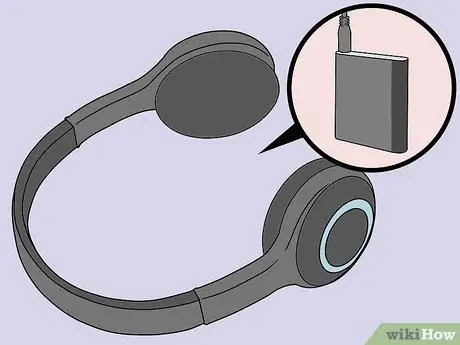
Step 6. Pair the headphones with the Bluetooth transmitter
Normally, if the headphones are within range of the Bluetooth transmitter, the pairing process will happen automatically. In some cases, you will need to press the pairing button on the headphones as well. If you are in trouble, consult the instruction manual of the headphones. As soon as the headphones are successfully paired with the Bluetooth transmitter, you can use them to play with your Nintendo Switch.


