Rooting a Samsung Galaxy Tab 3 allows you to free up internal memory and RAM space, increase battery life, install custom apps and improve the overall performance of the device. You can root your Samsung Galaxy Tab 3 using the Odin program and any computer with a Windows operating system.
Steps
Part 1 of 2: Initial Steps
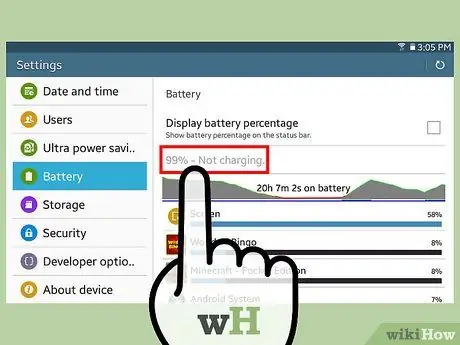
Step 1. Check that the remaining battery charge of the Samsung Galaxy Tab 3 is at least 80%
The rooting process takes several minutes to complete, so the battery should be almost fully charged.
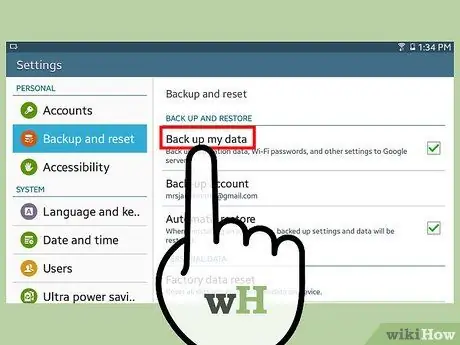
Step 2. Back up all personal and important data on your tablet using Samsung Kies software, Google clouding service, your computer or a third party clouding service
The device rooting procedure will delete all the data present in the tablet's internal memory.
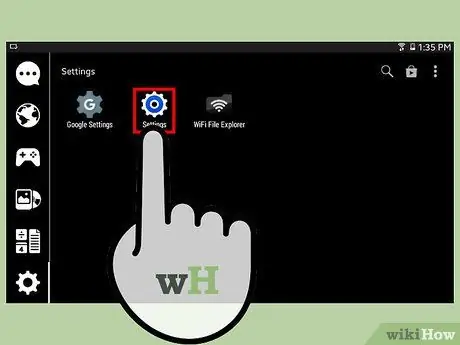
Step 3. Press your device's "Menu" button, then choose the "Settings" option
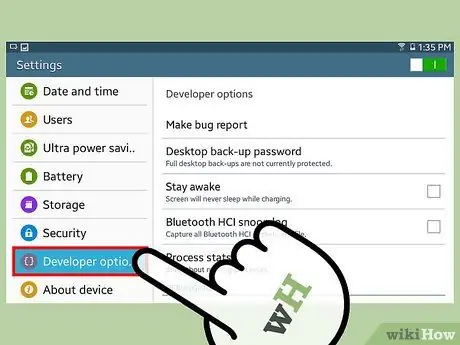
Step 4. Select the "Applications" tab, then choose the "Developer options" item
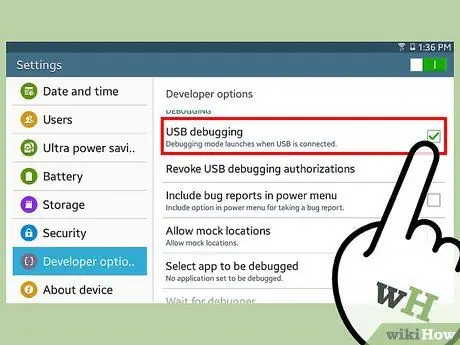
Step 5. Select the "USB Debugging" checkbox
This way you can make changes to your tablet after connecting it to your computer via USB cable.
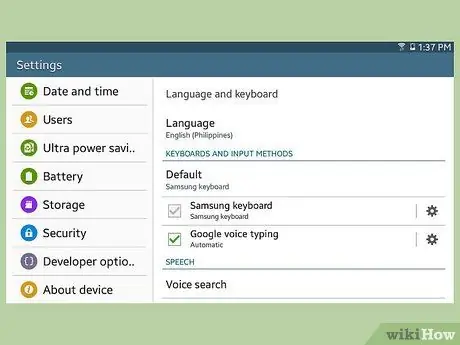
Step 6. Press the "Back" button on your device until you reach the "Settings" menu again
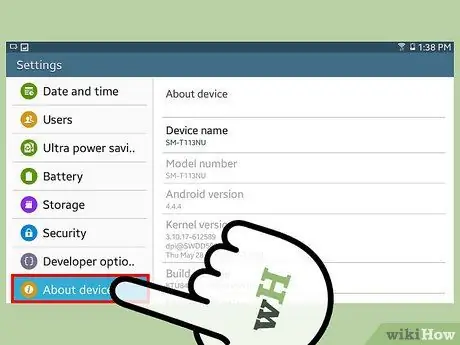
Step 7. Select the "System" tab, then choose the "Device Info" item
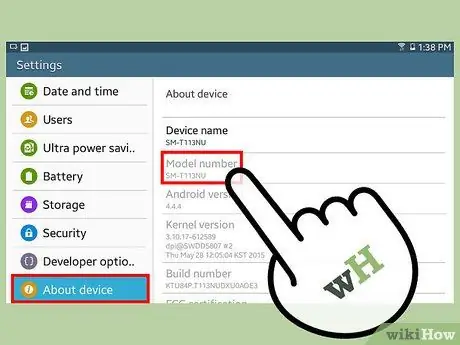
Step 8. Make a note of the model number of your Galaxy Tab 3
In order to download the correct version of the package with which to root the device you will need to refer to the model.
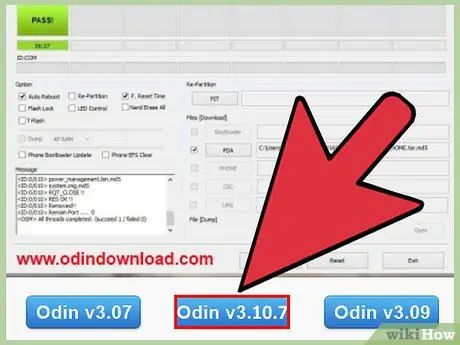
Step 9. Visit the Odin program website using this address, then select the option that will allow you to download the latest version of the software to your computer
To date, the latest version of Odin is 3.13.1.
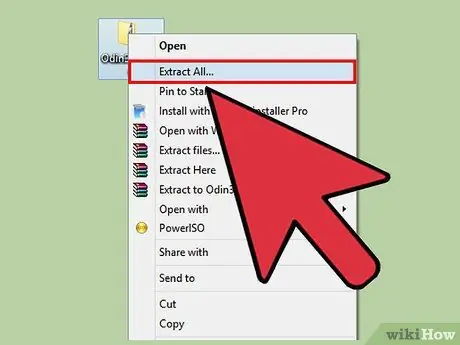
Step 10. Save the Odin installation file (in ZIP format) to your computer desktop
At the end of the download select it with a double click of the mouse to extract its contents.
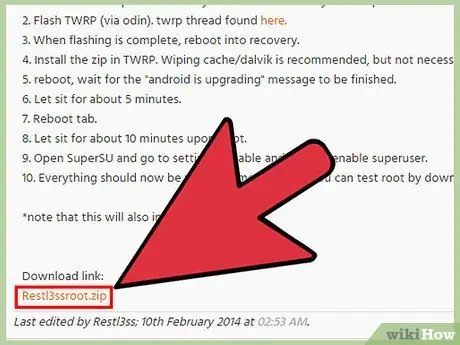
Step 11. Visit one of the following websites to download the package to root Samsung Galaxy Tab 3 based on your device model:
- Galaxy Tab 3 10.1:
- Galaxy Tab 3 8.0:
- Galaxy Tab 3 7.0:

Step 12. Visit the official Samsung website

Step 13. Click on the "Galaxy Tab" link, select your tablet model and click on the "Get Downloads" button
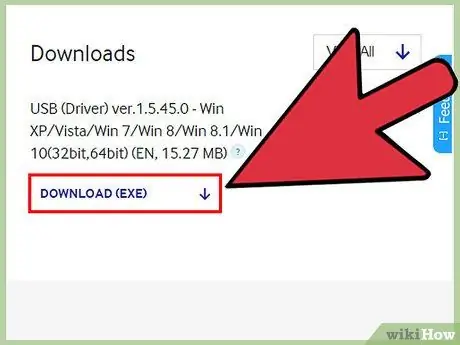
Step 14. Select the option to download and install the latest Galaxy Tab 3 drivers on your computer
These files are essential in order to complete the device rooting procedure.
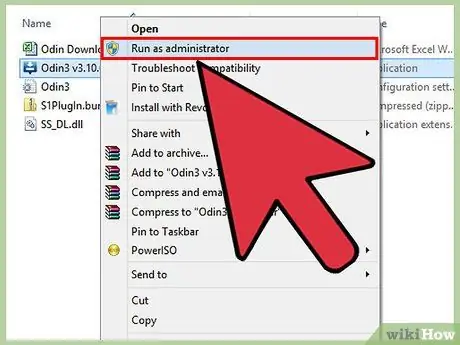
Step 15. Right-click the Odin EXE file located on your computer desktop, then choose the "Run as administrator" option

Step 16. Follow the instructions that will appear on the screen to complete the installation of the Odin program on your computer
The application will start automatically after installation is complete.
Part 2 of 2: Root Samsung Galaxy Tab 3
Step 1. Press and hold the "Volume Down", "Home" and "Power" keys on the tablet at the same time
A warning message will appear on the device screen.
Step 2. Press the "Volume Up" button
The tablet will enter "Download" mode.
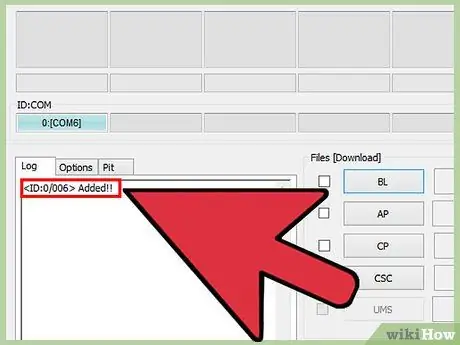
Step 3. Connect the Galaxy Tab 3 to the computer using the supplied USB cable
The Odin program will take a few moments to detect the device, after which it will display the message "Added" on the screen.
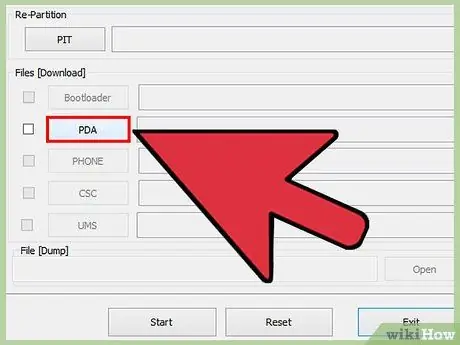
Step 4. Click on the "PDA" button in the Odin window, then select the rooting file you downloaded earlier based on the model of your Galaxy Tab 3
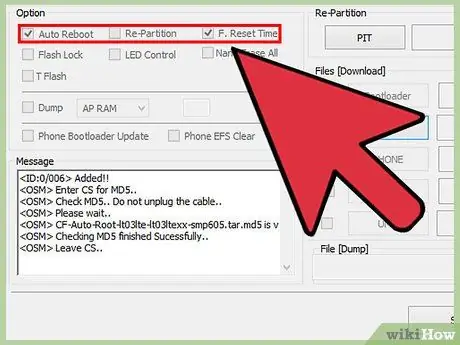
Step 5. Select the "Auto Reboot" and "F. Reset Time" check buttons present in the Odin window
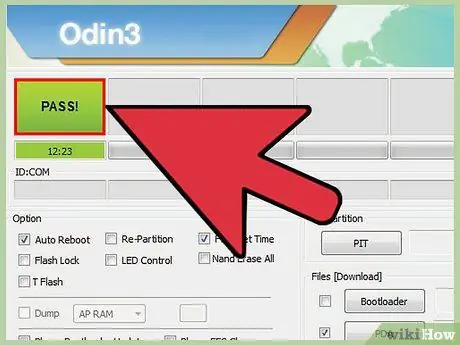
Step 6. Uncheck the "Re-Partition" checkbox, then click the "Start" button
The Odin program will start rooting the device. This stage may take several minutes to complete.

Step 7. Wait for the "Pass" warning message to appear within the Odin window
This indicates that the device rooting procedure has been completed successfully.
Step 8. Disconnect the Samsung Galaxy Tab 3 from the computer
The "SuperSU" app should have appeared within the "Applications" panel indicating that the device has been successfully modified.
Warnings
- Rooting is not officially supported by the Android operating system or by Samsung and the success of the procedure is not 100% guaranteed on all devices. Remember this very important aspect when trying to root your Android device. If you decide to do this, know that it will be at your own risk. If after rooting your Samsung Galaxy Tab 3 you experience any problems in operation, follow these instructions to restore the factory default settings.
- Rooting the Galaxy Tab 3 voids its manufacturer's warranty. To restore the validity of the warranty or to remove the root, follow these instructions. The device will be reset to factory settings.


