This article explains how to create a Venn diagram on Microsoft Word using SmartArt.
Steps
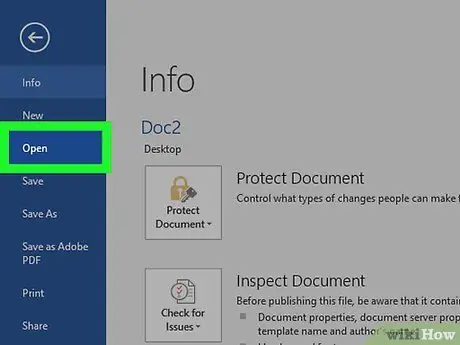
Step 1. Double click on the Word document to open it
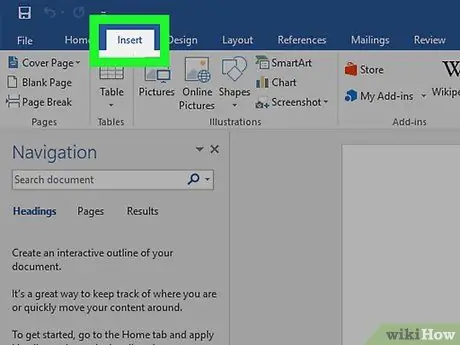
Step 2. Click Insert
It is among the tabs at the top of the screen.
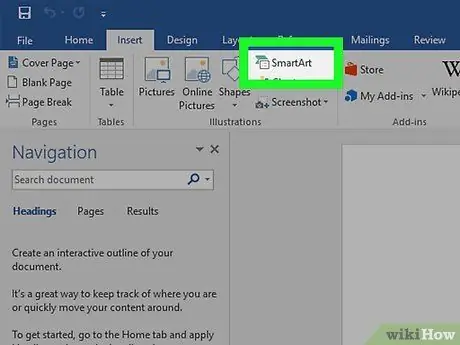
Step 3. Click on SmartArt
It is located in the toolbar. This will open the SmartArt dialog.
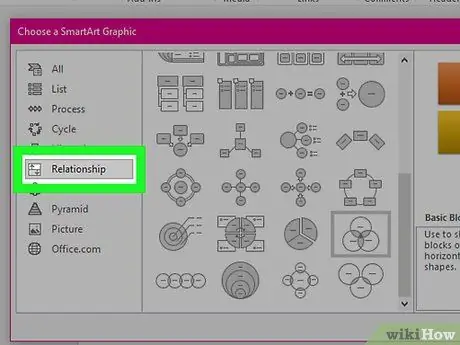
Step 4. Click on Relationships
It is located in the left column.
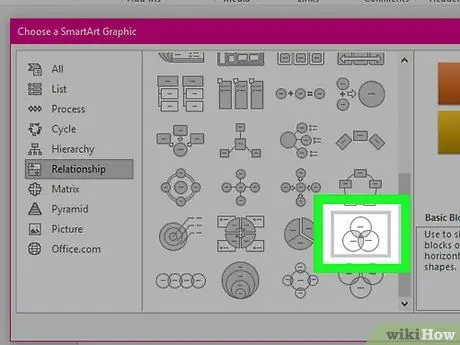
Step 5. Scroll down and click on the Basic Venn Layout icon
Since the icons are not labeled, you have to hover the mouse cursor over them to see what they are called. The basic Venn diagram icon is located in the penultimate row and features three overlapping circles.
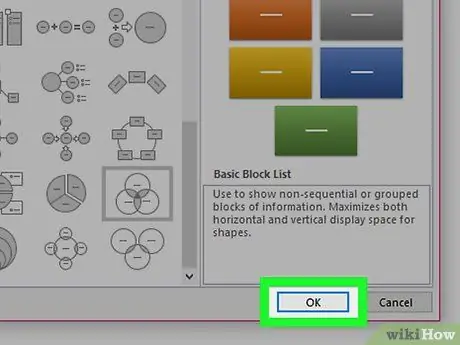
Step 6. Click Ok
A Venn diagram should appear in the document.
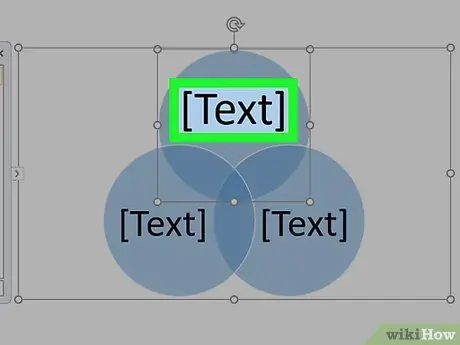
Step 7. Click on [Text] in each circle to enter the information you want
This information will represent the main categories of the diagram.
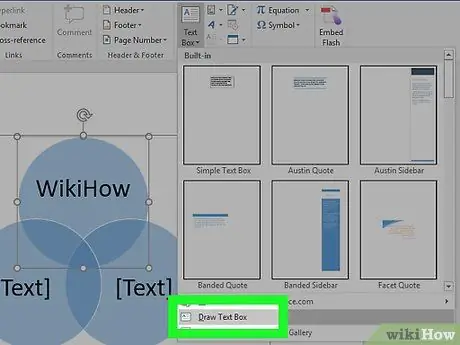
Step 8. Draw a text box where you want to insert overlapping information
- How to insert a text box? Click on the "Insert" menu, then select "Text Box" and "Draw Text Box".
- Click and drag the mouse cursor anywhere where the circles overlap. This way you can draw a box.
- Let go of the mouse cursor once you have placed the box in the right place.
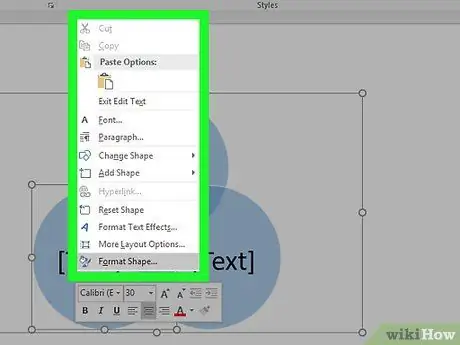
Step 9. Click on the outline of the text box with the right mouse button
Make sure the mouse cursor is exactly on the box outline line. A pop-up menu will appear.
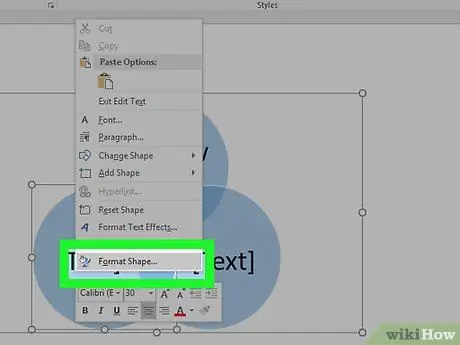
Step 10. Click Shape Styles
A dialog box will open with the various options regarding the shape.
Step 11. Select No Fill in the "Fill" section
This will eliminate the background of the text box.
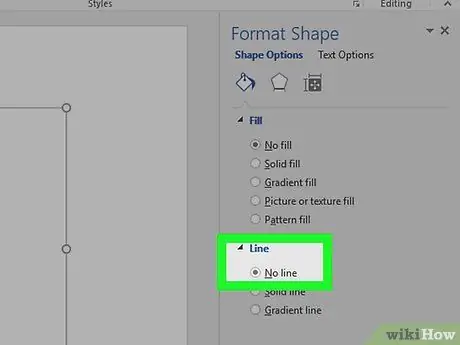
Step 12. Select No Line in the "Line" section
This will remove the outline around the text box.
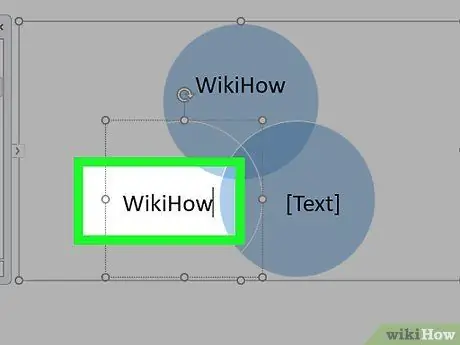
Step 13. Click on the text box and type the description
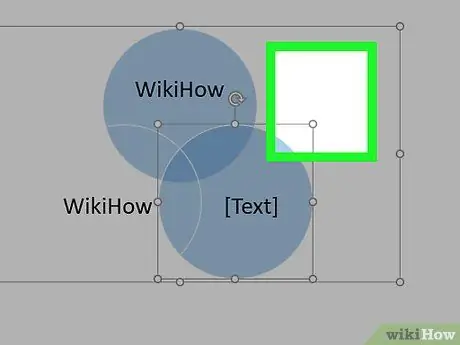
Step 14. Click on another area of the Venn diagram (outside the text box)
Two new options will be added to the toolbar at the top of the screen: "Design" and "Format".
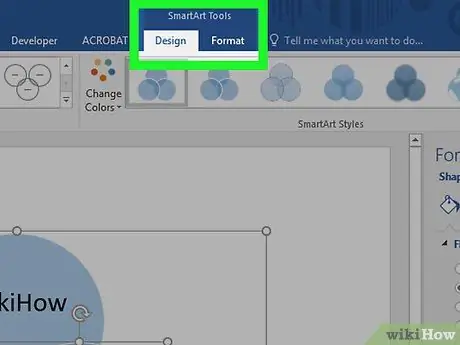
Step 15. Click on Design and / or Format to edit the diagram
Both options are located at the top of the screen. Once the diagram has been created, it can be personalized with colors, fills and distinctive elements.


