This article explains how to see the list of all the folders you share on your Windows network.
Steps
Method 1 of 3: Using the Resource Explorer
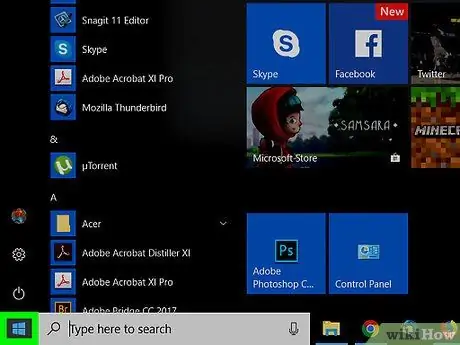
Step 1. Click on the menu
with the right mouse button.
It is located in the lower left corner.
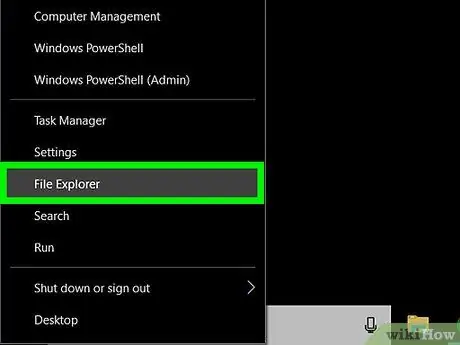
Step 2. Click on Explorer
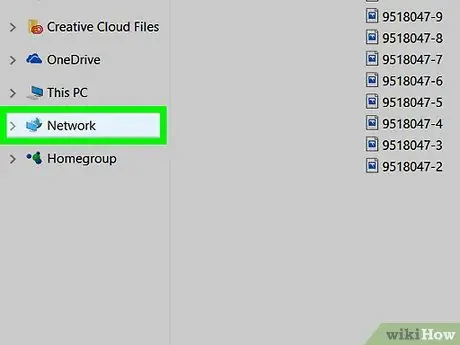
Step 3. Scroll down in the left column and click on Network
The list of computers belonging to the network will be displayed.
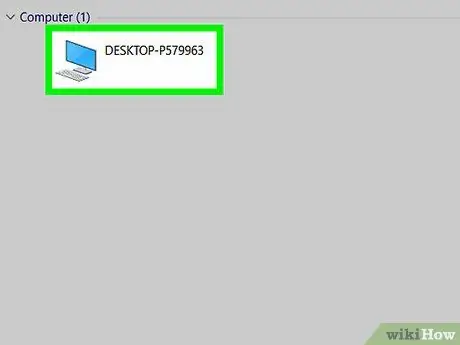
Step 4. Double click on the computer whose shared folders you want to see
At this point, the list of shared folders on the selected computer will appear.
Method 2 of 3: Using the Computer Management Panel
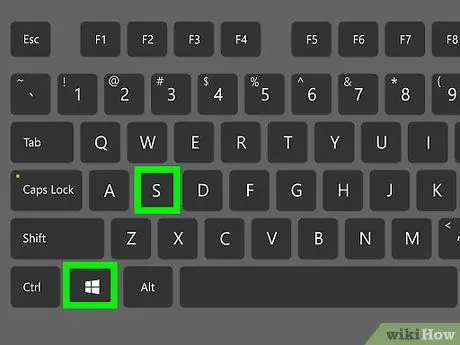
Step 1. Press ⊞ Win + S
This will open the Windows search bar.
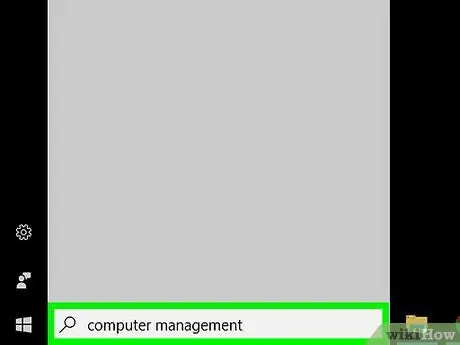
Step 2. Write computer management
A list of relevant results will appear.
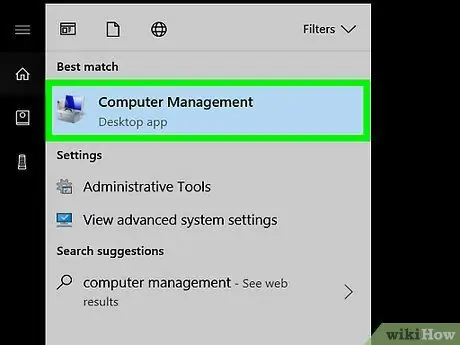
Step 3. Click on Computer Management
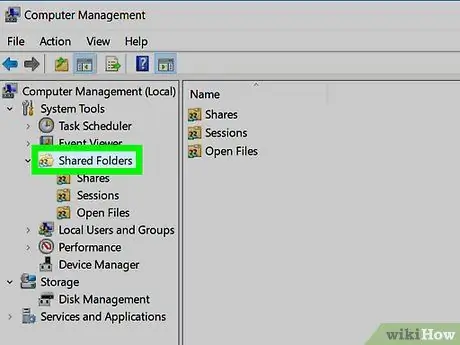
Step 4. Double click on Shared Folders
This option is located in the left column. A list of subfolders will open.
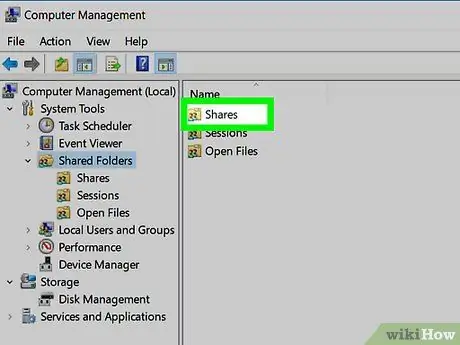
Step 5. Click on Shares
You only have to click once. The list of shared folders will appear.
Method 3 of 3: Using the Command Prompt
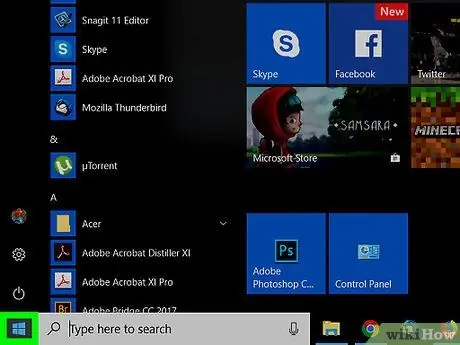
Step 1. Click on the menu
with the right mouse button.
It is located in the bottom left corner.
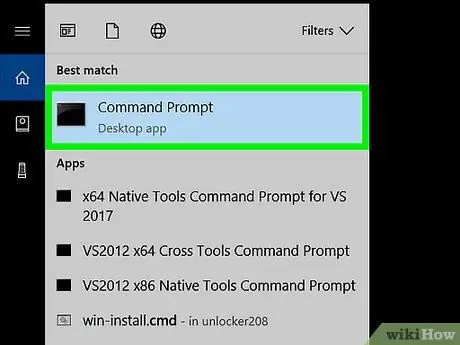
Step 2. Click on Command Prompt
A terminal window will open.
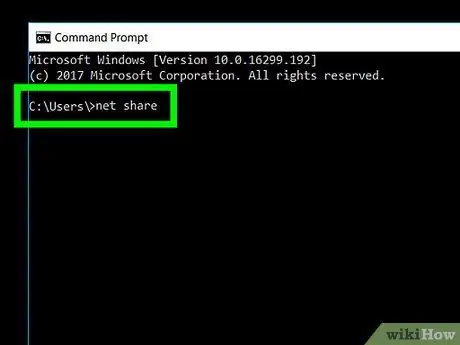
Step 3. Write net share
To start writing just click inside the terminal window.
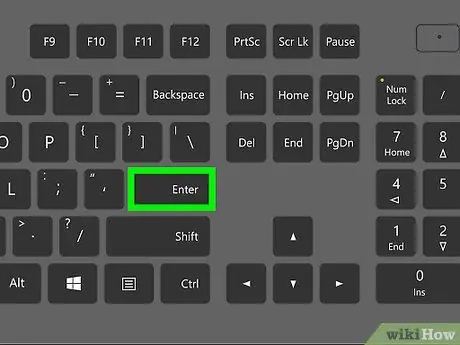
Step 4. Press Enter
The list of shared folders will appear.


