This article describes how to block a contact in Microsoft Outlook (formerly called "Hotmail"). Blocking someone in Outlook can be tricky, as the service doesn't always filter received emails, even though an address has already been blocked. However, by removing the contact, adding his or her name to the blocked senders list, and indicating that his messages are unwanted, you can block the emails he will send you in the future. Keep in mind that Outlook can take anywhere from a few hours to several days to start taking action and blocking emails from a certain sender. Also note that it is not possible to block a contact on the Outlook mobile application.
Steps
Part 1 of 3: Deleting a Contact
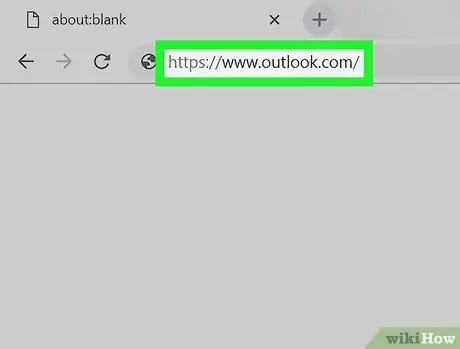
Step 1. Open Microsoft Outlook
Log into https://www.outlook.com/ with the browser you usually use on your computer. If you are already logged in, your inbox will open.
If you are not logged in, click on "Log in" at the top right, then enter your email address and password
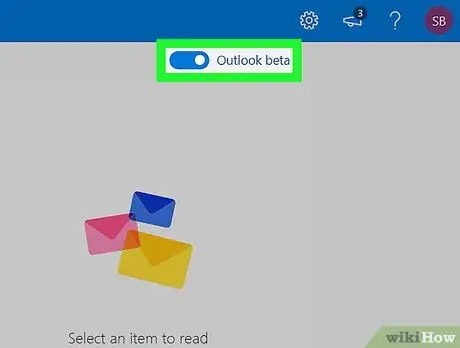
Step 2. Make sure you are using the beta version of Outlook, which has a slightly different set of options than the standard site
If the "Outlook beta" button (located at the top right) is blue, then you are using this version.
If you are not using Outlook beta, click on the gray "Try the beta" button at the top right and wait for the page to refresh
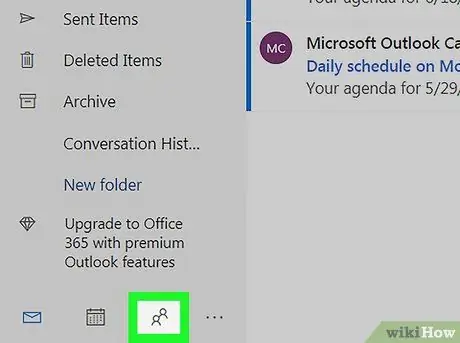
Step 3. Click on the "People" tab
The icon depicts two human silhouettes and is located at the bottom left. Your contact list will appear.
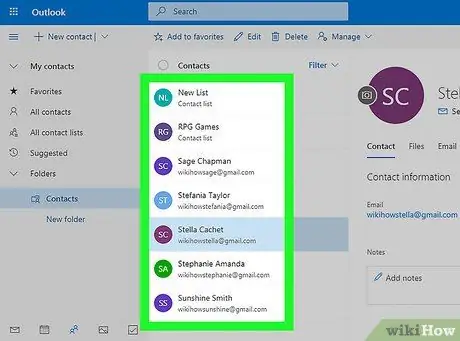
Step 4. Select a contact
Scroll down the list until you find the contact you want to block, then click on their name.
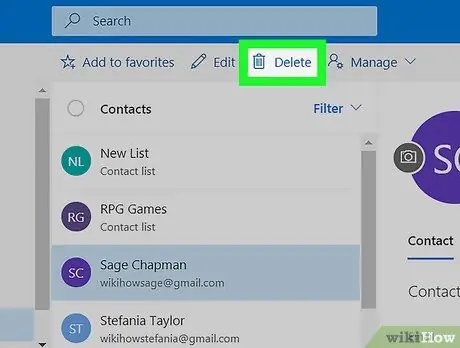
Step 5. Click Delete
It's at the top of the page.
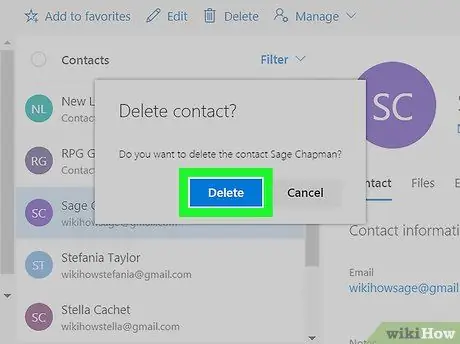
Step 6. When prompted, click Delete
The contact will then be removed from the list. As a result, once you block his email address, his messages will no longer be admitted to your inbox.
Technically it is possible to block a user who is still in your contact list, but in this case his e-mails will not be blocked
Part 2 of 3: Add a User to the Blocked Senders List
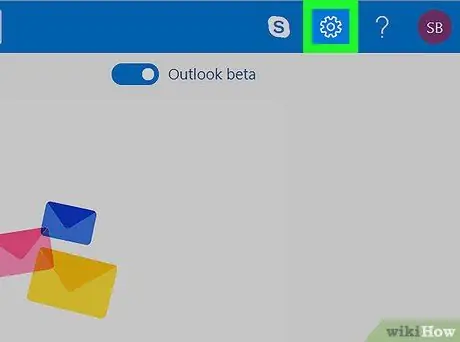
Step 1. Open the settings menu
To do this, click on the gear icon at the top right. A drop-down menu will appear.
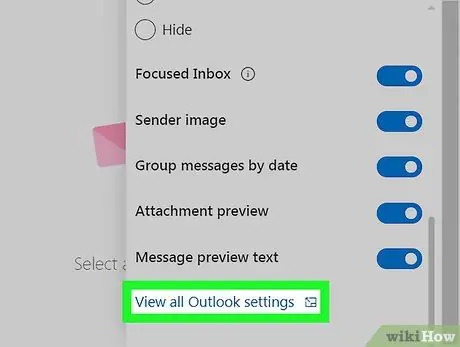
Step 2. Scroll down and click on View Full Settings
This link is located in the drop-down menu and allows you to open a pop-up window.
It is not always necessary to scroll down to see this link
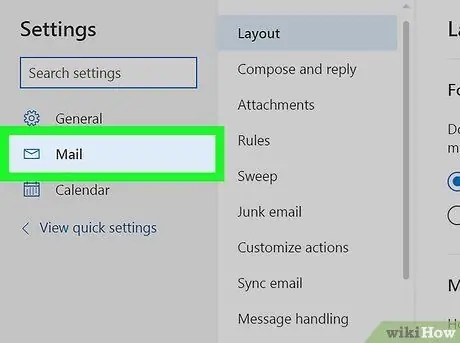
Step 3. Click on the Mail tab
It is located in the upper left.
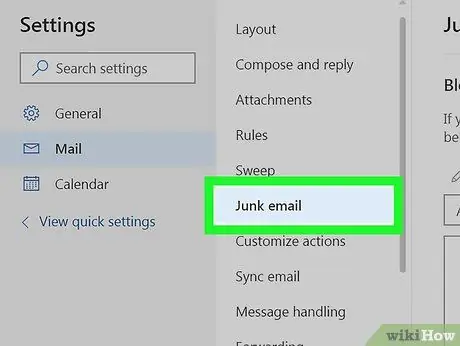
Step 4. Click on Junk Email
This option is located in the middle column.
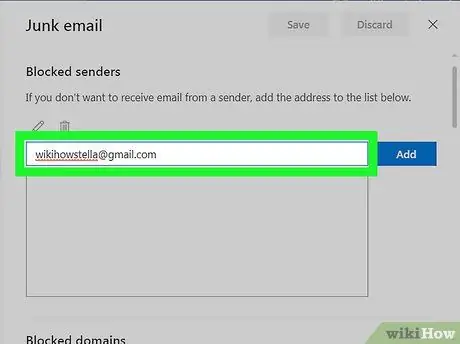
Step 5. Enter the email address of the contact you want to block
Click on the box titled "Add a sender here", located at the top of the "Blocked senders" section, then type in their email address.
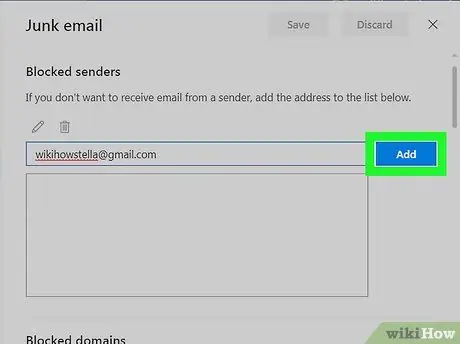
Step 6. Click Add
This option is located next to the box.
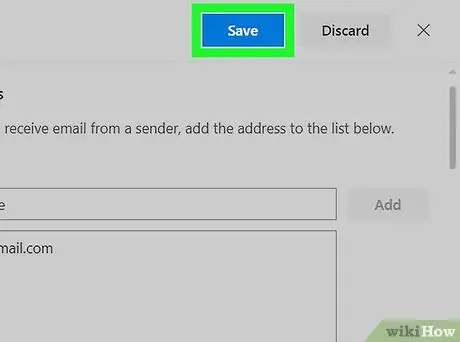
Step 7. Click Save
It's at the top of the page. This will save the changes made and the user's email address will be added to the blocked senders list.
Part 3 of 3: Indicate that a Sender is sending Junk Mail
Step 1. Understand why you need to do this
Adding a contact to the blocked senders list indicates that you do not wish to receive further messages from this user. However, if the e-mails you have received in the past from this sender are not moved to the junk folder, thus blocking it in this section as well, it is possible that Outlook is not filtering its messages.
If the user has never sent you an email, this procedure will not be possible. If so, you may receive emails from the contact in the future. At that point you will have to move them to the junk folder to complete the process and permanently block it
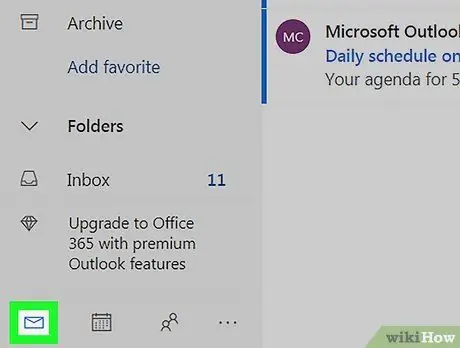
Step 2. Go back to your inbox
Click on the envelope-shaped icon called "Mail", located at the bottom left. This will open your inbox in a new tab.
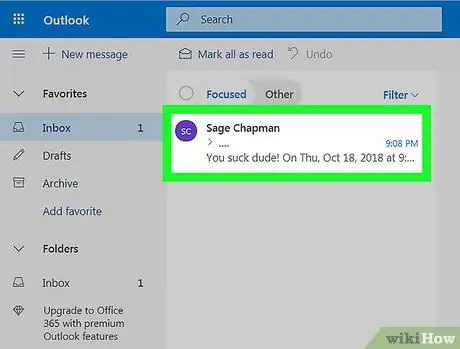
Step 3. Select an email received from the contact you blocked
Click once on this user's message.
If he has sent you multiple emails, you can select them all by hovering the mouse cursor over the contact's profile photo (or initials), located on the left side of the message. Then, click on the checkbox that appears. Repeat the process with the other emails
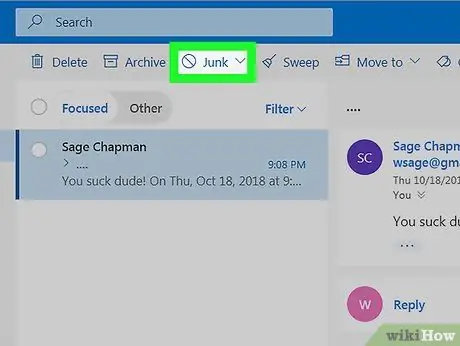
Step 4. Click on Junk Email
It is one of the tabs at the top of the page.
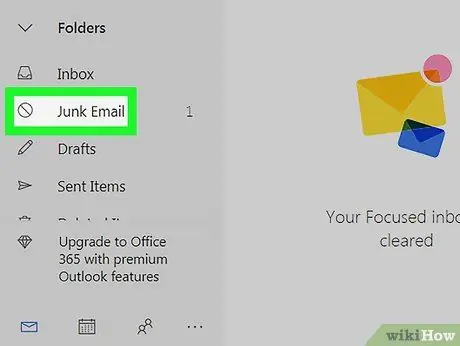
Step 5. Open the junk folder
Click on "Junk", located to the left of the inbox. This will open the list of emails you have marked as junk.
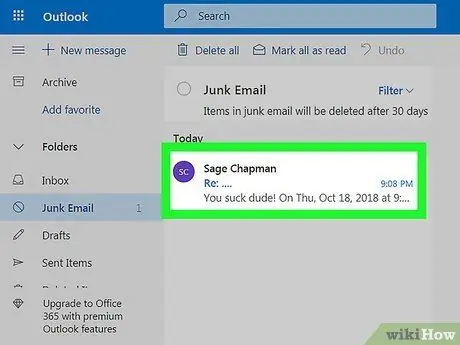
Step 6. Select the email of the contact in question
Click it once to select it.
Again, if you have marked multiple emails, click on the checkbox located on the left end of each email to select them all
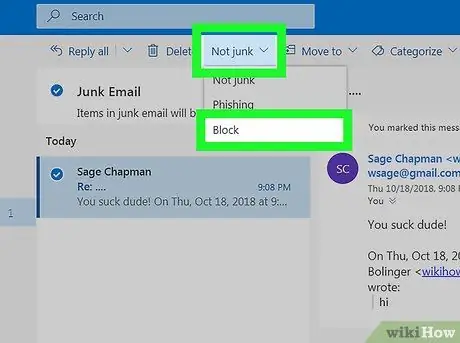
Step 7. Click Block
It's at the top of the page.
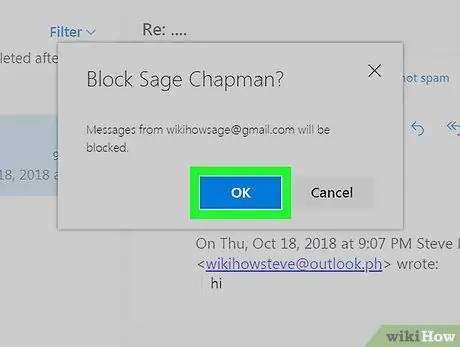
Step 8. When prompted, click OK
This will confirm your decision and ensure that the email address is added to the blocked senders list. You should no longer receive messages from the user in question.
It may take a few hours (or a few days) for this procedure to be implemented
Advice
- If you remove a contact, add his e-mail address to the list of blocked senders, indicate that the messages you have already received are unwanted and block them, you can be sure that you will no longer receive any e-mails from the user in question.
- If you do not select the "Block" option in the "Junk" folder, future emails will end up in this section, without being automatically deleted. This is useful if you want to read the contact's messages without receiving them in your inbox.


