Formatting the internal memory of an Android device is a great way to increase its performance, especially if it is a smartphone or tablet that has been in use for a long time. It is also an essential operation if you have decided to give or sell the device; your personal data will thus be protected from prying eyes. Through the settings menu of an Android device, if present, it is also possible to format the SD card.
Steps
Method 1 of 3: Reset to Factory Settings (Application Settings)
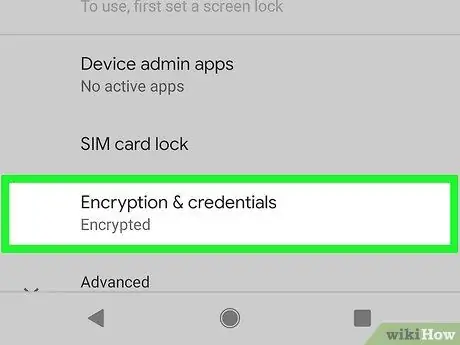
Step 1. Encrypt your data before formatting
If you have decided to give or sell your device, before proceeding to format it is advisable to encrypt the data contained within it. This way you can be sure that no one can recover your personal information. If you are not worried about the fact that someone can get hold of your personal data stored on the device, it is not necessary to encrypt the contents of the memory.
- Access the "Settings" application, then select the "Security" item.
- Tap "Encrypt phone". To do this, your smartphone's battery must be fully charged. If necessary, then connect the device to the mains using the supplied battery charger.
- Wait for the data encryption process to finish. This step should take about an hour.
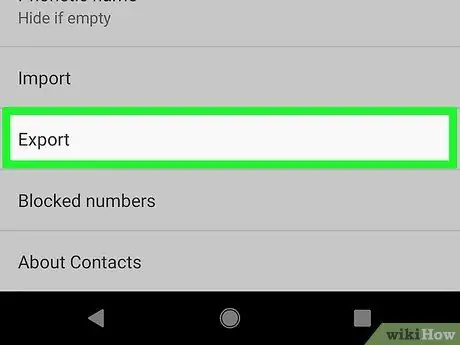
Step 2. Back up all your data
Restoring the factory settings of an Android device involves formatting its internal memory, which means that all data on it will be deleted. So make sure you back up your contacts and that any important files are copied to an external device. All installed apps will be deleted, but you can download them again from the Play Store as soon as the reset is done.
- Read this guide for more details on how to export your contacts to file or synchronize them with your Google account.
- Read this guide for more information on how to transfer data from an Android device to a computer.
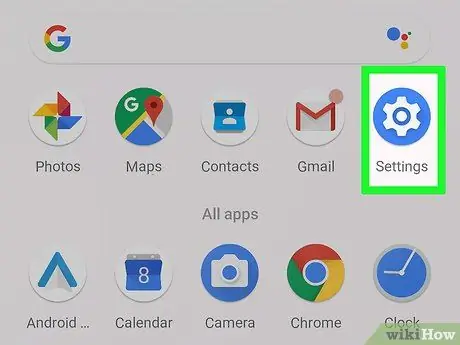
Step 3. Launch the "Settings" application
To erase all the information on the device you can use the "Factory data reset" option in the "Settings" menu. After this step, the phone will be restored to the state it was in at the time of purchase. To open the "Settings" app, tap its icon.
If your Android device fails to complete the boot process, click here for more information on how to restore via the "Recovery" menu
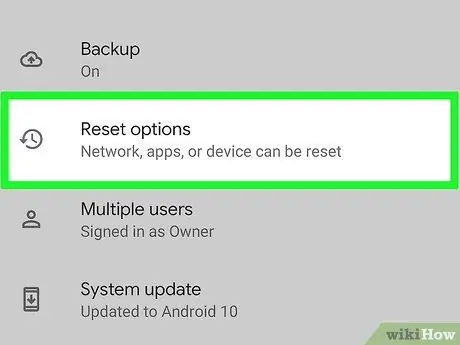
Step 4. Choose the "Backup and Restore" item in the "Personal" section of the menu
You will be shown on the screen several options for backing up your data and restoring your device.
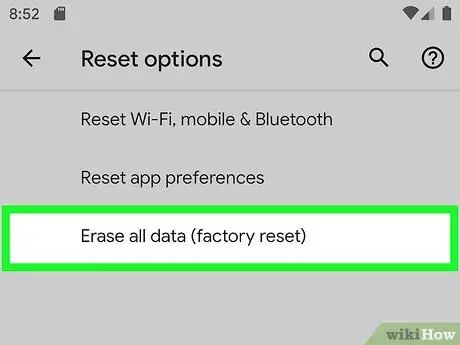
Step 5. Tap "Factory data reset"
The list of data that will be deleted will be shown on the screen.

Step 6. Press the "Reset phone" button
You will be asked to confirm your action for one last time before the restore process begins. After giving your confirmation, the device will restart and the formatting and recovery procedure will begin. This step may take more than 20 minutes to complete.

Step 7. Configure the device again
Once the reset procedure is complete, you will need to do the initial device setup again. By choosing to use your Google account, most of the previous settings should be restored automatically. In newer versions of Android you will also be asked which of the previously downloaded applications you want to be restored.
Method 2 of 3: Restore Factory Settings (Recovery Mode)
Step 1. If you have not already done so, turn off your device completely
In order to access the "Recovery" mode, you must completely shut down the device. If it gets stuck, you can force it to shut down by pressing and holding the power button ("Power" button) for about 20 seconds.
Again, as in the previous method, all data on the device will be deleted. So, before moving on, try backing up any important files you want to keep
Step 2. Press and hold the "Power" button and the button to turn up the volume at the same time
Do this for a few seconds, until the device turns on and the "Android Recovery" icon appears on the screen. This key combination is valid for most Android devices, although some manufacturers may have customized it. For example, to start "Recovery" mode on Galaxy series devices, you need to press and hold the "Power", "Home" and the key to turn up the volume.
Step 3. To highlight the menu item "Recovery mode" use the key to lower the volume
You may have to scroll to the bottom of the menu to find it.
Step 4. To select the "Recovery mode" item, press the "Power" button
The device will restart again and a new menu will appear when finished.
Step 5. Use the volume rocker to select "Wipe data / factory reset", then press the "Power" button
You will be directed to a new menu.
Step 6. Locate and select "Yes" to confirm your willingness to perform the reset
When finished, press the "Power" button again.
Step 7. Wait for the recovery process to complete
The device will proceed to format the memory and reinstall the Android operating system. At the end you will have to go through the initial configuration procedure again; you will be able to log into your Google account which will allow you to restore your old settings. In case you want to give or sell the device, once the reset has been performed you will no longer have to worry about someone coming into possession of your personal data.
Method 3 of 3: Format an SD Card
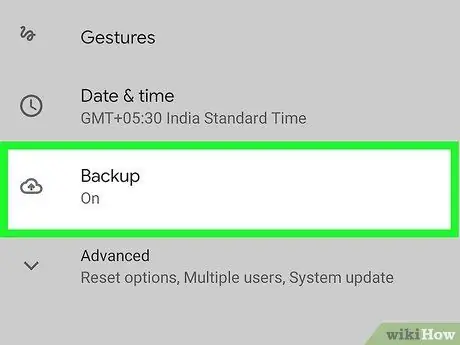
Step 1. Back up all important data on the media
Formatting an SD card erases all the data it contains; it is therefore essential to back up any information you wish to keep. The easiest way to do this is to connect the device to a computer or insert the SD card into a suitable reader and copy all the data contained on the computer's hard drive.
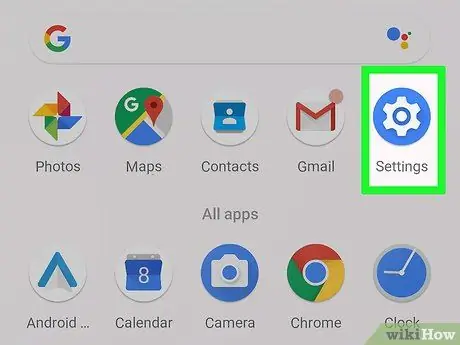
Step 2. Access the device's "Settings" application
If an SD card is present, you can format it using the appropriate section of the "Settings" menu.
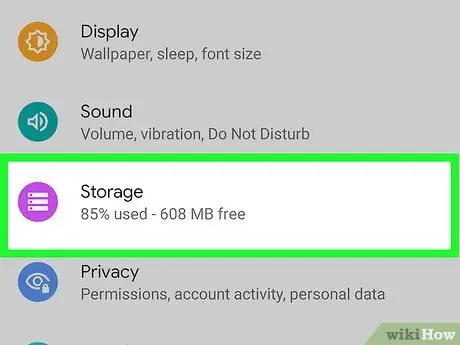
Step 3. Tap on "Memory" in the "System" section
A detailed list of the device's memory usage will be displayed.
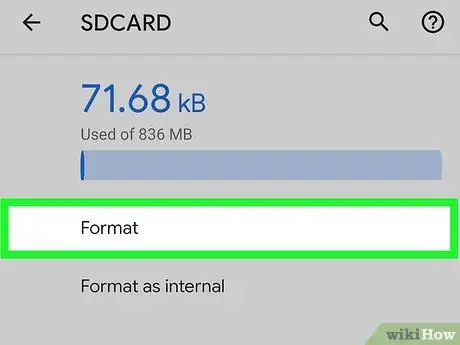
Step 4. Select the "Format SD card" option at the end of the list
You will be asked to confirm your willingness to format the SD card installed in the device. Once confirmed, the memory card will be formatted.


