Formatting the internal memory of a smartphone is a useful operation to protect personal data and prevent malicious people from having access to confidential information, such as the call log, photos, messages, e-mail account, calendar and so on. While the exact procedure for formatting a smartphone's memory varies by model and manufacturer, there are guidelines common to all devices that ensure that personal data is deleted. This process is essential if you have decided to sell, recycle or give away your beloved smartphone.
Steps
Part 1 of 3: Backing Up Important Information
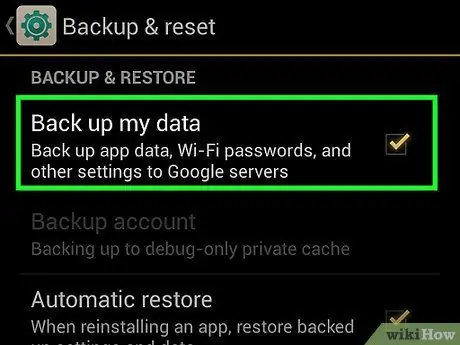
Step 1. Back up your contacts
Before you format your device, you most likely want to make a copy of your contact list. This way you will be able to restore it as soon as the formatting procedure is finished. If you're using an Android or iOS smartphone and signed in to a Google or iCloud account respectively, there's a good chance that all your contacts have already been saved to the cloud.
- See this article for more details on how to backup contacts from an Android device.
- See this article for more information on how to backup iPhone contacts.
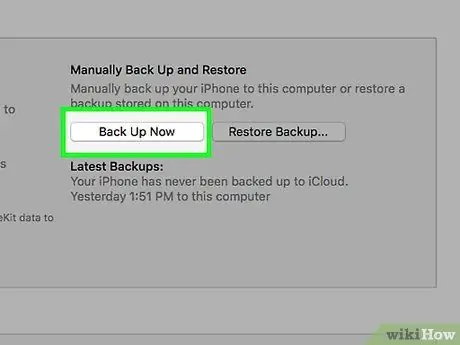
Step 2. Back up an iPhone via iCloud
If you are using an iPhone, you can take advantage of the free storage space linked to your iCloud account to back up all the data on the device quickly and easily. This step allows you to restore all important data (messages, contacts, photos, etc.) at the end of the formatting process.
- Connect the iPhone to the charger and to the home Wi-Fi network.
- Access the Settings app, then select the "iCloud" item.
- Tap the "Backup" option, then choose the "Back Up Now" item. If it's not active yet, first you need to turn on the "iCloud Backup" switch.
- Wait for the completion of the backup process of all personal data on the iPhone to the iCloud account.
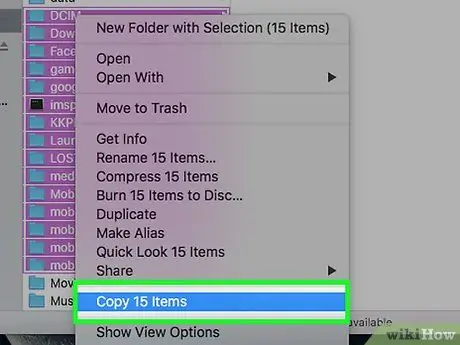
Step 3. Back up personal data on your Android device
All purchases made through the Google Play Store (including apps) are automatically saved to your Google account, unlike the data you downloaded to your device through other tools. This information could include videos, music, documents, and other items that you downloaded directly to your device. The Android operating system does not have a native tool to back up the user's personal information, but you can copy all the data quickly and easily using a normal computer.
- Connect the Android device to the computer using the USB cable with which you normally recharge the battery.
- Select the item "Transfer files (MTP)" from the USB menu that appeared in the Android notification panel.
- Select the item "Computer / This PC" in the "Explorer" window of the computer, then click on the icon for the Android device. If you are using an OS X system, you may need to install the Android File Transfer program.
- Find the files you want to save. To do this, check the contents of the folders "Download", "Pictures", "Music", "Movies" and all those where there may be important information to save. Copy all selected files into a folder on your computer.
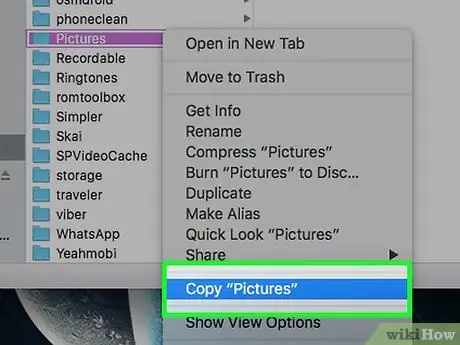
Step 4. Back up all photos
Photos on your device may not be saved automatically. For this reason you must be sure that all personal images on your smartphone are safe before proceeding with its formatting.
- See this article for more details on how to back up images on an Android device.
- Check out this article to find out all the ways you can back up photos on an iPhone.
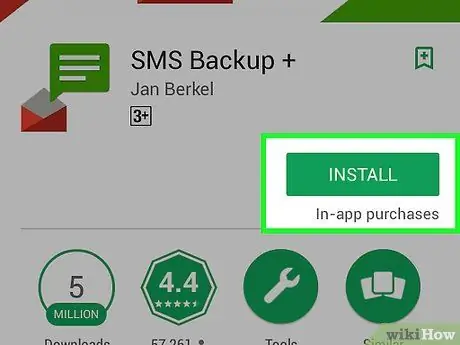
Step 5. Back up your text messages (SMS)
The process of formatting the internal memory of a smartphone causes the deletion of all the data contained, including all the SMS you have sent and received. E-mail messages can be retrieved via the relevant account, but SMS must be saved manually.
- See this article for more information on how to back up SMS on an Android device.
- Messages on iPhone can be backed up via an iCloud account. After formatting the device, restoring personal data via an iCloud backup will also recover the messages.
Part 2 of 3: Format an Android Device
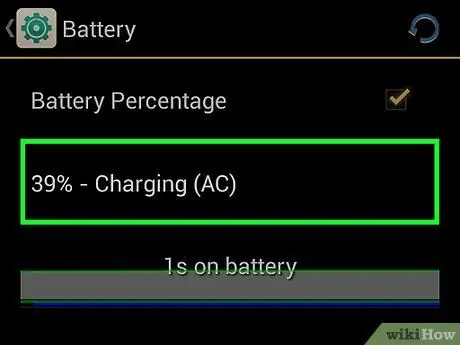
Step 1. Plug your smartphone or tablet into a power outlet
Before resetting the device, the battery must be fully charged. If the battery charge level is not sufficient, some models do not allow you to perform the reset procedure. For this reason it is always best to connect the device to a power source before proceeding.
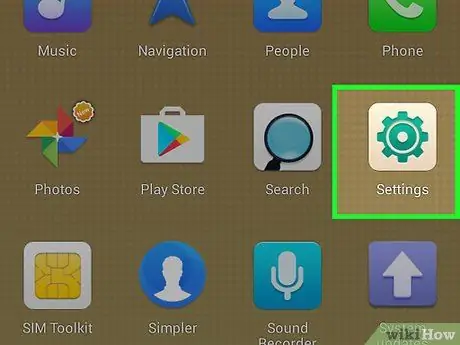
Step 2. Launch the Settings app
You can factory reset an Android device directly from the Settings app.
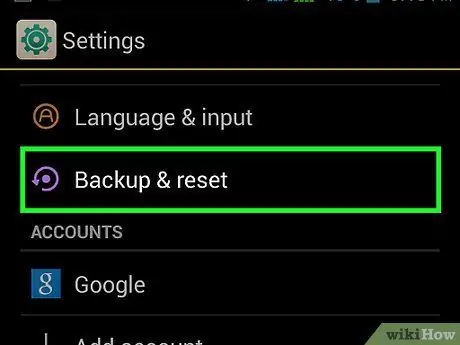
Step 3. Select the "Backup and Restore" section
To locate it, you may have to scroll down the appeared menu.
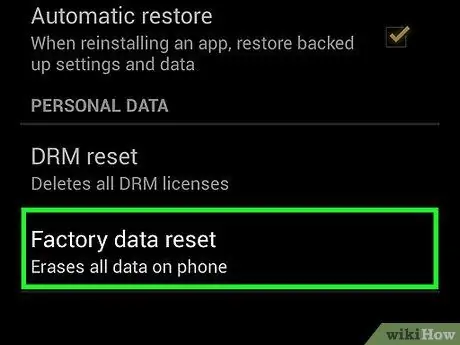
Step 4. Tap "Factory data reset" or "Reset phone"
You will be asked to confirm your willingness to proceed with the factory reset.
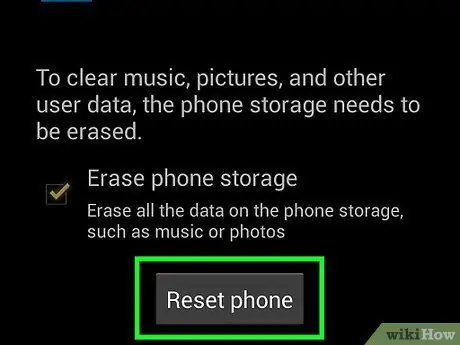
Step 5. Wait for the formatting and recovery process to finish
This step may take up to 20 minutes to complete during which you will not be able to use the device.
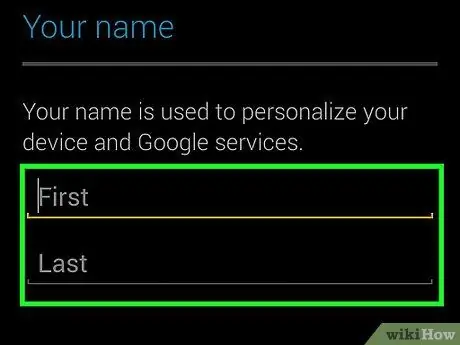
Step 6. According to your needs, proceed with the initial configuration of the "new" device or sell it or give it away
Once the reset process is complete, the device's memory will be completely empty, so you can safely sell or give it away. If you want to keep it, you can carry out the initial setup procedure as usual when you turn on a new smartphone for the first time.
- During the device setup process, you will be asked to log into your Google account to be able to automatically restore your purchased apps and settings.
- Search the web for more information on how to get rid of an old disused cell phone.
Part 3 of 3: Reset an iPhone
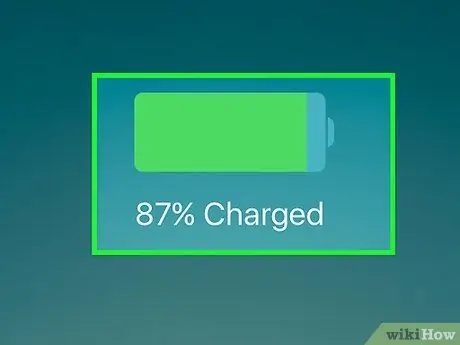
Step 1. Connect the iPhone to the wall charger
In order to perform the reset process, the device must have a fully charged battery. To make sure you have no problems, plug it into the charger and leave it plugged in for the duration of the procedure.
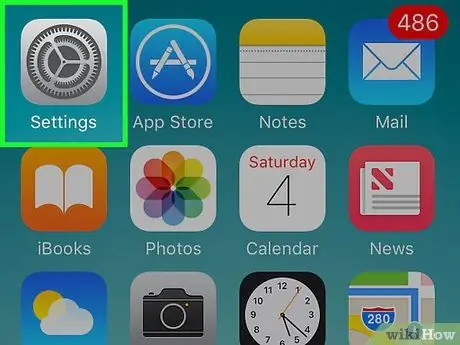
Step 2. Launch the Settings app
You can factory reset an iOS device directly from the Settings app. The latter is located on the home screen and is characterized by a gear icon. In some cases it may be inside a folder called "Utilities".
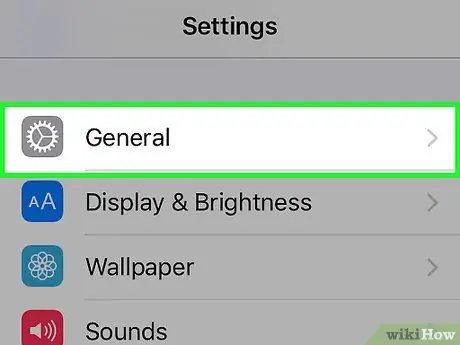
Step 3. Choose the item "General", then scroll the menu that appeared towards the bottom
The last item in the list, "Restore", is the one you will need to select.
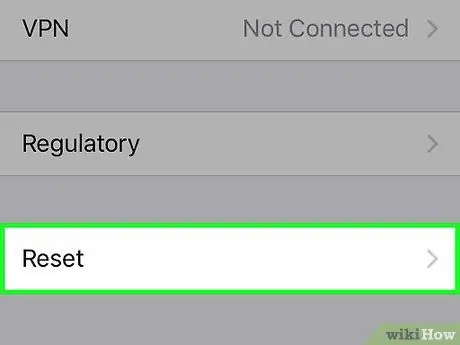
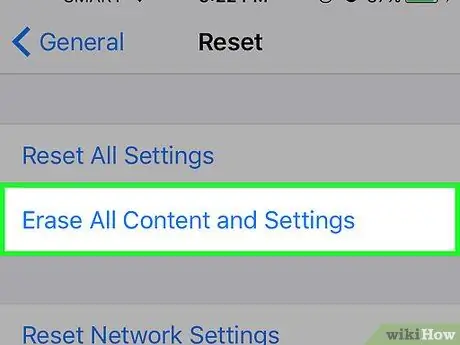
Step 4. Tap the "Reset" option, then choose the "Erase all content and settings" option
You will be asked to confirm your willingness to proceed with the deletion of all information contained in the device.
You may need to enter your screen unlock code and access restrictions code; obviously only if they are active
Step 5. Wait for the iPhone recovery process to finish
This step takes approximately 15-30 minutes to complete, depending on the iPhone model. The device cannot be used during the reset procedure.
Make sure the iPhone is connected to power during the whole process. Also, during this stage, do not hold down the "Power" button
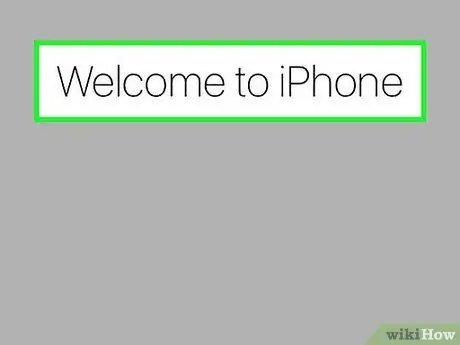
Step 6. Once the reset is complete, you can choose to get rid of the device or proceed with the initial setup
When the format process is complete, you can safely get rid of the iPhone or you can choose to run the initial setup again to continue using it as normal. If you have chosen the latter option, you will be able to restore all your personal data using an iCloud or iTunes backup.
- If you have decided to give away or sell the iPhone, you need to dissociate it from your iCloud account. In this way, the subsequent owner will be able to access the device and its functionalities without difficulty. If you do not perform this step, the new owner will not be able to use it. Go to the URL icloud.com/#settings, select the device you want to sell or gift, then click its "X" icon.
- Search the web for more information on how to recycle an old iPhone.


