This article shows you how to transfer files and folders to a USB drive (flash drives, external drives, etc.) using both a computer with a Windows operating system and a Mac.
Steps
Method 1 of 2: Windows
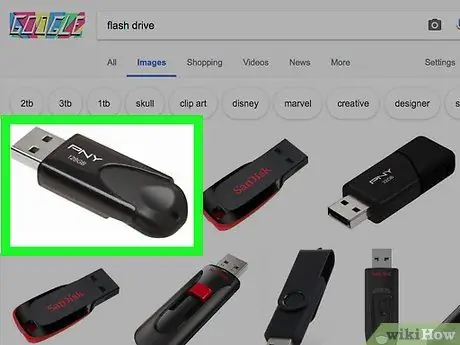
Step 1. Connect the USB drive to your computer
The USB memory stick (or external storage drive) should be connected to one of the free USB ports on the computer. They have a rectangular shape and are placed directly on the case of the machine.
The USB connector of external memory drives can only be used one way, so don't force it when inserting it into the computer port. If you notice that you cannot insert it into the USB port, simply rotate it 180 ° and try again
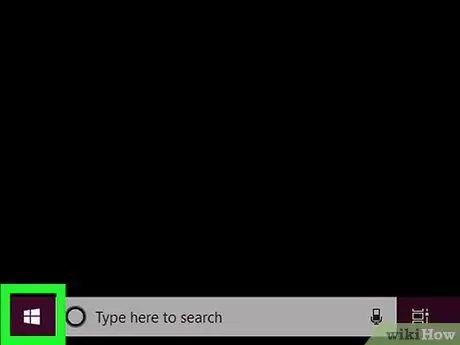
Step 2. Access the "Start" menu by clicking on the icon
It features the Windows logo and is located in the lower left corner of the desktop. Alternatively, press the ⊞ Win key on your keyboard.
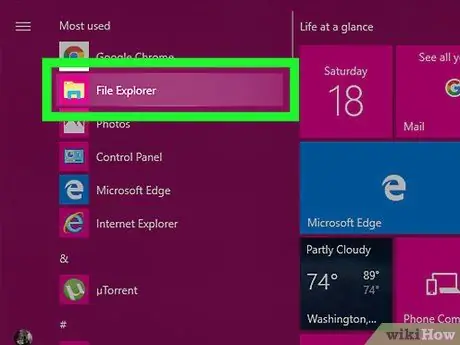
Step 3. Open a new "File Explorer" window by clicking on the icon
It features a small folder and is located at the bottom left of the "Start" menu.
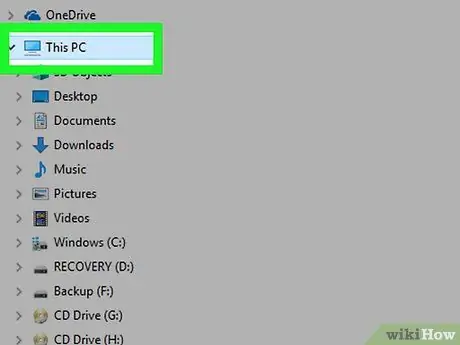
Step 4. Click the This PC icon
It features a computer monitor and is listed in the left sidebar of the "File Explorer" window. A list of all memory drives and devices connected to your computer will be displayed, including your USB stick.
To locate the item This PC, you may need to scroll down the contents of the left sidebar of the "File Explorer" window.
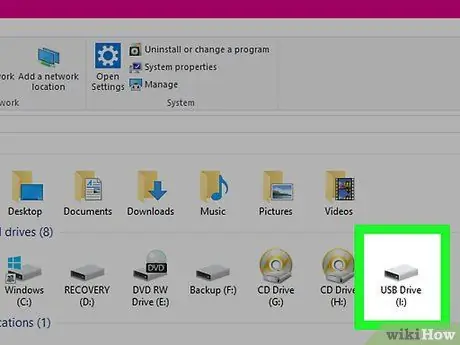
Step 5. Access the USB drive
Double-click the storage device icon visible within the "Devices and Drives" section. It is usually characterized by the manufacturer's name or model number.
In most cases it should use the drive letter "(E:)" or "(F:)"
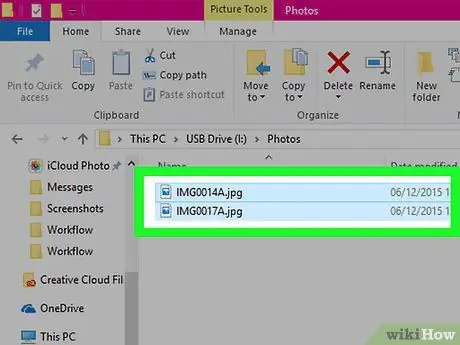
Step 6. Select the files to move
Click on a single item icon to select it or hold down the Ctrl key while selecting files and folders one at a time to include in the transfer.
If you wish, you can quickly select all the contents of the USB drive by pressing the key combination Ctrl + A
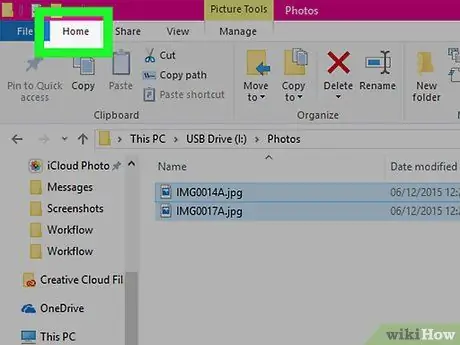
Step 7. Go to the Home tab
It is located in the upper left of the "File Explorer" window. A toolbar will appear.
If you often use the Windows drag-and-drop feature, you can apply it here as well. Simply drag and drop your selection of files and folders from the USB drive to your computer or into the desired folder. If you have chosen to use this method, skip to the last step of this section
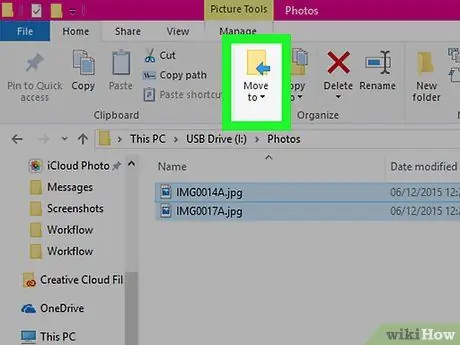
Step 8. Click Move to
It is located within the "Organize" group of the "Home" tab toolbar. A drop-down menu will appear.
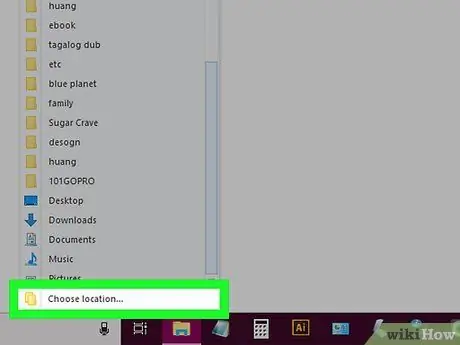
Step 9. Choose the Select Path… option
It is the last item in the drop-down menu that appeared. A new dialog will appear.
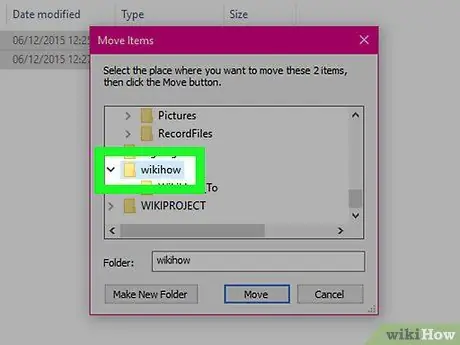
Step 10. Select a folder
Click on the destination folder where you want the items inside the USB drive to be transferred.
If you want, you can also create a new folder by selecting the destination directory by clicking on Create new folder and giving it a name.
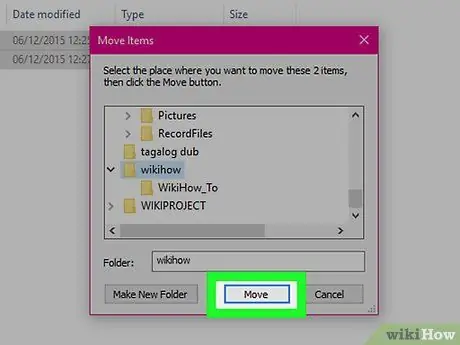
Step 11. Click Move
It is located in the lower right corner of the "Move Items" dialog box. The selected data will be moved from the USB drive to the computer folder of your choice. Once the data transfer process is complete, you can continue.
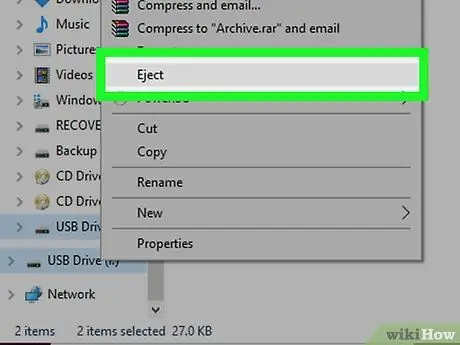
Step 12. Safely remove the USB drive from your computer
Access the card Manage located at the top of the "File Explorer" window for the USB drive, then click Eject. When the notification message appears stating that you can safely disconnect the drive from your computer, physically remove it from the USB port carefully and gently.
Method 2 of 2: Mac
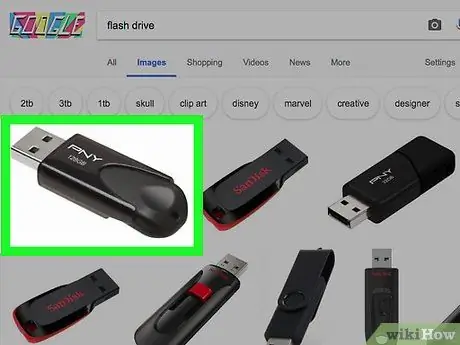
Step 1. Connect the USB drive to the Mac
You need to plug it into one of your computer's rectangular USB ports, located along the sides if you are using a MacBook or on the back of the monitor in the case of an iMac.
- The USB connector of external memory drives can only be used one way, so don't force it when inserting it into the computer port. If you notice that you cannot insert it into the USB port, simply rotate it 180 ° and try again.
-
If your Mac has rectangular communication ports with rounded sides, it means it only has USB-C ports. In this case, you'll need to purchase a simple USB 3.0 to USB-C (or Thunderbolt 3) adapter in order to connect the drive to your computer.
If your external drive has a USB-C connector, you can skip this step
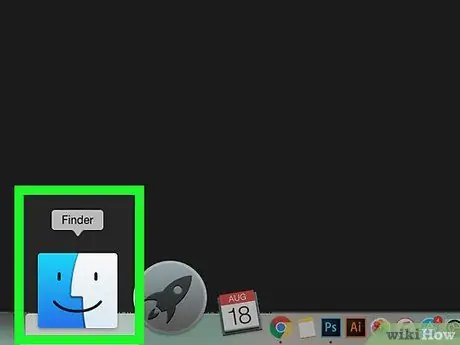
Step 2. Open a Finder window
Click on the blue stylized face icon visible in the System Dock.
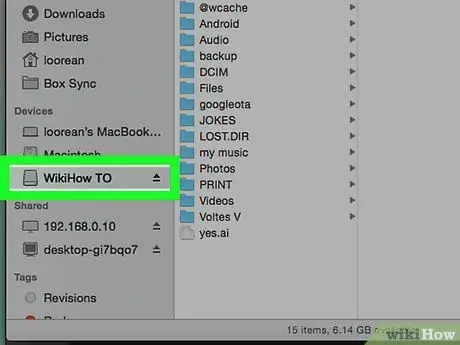
Step 3. Access the USB drive
Click on the device name displayed in the left sidebar of the Finder window. This way the contents of the drive will be displayed within the main pane.
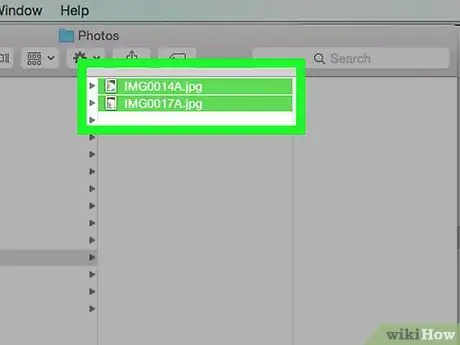
Step 4. Select the files to move
Click on a single item icon to select it or hold down the ⌘ Command key while selecting files and folders one at a time to include in the transfer.
If you wish, you can quickly select all the contents of the USB drive by pressing the key combination ⌘ Command + A
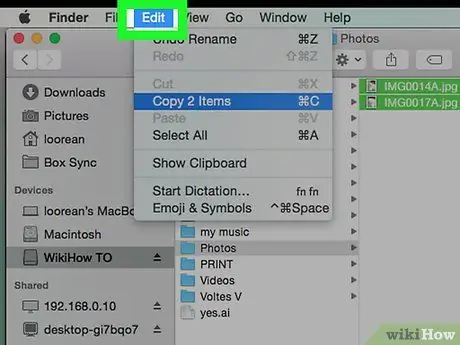
Step 5. Enter the Edit menu
It is located in the upper left of the Mac screen. A list of options will be displayed.
If you use your Mac's drag and drop feature often, you can apply it here as well. Simply drag and drop the selection of files and folders from the USB drive to your computer desktop or into the desired folder. If you have chosen to use this method, go directly to the last step of this section
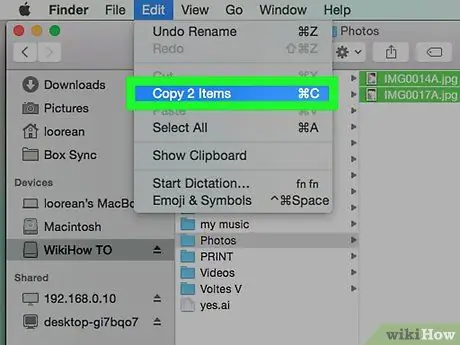
Step 6. Click Copy
It is located at the top of the menu Edit. The selected files will be copied.
- If you are transferring only one item, the name of the item will be shown to the right of the option Copy from the "Edit" menu (for example, if you have selected a file named "New", you will find the item in the menu Copy "New").
- If you have made a multiple selection of elements, you will find the item in the "Edit" menu Copy [number] items (for instance Copy 4 items).
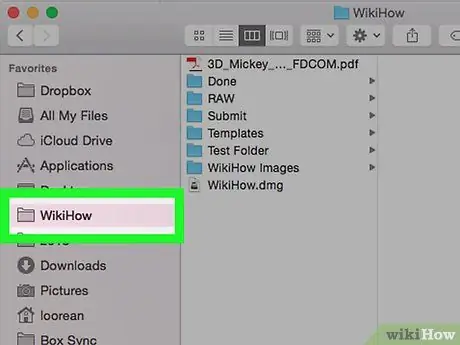
Step 7. Navigate to the destination folder on the Mac
Open the directory where you want to transfer the copied data from the USB drive.
For example, if you have decided to move them directly to the Mac desktop, you will need to select an empty spot on the Mac desktop
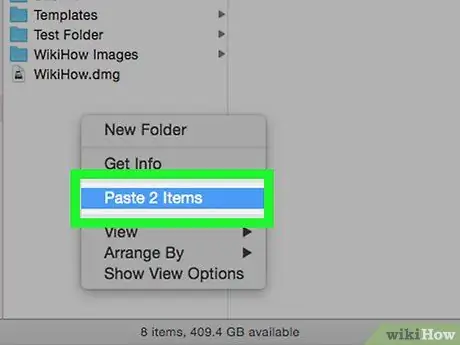
Step 8. Move the data you copied
Press the key combination ⌥ Option + ⌘ Command + V to paste the copied items into the destination folder. This way a copy of the files will remain stored on the USB stick. If you need them removed from your device, choose the "Cut" option instead of "Copy" from the "Edit" menu.
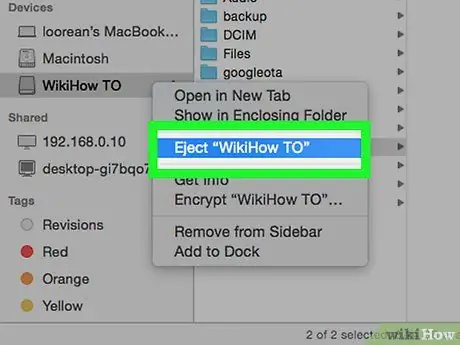
Step 9. Disconnect the USB drive from the Mac
Access the Finder window, locate the name of the USB drive in the left sidebar of the window, then click on the "Eject" button characterized by this icon
located to the right of the device name. When the USB drive is no longer listed within the left sidebar of the Finder window, you can physically disconnect it from your Mac by gently pulling the USB connector out of the port it's plugged into.


