By modifying a Nintendo Wii console, you can create an image of the games and store it on a USB memory drive in order to have a backup copy of all your video games available. This approach is preferable to burning optical media directly, mainly because burned game discs cannot be used on newer versions of the Wii. In any case, if you need to burn the copies of the games to a physical disc, you will need to get the ISO image of the title you want and download a program capable of burning this type of file on a blank optical media. In order to use the burned discs with your Wii, you will first need to modify it and install a USB Loader program that can read data even from burned DVDs.
Steps
Part 1 of 4: Modifying the Wii
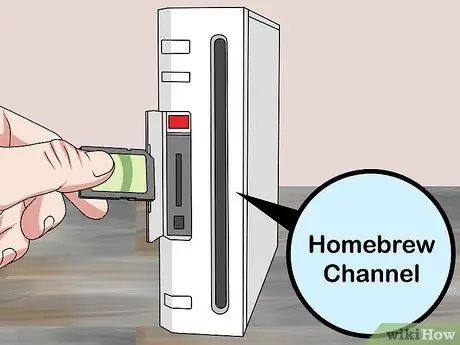
Step 1. Install the Homebrew Channel on the Wii to be able to copy games to a USB memory drive and play them without having to own the original disc
Regardless of whether copying games directly from the Wii or using a computer, the Nintendo console must be modified to be able to play the copied games. It is possible to perform the modification, that is to install the so-called "Homebrew Channel", by using the exploit called "Letterbomb".
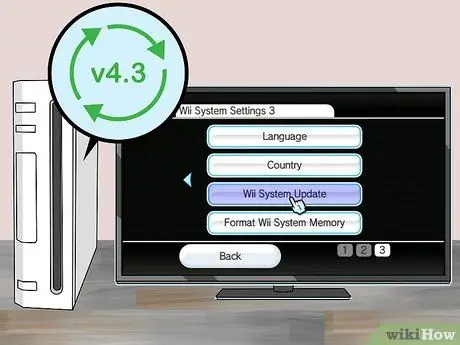
Step 2. Update the Wii firmware (ie the operating system that manages the console's functionality) to the latest version available
In order to modify the console, you need to install the latest version of the Wii software (4.3) which was released in September 2010. This is a mandatory requirement for the "Letterbomb" exploit to take effect.
- Select the "Wii" button from the console's main menu;
- Choose the "Wii Settings" item, then select the "Wii Console Settings" option;
- Select the "Wii Console Update" option displayed on the third page of the settings menu;
- Select the "Yes" and "Agree" options successively to download and install the console update.
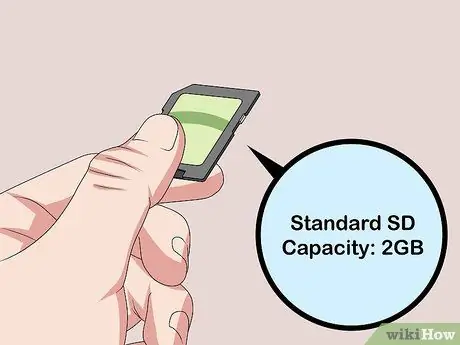
Step 3. Get an SD memory card that has a capacity of 2GB or less
You will need this tool to store all the files needed to perform the console modification. Remember that you will need to use a standard SD card and not an SDHC or SDXC card.
If you are not sure if your SD card is compatible with the Wii, please visit this website wiibrew.org/wiki/SD/SDHC_Card_Compatibility_Tests
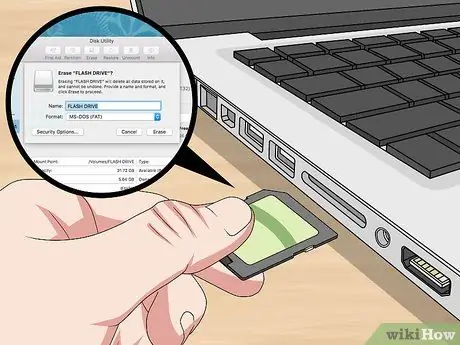
Step 4. Format the SD card using your computer
Insert it into your computer's card reader. If the latter does not have a card reader, you can purchase an external USB one. Format the SD card using a FAT32 file system by following these instructions:
- Windows - open a "File Explorer" window by pressing the key combination (⊞ Win + E). Select the SD card icon with the right mouse button and choose the "Format" option from the context menu that will appear. Select the "FAT32" option from the "File system" drop-down menu, then click the "Format" button.
- Mac - open the "Disk Utility" window located in the "Utilities" folder. Select the drive corresponding to the SD card, then click on the "Initialize" tab. Select the "FAT" file system format from the "Format" drop-down menu and press the "Initialize" button.
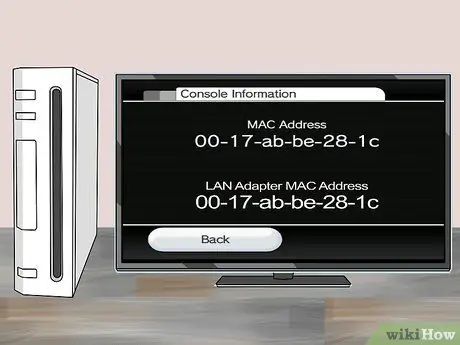
Step 5. Determine the MAC address of the Wii
This is the unique network address associated with your Wii console. You can find this information from the Wii's "Settings" menu by following these instructions:
- Click on the "Wii" button located in the console's main menu. The "Wii Options" menu will appear;
- Select the "Wii console settings" item, then choose the "Internet" item displayed on the second page of the menu;
- At this point, choose the "Wii Console Information" option and make a note of the console's MAC address.
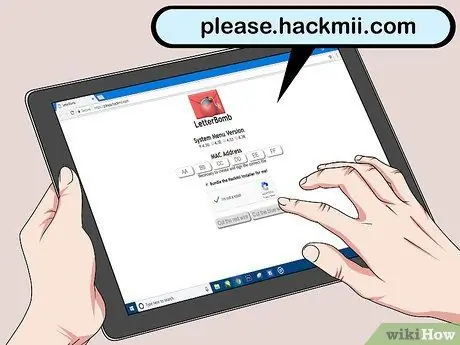
Step 6. Visit the website
please.hackmii.com using your computer's browser.
This is the website that will generate the "Letterbomb" exploit script specific to your Wii.
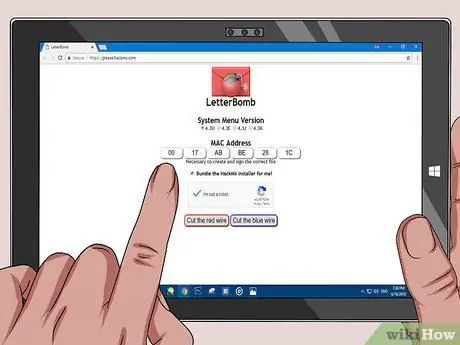
Step 7. Enter the MAC address of your console in the appropriate text fields
Each text field on the page can accommodate a pair of characters from the Wii MAC address.
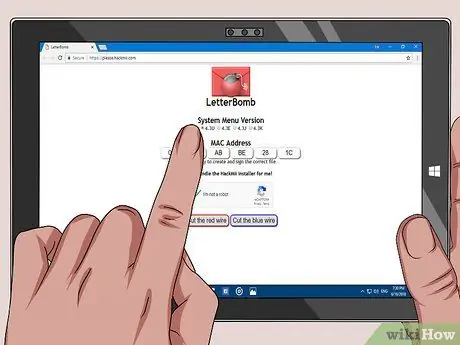
Step 8. Select the version of the firmware installed on the console using the options listed in the "System Menu Version" section (it is based on the geographic area in which you reside)
If you are not sure which version is installed on your Wii, go to the "Wii Console Settings" menu. The console firmware version number is displayed in the upper right corner of the screen.
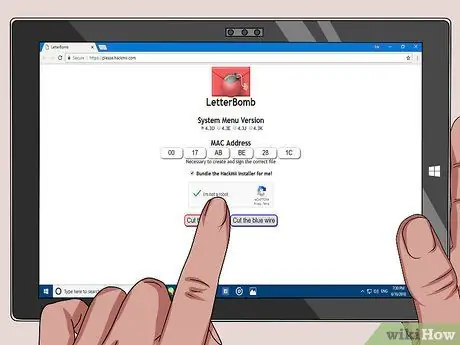
Step 9. Select the "I'm not a robot" checkbox, then click the download button
You can click either the "Cut the red wire" button or the "Cut the blue wire" button. In both cases, a ZIP file will be downloaded to your computer.
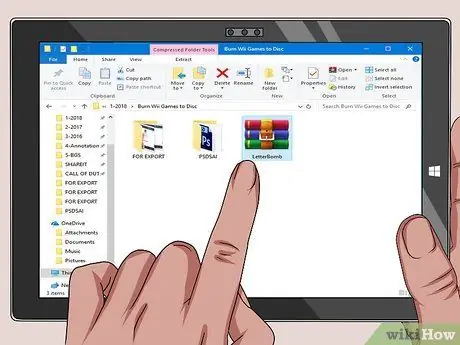
Step 10. Double-click the ZIP file you just downloaded
The contents of the compressed folder will be displayed. There should be a folder named "private" and a file named "boot.elf".
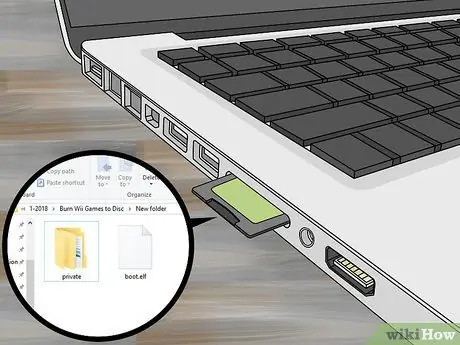
Step 11. Copy the folder and file from the ZIP archive directly to the SD card
Drag the "private" folder and the "boot.elf" file onto the SD card icon. This way the two selected items will be copied to the correct location on the SD card.
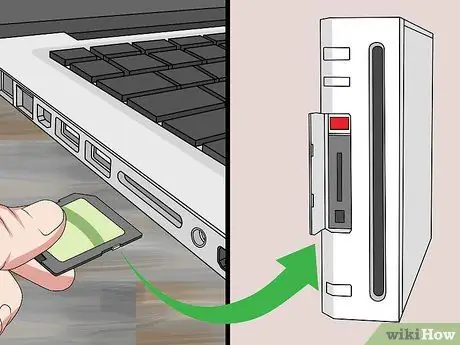
Step 12. Extract the SD card from the computer's reader and insert it into the Wii's card reader
The Wii SD card reader is located along the front of the console, hidden by a special access panel that opens by sliding it down.
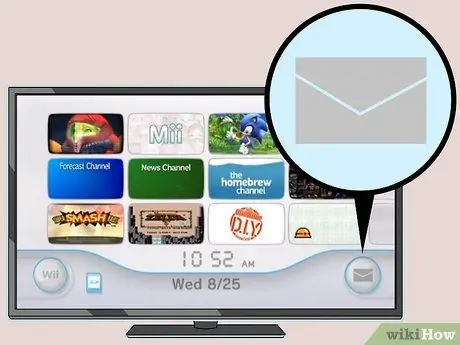
Step 13. Click on the "Wii Message Board" button located on the Wii Main Menu
There should be a red envelope icon with a small bomb stuck inside. You may need to press the "-" button to go back a day or two and be able to see the new message.
If the "Letterbomb" exploit message did not appear, make sure that the "private" folder and the "boot.elf" file are present in the root directory of the SD card
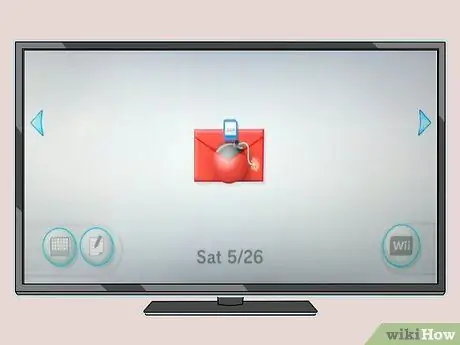
Step 14. Select the red envelope icon to run the "Letterbomb" script
A black screen will appear containing text similar to the Windows "Command Prompt".
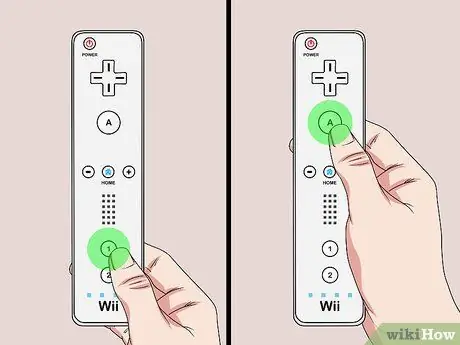
Step 15. Press the "1" and "A" button on the WiiMote successively when prompted to continue
The installation procedure will start.
If the WiiMote turns off while installing the HackMii program, it means that the controller may be too modern. New Wii controllers automatically turn off when the console change is detected. To work around this problem you will need to get a controller that was manufactured before 2009
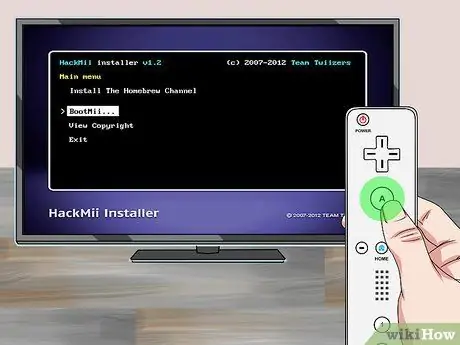
Step 16. Select the "BootMii" option and press the "A
" In this way you will have the possibility to configure the BootMii being able to access the Homebrew Channel.
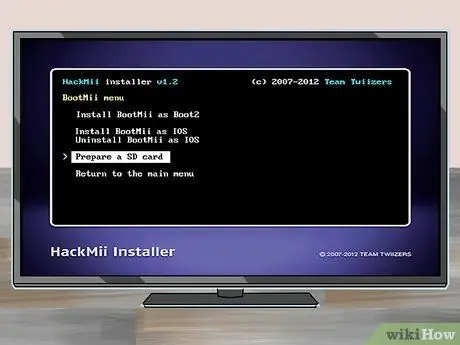
Step 17. Select the "Prepare an SD card" option, then choose the "Yes, continue
" The BootMii program files will be copied to the SD card.
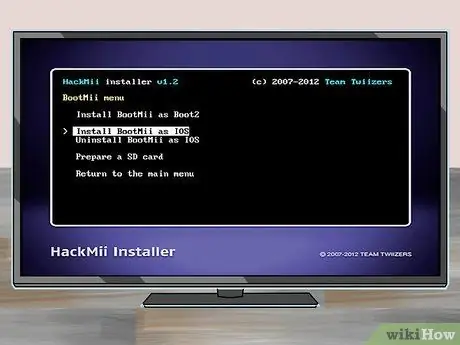
Step 18. Select the "Install BootMii as IOS" option and choose "Yes, continue" twice in a row to continue
The BootMii software will be installed on the console.
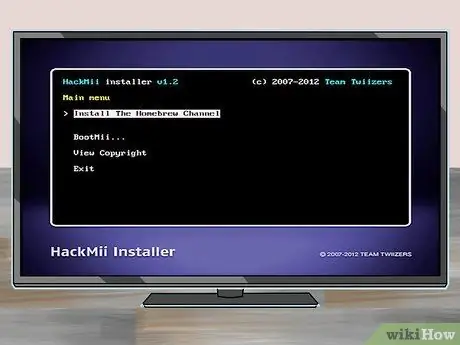
Step 19. Return to the main menu and select "Install The Homebrew Channel
" At this point choose the "Yes, continue" option to confirm your action.
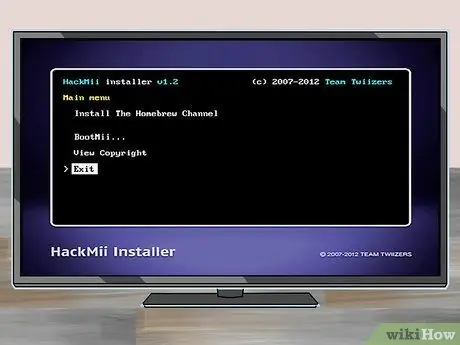
Step 20. Choose the "Exit" item at the end of the installation to be able to access the Homebrew Channel
If the Homebrew Channel appears after a few seconds, the Wii modification was successful. The next step is to install the software you need to copy the games and be able to play them directly from a USB memory drive or a burned DVD.
Part 2 of 4: Install Backup Software
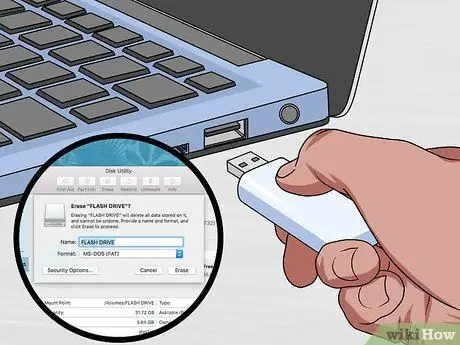
Step 1. Format an external hard drive or USB stick with the FAT32 file system
The latter will allow you to use the memory unit to store Wii and GameCube video games. The games that you copy from the original optical media or that you download from the web will be copied to this memory unit.
- Windows - download the "FAT32 Format" program from the website ridgecrop.demon.co.uk/index.htm?guiformat.htm. You can also use the native Windows format program to format the memory drive you have chosen to use, but be aware that this tool cannot format drives larger than 32GB. If you have a hard drive or memory stick with a capacity greater than 32 GB, you will need to format it using the "FAT32 Format" program. Run the program, select the drive to format and click on the "Start" button. All information on the drive will be deleted.
- Mac - connect the external memory drive to the Mac and start the "Disk Utility" program located in the "Utilities" system folder. Select the external memory drive icon and click on the "Initialize" tab. Select the "FAT32" option from the "Format" drop-down menu and click the "Initialize" button.
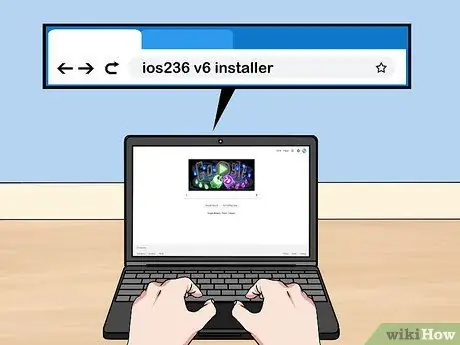
Step 2. Download the "IOS236 v6" installation file
It is a homebrew application that allows you to install on the Wii all the files necessary to use other system homebrew software (for example files for IOS).
You can download the installation file of this program from several online sources. Do a Google search using the keywords "ios236 v6 installer". The installation file will be downloaded as a ZIP archive
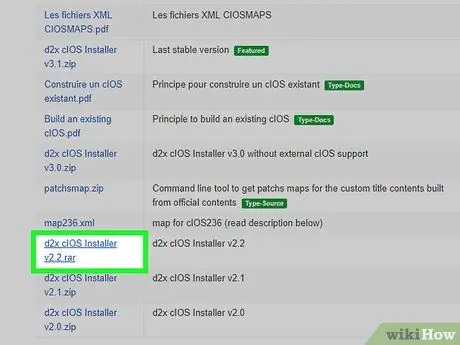
Step 3. Download the "d2x cIOS" installation file
This program will install new system software that will modify the way the Wii accesses memory drives allowing you to run a USB Loader.
Download the latest version of the program from this website code.google.com/archive/p/d2x-cios-installer/downloads
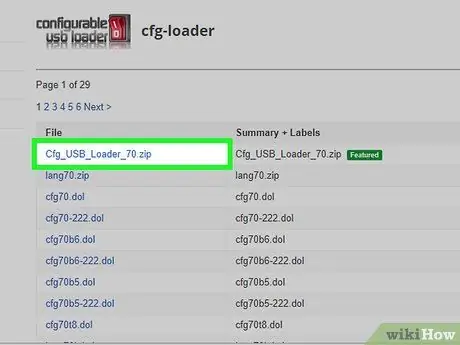
Step 4. Download the "Configurable USB Loader (CFG)" program installation file
It is a homebrew program that you will need to manage all the backups of your video games, also allowing you to create copies directly from the original DVDs. You can use this program to make copies of your Wii and GameCube games.
Download the "Cfg_USB_Loader_70.zip" installation file from the code.google.com/archive/p/cfg-loader/downloads website
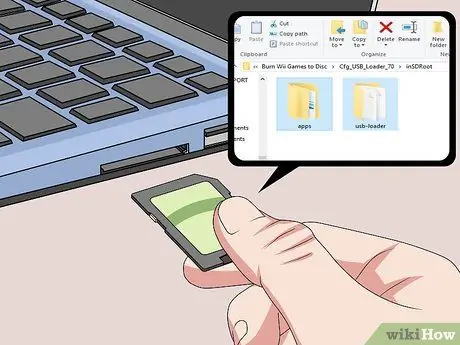
Step 5. Extract the "CFG" program installation files to the SD memory card
This step is used to create, inside the SD card, the folder structure that will be used by the installation procedures of the other two programs.
- Take the SD card out of the Wii's reader and insert it into your computer's.
- Double click on the "Cfg_USB_Loader_70.zip" file, then go to the "inSDroot" folder. Within the latter you will find two directories: "apps" and "usb-loader."
- Drag both items indicated to the root folder of the SD card.
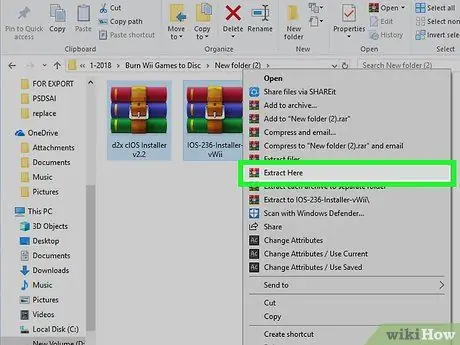
Step 6. Extract the contents of the "iOS236 v6" and "d2x cIOS" ZIP files into the "apps" folder you just copied to the SD card
After copying the data extracted from the ZIP file "Cfg_USB_Loader", double-click on each of the ZIP files indicated and drag the contents into the "apps" folder on the SD card.
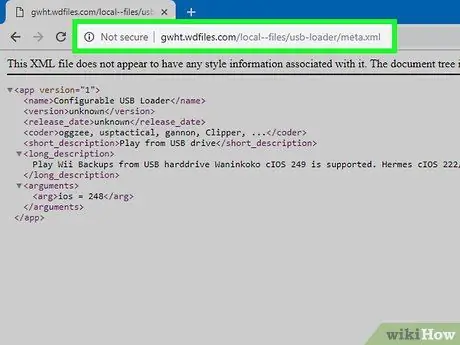
Step 7. Download the XML file that will replace that of the "Cfg_USB_Loader" program
Visit the website gwht.wdfiles.com/local--files/usb-loader/meta.xml using your computer's browser. Press the key combination Ctrl + S on Windows or ⌘ Cmd + S on Mac to save the "meta.xml" file on your computer.
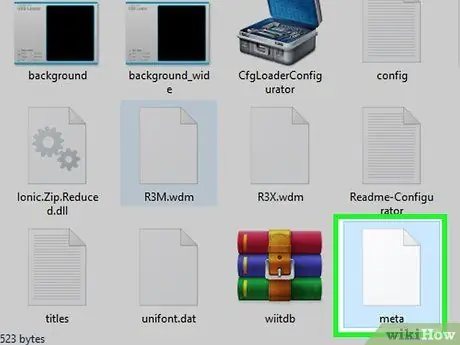
Step 8. Replace the meta.xml file located inside the "apps / USBLoader" folder of the SD card
Open the directory indicated on the SD card and drag the "meta.xml" file you just downloaded from the web into it. Confirm that you want to overwrite or replace the existing file when prompted.
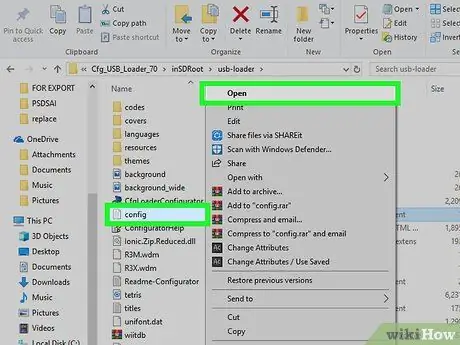
Step 9. Open the "sample_config.txt" file
Its contents will be displayed in the browser window of the computer.
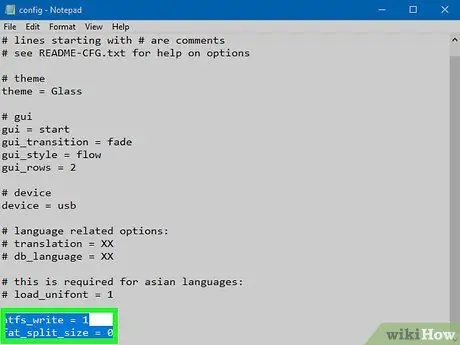
Step 10. Add the following two lines of text to the end of the file content
Make sure you put each in a new line of text and place them at the end of the existing content.
- ntfs_write = 1
- fat_split_size = 0
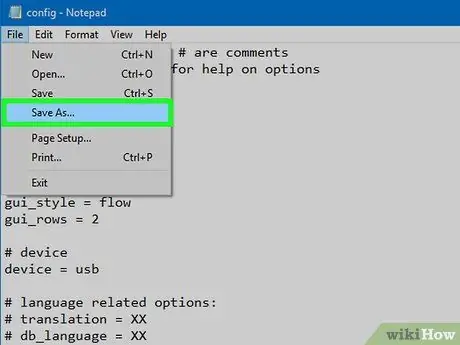
Step 11. Click on the "File" menu, choose the "Save As" option and rename the file with the name "config.txt"
This will create a new active configuration file and make sure the USB Loader will use the new configuration settings.
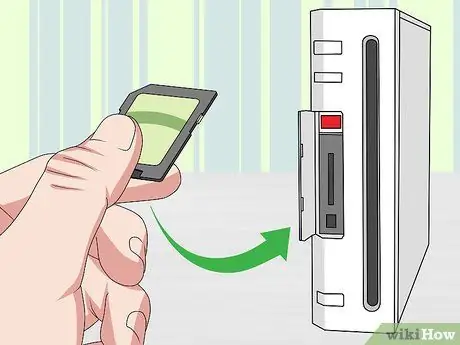
Step 12. Remove the SD card from your computer's reader and insert it into the appropriate slot on the Wii, then start the Homebrew Channel
The program will automatically read the contents of the SD card and allow you to install the programs inside.
- Make sure you have removed any GameCube memory cards that are present.
- Also check that the Wii is properly connected to the internet, so that it is able to download all the necessary files for installation.
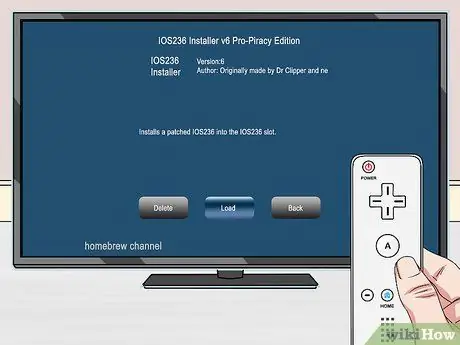
Step 13. Select the item "IOS236 Installer v6" and click on the "Upload button
" The installation process will start and a large number of lines of text will appear on the screen.
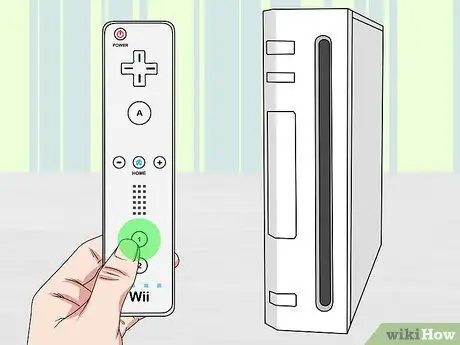
Step 14. Press the "1" button of the WiiMote to start the installation of the IOS236 software
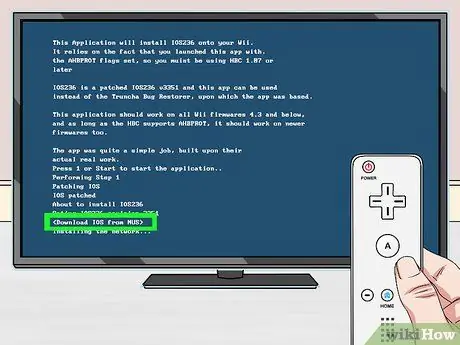
Step 15. Select the "" option when prompted
This will download all the necessary files.
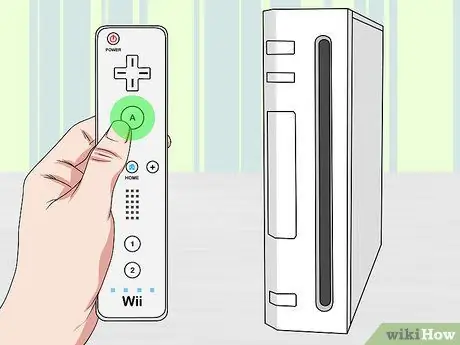
Step 16. Press the "A" button when prompted to install
The files will be installed on the Wii. This step should only take a few moments to complete.
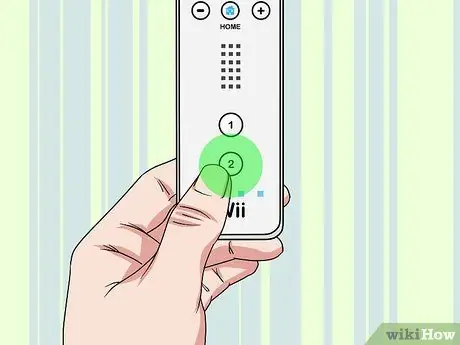
Step 17. Press the "2" button to complete the installation
Regardless of the purpose for which you are installing this modified firmware, do not press the "1" button on the controller.
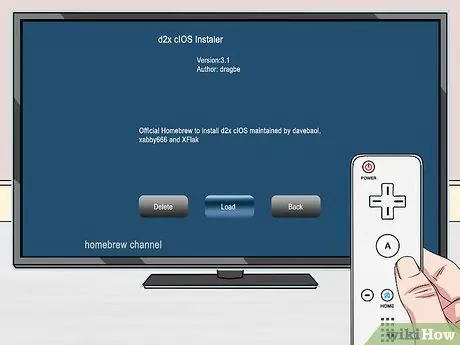
Step 18. Log back into the Homebrew Channel and select the "D2X cIOS Installer" option
Press the "Upload" button to start the installation.
When you see the warning screen appear, press any button to continue
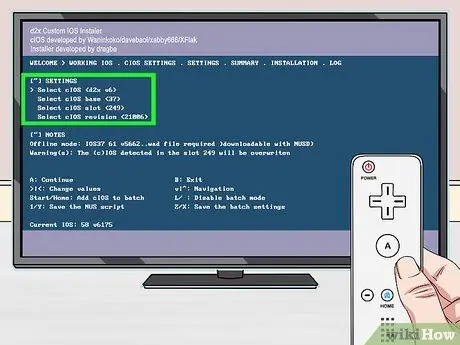
Step 19. Configure the installation
Use the text menu at the top of the screen to configure the program installation settings:
- Select the "" option from the "Select cIOS" menu;
- Choose the item "" from the "Select cIOS base" menu;
- Select the value "" from the "Select cIOS slot" menu;
- Choose the parameter "from the" Select cIOS revision "menu.
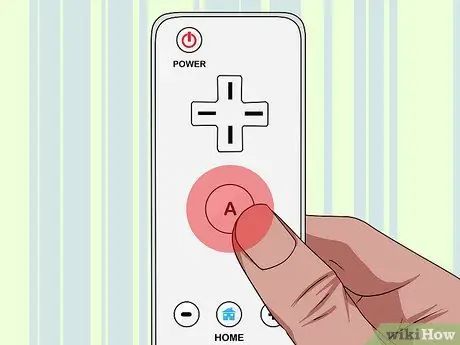
Step 20. Press the "A" button on the controller to start the installation, then highlight the "Slot 248" option and press the "A" button again
This will start the installation of the "d2x" software with the configuration settings you just indicated. This step may take some time to complete.
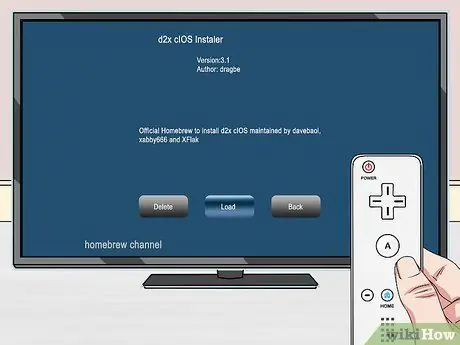
Step 21. Run the "D2X cIOS Installer" program again from the Homebrew Channel
At this point you will have to reinstall the program in question by changing some configuration parameters.
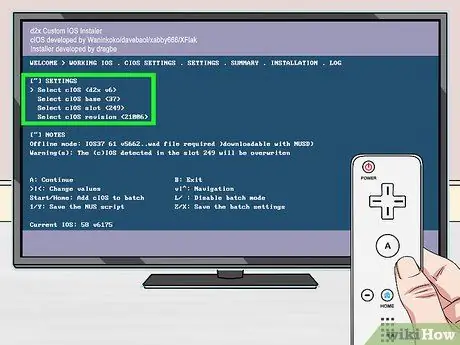
Step 22. Configure the installation again using slightly different settings than in the previous step:
- Select the "" option from the "Select cIOS" menu;
- Choose the "" item from the "Select cIOS base" menu;
- Select the value "" from the "Select cIOS slot" menu;
- Choose the parameter "from the" Select cIOS revision "menu.
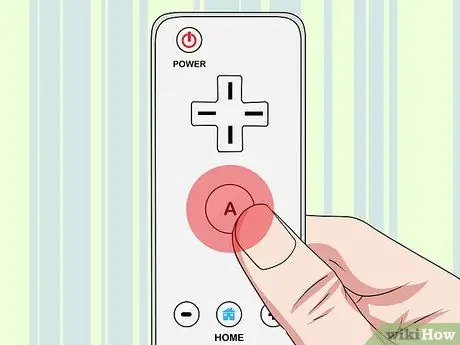
Step 23. Press the "A" button on the controller to start the installation, then highlight the "Slot 247" option and press the "A" button again
This will start the installation of the "d2x" program again, but this time inside slot 247. Before you can use the USB Loader you need to install the "d2x" software on both slots indicated.
Part 3 of 4: Making and Using Backup Copies of Video Games
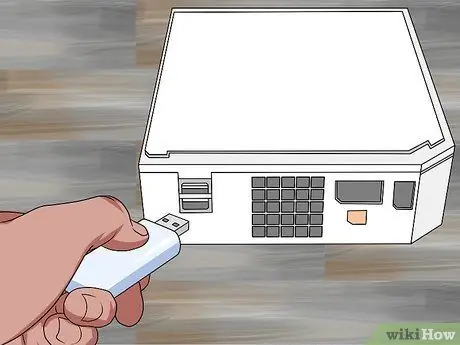
Step 1. Connect the external USB memory drive you formatted (hard drive or USB stick) to the Wii
Perform this step before starting the "CFG USB Loader" program for the first time. Use the USB port located in the part inferior of the rear side of the Wii.
If the Wii asks you to format the newly connected memory drive, choose the "Cancel" option. If you chose the "Format" option, you would have to reconnect the drive to your computer and format it again with the FAT32 file system
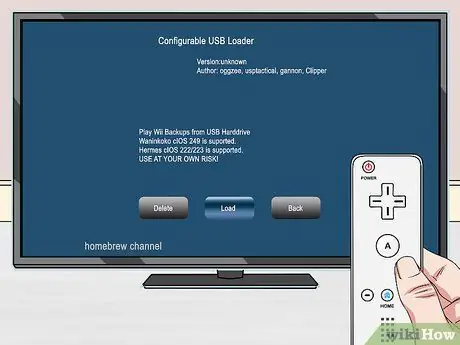
Step 2. Enter the Homebrew Channel and select the "Configurable USB Loader" option
Click on the "Upload" button to start the program.
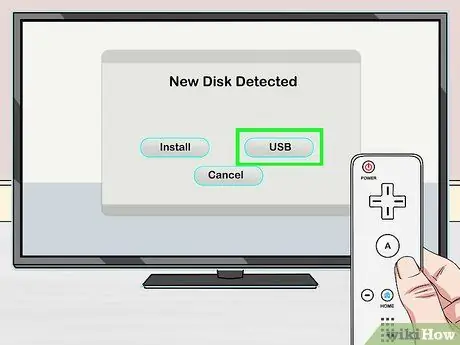
Step 3. Choose the "USB" option when prompted
In this way the "CFG USB Loader" program will be configured to read game backup files directly from the USB drive.
When prompted, choose the partition to use. There should be only one choice available. Select the only active partition to be able to continue
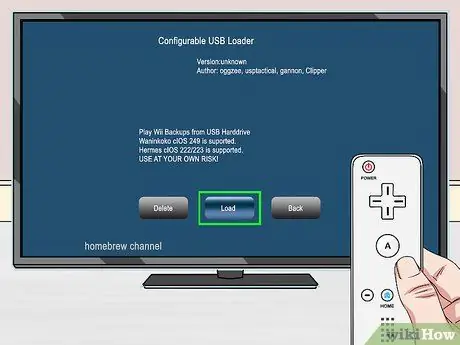
Step 4. Make sure you select the "IOS 248" program and launch it
This will start the USB Loader with the configuration settings you have chosen.
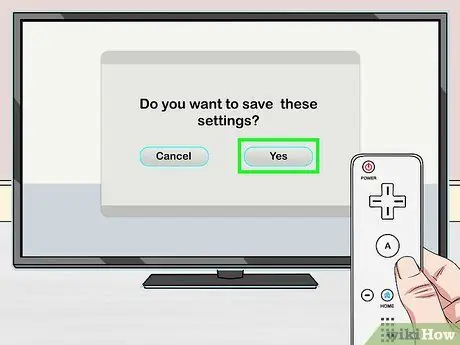
Step 5. Save your settings
At this point, save the settings of the device and of the "IOS" program, so as not to have to specify them again each time you use them:
- Place the Wii pointer at the bottom of the screen to open the main menu;
- Select "Settings" and "System" in succession;
- At this point choose the "Save settings" option.
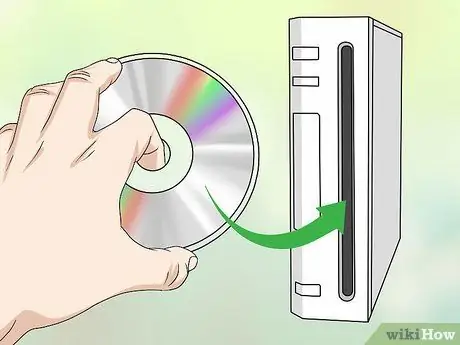
Step 6. Insert the disc you wish to copy into the Wii player
You can make a backup copy of any Wii or GameCube video game using the "CFG USB Loader" program. After inserting the disc into the console, the corresponding game will appear in the program interface.
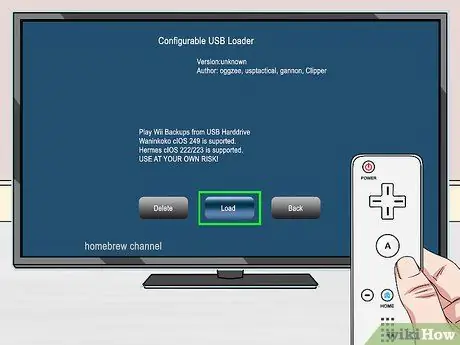
Step 7. Start the "Configurable USB Loader" program if you have not already done so
To create the image file of the game in question and store it in the USB drive connected to the Wii, you will need to use the homebrew program indicated.
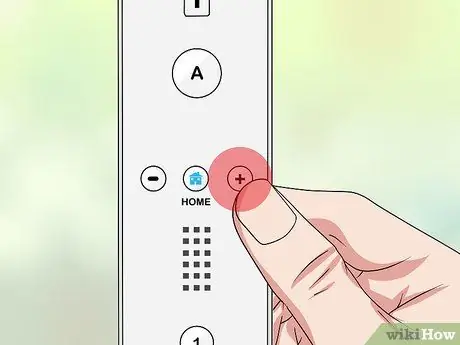
Step 8. Press the "+" button of the main menu of the "CFG USB Loader" program
The installation screen for the video game in the console player will be displayed.
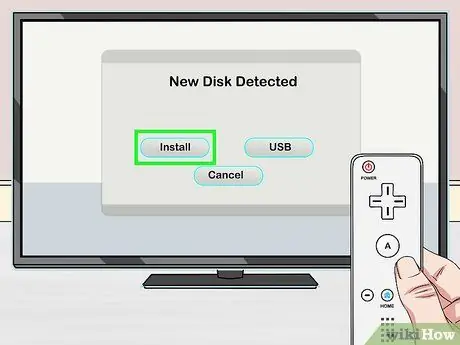
Step 9. Click on the "Install" option
This way all the video game files will be transferred to the USB drive connected to the Wii. This step may take some time to complete, especially with the newer, more full-bodied titles.
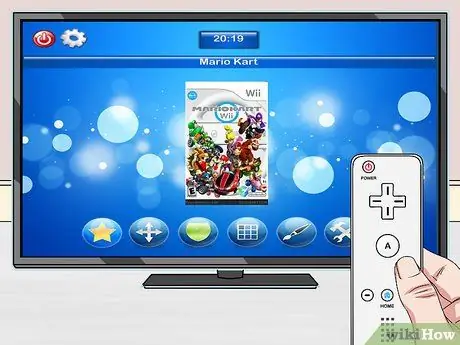
Step 10. Select one of the games installed and listed in the "CFG USB Loader" program menu
After installing several video games, the corresponding icons will appear in the user interface of the "CFG USB Loader" program. Select the one you prefer to be able to view detailed information or start the game.
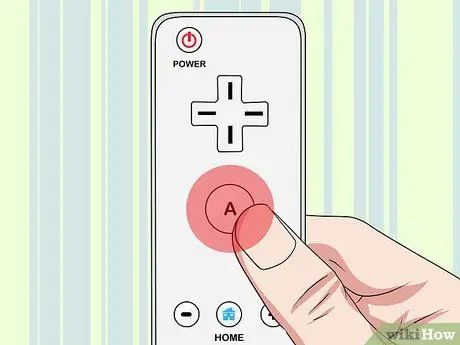
Step 11. Press the "A" button on the controller to start the selected game
After selecting the video game you want to play, press the "A" button to start it. As your chosen title loads you will see several lines of text appear on the screen, after which you can play as you normally would.
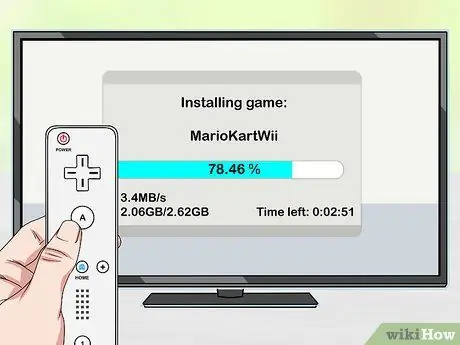
Step 12. Continue installing new games
You can create backup copies of video games using any type of disc, original and burned. All the games you copy will be stored inside the USB drive connected to the Wii and you can use them without the need to insert the corresponding DVD in the player.
Part 4 of 4: Burn Video Games to DVD
Step 1. Consider using the "CFG USB Loader" program to run your copied games instead of burning them to physical optical media (DVD)
Apart from the obvious advantages offered by the "CFG USB Loader" program and the external USB memory drive, in terms of ease of use, the most modern Wii models are unable to read DVD-R discs. This means that burned game discs can only be used on Wiis that were produced before 2008.
If you download Wii games from the web, you can simply copy them to the USB memory drive you have dedicated to the Wii, after which the CFG USB Loader program will automatically detect them and load them into its library. This way you don't need to burn games to DVD to play them on the Wii
Step 2. Get the image files (ISO or WBFS) of the Wii games you are interested in
If you prefer to burn games to a physical disc rather than using the "CFG USB Loader" program, you will need to get the ISO image of all the titles you want to play. In order to achieve your goal you can use two methods:
- The ISO files for Wii and GameCube games can be downloaded directly from the web via many torrent sites. Read this article for more details on how torrents are used to download video games and other content. However, remember that downloading games from the web whose physical disc you have regularly purchased from the web is illegal in most countries of the world.
- If you followed the instructions described in the previous steps of the article, you can burn your DVDs using the image files on the external storage drive connected to the Wii. Connect the USB drive in question to your computer and access the folder named "games". The name of the individual games corresponds to their "GAMEID", so do a Google search to find out which file to use for burning. Once you have located it, simply drag and drop the file under consideration to your computer. The copying process may take some time.
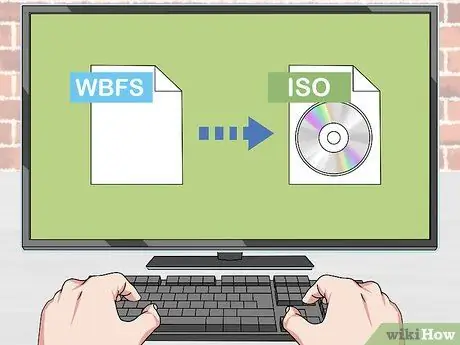
Step 3. Convert the image files you copied to your computer from the Wii USB external memory drive
If you have created copies of the games using the Nintendo console directly and then transferred them to your computer, you will notice that they are in WBFS format. Before you can burn the files to a DVD you will need to convert them to ISO format:
- Visit the wbfstoiso.com website and download the free conversion program. At the end of the download, run the installation file and follow the instructions that will appear on the screen. It is a safe program free of any adware.
- Start the "WBFS to ISO" program and select the WBFS file to convert. Click on the "Open" button to be able to perform this step.
- Click on the "Convert" button to convert the file. This stage may take some time to complete. The resulting ISO file will be stored in the same folder as the original WBFS file.
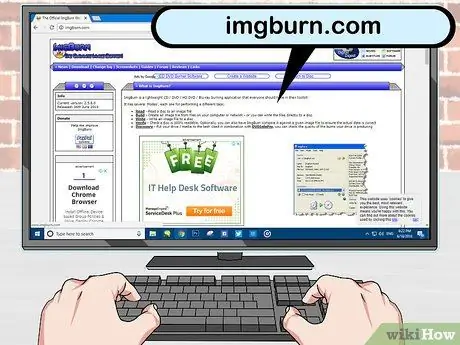
Step 4. Visit the imgburn.com website and download the ImgBurn program
It is a software that allows you to burn ISO files to disc (DVD - / + R). Download the installation file of the latest version available directly from the official website of the program.
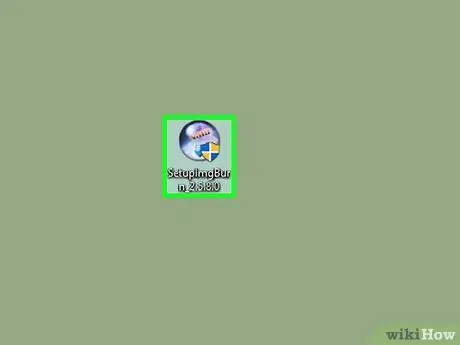
Step 5. Start the ImgBurn installation procedure
Double-click the installation file icon to start the process.
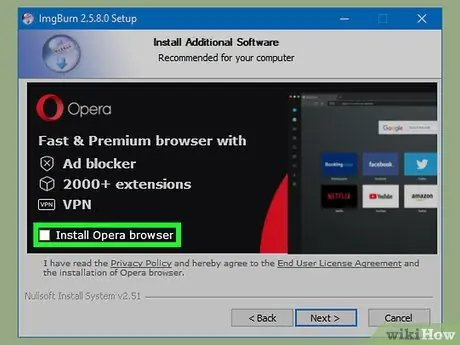
Step 6. Uncheck the check button for installing the "Ask Toolbar"
After choosing where to install ImgBurn, the "Ask Toolbar" installation screen will appear. In this case, be sure to deselect all check buttons on this screen before continuing.
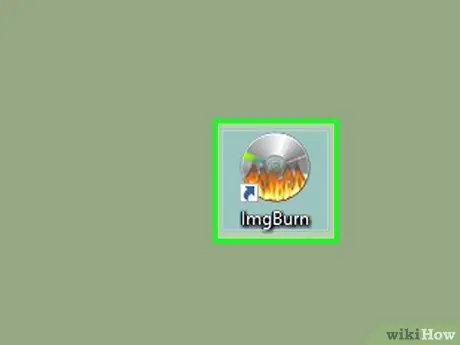
Step 7. Start ImgBurn after the installation is complete
To start the program, use the shortcut icon that appeared on your computer desktop.
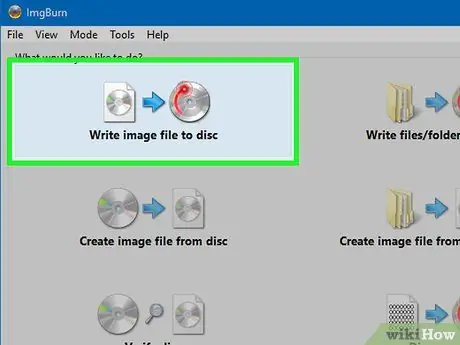
Step 8. Select the "Burn an Image" option from the ImgBurn main menu
The screen from which you can burn ISO files to DVD will appear.
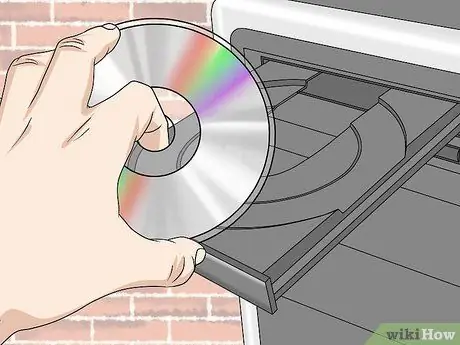
Step 9. Insert a blank DVD +/- R into your computer's DVD burner
To allow ImgBurn to burn an ISO file to disc, your computer must be equipped with a burner. Remember that all Wiis made from 2008 onwards cannot read burned DVDs.
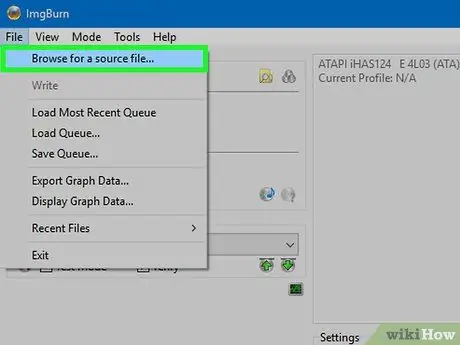
Step 10. Select the Wii game ISO file as "Source"
Click on the "Browse" button to access the folder on your computer where the ISO file is stored or simply drag it into the program window.
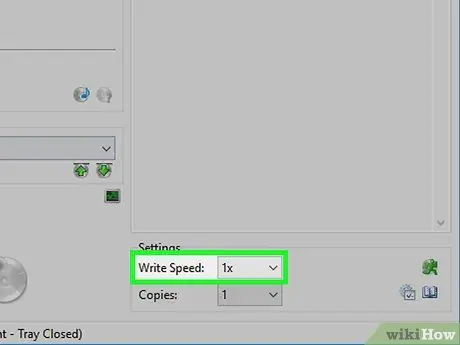
Step 11. Select a limited data writing speed
To make sure that the process of writing data to the disc goes well without errors, set the burner to use a very low write speed, for example "1X". This will take longer to burn the disc, but will minimize the likelihood of it crashing due to an error.
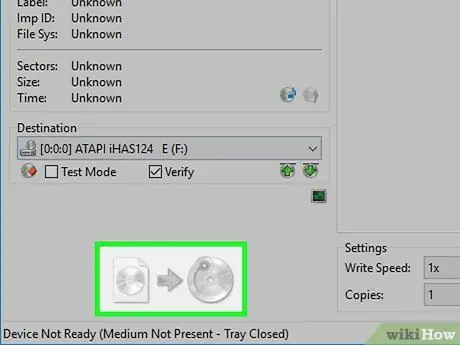
Step 12. Click on the button to start burning located in the lower left corner of the ImgBurn window
The ISO file will be copied to the DVD.
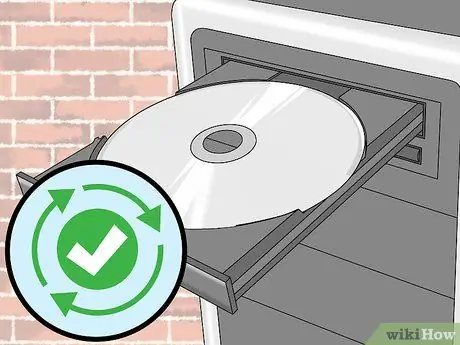
Step 13. Wait for the burning process to complete
This step may take some time to perform, especially in the case of large modern games. At the end of the creation process, the disc will be automatically ejected from the computer player.
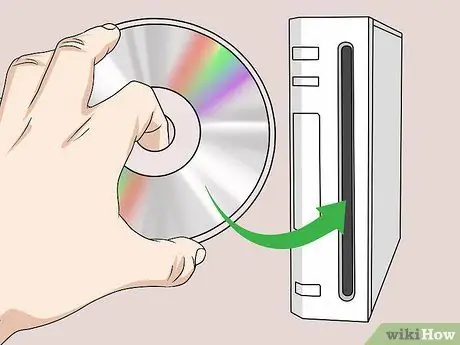
Step 14. Import the game into the "CFG USB Loader" library
When the burned DVD is ready, you can add it to the Wii USB Loader library. This way you can play it whenever you want without having to install additional programs. If you need more details, please refer to the previous section of the article.


