There is nothing worse than losing a Word document that you have been working on for hours due to a cable coming off or a power failure. Fortunately, Microsoft offers many methods to recover documents that were not saved correctly. Follow this guide to check all possible backups, scan your entire computer, and install data recovery programs.
Steps
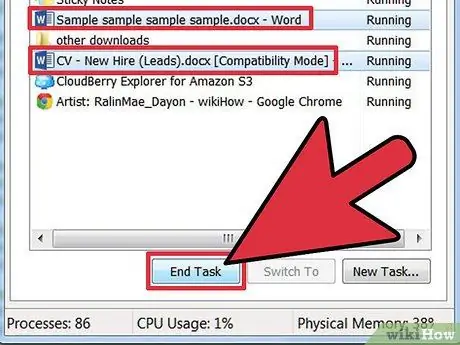
Step 1. Close all Word windows and restart it
Use the Task Manager to close all open windows. When you restart Word, a pane will appear on the left where you can view all the lost files that have not been saved. Choose the file you want from the list and save it.
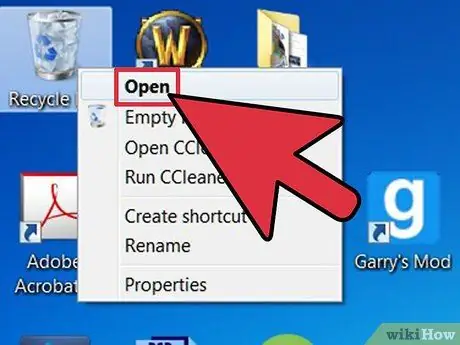
Step 2. Check the Recycle Bin
Files are placed in the Recycle Bin before they are permanently deleted from the system. You can restore all the files inside the Recycle Bin by right clicking on them selecting Restore.
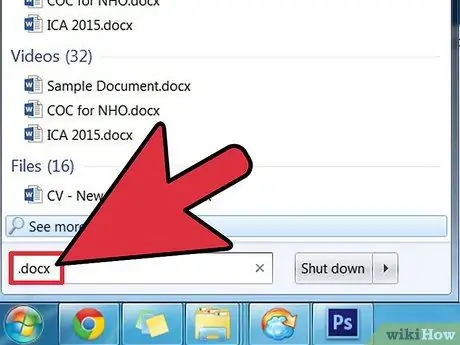
Step 3. Search for the original document
Click the Start button and type the file name in the Search field. On Windows 8, start typing the file name on the Start Screen, and then select File from the right menu.
You can search all Word documents on your computer by typing *.doc (Word 2003 and earlier) or *.docx (Word 2007 and later) in the Search field.
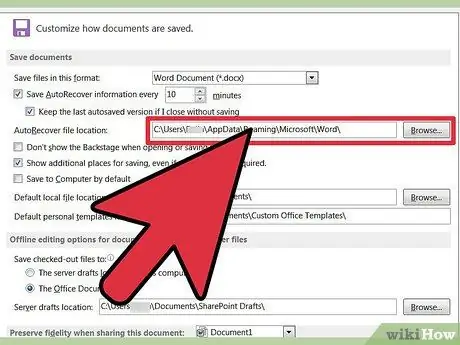
Step 4. Search for backup files
If you have enabled Word backups, you can search the backup files to find the missing document. In Word, click on File and then select Open. In the "File Types" menu, select All files.
- Go to the folder where the document was. Select the backup file and click Open.
- You can also search for all Word backup files on your computer by typing *.wbk in Windows Search.
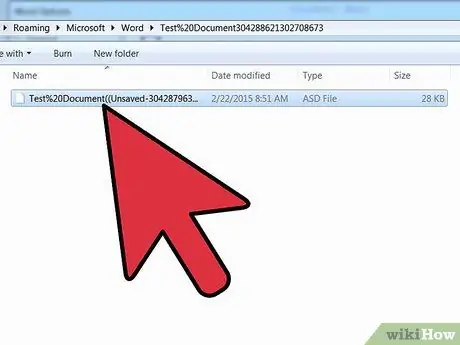
Step 5. Search for AutoRecover files manually
If no files appear in the left pane when you open Word, you can manually search for them in AutoRecover files. In Word 2010, click on the File menu and select Recent. At the bottom of the menu, select Recover Unsaved Documents. Search for the file you want among those present.
For all other versions of Word, search your computer for files *.asd, using the same method as in step 3.
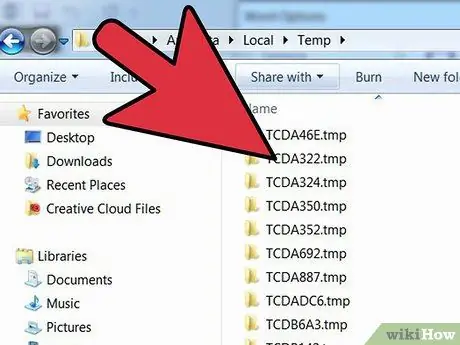
Step 6. Search for temporary files
In addition to the AutoRecover and backup files, you may be looking for your document in your computer's temporary files folder. Search for files *.tmp. The file will not have the same name as the original document, so browse the list of results until you find the date and time you last modified the file.
- Word temporary files typically start with ~, so you can include that character in your search.
- When you find a temporary Word file, you may need to repair it.

Step 7. Use a data recovery program
If all other options didn't work, you can try using a data recovery program to find the document. There is no guarantee that the document can be recovered, but you may be lucky.


