To tag a face in Google Photos, click or press the search field, then select a face. At that point you can write a name and easily find all the images of that person. You can change the labels at any time, delete them and group similar faces under the same label. You will also be able to hide some faces from the search results! Learn how to use Google's Face Grouping feature to improve your Google Photos searches.
Steps
Part 1 of 5: Label Faces from the Mobile App
Step 1. Press the Google Photos icon
Upon opening the program, you will see the list of your photos.
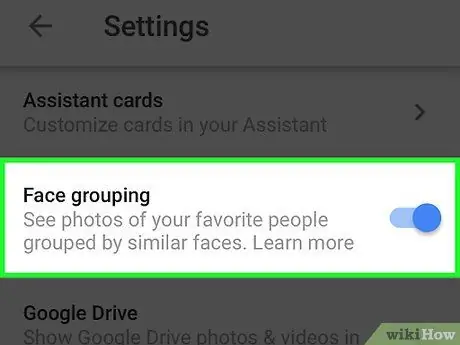
Step 2. Make sure Face Grouping is active
Otherwise, you won't have the ability to group photos based on people's faces.
- Press the ☰ menu and go to "Settings";
- Make sure the "Face Grouping" button is set to On (you can turn it off at any time);
- Press the back arrow to return to Photos.
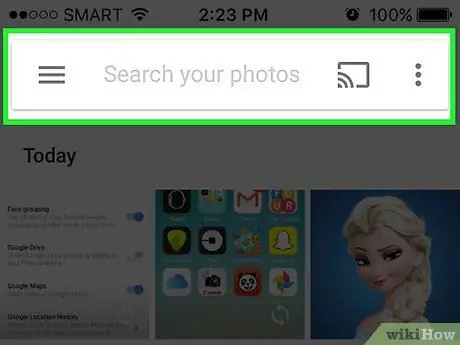
Step 3. Press within the search field
The search menu will open, containing a row of small face photos.
If you don't see any faces, this feature is not available in your country
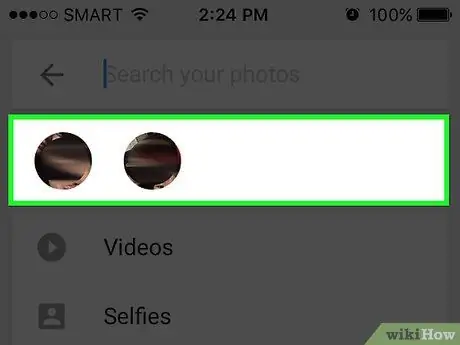
Step 4. Press the right arrow to view all faces
You will now see all the faces identified by Google in your photos.
Don't be alarmed if you see two photos of the same person in this list; later you can group them

Step 5. Press a face to be labeled
A new screen will appear, with that person's face at the top and the words "Who is it?" immediately below.
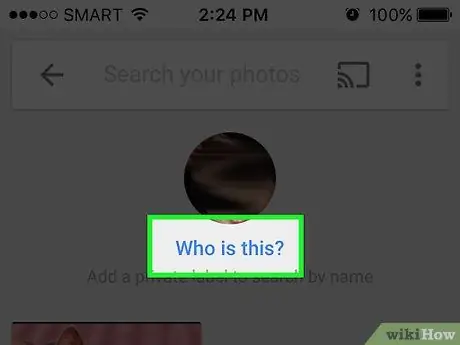
Step 6. Press "Who is it?
The "New Name" text field will appear, as well as a list of contacts to choose from.
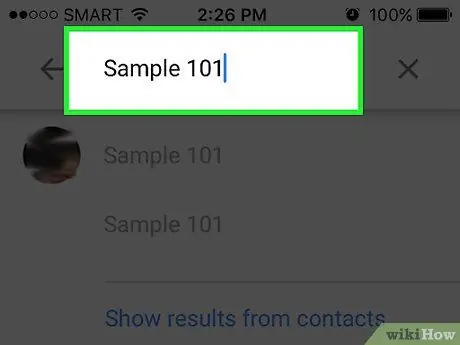
Step 7. Type or select a name
Since the labels are only there to help you search through the photos, no one will be able to see them but you.
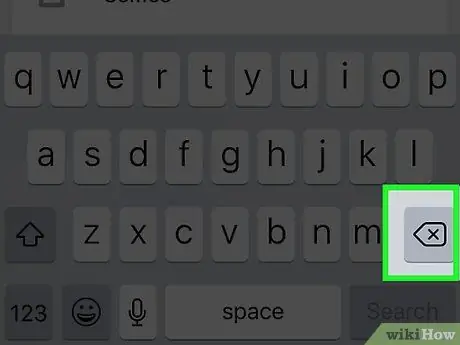
Step 8. Press the check mark or "Enter" on your keyboard
The name will be applied as a face tag.
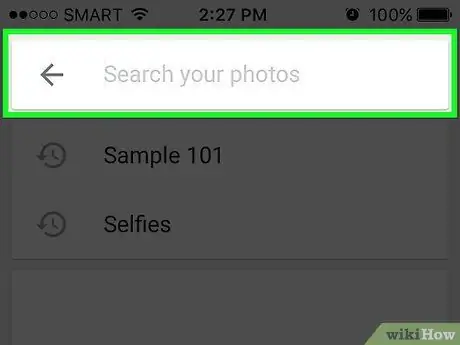
Step 9. Press in the search field
If you've seen more than one icon of that person's face appear, group them together by assigning them all the same label. You will see the face icons reappear.
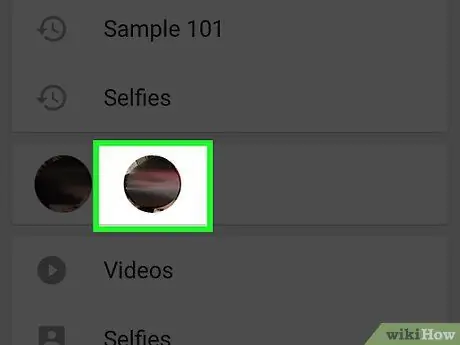
Step 10. Press another photo with the person's face
You will see the "Who is it?" in the upper left corner of the screen.
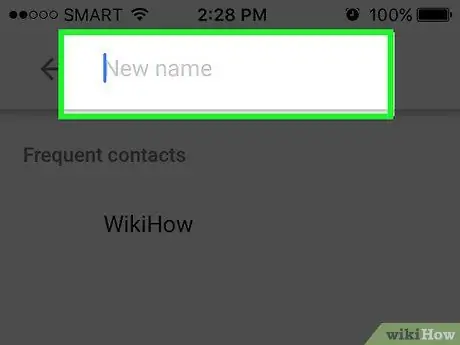
Step 11. Enter the same label you used earlier
That person's face tag and icon will appear in the search results.
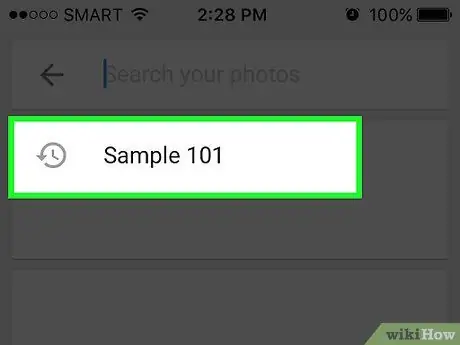
Step 12. Press the label in the search results
A window will pop up, asking "Is this the same person?". Both faces (of the same person) will appear under the sentence.
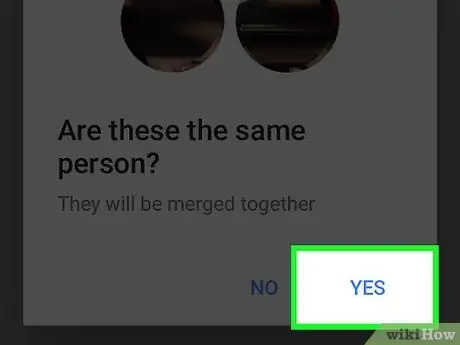
Step 13. Press "Yes"
Both faces are now assigned to the same label, so when you search for it, Google will associate both face icons with that search term.
You may have to repeat this process many times for the same person
Part 2 of 5: Label the Faces from the Website

Step 1. Visit
You can use Google's Face Grouping feature to label similar faces and consequently find an image by searching for a person's name. If you haven't already signed in to Google Photos, do so now.
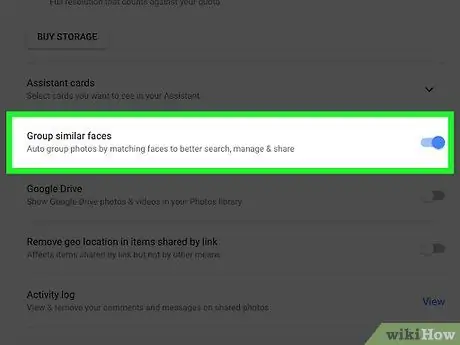
Step 2. Make sure Face Grouping is active
Before you can tag faces and group them, you need to check that the feature is turned on (and available in your country).
- Click the "…" menu on the left side of the screen;
- Click "Settings";
- Make sure the "Group similar faces" button is set to On. If you don't see this option, the feature is not available in your country;
- Click the browser back button to go back to your photos.
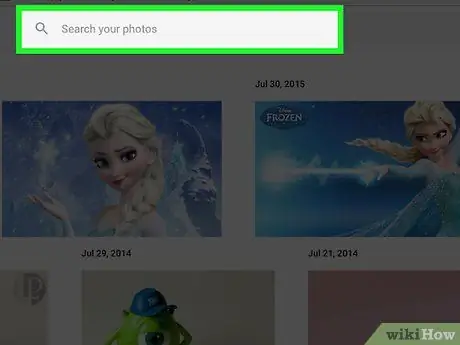
Step 3. Click the search field
A list of face icons will appear at the top of the extended search menu. If you don't see an image of a face you want to label, click the right arrow to view more.
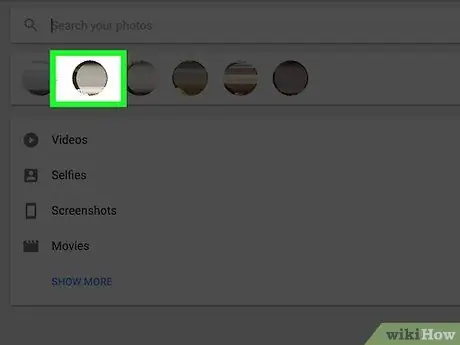
Step 4. Click a face to label
Don't worry if you see the same person appear multiple times; later you can group the icons.
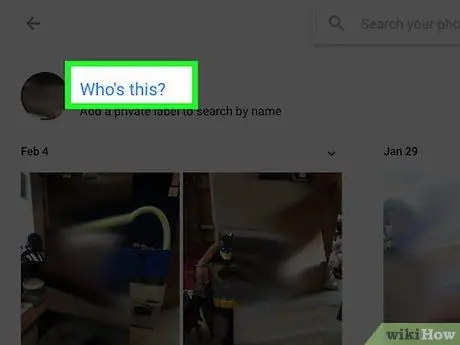
Step 5. Click "Who is it?
in the upper left corner of the screen. You will see the option to write within the field or to select a name from the list that opens.
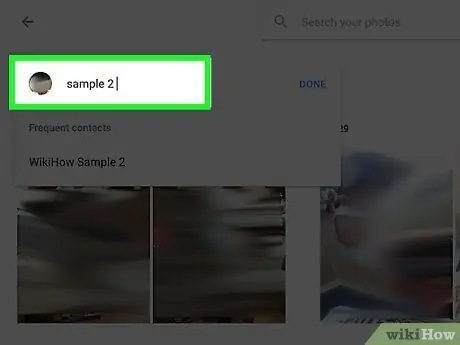
Step 6. Type or select a name
No one will be able to see it but you, even if you choose a full name from your contact list.
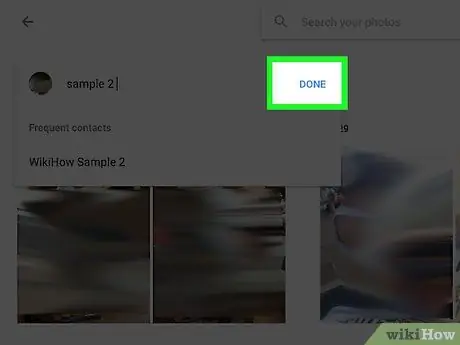
Step 7. Click on "Done"
Now when you search for the chosen name, the photos with that person will appear in the results.
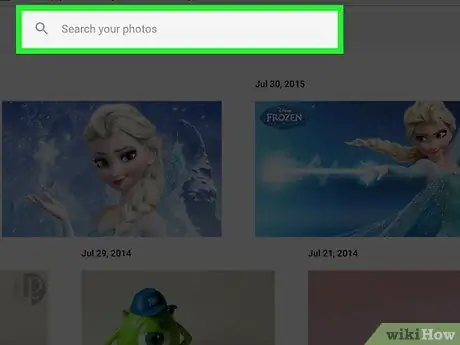
Step 8. Click in the search field
If you've seen a person appear more than once among the icons, group them by assigning them all the same label. You will see the face icons reappear.
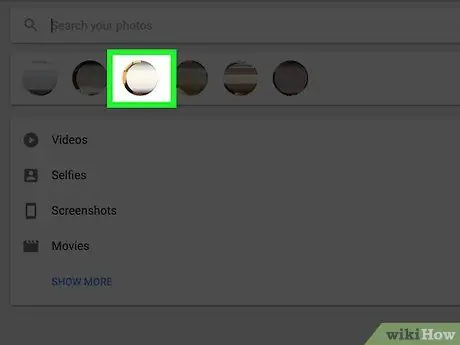
Step 9. Click on another photo that contains the person's face
You will see the "Who is it?" in the upper left corner of the screen.
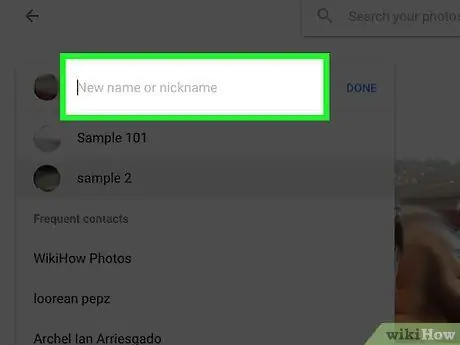
Step 10. Enter the same label you indicated earlier
The person's face label and icon will appear in the search results.
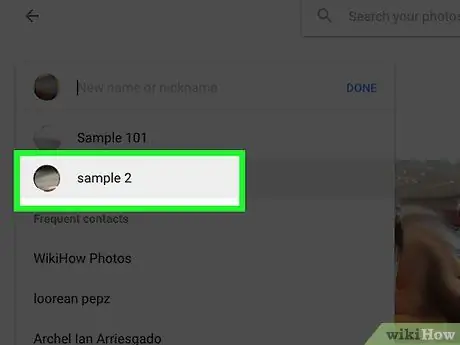
Step 11. Click the label in the search results
A window will pop up asking "Is this the same person?". Both faces (of the same person) will appear under the sentence.
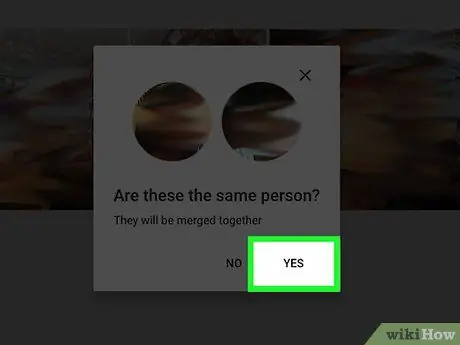
Step 12. Click "Yes"
Now both faces are assigned to the same tag, so when you search for it, all the photos that Google associates with the two face icons will appear.
You may have to repeat this several times for one person
Part 3 of 5: Deleting Images from a Label
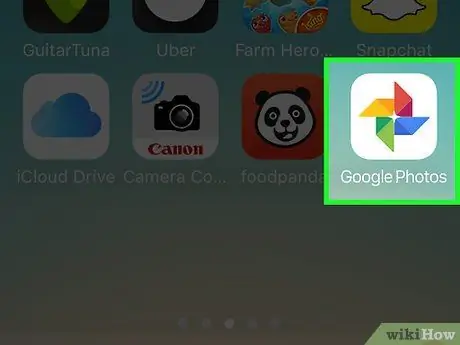
Step 1. Open Google Photos on your device
To get started, open the Photos app on your mobile or by visiting https://photos.google.com with a browser.
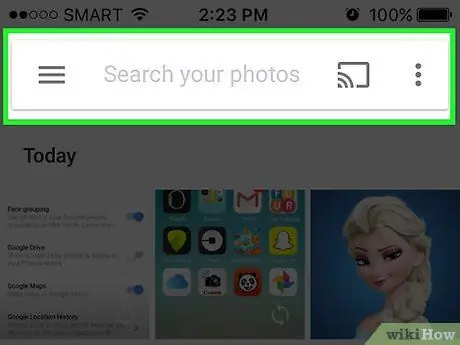
Step 2. Type the label in the search field
You should see it appear as the first search result.
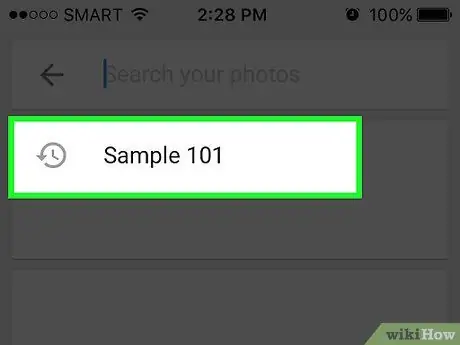
Step 3. Select the label from the search results
You will see the page of that tag appear and inside all the photos associated with it, including the ones you want to delete.

Step 4. Click the ⁝ menu in the upper right corner of the page
A small menu will appear.
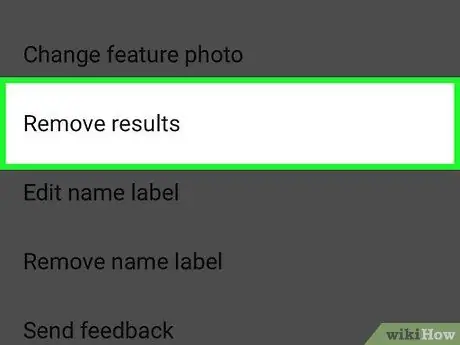
Step 5. Select "Remove Results"
A circle will appear in the upper left corner of each photo. This way you can select multiple images at the same time if you want.
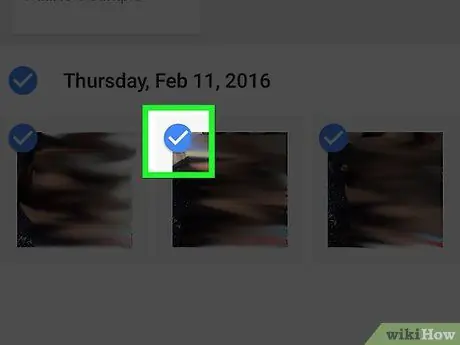
Step 6. Click or press the circle to select the photos to remove
Do this for all the images you want to delete.

Step 7. Click or press "Remove"
This button is located in the upper right corner of the page. Once clicked, the tag will be removed from the photo.
Part 4 of 5: Rename or Delete a Label
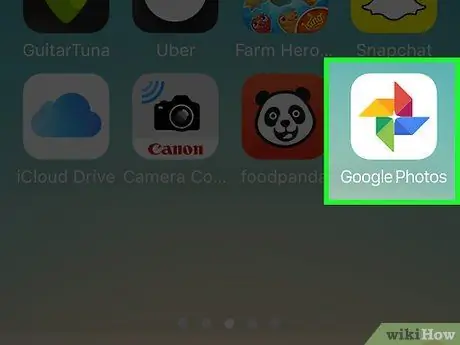
Step 1. Open Google Photos
To get started, open the app on your mobile device or visit https://photos.google.com with a browser.
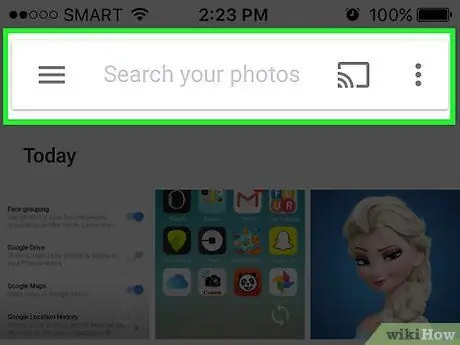
Step 2. Type the label in the search field
You should see it appear as the first result.
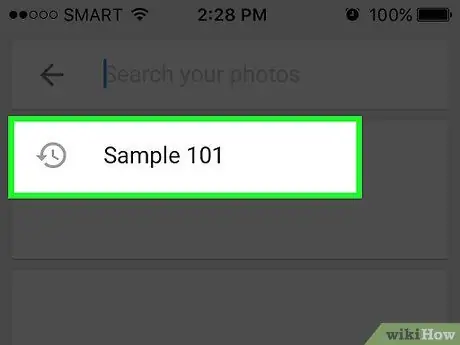
Step 3. Select the label from the search results
The tag page will open, containing all the photos associated with it.

Step 4. Click the ⁝ menu in the upper right corner of the page
A small menu will appear.
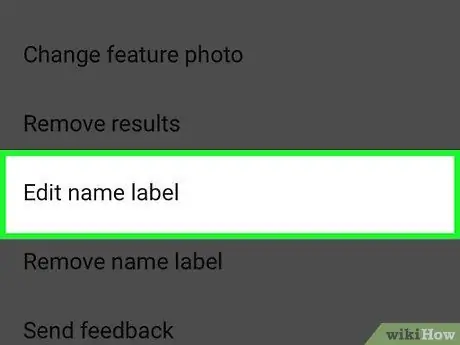
Step 5. Select "Edit Label Name" to rename it
If you want to choose a new name:
- Delete the current name;
- Write the new one;
- Press the back arrow to save the changes.
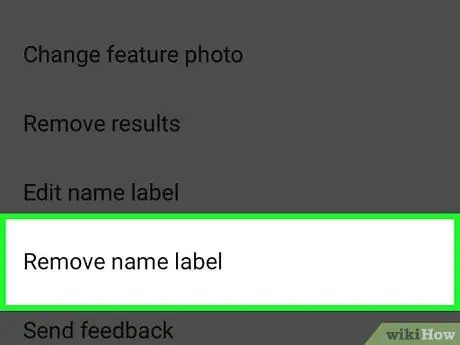
Step 6. Select "Delete Label Name" to delete it
The photos will not be deleted, only the label.
The next time you search for something in Google Photos, you will notice that the face that was once associated with the tag now appears again in the list of unlabeled faces. You can add a new one at any time
Part 5 of 5: Hiding Faces from Search Results
Step 1. Open Google Photos
You can decide to hide all photos that contain a certain face or that don't have a tag. Use this method if you don't want to see images of a certain person in your search results.
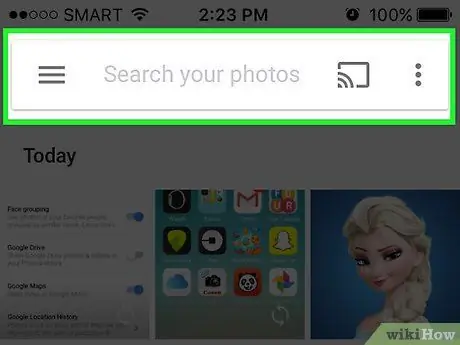
Step 2. Click the search field
The menu will appear and you will see the list of faces at the top.
Step 3. Click or press the right arrow to view all faces
In addition to seeing faces, the ⁝ icon will also appear in the upper right corner of the screen.

Step 4. Click the ⁝ icon and select "Hide and Show People"
If you are using the web version of the app and not the mobile version, the option has the name "Show and hide people".

Step 5. Click a face you want to hide
You can do this for all the people you don't want to see at the moment.
- To hide more than one face, click or press multiple faces in the list.
- You have the option to view the person again by returning to this page and clicking on their face.

Step 6. Click "Done"
This button is located in the upper right corner of the screen. Now when you search for photos, you will not see the face of the person you indicated in the search results.
Advice
- In some photos, location data is saved within the image. Try searching for a city name on Google Photos to view images taken there.
- To view all the videos in your Google Photos account, click in the search field and select "Videos" from the menu.


