To better organize all the photos in the Google Photos library you can use albums. These are virtual containers in which to place all the images that meet certain criteria. Google Photos allows you to add, edit or delete photos in an album at any time you want. Read on to find out how to create and manage Google Photos albums and how to change the order in which images in albums appear.
Steps
Part 1 of 6: Creating an Album
Step 1. Launch the Google Photos app or go to its website
To keep the photos and videos on your Google account tidy, try splitting the content into albums. You can use both the mobile Photos app and the official website.
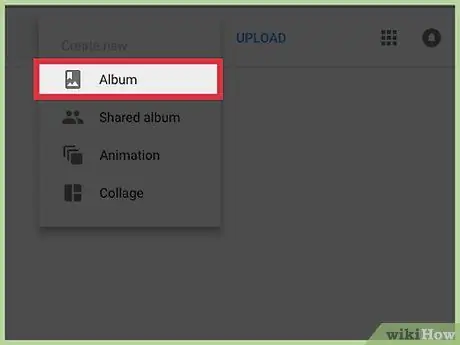
Step 2. Create a new album
The steps to follow differ a little depending on the device you are using:
- Smartphone / Tablet: tap the "⁝" icon and choose "Album" from the menu that appears. The list of photos present will be displayed, each with a small circle in the upper right or left corner of its frame.
- Website: press the "Create" button on the right of the search bar, then choose the "Album" option from the drop-down menu that appears. The list of photos present will be displayed, each with a small circle in the upper right or left corner of its frame.
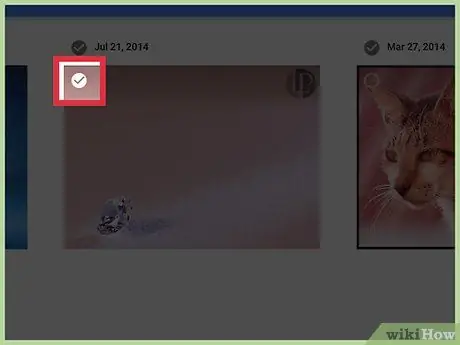
Step 3. Tap or click the small circular badge at the top of a photo to select it
This will automatically add it to the newly created album. You can select as many images as you want (or discard those chosen by mistake).
See this section of the article to find out how to add one or more photos to an existing album
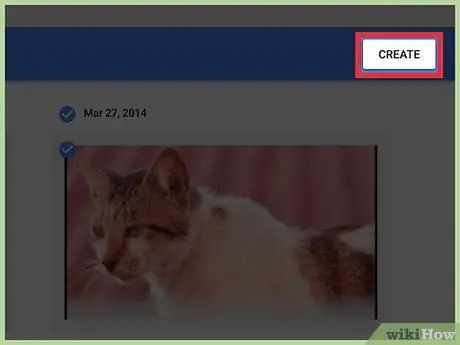
Step 4. Press the "Create" (on mobile device) or "Next" (on web) button
A text field labeled "Untitled" will appear, located at the top of the page above the list of photos that are part of the album.
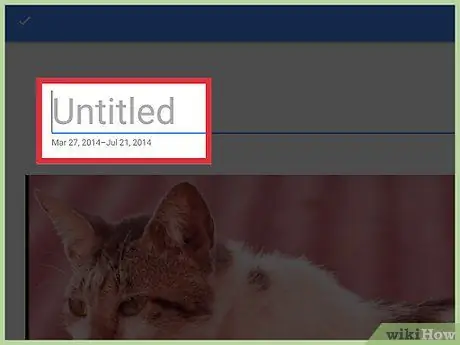
Step 5. Name the new album
You can use whatever name you like. This is private information that no one will be able to see, unless they share the album with other people.
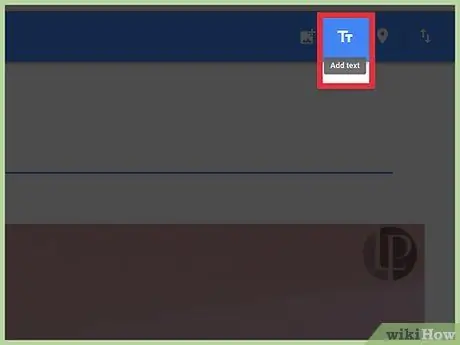
Step 6. To add a description, tap or click the "T" icon
It is located in the upper right corner of the screen. Even the description you assign to the album will remain private information not visible to other users.
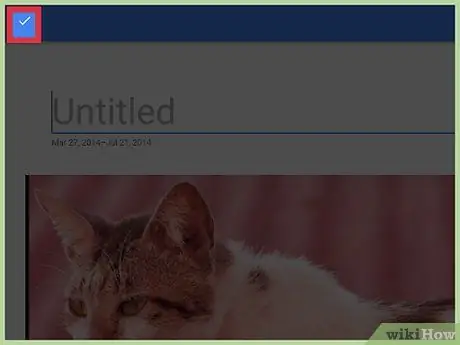
Step 7. To finish creating the album, tap or click the check mark icon
Now the album is ready to be consulted!
To view the complete list of all the albums you have created, access the "Albums" tab by clicking on the relevant icon visible on the right side of the web page or at the bottom of the mobile device screen. It is characterized by a square with a bookmark placed in the upper right corner
Part 2 of 6: Adding Photos to an Existing Album
Step 1. Log in to Google Photos
You can use both the mobile app and the website. This procedure can be done on both platforms.
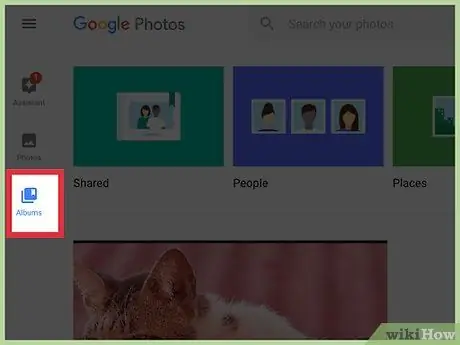
Step 2. Access the "Albums" tab by tapping or clicking its icon
It is located on the left side of the web page or on the bottom side of the mobile device screen. It is characterized by a square with a bookmark placed in the upper right corner. The complete list of all your albums will be displayed.
If you don't see any albums, you haven't created one yet. You can do it now by following these instructions
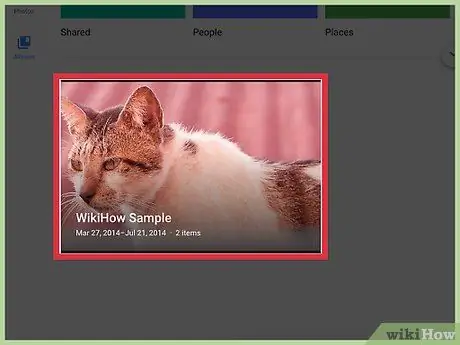
Step 3. Select the album you want to edit by tapping or clicking its icon
The content will be displayed on the screen.
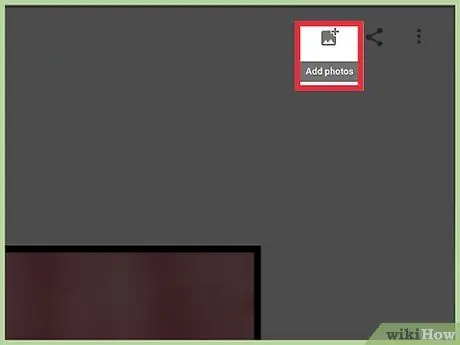
Step 4. Click or tap the "Add Photo" icon
It is located at the top right of the screen and features a stylized photo and a small "+" sign. The list of photos in Google Photos will be displayed (both those already included in the album and those outside the album). All image icons will contain a small circle positioned in the upper left corner.
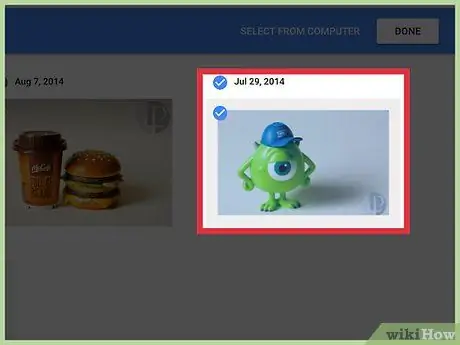
Step 5. Tap or click the icon of the photos you want to add
A check mark will appear inside the small circular badge in the upper left corner of the icon, indicating that the chosen image has been selected. All the photos with the check mark will be added to the indicated album. Again you can select as many items as you want.
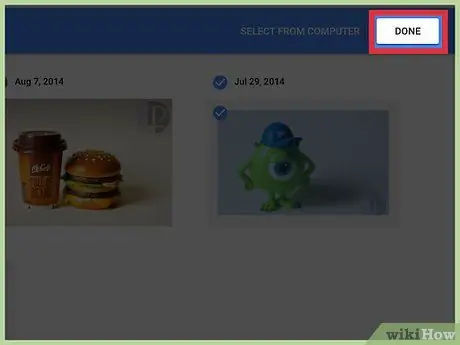
Step 6. Press the "Finish" button
It is visible in the upper right corner of the screen. All the chosen photos will be automatically added to the selected album.
Part 3 of 6: Sorting Photos in an Album
Step 1. Log in to Google Photos
You can reorder the photos in an album quickly and easily using both the mobile app and the website.
To sort photos that are not included in a specific album, see this section of the article
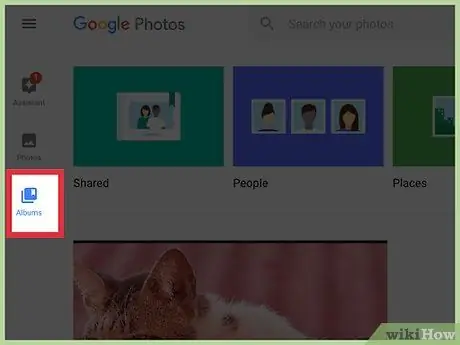
Step 2. Access the "Albums" tab by tapping or clicking its icon
It is located on the left side of the web page or on the bottom side of the mobile device screen. It is characterized by a square with a bookmark placed in the upper right corner. The complete list of all your albums will be displayed.
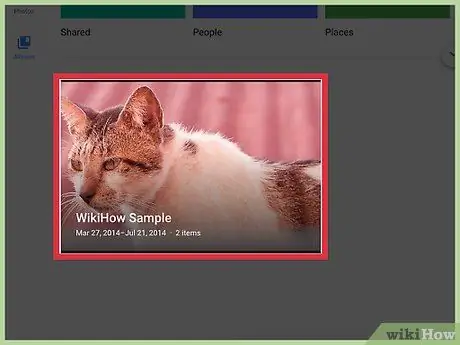
Step 3. Select the album you want to edit by tapping or clicking its icon
The content will be displayed on the screen.
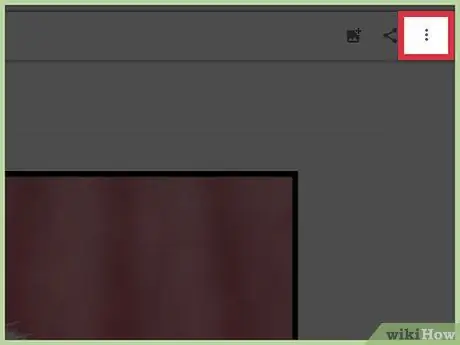
Step 4. Click or tap the "⁝" icon to enter the menu
It is located in the upper right corner of the mobile device screen or web page.
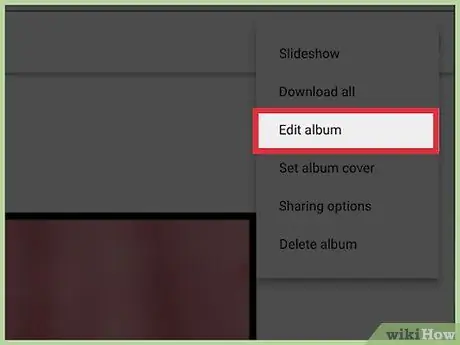
Step 5. Choose the "Edit album" option
This will activate the edit mode. This mode is also indicated by the presence of the toolbar visible in the upper right corner of the screen.
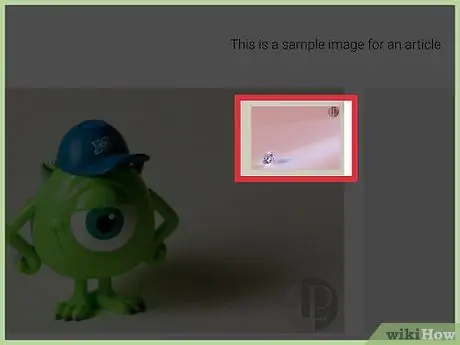
Step 6. Drag the photos to sort them differently
Select individual images to move them to a new location in the album. When you've found the correct place to insert them, simply release the mouse button (or lift your finger from the screen).
You can change the position of as many images as you want, but you will have to do it individually for each element
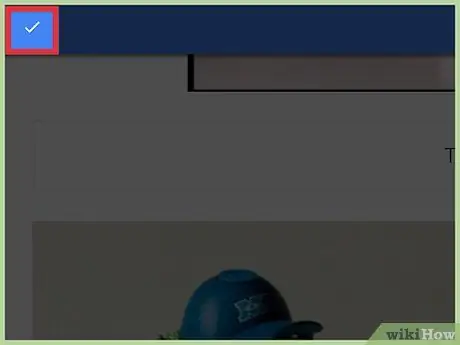
Step 7. Click or tap the check mark icon to save the changes made to the album
The photos will be displayed in the order you set.
Part 4 of 6: Deleting Pictures from an Album
Step 1. Log in to Google Photos
You can delete one or more images from an album (without deleting the album) using both the mobile app and the website.
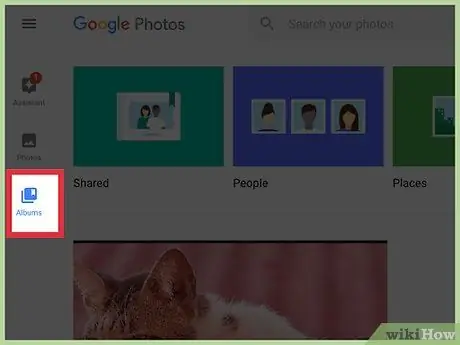
Step 2. Access the "Albums" tab by tapping or clicking its icon
It is located on the left side of the web page or on the bottom side of the mobile device screen. It is characterized by a square with a bookmark placed in the upper right corner. The complete list of all your albums will be displayed.
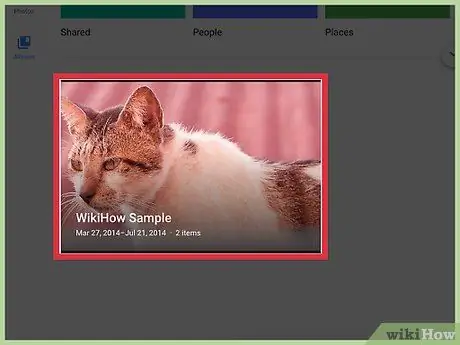
Step 3. Select the album you want to edit by tapping or clicking its icon
The content will be displayed on the screen.
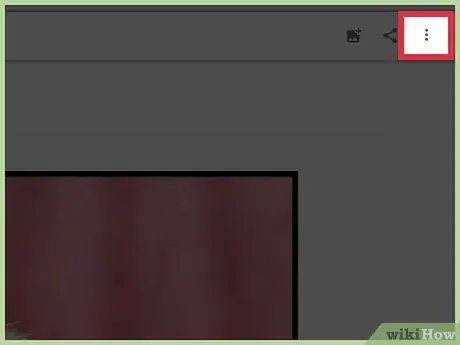
Step 4. Click or tap the "⁝" icon to enter the menu
It is located in the upper right corner of the mobile device screen or web page.
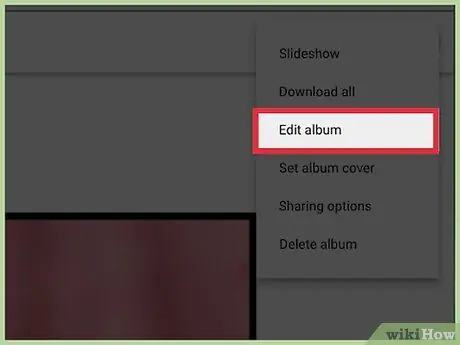
Step 5. Choose the "Edit album" option
This will activate the edit mode. This mode is also indicated by the presence of the toolbar visible in the upper right corner of the screen. A small "X" icon will also appear in the upper left corner of each individual image in the album.
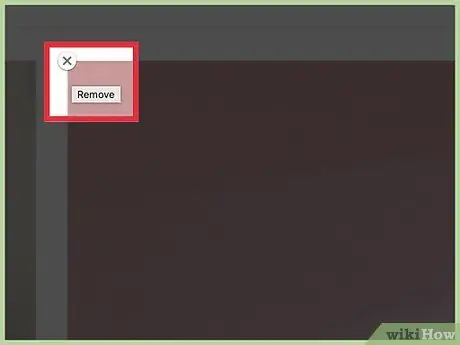
Step 6. Click or tap the "X" icon for the photo you want to delete
The chosen item will be immediately removed from the album. The deleted photo will still be visible within the "Photos" tab of Google Photos.
Part 5 of 6: Deleting an Album
Step 1. Launch the Google Photos app or go to its website
If you no longer need to keep an album, you can delete it without deleting the images it contains. First, log into Google Photos using the mobile app or website.
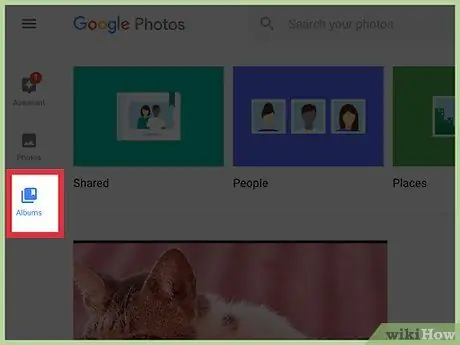
Step 2. Access the "Albums" tab by tapping or clicking its icon
It is located on the left side of the web page or on the bottom side of the mobile device screen. It is characterized by a square with a bookmark placed in the upper right corner. The complete list of all your albums will be displayed.
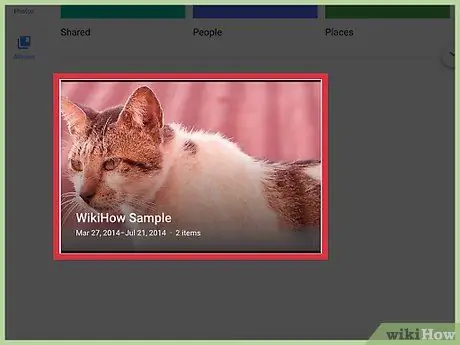
Step 3. Select the album you want to edit by tapping or clicking its icon
The content will be displayed on the screen.
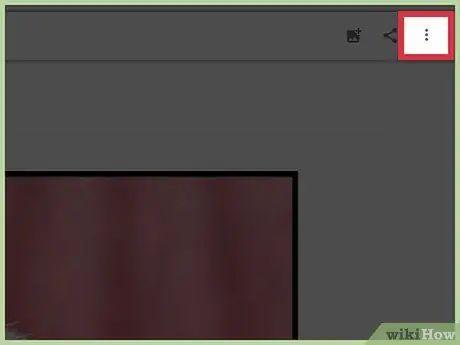
Step 4. Click or tap the "⁝" icon to enter the menu
It is located in the upper right corner of the mobile device screen or web page.
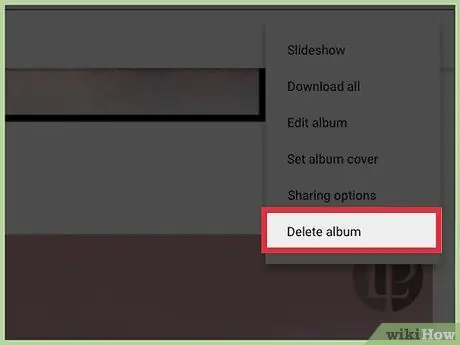
Step 5. Choose the "Delete Album" option
A pop-up window will appear asking you to confirm your action, warning you that once the album in question has been deleted, it cannot be restored. However, remember that the photos in the latter will not be deleted from Google Photos.
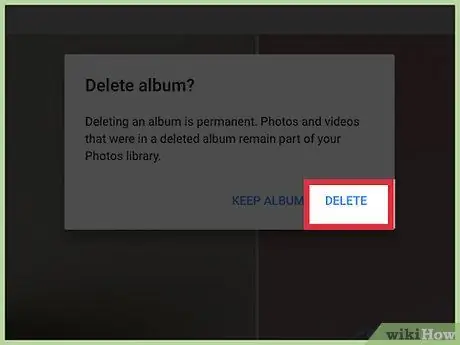
Step 6. Press the "Delete" button
The chosen album will be deleted from your Google Photos account and will no longer be visible within the "Albums" tab.
Part 6 of 6: Sorting Photos by Date and Time
Step 1. Go to the Google Photos website
By accessing the website you will notice that the images in the "Photos" tab are sorted by date and time of upload. To change the order in which they are displayed, simply change the date and time of the individual images. To perform this procedure, you need to use the Google Photos website.
- If you need to change the order of the photos in an album, please refer to this section.
- If you are not signed in to your Google account, you will need to do so now.
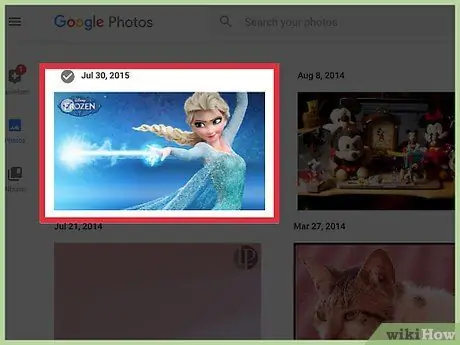
Step 2. Place the mouse cursor over a photo
A small circular badge will appear in the upper left corner of its icon.
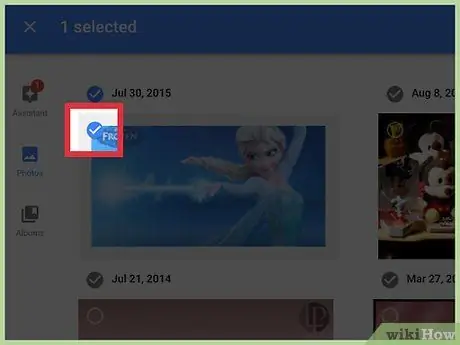
Step 3. Select the circular badge of the photo you want to select it
A small check mark will appear.
If you need to change the date and time of multiple images, you can select them all to do this once. Click the circular badge of all the photos you want to edit
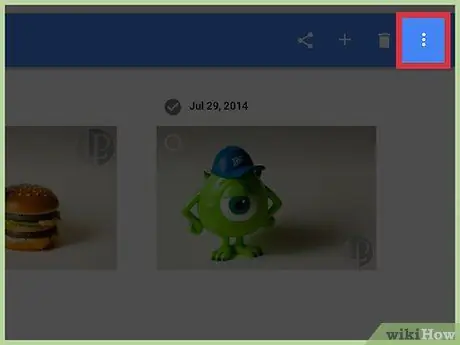
Step 4. Click or tap the "⁝" icon to enter the menu
It is located in the upper right corner of the web page. A small drop-down menu will appear.
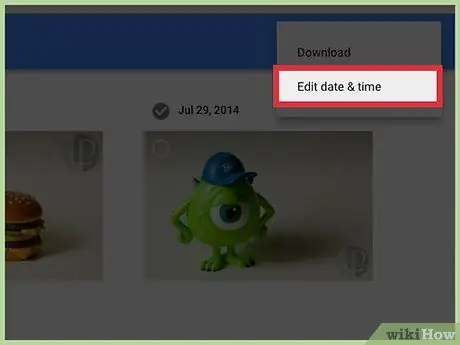
Step 5. Choose the "Change date and time" option
The dialog box of the same name will be displayed showing the date and time currently set.
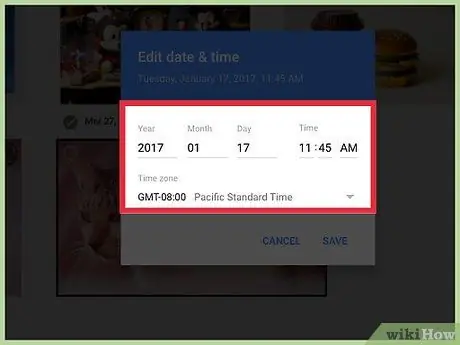
Step 6. Change the date and time of the chosen image according to your needs
To move the photo in question towards the first positions of the list you will have to choose a date closer to the current one; on the contrary, to move it to the last positions of the list, choose a date earlier than the current one.
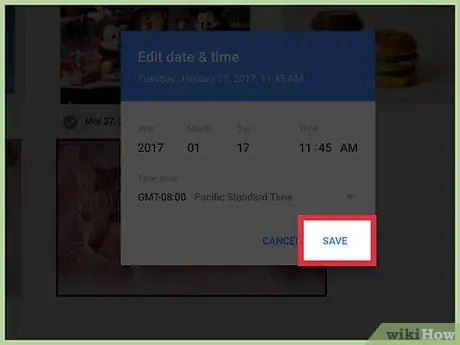
Step 7. Once you have finished making changes, press the "Save" button
The edited images will be repositioned within the list, based on the new date and time.
Advice
- To share an album with other people you will have to select it to open it and click or tap the "Share" icon characterized by the "lesser" symbol (<) and three dots. You can share an album via SMS, social networks, email and other platforms.
- Try labeling people who appear in photos, so you'll be able to find relatives and friends very easily within the Google Photos library.


