This article explains how to create and install a new custom ringtone on iPhone using the features of iTunes. After transferring the ringtone to your iOS device, you can set it as default or assign it to a specific contact.
Steps
Part 1 of 3: Creating a Ringtone
Step 1. Launch iTunes
It features a multicolored music note icon (♫) on a white background.
- If you are asked to update iTunes, click the button Download iTunes and wait for the update installation to complete. At the end of this phase you will have to restart your computer.
- If the ringtone you want to use is already stored on your iPhone, skip to this step in the article.
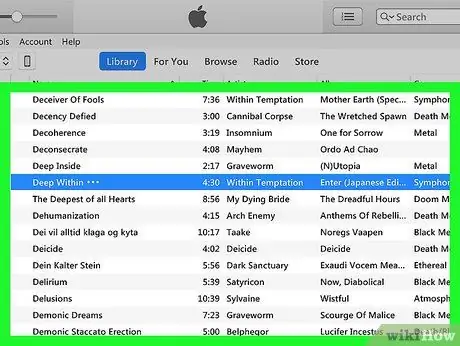
Step 2. Make sure the song you want to use to create the ringtone is already in your iTunes library
You can use iTunes features to cut out a portion of a song and turn it into an iPhone ringtone. You can add a new song to your iTunes library by double-clicking the file icon, if iTunes is set as your computer's default media player.
If iTunes is not your system default media player, you can add a song to the program's library by clicking on the tab File, then click on the item Add files to library … and double-click the icon of the file you want to use.
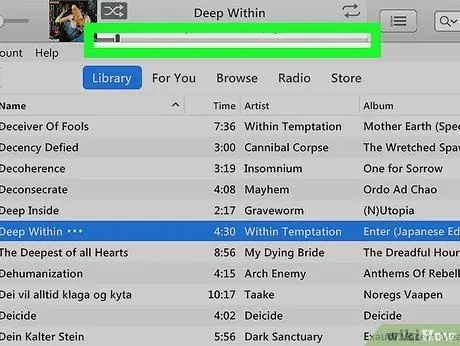
Step 3. Find the portion of the song you want to turn into a ringtone
Double-click the song name in the iTunes window to start playing it. Listen to the song to find the starting point of the section you want to use as a ringtone and take note of the tempo. At this point, resume listening to identify the end point of the portion of the song to use. Remember that you can select a maximum duration of 40 seconds.
- While the selected song is playing, the progress bar will be displayed at the top of the iTunes window showing the timestamp for where the playback is located.
- IPhone ringtones cannot be longer than 40 seconds.
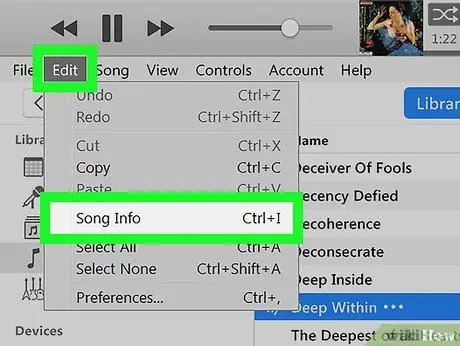
Step 4. Open the window for the detailed information of the song in question
Click on the name of the song you have chosen to select it, click on the menu Edit (in Windows) or File (on Mac), then click on the option Information (on Windows) or Track information (on Mac) from the resulting drop-down menu. A new window will appear.
Alternatively, click on the name of the chosen song with the right mouse button, then click on the option Information (on Windows) or Track information (on Mac) from the context menu that will appear.
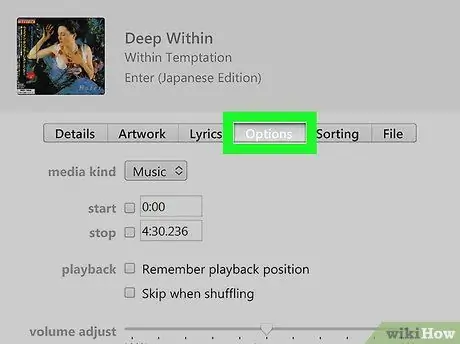
Step 5. Click on the Options tab
It is displayed at the top of the window that appeared.
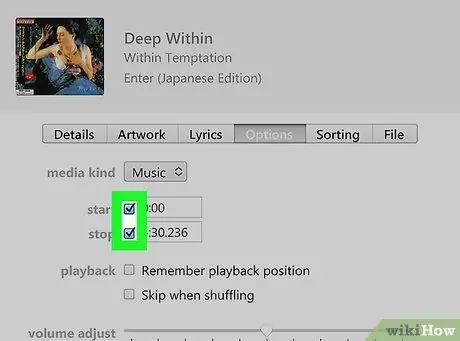
Step 6. Select the "Start" and "Finish" check buttons
They are both displayed at the top of the window, under the "Media Type" drop-down menu. At this point, you will be able to change the start and end point of the song playback.
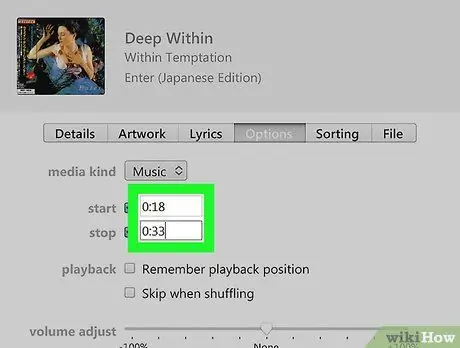
Step 7. Enter the start and end points of the portion of the track you want to use as a ringtone
Inside the "Start" field, enter the minute and the second corresponding to the point where the portion of the song that you want to turn into a ringtone begins, then repeat the process with the "End" text field to indicate the point where the section to use ends.
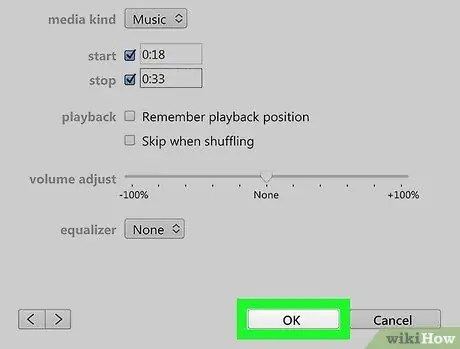
Step 8. Click the OK button
It is located at the bottom of the window. The changes you made to the song will be saved and the window in question will be closed.
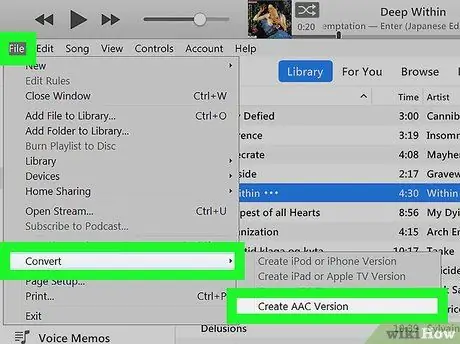
Step 9. Create the AAC version of the selected song
Make sure that the song you have chosen is selected by clicking on the corresponding name, then click on the menu File, select the item Convert from the menu that appeared and finally click on the option Create AAC version. An AAC format version of the selected song will be created which will have the specified length. The new version will appear below the original song in your iTunes library.
- For example, if you selected a 36-second segment of the song, the new version of the song will report the duration of "0:36" instead of the original song.
- If the option Create AAC version is not available, access the menu Edit (on Windows) or iTunes (on Mac), click on the item Preferences…, click on the button Import settings, click on the "Import using" drop-down menu and finally click on the option AAC encoder.
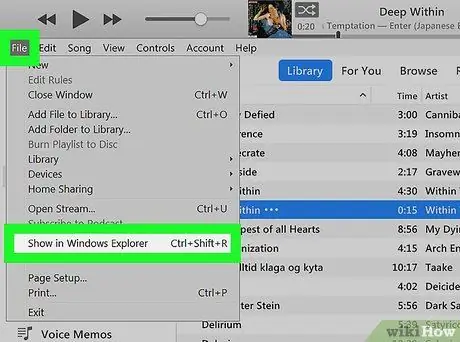
Step 10. Navigate to the folder where the AAC version of the chosen song has been stored
Select the AAC version of the song in question, then click on the menu File and finally click on the option Show in File Explorer (on Windows) or Show in Finder (on Mac) from the menu that will appear. The window for the folder on your computer where the ringtone file you created is stored will be displayed.

Step 11. Convert the AAC file to an M4R file
The process to follow varies according to the operating system installed on your computer (Windows or macOS):
- Windows - click on the tab View, click on the check button "File name extensions", click on the song version file with the extension ".m4a" to select it, click on the tab Home, click on the icon Rename, replace the m4a extension with the m4r extension listed at the end of the file name, then press the Enter key. At this point, click on the button OK when required.
- Mac - select the AAC version of the song in question (the file with the extension "m4a"), click on the menu File, click on the option Track information from the pop-up menu that appeared, change the m4a extension to m4r displayed in the "Name and extension" section of the appeared window, then press the Enter key. At this point, click on the button Use m4r when required.
Part 2 of 3: Transferring a Ringtone to iPhone
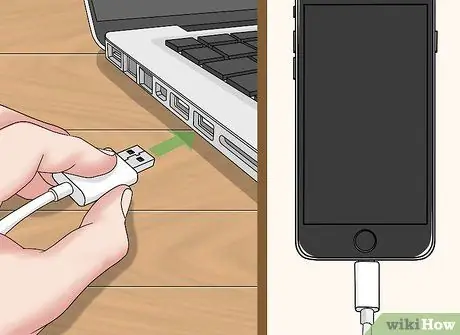
Step 1. Connect iPhone to computer
Plug the USB connector of the cable you use to charge your iPhone into a free USB port on your computer, then plug the other end of the cable into the communication port on your iOS device.
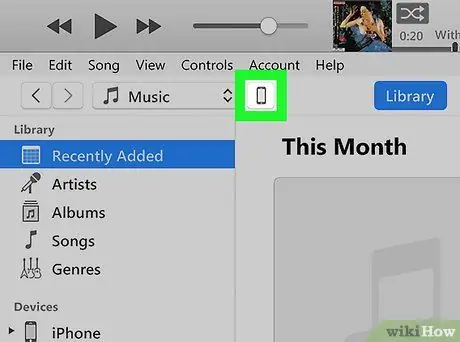
Step 2. Click on the iPhone icon
It is an icon depicting a small stylized iPhone located in the upper left of the iTunes window. A detailed device page will be displayed. In the left pane of the iTunes window, a list of the types of data present in the iPhone will also be shown.
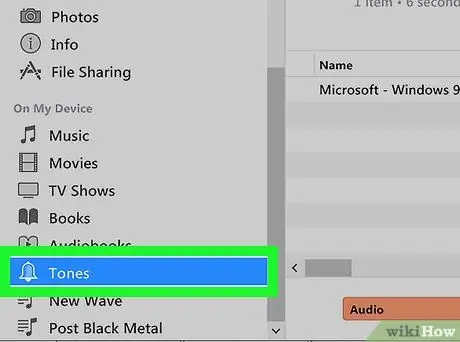
Step 3. Click on the Ringtones tab
It is listed in the "Devices" section visible in the left pane of the iTunes window. The list of ringtones on the iPhone will be displayed.
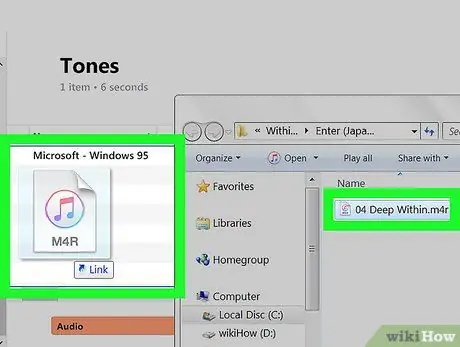
Step 4. Transfer the ringtone you just created to the iPhone
Click on the M4R format file of the song you created previously visible in the iTunes folder and drag it to the main pane of the program window. The ringtone should appear in the list along with any already present.
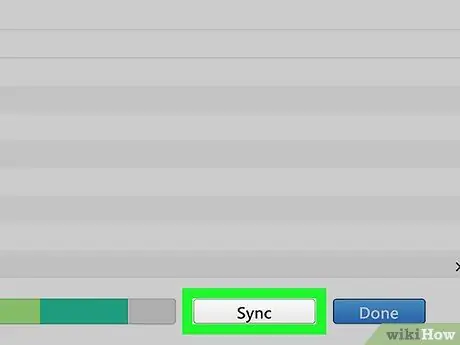
Step 5. Click the Synchronize button
It is white in color and located at the bottom right of the iTunes window.
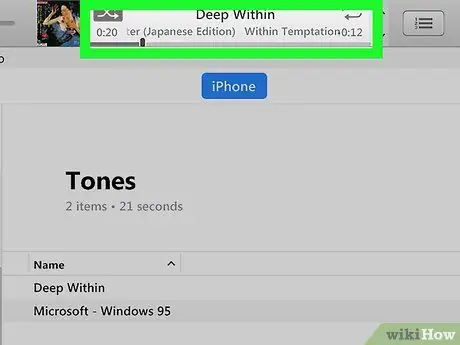
Step 6. Wait for the data to sync to your device
This step should only take a few seconds to complete. When the progress bar at the top of the iTunes window disappears, you can disconnect your iPhone from your computer and set the new ringtone as the default for incoming calls.
Part 3 of 3: Setting a Ringtone
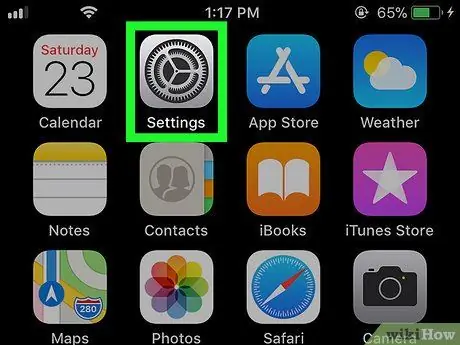
Step 1. Launch the iPhone Settings app
Tap the gray gear icon.
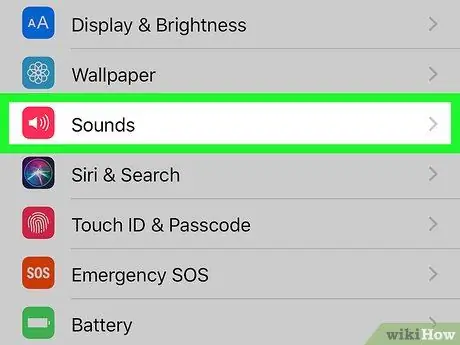
Step 2. Scroll down the menu that appeared and select Sounds and haptic feedback
It is located in the same option group as the tab
General
If you are using an iPhone 6S or earlier, you will need to select the option Sounds of the menu.
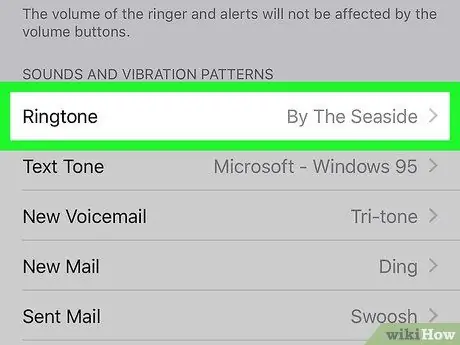
Step 3. Select the Ringtone item
It is visible as the first option in the "Vibration and Sound Patterns" section located in the center of the page.
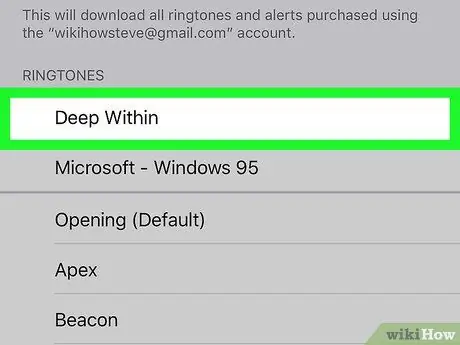
Step 4. Select the name of the ringtone you just created and transferred to the iPhone
It is listed within the "Ringtones" section. It will be set as your device's default ringtone. To the left of the ringtone name, a blue check mark should appear to indicate that the chosen song will be used as the device's default ringtone for all incoming voice calls.
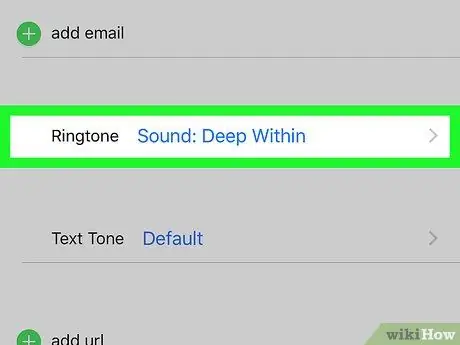
Step 5. Set a new ringtone for a specific contact
If you need to set a specific ringtone for a single contact in the phonebook, follow these instructions:
- I started the Contacts app;
- Select the contact name;
- Tap the item Ringtone;
- Select the ringtone to use;
- Push the button end.


