Find out how to set up a simple audio diffusion system with a single microphone and two speakers in order to spread the signal as much as possible while keeping the risk of feedback to a minimum.
Steps
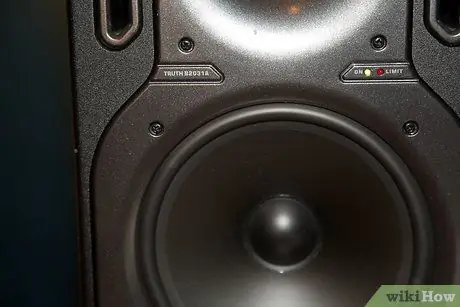
Step 1. Place the two speakers in front of the audience, one on each side
Position them so that the left speaker covers the left side of the area where the audience will be seated, and the right one covers the right side. This arrangement is also used for a mono signal; the difference with the stereo signal is that the latter is actually composed of two different signals, the right and the left. A mono signal is used for a single microphone.
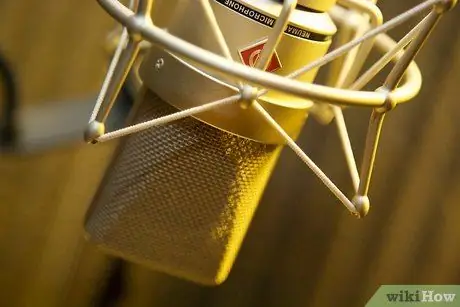
Step 2. Place the cardioid microphone on the pole where the speaker will be, but never in front of the speakers
Placing the microphone in front of the speakers significantly increases the risk of generating feedback (a loud, annoying whistle). By placing the microphone behind the speakers the risk is very small. The “cardioid” or “directional” microphone has a higher sensitivity in the front direction and no sensitivity in the rear, which helps reduce the risk of feedback. A different type of microphone is the omnidirectional one, which has the same sensitivity in every direction - not a good choice to reduce the risk of feedback.
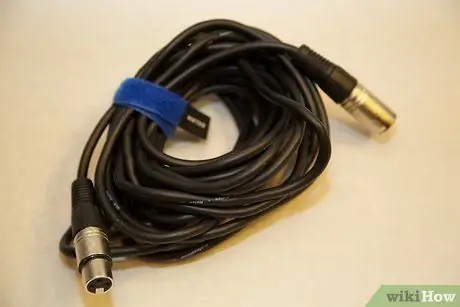
Step 3. Connect the microphone cable jack to input 1 of your mixer / preamp
There may be a "line" or "mic" switch above the volume slider (or potentiometer): move the switch to "mic". “Line” is usually used to connect a CD or cassette player. If you have a "gain" pot (sometimes referred to as a "trim") above the volume slider (or pot), set it to half for now - it's a good starting point for getting a good signal input level without overloading. the channel (some devices have a red light that lights up when the signal is overloaded).
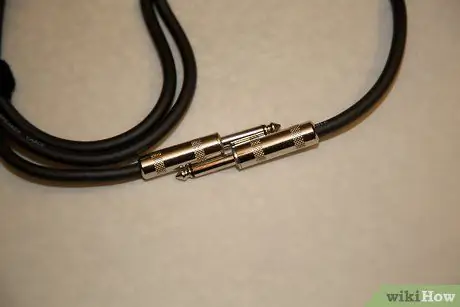
Step 4. Connect the mono output of your mixer / preamp to the mono input of the amplifier
If the amplifier does not have a mono input, you can use the left channel to send the signal to both speakers (in case the amplifier is powerful enough), or you can use a Y cable and connect it to both inputs, left and right of the amplifier. Turn the volume on the amplifier to a minimum for now, until you get a good signal level from the preamp.
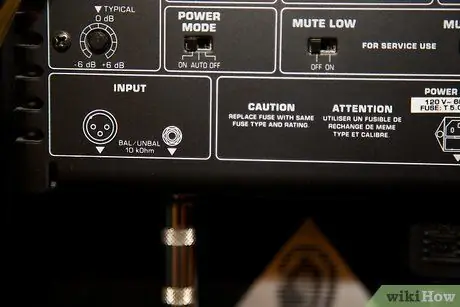
Step 5. Connect the outputs of your amplifier to the two speakers, left and right
Keep the cables neatly sorted and taped to the ground to prevent someone from tripping over them and getting injured.
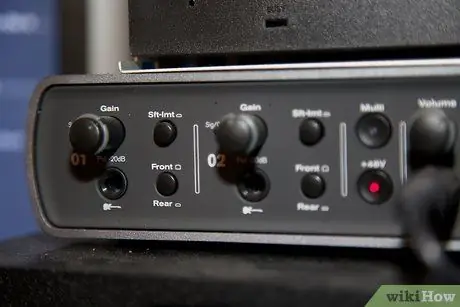
Step 6. Now that everything is connected, it's time to set the levels
Try speaking normally in front of the microphone. While you raise the slide knob (or the volume potentiometer) on the preamp, check the level shown by the needle or LED indicator. Set the “master” to 3/4 (7) to start. Turn up the volume on the preamp until you reach the maximum possible level, staying in the "0" area if it is a needle indicator, or so that only yellow or green lights (not red) turn on if it is a needle indicator. led. If the indicator enters the red area, lower the level using the "gain" knob. The optimum level to operate should be obtained with the volume knob at about 3/4 (7). Never lower the volume on the channel too low to keep the “master” at maximum: this would overload the signal and cause distortion. The needle indicator should reach "1" or "2", or the first red LED lights should come on, only in volume peaks. Raising the volume above this level would cause a distorted sound to come out of the speakers.
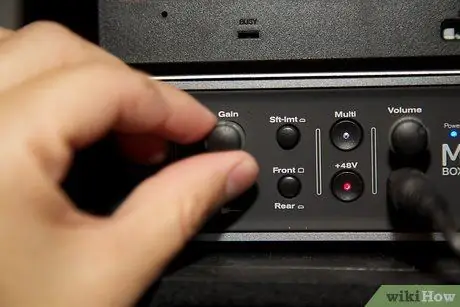
Step 7. Once you have set the settings on the preamp correctly, slowly raise the volume on the amplifier until you reach the desired level
If the microphone starts to generate feedback, turn down the volume or move the microphone away from the speakers.
Advice
- If the mixer is behind the stage you will not be in the right position to hear what the audience will hear, so ask someone to position themselves in the spectator area and ask their opinion on the volume and quality of the sound coming out of the speakers.
- Always secure the cables to the ground with adhesive tape to avoid the risk of injury.
- Never place the microphone in front of the speakers.
- Always use a directional (or "cardioid") microphone in cases where there is only one person to speak.
Warnings
- Do not operate with red levels. This is not good practice, and it makes the sound quality worse.
- Always make sure the volume is turned down completely before adding, changing or removing cables, or before turning the mixer / preamp on or off.
- The power amplifier must be switched on last and switched off first.


