This article explains how to configure an Xbox 360 controller for use with the Project 64 emulator on a Windows computer. For this method to work, you must have an Xbox 360 controller with a USB cable or a wireless adapter made by Microsoft.
Steps
Part 1 of 2: Preparation
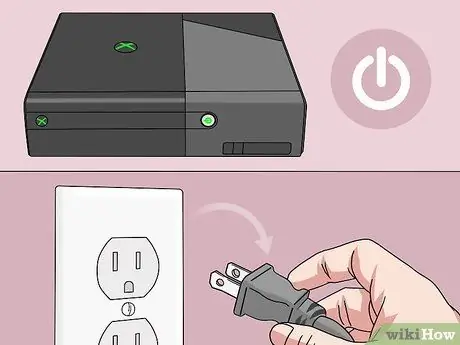
Step 1. Unplug the Xbox 360
If the console is within connection range of the controller, you must disconnect it from power to prevent the joystick from inadvertently connecting to it.
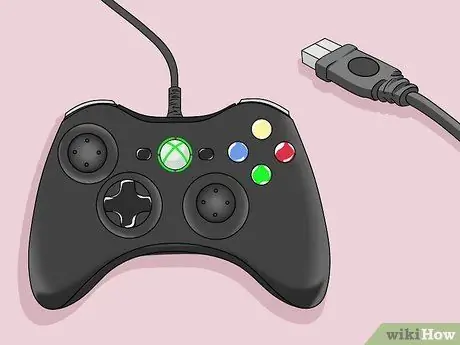
Step 2. Make sure you have a controller that you can connect to your computer via cable
To use an Xbox 360 Controller for Project 64 without an adapter, you need to connect it with the supplied fixed cable.
- You cannot use a charging cable for this purpose.
- If you prefer to use a wireless controller, you need to purchase the Microsoft Xbox 360 Wireless Gaming Receiver Adapter. In this case, make sure the adapter is an official Microsoft product and not a third party.
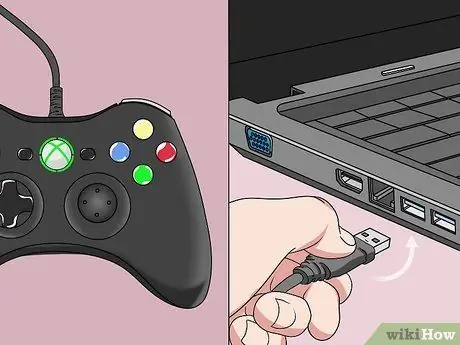
Step 3. Connect the controller to the computer
Plug the terminal of the cable into one of the USB ports on the computer.
If you are using a wireless adapter, plug it into a USB port and wait for the green light to turn on. The receiver must be connected to a "powered" USB port, so try a different one if the light doesn't come on
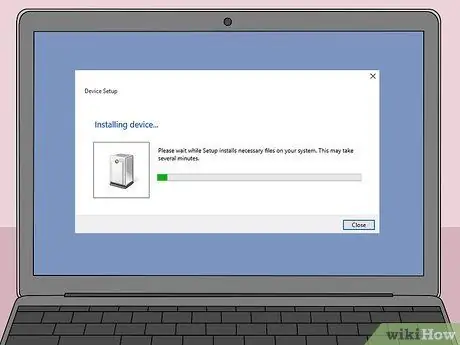
Step 4. Wait for the drivers to download
The first time you plug in the controller or adapter, Windows will automatically search for and download the programs that allow the system to use the new device. It should take a few minutes, then a notification will appear that the controller is ready for use.
For this operation the computer must be connected to the internet
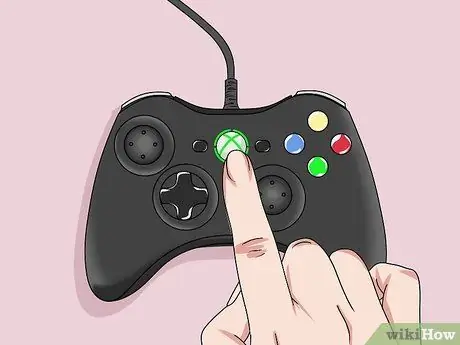
Step 5. Connect the controller
Skip this step if you are using the cable connection. Press the round button Connect on the wireless adapter, then turn on the controller while holding the button Guide, which is indicated by the Xbox logo and is located in the center of the joystick. Finally, press the "Connect" button on the front of the controller.
Once the key Guide controller stops flashing, is connected to the computer.
Part 2 of 2: Configure the Controller
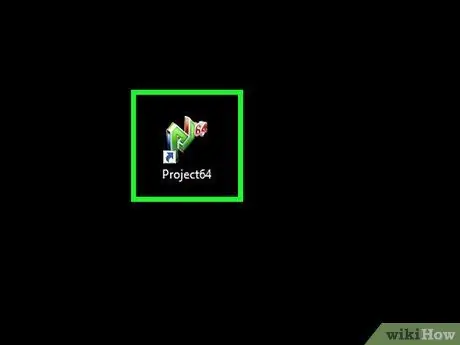
Step 1. Open Project64
Double-click the program icon, which features the stylized green letters "PJ" next to the smaller red "64" number.
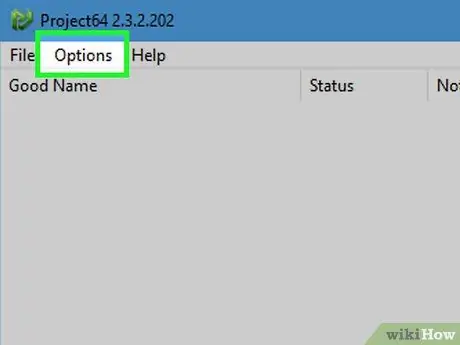
Step 2. Click on Options
You will see this entry at the top of the window. Press it and a menu will appear.
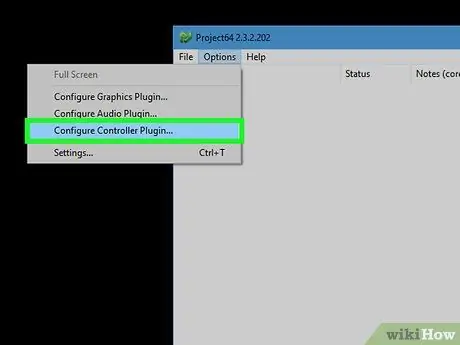
Step 3. Click Configure Plugin Controller…
It is found in the last menu items. Press it and the controller settings window will open.
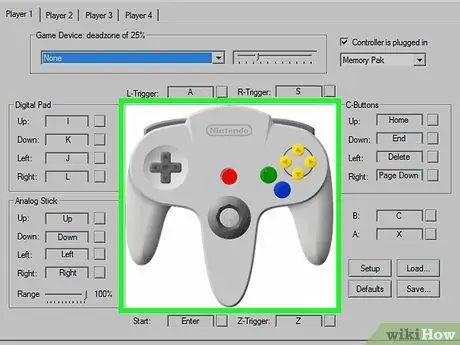
Step 4. Search for the controller image
If you see a large controller icon in the center of the window, it means that the program recognizes your joystick; if not, try restarting Project64.
If restarting Project64 does not solve the problem, restart the computer and try to connect the controller again
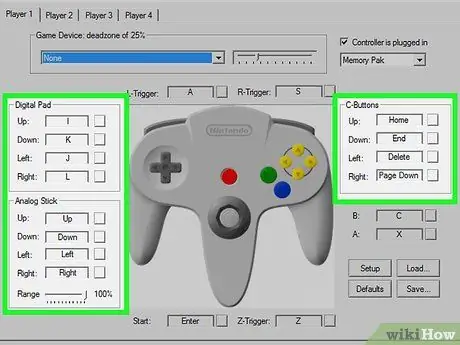
Step 5. Edit the controls
To assign an action to a different key on the controller, click the action name to the left of the keyboard button, then press the joystick button you want to use for that action.
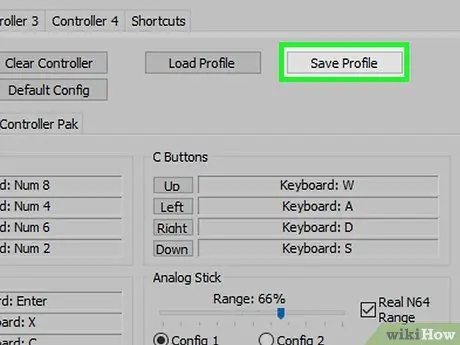
Step 6. Save the controller settings
Click on Save profile at the top of the window, type the name of the configuration and click on Save. You can load the saved settings by opening the "Configure Plugin Controller …" menu again by clicking on Upload profile, then double clicking on the settings file you saved.
It is useful to save the profile you created for the controller with a name that helps you remember its function (for example, the name of the game you want to use specific controls with)
Advice
Project64 often fails to recognize controllers if it is already running when the device is connected. For best results, connect the joystick before opening the program
Warnings
- Project64 is not available for Mac computers.
- Downloading game ROMs you don't already own is illegal and violates Nintendo's terms of use.


