This tutorial shows you how to add a caption to a Microsoft Word table, similar to the ones displayed at the bottom of statistics, charts, diagrams or images published in books. Let's see together how to proceed.
Steps
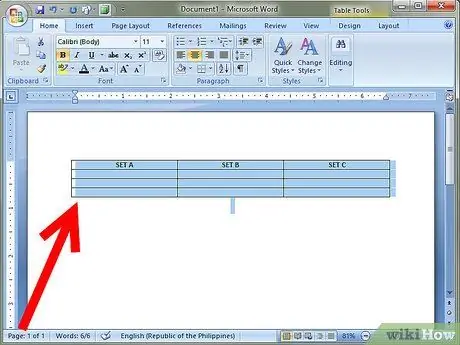
Step 1. With the right mouse button, select the table you want to add a caption to
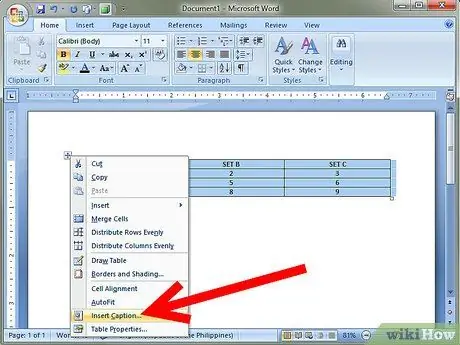
Step 2. From the context menu that appeared, select the item 'Insert Caption
.. '. This will bring up the 'Caption' panel.
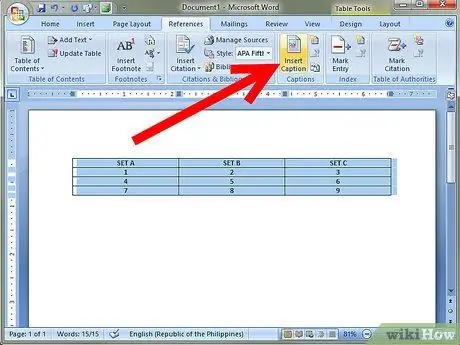
Step 3. If the 'Caption' dialog box does not appear, go to the 'Insert' menu, select the 'Reference' item and finally choose the 'Caption' option
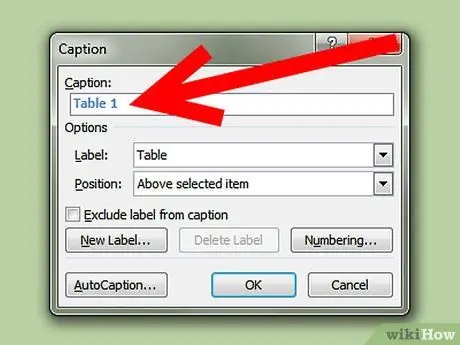
Step 4. From the 'Caption' dialog box, type the caption you want to add to your table using the 'Caption text field:
'.
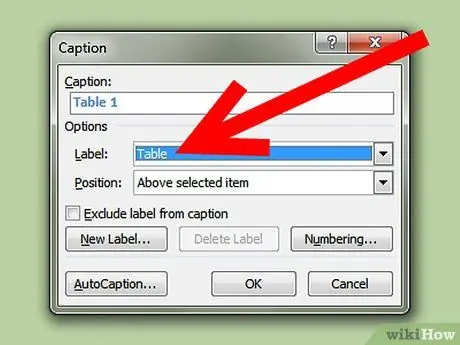
Step 5. Use the appropriate label by selecting one of the available options from the Label menu:
'(' Figure ',' Table 'or' Equation ').
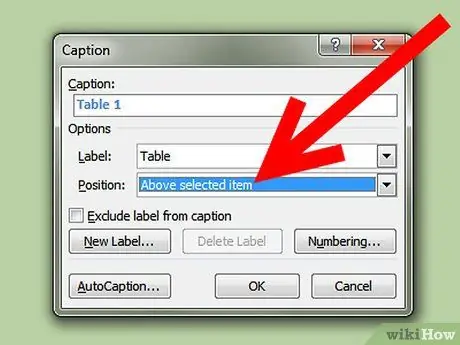
Step 6. Use the options in the 'Position' menu to specify where the created caption should appear (whether at the top or bottom of the table)
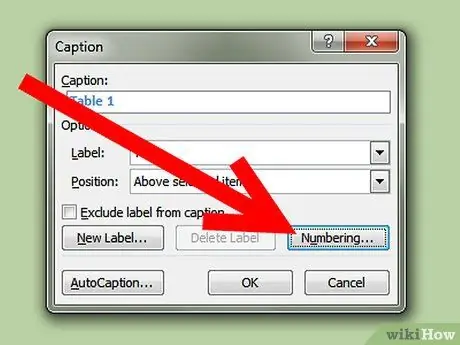
Step 7. If you wish, the captions can be numbered automatically by selecting the 'Numbering' button
.. 'present in the' Caption 'panel.
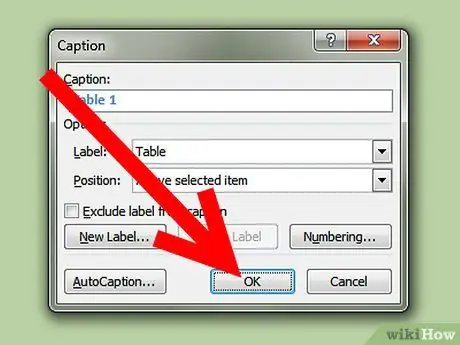
Step 8. Press the 'OK' button when finished
All done!


