This article explains how to make a monogram with Microsoft Word. Once created, you can save it as a template or as an image to use in your documents, such as invitations and business cards. You can follow these steps on Word for Mac as well and as general techniques applicable to other programs like Adobe Illustrator or Pages on Mac.
Steps
Part 1 of 3: Making a Monogram
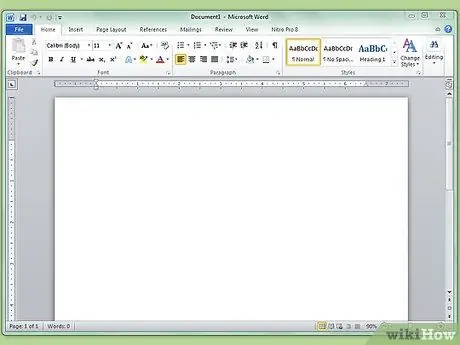
Step 1. Open Microsoft Word
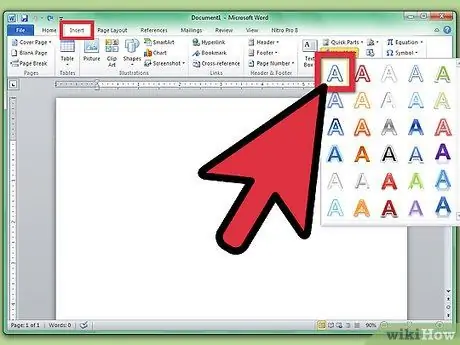
Step 2. Click the Insert menu and then WordArt
A WordArt text box will be inserted on the Word document.
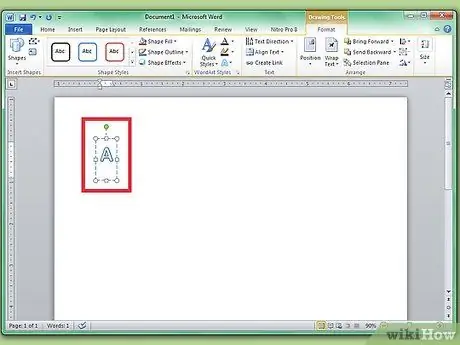
Step 3. Delete the WordArt text and write the largest letter of your monogram
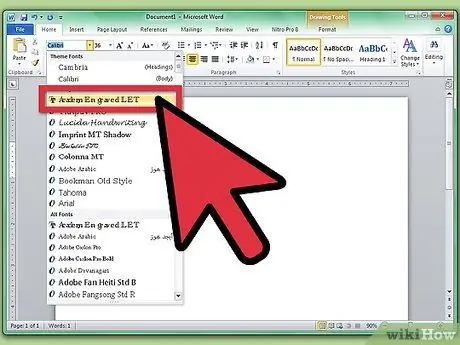
Step 4. Change the font to Lucida Handwriting
This font type is included in standard fonts on both Windows and Mac.
You can use any type of font for this step
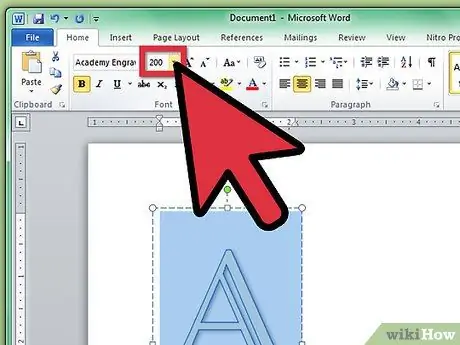
Step 5. Enlarge the size of the selected letter
- Often, the WordArt text box does not automatically fit in the enlarged font. Select and drag the corners of the WordArt text box until you see the full letters.
- If you want to enlarge the letter further, type a number, such as 200, in the "Font size" box.
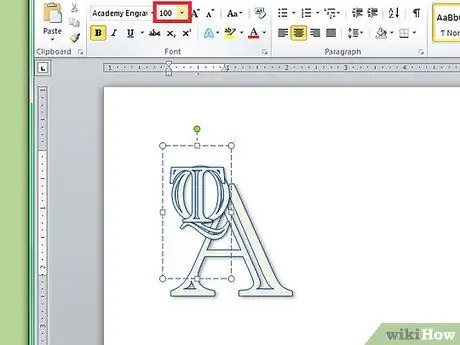
Step 6. Add two more WordArt letters, no more than half the size of the first letter
You can change the size of the letters at any time, but changing the size of the text box will not change the font size
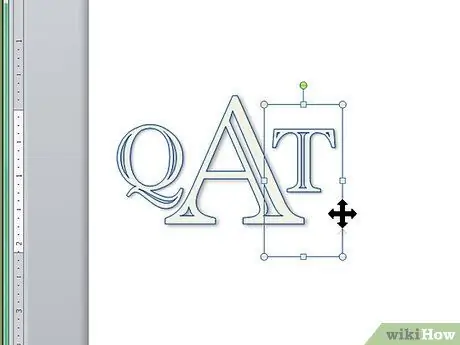
Step 7. Select and drag the letters to your liking
Move the mouse over the WordArt to view the corners of the text box and then select and drag it to move it.
You can also move WordArt with the keyboard. Click on the text box and then press the arrows to move the WordArt
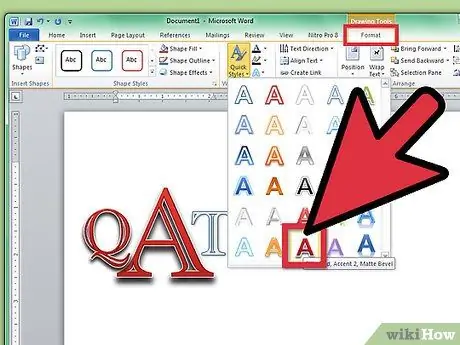
Step 8. Change the style of the WordArt
In the "Format" tab of the "Styles" section, Word offers you various options to change the style of WordArt.
- Click on the "Quick Styles" button to choose from WordArt styles.
- Click on the "Fill" arrow to choose the WordArt fill color. This will change the color within the lines.
- Click on the "Line Style" arrow to change the letter's outer line color, thickness or to add other effects to the line.
- Click on the "Effects" button to further modify the WordArt, for example by adding a shadow or a reflection.
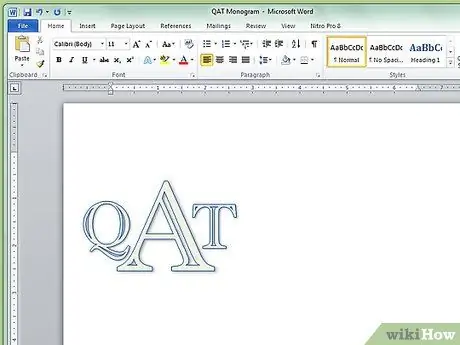
Step 9. If you make a change you don't like, press the CTRL + Z keys to delete it
Part 2 of 3: Adding More Styles to the Monogram
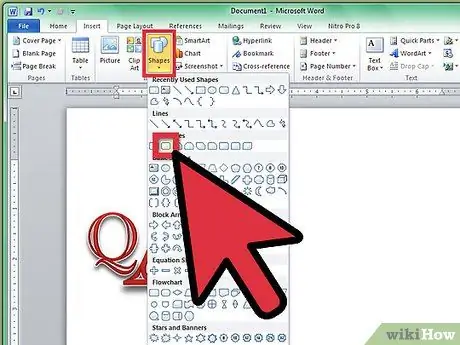
Step 1. Add a shape around the monogram
Often, monograms are enclosed in shapes, such as circle or rectangle-shaped tags. Click on the "Insert" menu and then on "Shapes". Find a shape you'd like to use, select it and drag it into your Word document.
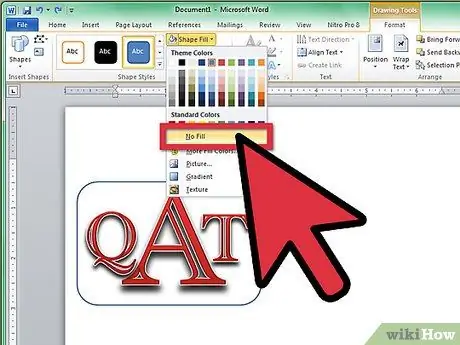
Step 2. Edit the shape
In the "Format" tab, click on the "Fill" arrow and then on "No fill". Click on the "Line" arrow and choose a color for your letters.
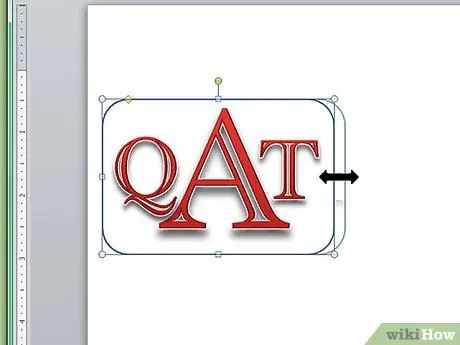
Step 3. Select and drag the corners of the chosen shape to fit the monogram letters
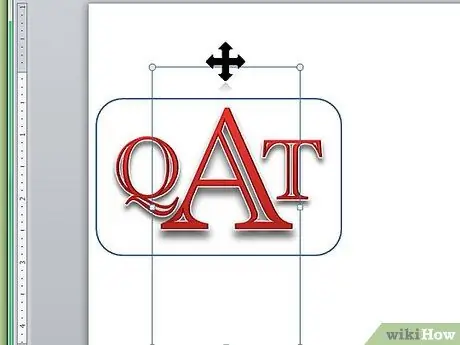
Step 4. Place the monogram letters inside the shape until you are satisfied with the result
Part 3 of 3: Save the Monogram as a Template
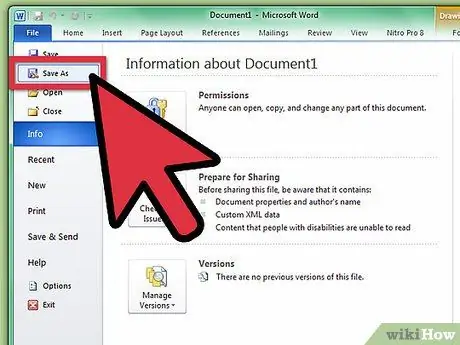
Step 1. Save the monogram
When you save a Word document as a template, once opened, it will open a copy of the file that you can edit, without worrying about the original. Click on the "File" menu and then on "Save as".
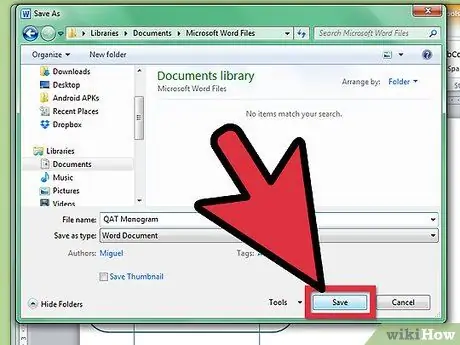
Step 2. Rename the file and then save it
In the "Save" dialog box, rename the monogram. Click on the "Format" drop-down menu, then on "Word Template" and finally on "Save".


