This article explains how to install the Xcode development environment on Mac or Windows computer. In this second case, a virtual machine must be created using the VirtualBox program.
Steps
Method 1 of 2: Windows 10, Windows 8.1, and Windows 7
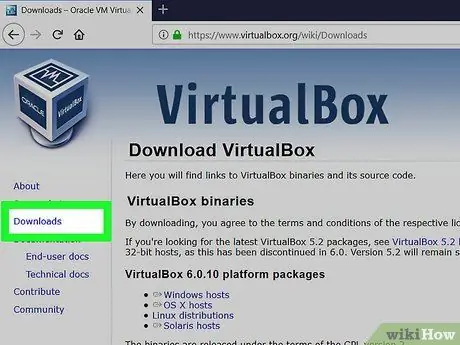
Step 1. Download and install VirtualBox for Windows
It is a free and open-source program that allows you to create and use different types of virtual machines, including one capable of using the Xcode program for macOS.
-
Visit the website https://www.virtualbox.org/wiki/Downloads and click on the link Windows hosts. The download of the client installation file for Windows systems will start (in some cases you will have to click on the button Save or Download to be able to continue).
In order to install VirtualBox you must necessarily use a 64-bit version of Windows and the computer must have at least 4 GB of RAM
- Run the installation file and follow the instructions that will appear on the screen to complete the installation of VirtualBox.
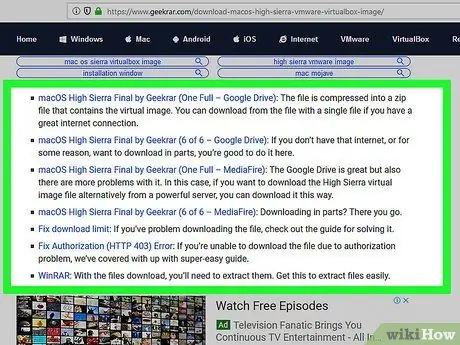
Step 2. Download the macOS High Sierra Final operating system installation file
You can download a version in RAR format from this link.
If you cannot download the file because it is too large (it takes up about 6GB), you can solve the problem by consulting this article
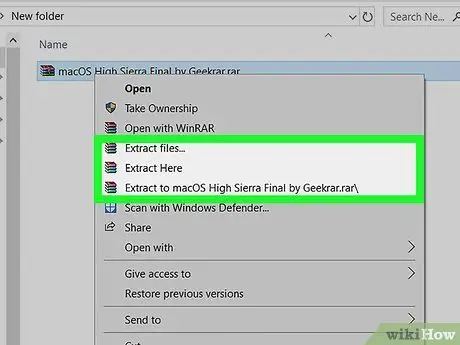
Step 3. Unzip the RAR file
You can use one of the many apps that can extract the data contained in a RAR archive, for example WinRAR or WinZip. At the end of the data extraction you will have a folder in which there will be a file with the extension ".vmdk" and one with the extension ".txt" related to the Apple High Sierra operating system.
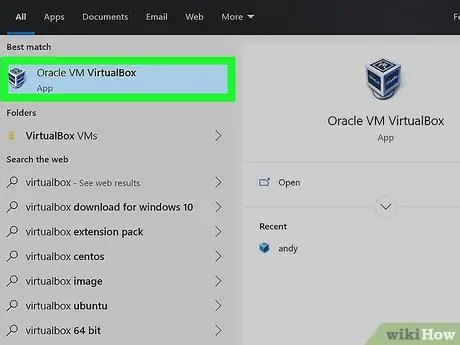
Step 4. Start the VirtualBox program
The corresponding icon is contained in the section All apps in the "Start" menu.
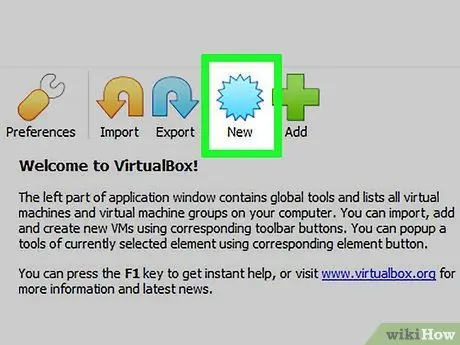
Step 5. Click on the New button
It is located in the upper left corner of the window. The "Create Virtual Machine" dialog will be displayed.
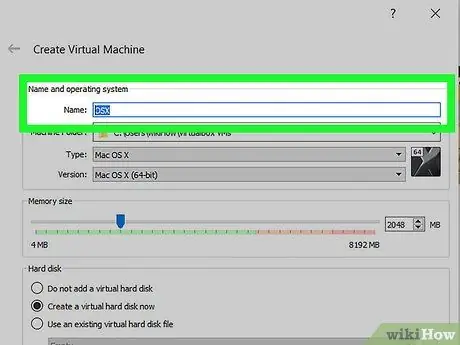
Step 6. Type the OSX name into the "Name" text field
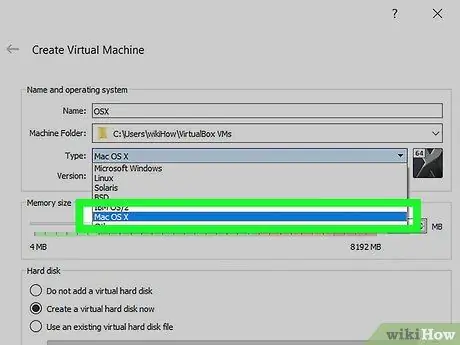
Step 7. Select the Mac OS X option from the "Type" drop-down menu
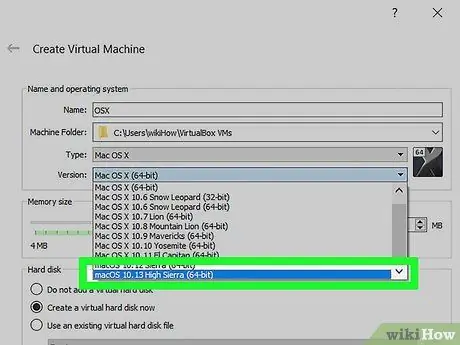
Step 8. Select the macOS 10.13 High Sierra (64-bit) entry or MacOS 64-Bit from the "Version" drop-down menu.
If none of the 64-bit options of the Apple manufactured operating system are present, it means that you need to enable the "VT-x" or "Virtualization" feature of the computer's BIOS. See this article to find out how you can access the BIOS
Step 9. Click the Next button
It is located at the bottom of the window.
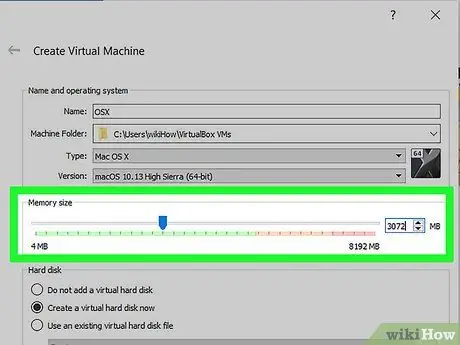
Step 10. Drag the memory slider to the right
In this way you will indicate to the program how much RAM memory of the computer will be dedicated to the virtual machine that will use the High Sierra operating system. For best results, it is recommended that you choose a value between 3GB and 6GB.
Step 11. Click the Next button
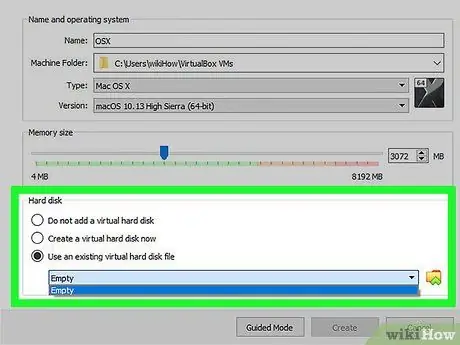
Step 12. Create a hard drive for the virtual machine
Follow these instructions:
- Click on the radio button "Use an existing virtual hard disk file";
- Click on the "Browse" icon;
- Access the folder where the VMDK file you downloaded from the web in the previous steps is stored;
- Select the file in question and click on the button Create.
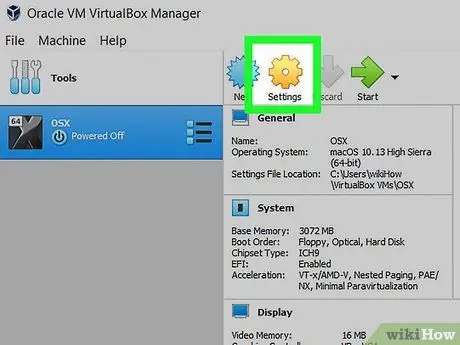
Step 13. Click the Settings icon
It is located in the upper left corner of the VirtualBox window.
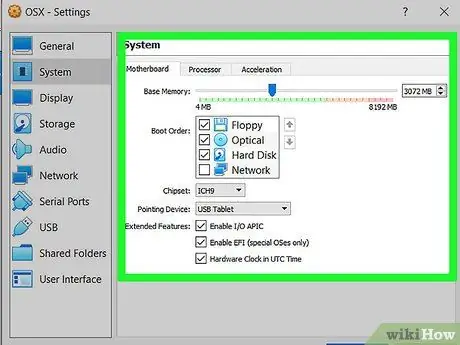
Step 14. Edit the virtual machine configuration settings you just created
To do this, follow these instructions:
-
Click on the tab System listed in the left pane of the "Settings" window.
- Within the tab called "Motherboard" select the value ICH9 from the "Chipset" drop-down menu, then select the check button Enable EFI.
-
Inside the card Processor select the value
Step 2. as the number of processors, then move the "Execution cap" slider to 70%.
-
Click on the tab Screen listed in the left pane of the "Settings" window.
Inside the card Screen select the value 128 MB for the "Video Memory" slider.
- Click on the button OK to save the new settings.
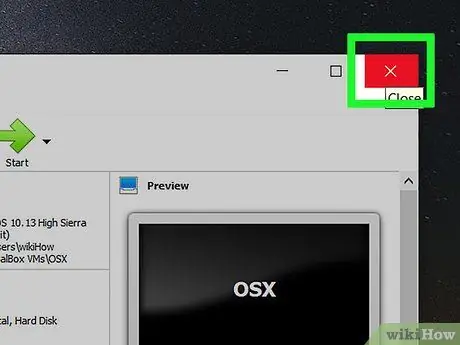
Step 15. Close the VirtualBox program
Simply click on the icon in the shape of X located in the upper right corner of the program window.
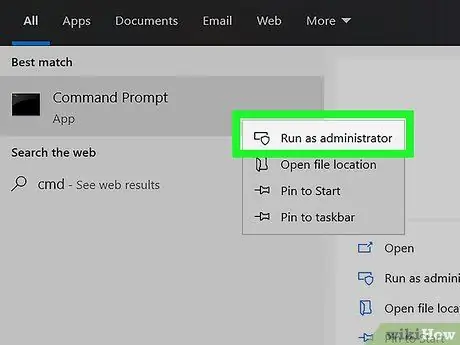
Step 16. Open a "Command Prompt" window as a computer administrator
Follow these instructions:
- Type the keyword cmd into the Windows search bar;
- Select the icon of Command Prompt, appeared in the list of results, with the right mouse button;
- Click on the option Run as administrator. The Windows "Command Prompt" window will appear.
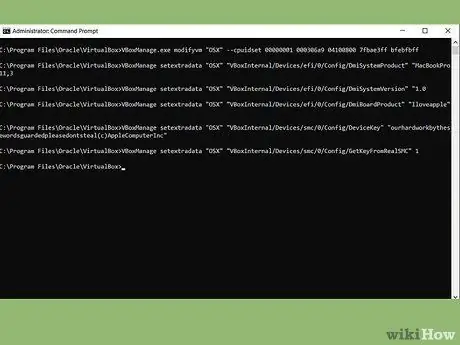
Step 17. Run this series of commands
Run them respecting the order in which they are listed, but changing the path of the files according to the folder where you have installed VirtualBox on your computer and replace the "VM_Name" parameter with the name of the virtual machine you created:
- Type the command cd "C: / Program Files / Oracle / VirtualBox \" and press the Enter key;
- Type the command VBoxManage.exe modifyvm "VM_Name" --cpuidset 00000001 000306a9 04100800 7fbae3ff bfebfbff and press the Enter key;
- Type the command VBoxManage setextradata "VM_Name" "VBoxInternal / Devices / efi / 0 / Config / DmiSystemProduct" "MacBookPro11, 3" and press the Enter key;
- Type the command VBoxManage setextradata "Name_VM" "VBoxInternal / Devices / efi / 0 / Config / DmiSystemVersion" "1.0" and press the Enter key;
- Type the command VBoxManage setextradata "Name_VM" "VBoxInternal / Devices / efi / 0 / Config / DmiBoardProduct" "Iloveapple" and press the Enter key;
- Type the command VBoxManage setextradata "Name_VM" "VBoxInternal / Devices / smc / 0 / Config / DeviceKey" "ourhardworkbythesewordsguardedpleasedontsteal (c) AppleComputerInc" and press the Enter key;
- Type the command VBoxManage setextradata "VM_Name" "VBoxInternal / Devices / smc / 0 / Config / GetKeyFromRealSMC" 1 and press the Enter key.
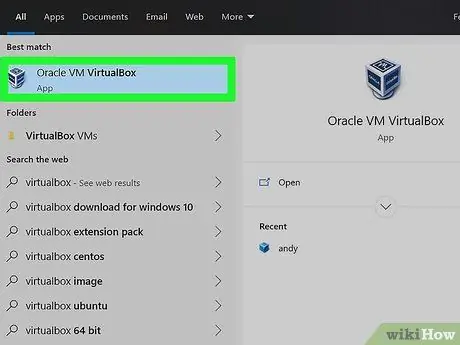
Step 18. Restart the VirtualBox program
If you wish, you can close the "Command Prompt" window at this point.
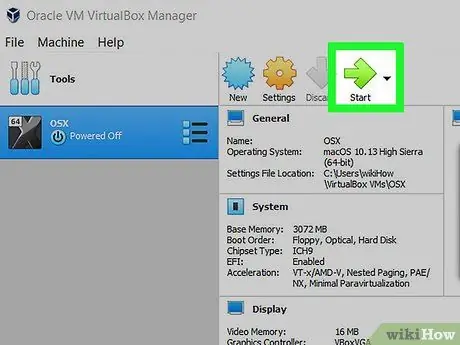
Step 19. Click the Start icon
It is characterized by a green arrow and is located in the upper left of the VirtualBox window.
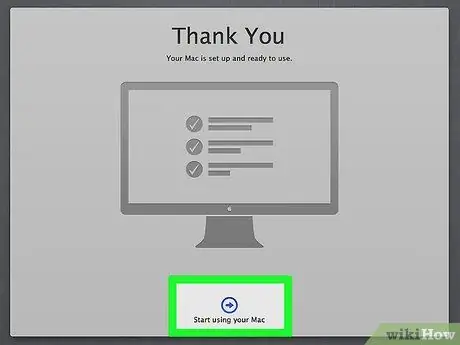
Step 20. Configure your virtual Mac
Follow the on-screen instructions to set up the virtual machine's High Sierra operating system as if it were a real Mac, then log in using your Apple ID when prompted. When you have completed this step, you will see the Mac desktop appear in the virtual machine window.
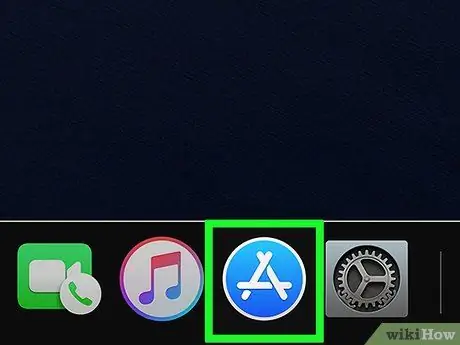
Step 21. Access the Mac App Store by clicking on the icon
It is located directly on the system dock.
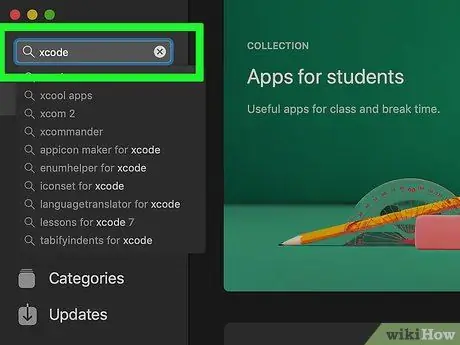
Step 22. Search for the Xcode program
Type the keyword xcode into the search bar in the upper right corner of the App Store window and press the Enter key.
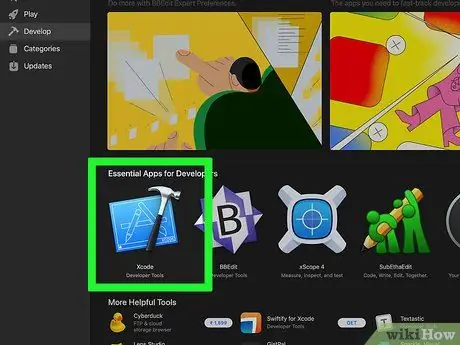
Step 23. Click on the Xcode entry
It should have appeared at the top of the hit list. It features an App Store-like icon with the addition of a hammer.
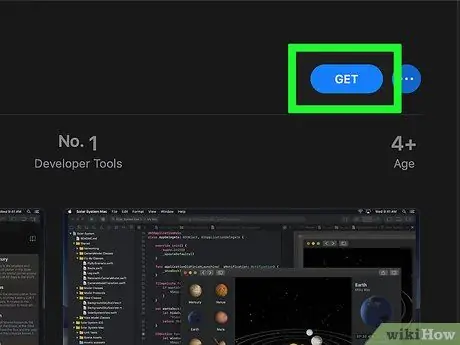
Step 24. Click the Get button
If you did not log in with your Apple ID during the Mac setup process, you will need to do so now.
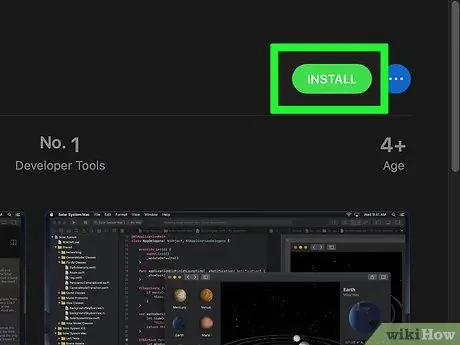
Step 25. Click the Install button
The Xcode app will be installed on your virtual Mac. When the installation is complete, the "Open" button will appear.
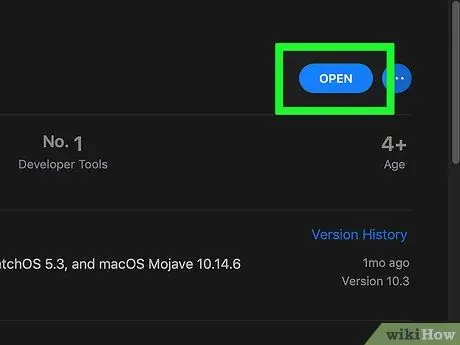
Step 26. Click the Open button to start the Xcode program
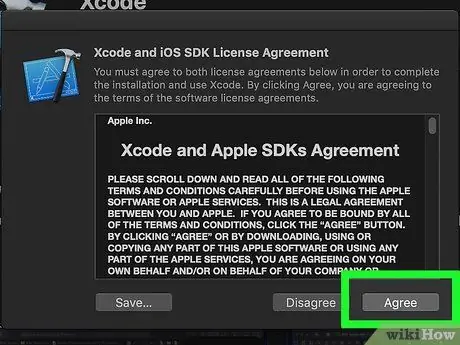
Step 27. Click the Accept button
It is located in the lower right corner of the pop-up window that appears regarding the terms of the license agreement for the program.
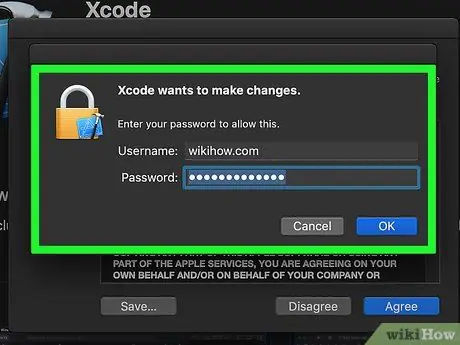
Step 28. Enter your Mac administrator account password to continue
The Xcode program will install some additional features.
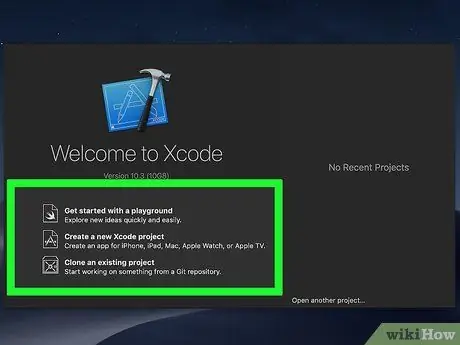
Step 29. Start a new project
- If this is your first time using Xcode, choose the option Get started with a playground to start programming using one of the preconfigured development environments.
- To start a project from scratch choose the item instead Create a new Xcode project.
- If you are asked to enable developer mode on your Mac, click the button OK.
Method 2 of 2: macOS
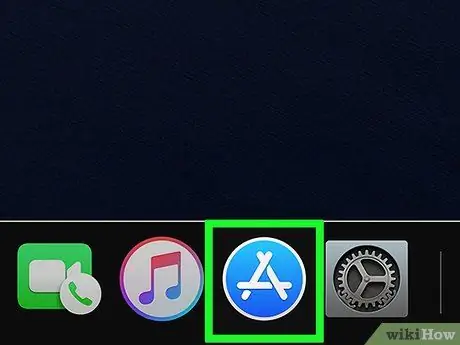
Step 1. Access the Mac App Store by clicking on the icon
It is located directly on the system dock.
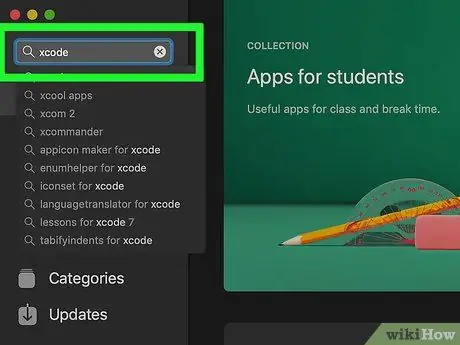
Step 2. Type the keyword xcode into the search bar in the upper right corner of the App Store window and press the Enter key
A list of results will be displayed with all entries matching the searched criteria.
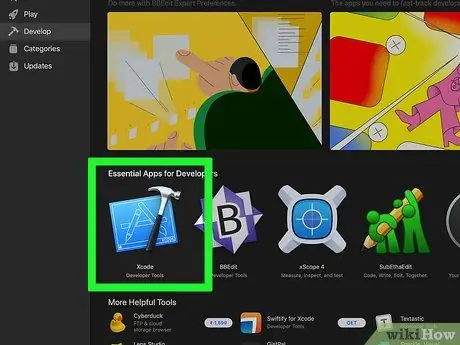
Step 3. Click on the Xcode entry
It should have appeared at the top of the hit list. It features an App Store-like icon with the addition of a hammer.
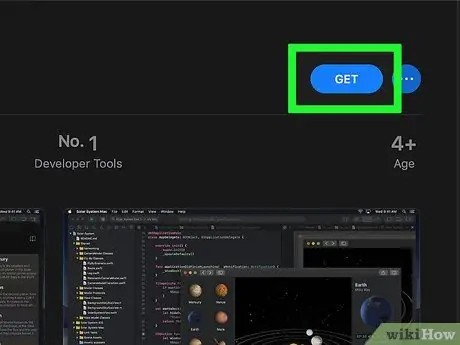
Step 4. Click the Get button
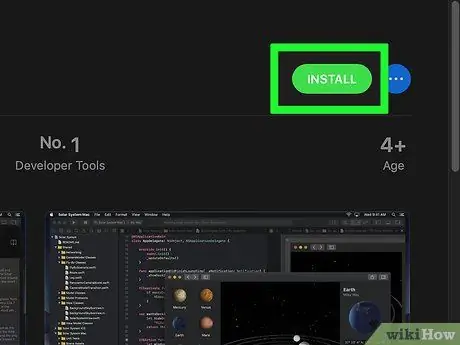
Step 5. Click the Install button
The Xcode app will be installed on your virtual Mac. At the end of the installation the "Install" button will be replaced by the "Open" button.
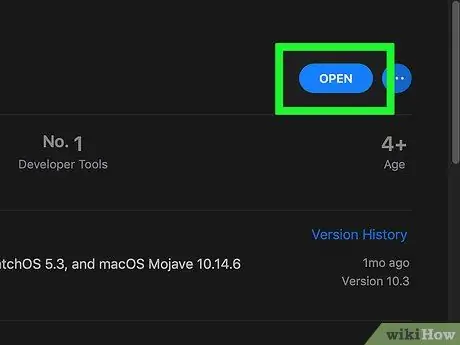
Step 6. Click the Open button to start the Xcode program
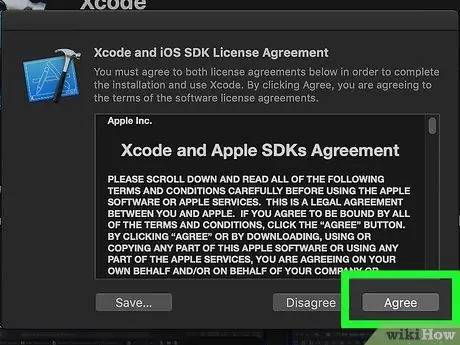
Step 7. Click the Accept button
It is located in the lower right corner of the pop-up window that appears regarding the terms of the license agreement for the program.
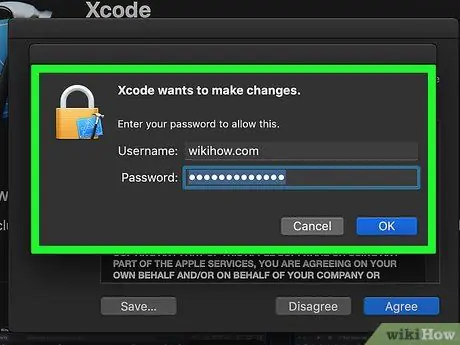
Step 8. Enter your Mac administrator account password to continue
The Xcode program will install some additional features.
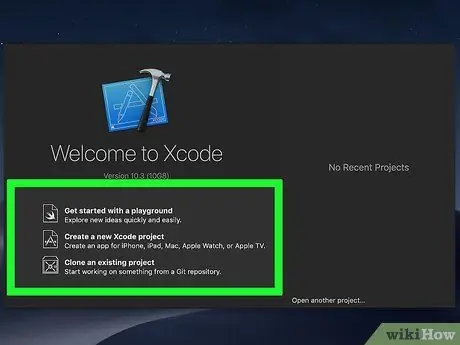
Step 9. Start a new project
- If this is your first time using Xcode, choose the option Get started with a playground to start programming using one of the preconfigured development environments.
- To start a project from scratch choose the item instead Create a new Xcode project.
- If you are asked to enable developer mode on your Mac, click the button OK.


