The Contacts application of your Galaxy S4 can contain a lot of information about each of your contacts. You can choose any picture saved on your phone as your profile photo. You can also sync the app with your Facebook account so that profile pictures are automatically associated with matching contacts, but this requires a slightly more complex method with recent versions of the Facebook app.
Steps
Method 1 of 2: Using Your Own Photos
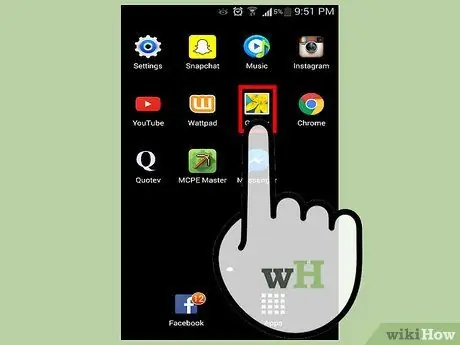
Step 1. Open the Gallery app on your device
You can assign any picture saved on your mobile as a profile photo for your contacts. To do this, open the Gallery app.
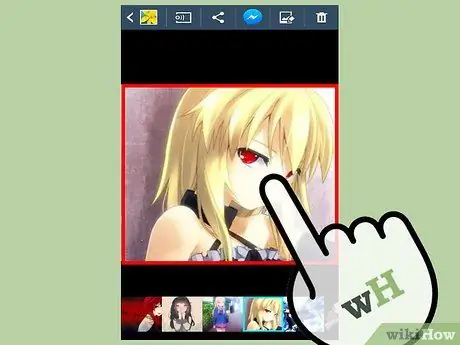
Step 2. Find the picture you want to set as your profile photo
You can choose the one you prefer, but it will be more useful if it is a photo of the person.
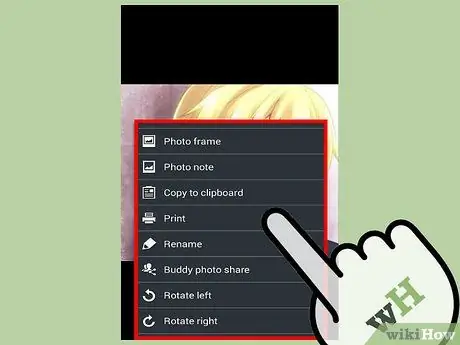
Step 3. Press the Menu button once the photo is open
You will see this button in the lower left corner of your Galaxy S4.
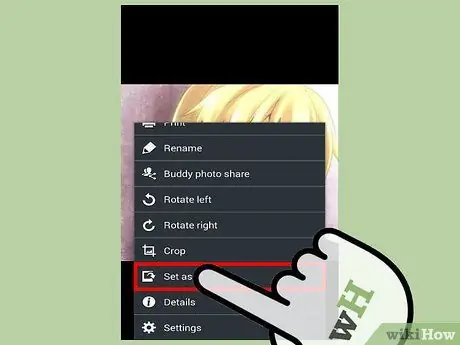
Step 4. Select "Set As" from the menu
A second menu will open.
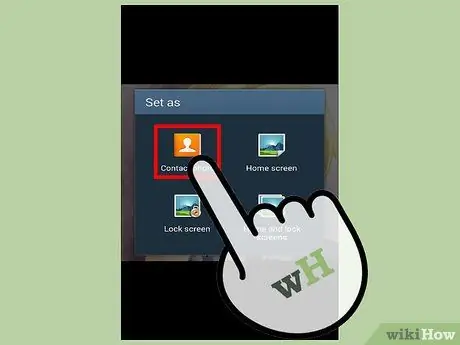
Step 5. Press "Contact Photo"
The Contacts app will open.
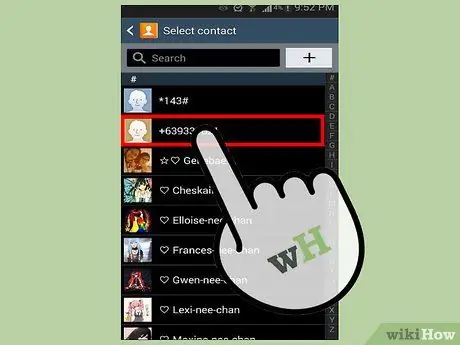
Step 6. Select the contact you want to assign the image to
You can choose one for all the contacts in your address book.
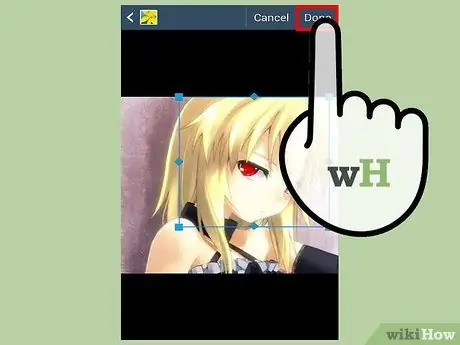
Step 7. Crop the image if necessary, then hit "Save"
Once you have selected a contact, you will be asked to choose the location of the photo and crop it. Align the photo so it is framed correctly, then hit "Save" when done. The new image will be applied immediately.
Method 2 of 2: Using Facebook Photos
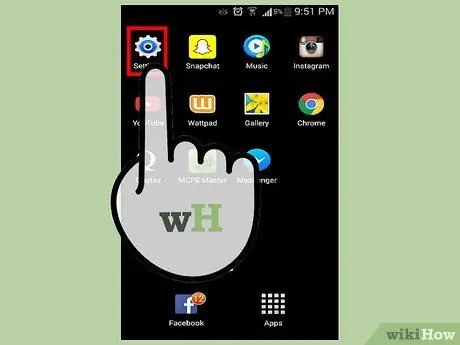
Step 1. Open the Settings app on your device
Facebook has removed the contact sync feature in newer versions of the app, but you can still use it by installing an older version before updating it. To do this, start by uninstalling Facebook from your mobile.
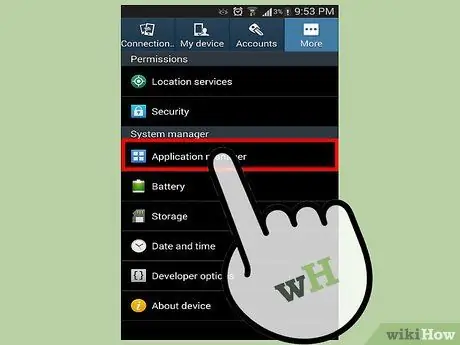
Step 2. Open the App or Applications menu
You will see the list of all programs installed on your device.
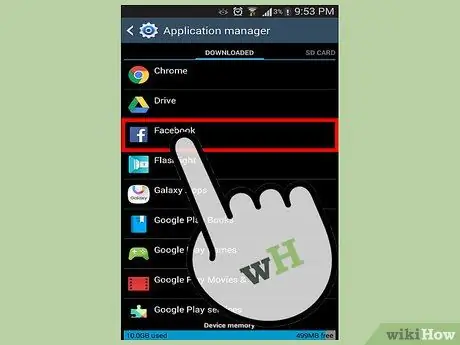
Step 3. Find and select the Facebook app
If you downloaded it, you will find it in the Download section. If it was already on your phone when you bought it, it will be in the All section.
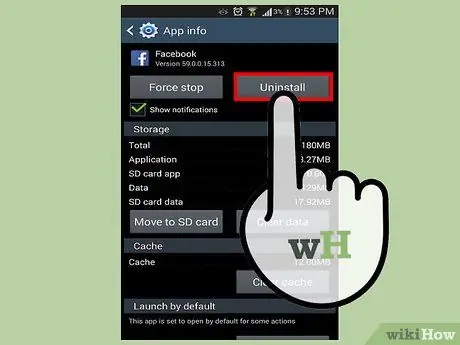
Step 4. Press "Uninstall" or "Uninstall updates"
The first button appears if you downloaded the app, the second if Facebook was already installed in the mobile at the time of purchase. Press the one that appears in your case.
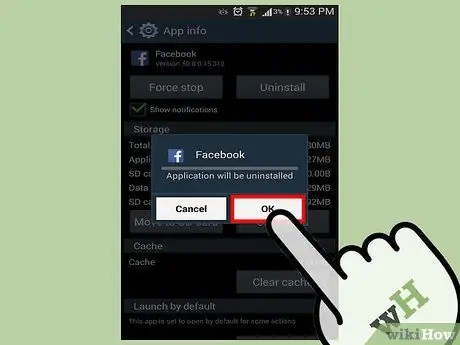
Step 5. Wait for the uninstall operations to finish
It may take a few seconds.
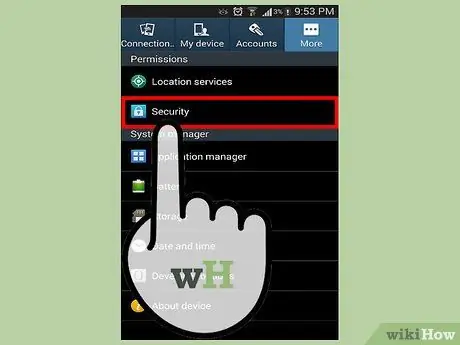
Step 6. Open the Security menu in the Settings app
Go back to the main settings screen and select "Security".
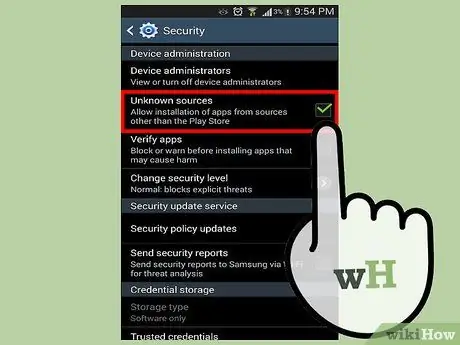
Step 7. Activate "Unknown sources"
This allows you to install applications downloaded from sites other than the Google Play Store. You will be asked to confirm the activation of this setting.
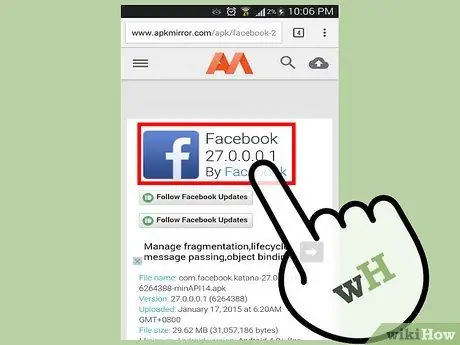
Step 8. Download Facebook version 27 from APKMirror
APKMirror is a reliable site that offers installation files of all versions of the most popular apps. Visit this page with your phone, then hit the Download button to download the APK file. It may take a few minutes to complete the operation.
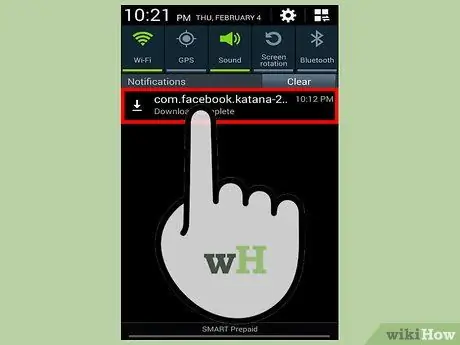
Step 9. Open the APK file you downloaded
You can do this from the notification bar at the end of the download, or by opening the phone's Downloads app, then pressing on the APK file.
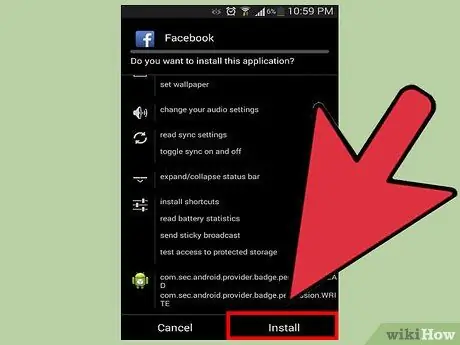
Step 10. Select "Install" when prompted
This will install version 27 of the Facebook app on your device, overwriting the older one if present.
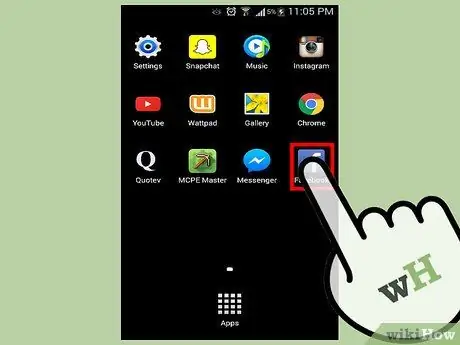
Step 11. Open the Facebook app you just installed and log in
Do not install any available updates until you have completed the sync operation.
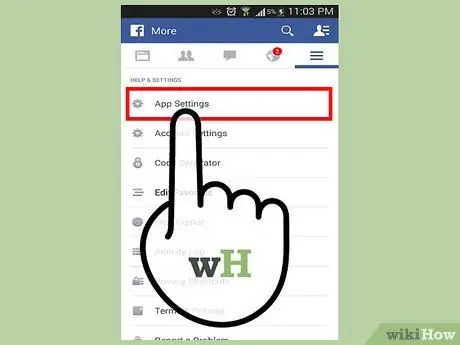
Step 12. Open the app settings
You can do this by pressing the ☰ key, scrolling down and selecting "App Settings".
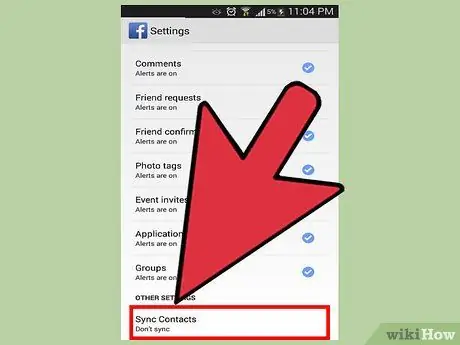
Step 13. Select the "Contact Synchronization" item
This option allows you to choose which contacts to sync from Facebook. You can choose from all your Facebook friends or only those you already have in your address book. Choose the option you prefer.
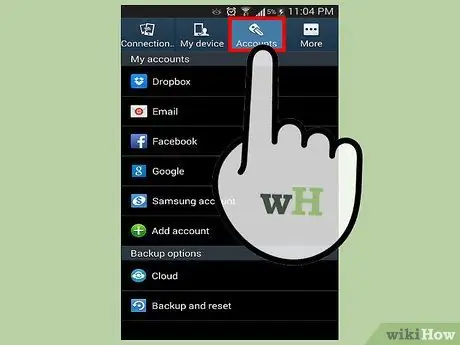
Step 14. Go back to the Settings menu on your device and select "Account"
The list of connected accounts will appear, among which you should see Facebook.
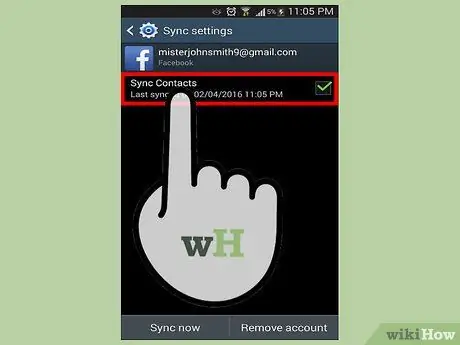
Step 15. Select "Facebook" and turn on "Synchronize contacts"
This will start synchronizing your Facebook contact information with your phone's address book. The pictures of the contacts in both lists will become the photos of their Facebook profiles.
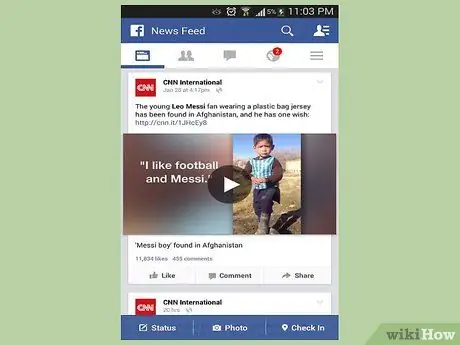
Step 16. Update and use the Facebook app as normal
Now that you've completed syncing your contacts, you can update Facebook to the latest version. The feature you just used will disappear, but your contacts will continue to be synced and updated.


