This article explains how you can edit a text document directly from iPhone. You can edit a file created with Microsoft Office Word using the version of Word for iOS devices. To be able to edit a Word document using the appropriate Office app, you must have an Office 365 account. If you don't have an Office 365 account, you can edit a Word document using the Pages app. You can also use the Google Docs app for iPhone to edit the content of a text file.
Steps
Method 1 of 3: Using Word for iPhone
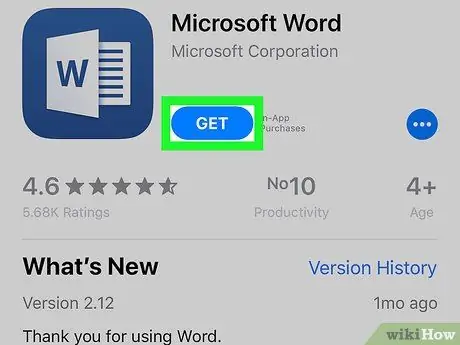
Step 1. Download and install the Word app
It features a blue icon with a stylized text document page and the white letter "W" inside. You can download the Word app directly from the App Store by following these instructions:
- Access the App Store;
- Select the tab Search for;
- Type the keyword Word into the search bar;
- Select the Microsoft Word app;
- Push the button Get.
Step 2. Launch the Word app
You can touch the program icon that appeared directly on the device's Home at the end of the installation or you can press the "Open" button that appeared in the App Store.
You must be signed in with a Microsoft account to be able to edit Word documents. Press the "Sign in" button in the upper left corner of the screen, then enter the email address and password associated with your Office 365 account. If you do not have such a profile, you can edit Word documents using the free Pages app. In this case, follow the instructions described in the second method of the article
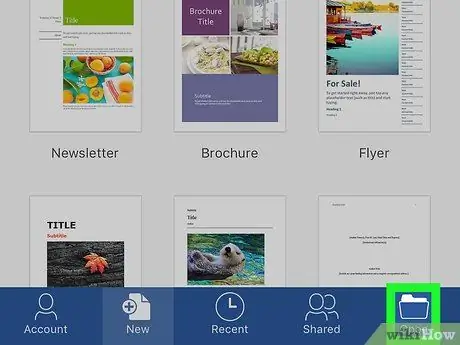
Step 3. Tap the Open item
You can open a Word file stored on a cloud service or directly on the internal memory of the iOS device or received as an attachment to an email message.
- To open a Word document stored on a cloud service, select the "Add a location" option, select the cloud service, then log in with your account. At this point you are able to open any Word document stored on the indicated clouding service.
- To open a Word file received as an e-mail attachment, select the "Other" option, then tap "Open in Word".

Step 4. Tap the text inside the document
This will display the virtual keyboard of the device.
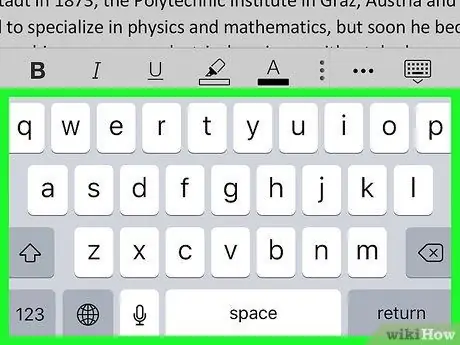
Step 5. Use the keyboard to edit the text of the document
The buttons for changing the text style (bold, italic and underline) are located in the upper right corner of the keyboard.
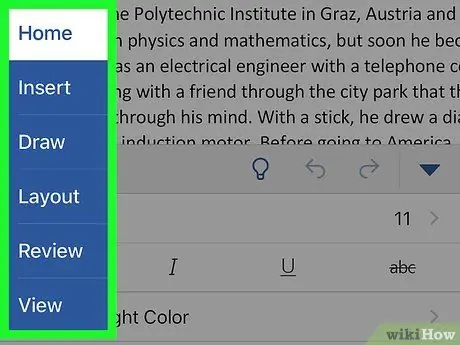
Step 6. Use the tools on the tabs displayed at the top of the screen to edit the document
The Word bar is divided into the following sections:
-
Home:
within this tab you will find the options to change the font, the color of the background and the text, create a bulleted or numbered list and change the alignment of the text (left, right, center or justified);
-
Insert:
allows you to insert tables, images, shapes, links, check buttons and other objects in the document;
-
Drawing:
allows you to draw directly within the document using a digital pen or an Apple Pencil - at the top of the card there are numerous drawing tools to choose from (for example pencil, marker, highlighter, etc.);
-
Layout:
allows you to change the orientation and size of the page and add margins, columns or page breaks;
-
Revision:
allows you to spell check text and count words, track comments and use the "Smart Lookup" search function;
-
View:
allows you to switch from mobile page layout to print layout and to activate the vertical and horizontal ruler.

Step 7. Save the document
After making all the necessary changes, tap the paper icon in the upper left corner of the screen and choose the "Save a copy" option, or tap the "Back" arrow in the upper left corner to exit and save all changes.
Method 2 of 3: Using Pages for iPhone
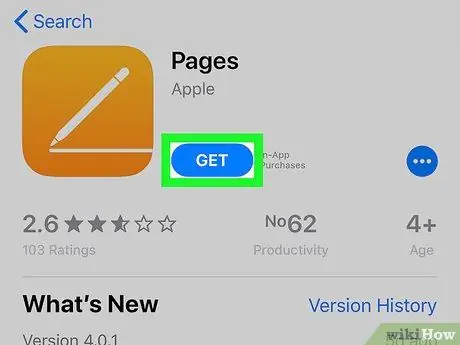
Step 1. Download and install the Pages app
It is a text editor produced directly by Apple for Mac and all iOS devices. It has an orange icon with a pencil on it. You can download it for free on iPhone by following these instructions:
- Access the App Store;
- Select the tab Search for;
- Type the keyword Pages into the search bar;
- Select the Pages app;
- Push the button Get.
Step 2. Launch the Pages app
You can touch the program icon that appeared directly on the device's Home at the end of the installation or you can press the "Open" button that appeared in the App Store.
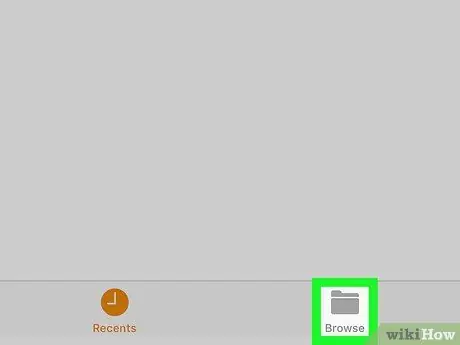
Step 3. Select the Browse option
It is the second tab from the left and is characterized by a folder icon. A menu will appear on the left side of the screen.
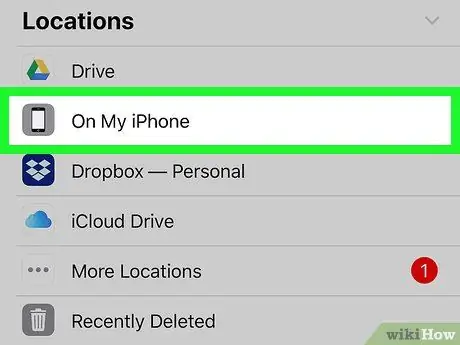
Step 4. Choose the On iPhone item
It is the second option displayed within the "Locations" section of the menu.
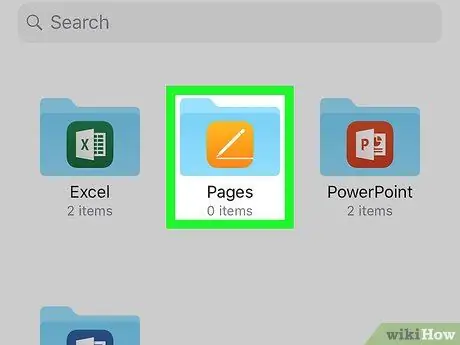
Step 5. Choose the Pages item
It is characterized by a folder containing the Pages app icon.
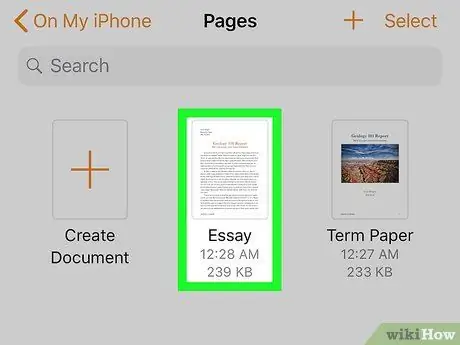
Step 6. Select the document you want to edit and press the Finish button
Using the Pages app, you can view and edit programs created with the same application or with Word. Word documents may not appear formatted correctly when opened with Pages.

Step 7. Tap the text inside the document
This will display the virtual keyboard of the device.
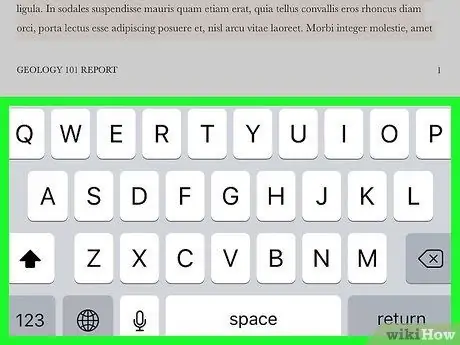
Step 8. Edit the text of the document according to your needs using the keyboard of the device
- Tap the icon with an arrow and a line in the upper left corner of the keyboard to indent text or insert a tab.
- Tap the name of the font in use located in the upper left corner of the keyboard to change the font of the text.
- Select the icon that displays a small "A" followed by a larger "A" at the top of the keyboard to change the size of the text or use the bold, italic, or underline style.
- Tap the icon with a set of lines at the top right of the keyboard to change the alignment of the text.
- Tap the "+" icon on the right side of the keyboard to add a comment, page break, line or column break, bookmark, footnote, or math equation.
- Tap the brush icon at the top of the screen to change the font type, text color, size, paragraph style, text spacing and add a bulleted or numbered list.
- Press the "+" button at the top of the screen to be able to add an image, table, chart or shapes.
- Press the "⋯" button to share the document, export it, print it, perform a text search and change the configuration settings.

Step 9. Press the ⋯ button
It is displayed in the upper left corner of the screen.
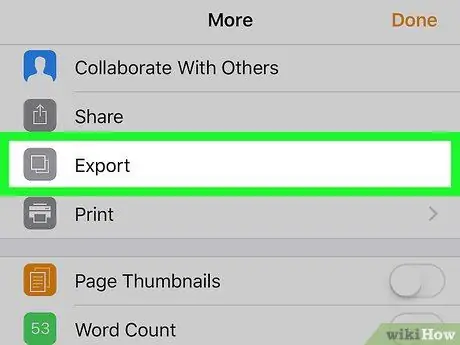
Step 10. Choose the Export option
It is the third item on the menu that appeared.
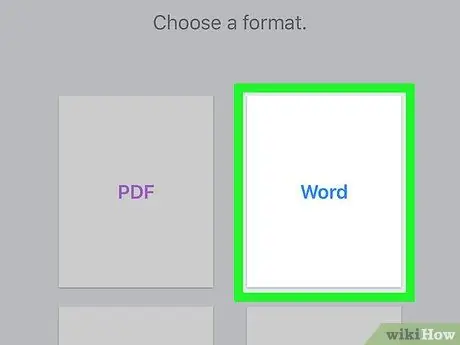
Step 11. Select the format for export
You can export the document in question as PDF, Word file, RTF document (from English "Rich Text Format") or EPUB. Later you will also have the option to share the document in different ways.
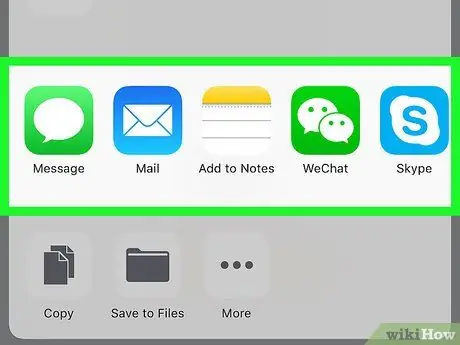
Step 12. Select how to share your document
You can choose to email it or send it as a message or save it within the Files app.
Method 3 of 3: Use Google Docs for iPhone

Step 1. Download and install the Google Docs app
This is the text editor created by Google. The mobile application features a blue stylized sheet icon. Follow these instructions to install it on your device from the App Store:
- Access the App Store;
- Select the tab Search for;
- Type the keywords google documents into the search bar;
- Select the Google Docs app;
- Push the button Get.
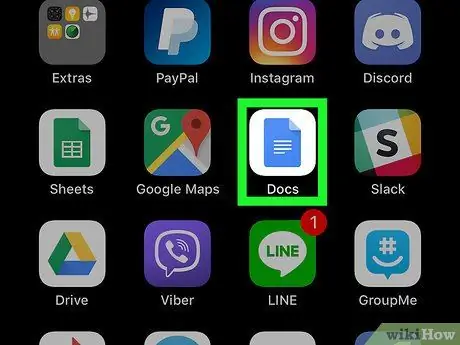
Step 2. Launch the Documents app
You can touch the program icon that appeared directly on the device's Home at the end of the installation or you can press the "Open" button that appeared in the App Store.
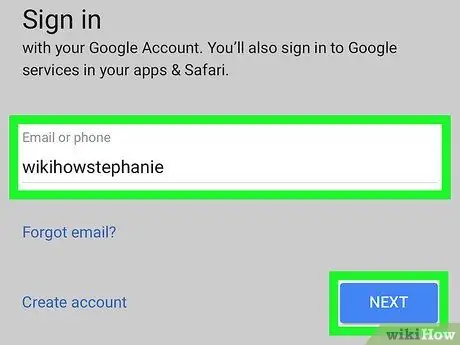
Step 3. Log in using your Google account
In order to use the Docs app, you must log in with your Google account. Press the "Sign in" button in the lower left corner of the screen, then log in by typing in the email address and password associated with your Google account.
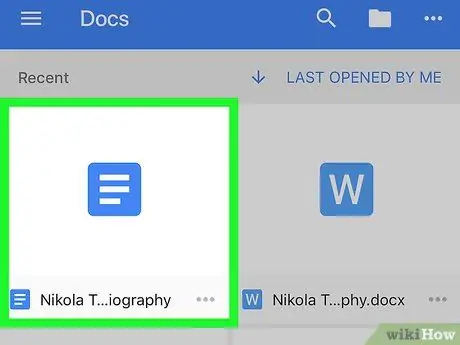
Step 4. Open the document to edit using the Documents app
Recent documents will be listed within the program's home screen. You can also select the folder icon in the upper right corner of the screen to be able to open a document stored in Google Drive.
The Google Docs app cannot edit files created with Microsoft Word. However it does have the functionality of exporting a document in DOCX format

Step 5. Tap the pencil icon
It is blue in color and located in the lower right corner of the screen. The virtual keyboard of the device will be displayed.
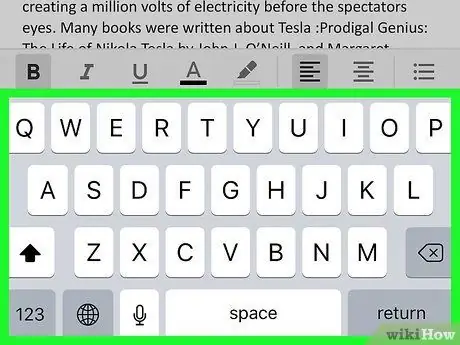
Step 6. Type the text you want using the device keyboard
You can use it to edit existing text or to insert other text. Use the buttons displayed at the top of the screen to change the style of the text: bold, italic, underline or strikethrough. You also have the option to change the text alignment, insert a bulleted or numbered list, or indent the text.

Step 7. Press the + button
It is located in the upper right corner of the screen and allows you to add links, comments, images, tables, horizontal lines, page breaks and document page numbering.

Step 8. Tap the "A" icon with lines on the right side
This tool allows you to change the formatting of the text. The "Text" tab offers the possibility to change the font type, style, text size and color. The "Paragraph" tab allows you to change the alignment of the text, indent it, add a bulleted or numbered list, and change the spacing.

Step 9. Press the… button
This menu offers the ability to view the print layout of the file, the margins of the document, use the find and replace function, count the words that make up the document, change the page settings and share or export the document.
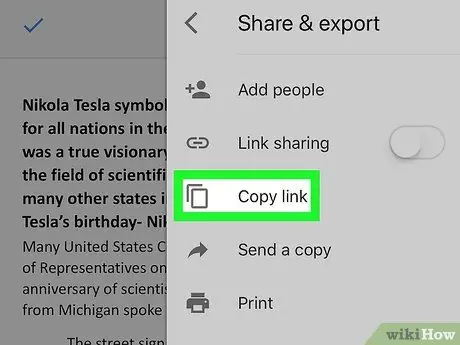
Step 10. Share the text file
Follow these instructions to share the document:
- Press the "…" button located in the upper right corner of the screen;
- Choose the item "Share and export";
- Touch the "Share" item;
- Type the e-mail address of the people you want to share the file with in the "People" field;
- Tap the paper airplane icon located in the upper right corner of the pop-up window that appears;
- You can also use a link to share the file by selecting the "Copy Link" option and sending the copied link to the people you want to share the document with using an email, text message or instant messaging app.

Step 11. Save the document
To save the changes you have made to the file, tap the check mark icon located in the upper right corner of the screen. This will close the document and all changes will be saved.


