Masks are not only used on Halloween - with the right mask, you can add a touch of joy and celebration to Easter, Carnival, children's parties and many other occasions. Historically, masks have always been made with virtually any possible material - from stone to wood, from gold to plastic. Nowadays, it's easy to build a beautiful mask with nothing more than a piece or two of colored cardboard, glue and scissors.
Steps
Method 1 of 2: Construct a Single Color Theatrical Mask
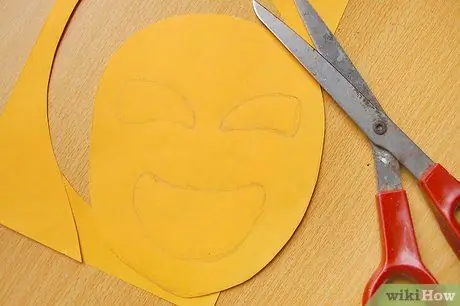
Step 1. Cut a shield-shaped figure from colored construction paper
These instructions show how to make a mask that resembles the "comedy" and "tragedy" masks that are often used to symbolize the theater. Although the expression on each of these masks is different, the overall shape is the same - roughly that of a blunt shield or coat of arms. Cut this figure out of your piece of construction paper. It is best to use most of the paper, so that your mask is large enough to cover your face.
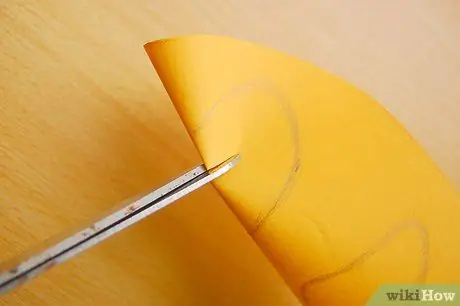
Step 2. Make two large commas for the eyes
The eyes in comedy and tragedy masks have the same shape - a rounded comma or a crescent shape with a thicker side and a thinner side. However, based on which mask you are making, change the position of this shape. For comedy, cut the commas in the mask so that the thickest side is facing out. In this way you will imitate the cheerful and raised cheeks of a laughing face. For the tragedy mask, cut the commas so that the thicker sides point inward to imitate the frown of a sad or dismayed face.
Either way, make the eyes by gently folding the mask so that you can cut the gaps in the center of the paper without having to cut the sides as well
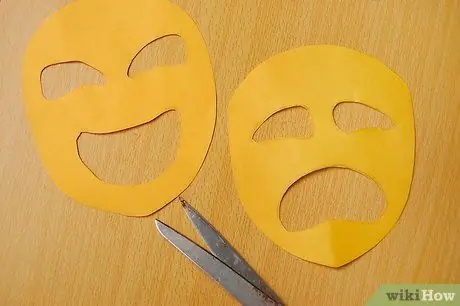
Step 3. Cut a bean-shaped figure to make the mouth
As for the eyes, the basic shape of the mouth in both masks is the same, but the orientation changes. To make the comedy mask, draw a smile by cutting a bean curved upwards. To make the tragedy mask, turn the bean shape upside down to create a frowning expression.
Again, for both masks, fold the paper and make a small cut in the center of the shape, to be able to cut out the mouth without having to cut one side of the mask as well
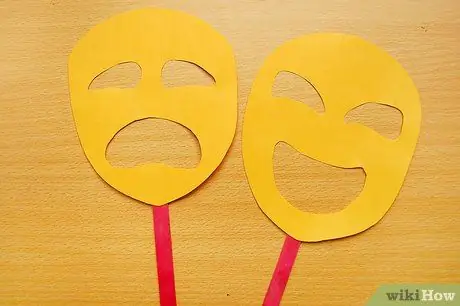
Step 4. Attach a popsicle stick to the mask
Often the tragedy and comedy masks are depicted attached to a stick that the actors can use to hold them in front of their faces. You can recreate the effect with a popsicle stick - simply glue the stick to the bottom or side of your mask, so you have a handle to hold it with.
If you don't have popsicles in the freezer, you can buy sticks for a little at a craft store or you can simply use a wooden dowel or even a disposable cutlery if necessary
Method 2 of 2: Construct a Funny Multicolored Mask
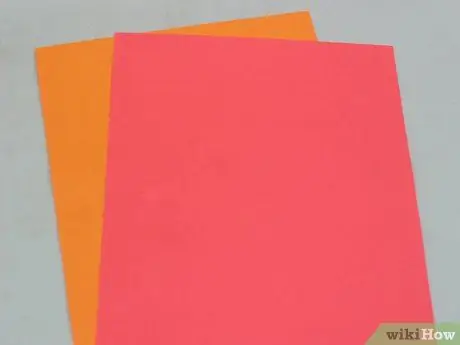
Step 1. Get three or four different colored cardstock
In these instructions, three or four different colored sheets of cardboard are used to build a fun mask. You should only need one standard sheet of each color. To make this mask you also need normal white paper for the eyes, but it is rather important to use cardboard as a base material because it is more resistant.
Making a mask from a single piece of cardboard is possible, but using different sheets as a base you can choose the color combinations you prefer
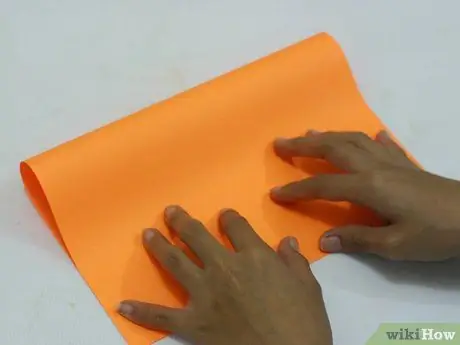
Step 2. Fold a piece of construction paper in half and cut the underside
Masks can be of all shapes and sizes. This one in particular is oval, like a real human face. To make this oval shape, fold one of your pieces of cardstock in half, then make curved, rounded cuts at the corners opposite the fold. When you reopen it, your cardstock should have a symmetrical oval shape.
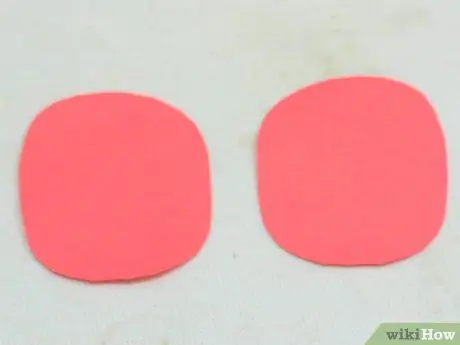
Step 3. Make two small ovals from your second piece of construction paper
Cut the second sheet of construction paper in half by folding it in the center and cutting along the fold. Then make two small ovals using the same method from the previous step with each of the cardboard halves: fold in half, then with a curved cut remove the corners opposite to the fold.
These ovals aren't exactly the eyes - rather, they're the eye contour. Then make these ovals a little bigger than the size you want to give the eyes
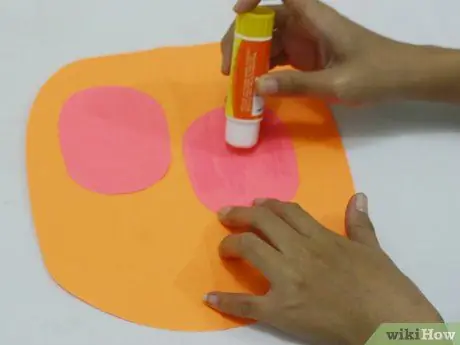
Step 4. Glue these little ovals to the face where you want the eyes to be
Secure them to the mask with glue, sticky glue, tape, or any kind of similar adhesive. Make sure they line up, unless you want your mask to have crooked eyes.
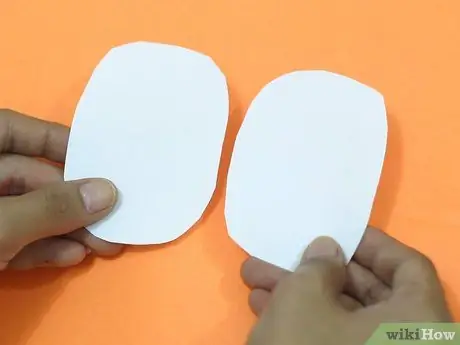
Step 5. Cut two ovals from a sheet of white paper and add them to your mask
Take a sheet of white paper - you can use white card stock, but standard copier paper is fine - and cut it into two ovals using the technique described above. These ovals will be the eyes, so make them a little smaller than the outline you already glued to the mask. When your white ovals are ready, glue them in the center of the larger outlines you have already attached to the face.
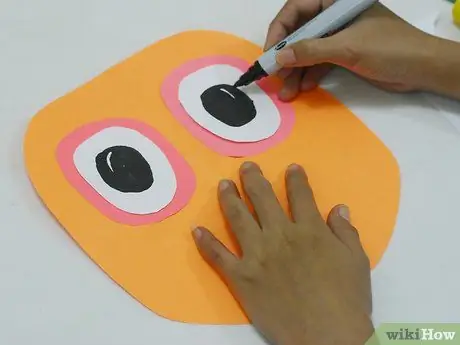
Step 6. Draw the pupils of the eyes
Use a black pen or marker to make the pupils of your mask (the black circles in the center of the eye). The pupils will not only make the mask look more realistic, but will also help hide the holes you will need to add in order to see through the paper.
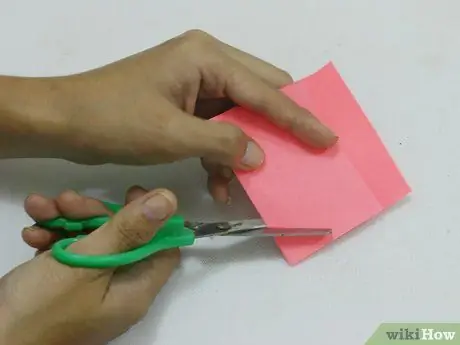
Step 7. Cut a nose from the paper left over after you have made the eye outlines
To make the nose, use the same technique you already used to make the ovals, then add small marks to draw the nostrils. Alternatively, you can use a simple triangle or a more realistic curved shape - you choose.
When you are done making the nose, use the glue to secure it in the center of the face, under the eyes
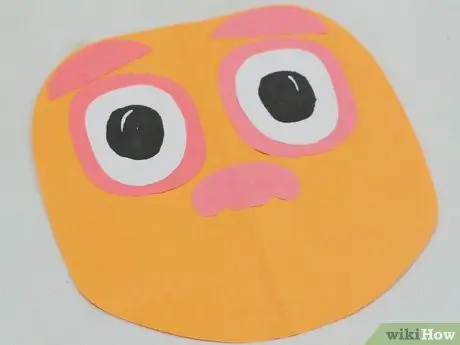
Step 8. Cut a couple of thin strips of construction paper to make the eyebrows
Use the remaining paper after you've made the eye outlines to create two eyebrows for your mask. Glue the eyebrows over the eyes. When it comes to the shape there are so many possibilities - you can do thin, thick, curved, or even zigzag eyebrows.
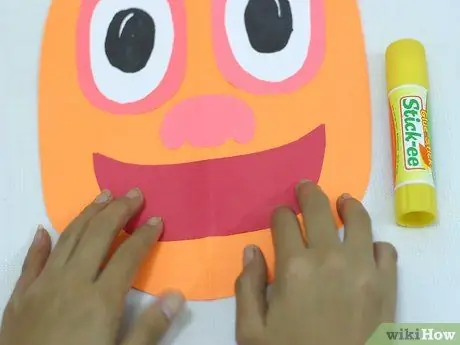
Step 9. Cut the mouth out of the third piece of construction paper
Fold the third card in half. Cut a curved scimitar or cornucopia shape from the paper, leaving it thicker near the fold and thinning it more and more as you get closer to the end of the folded paper. Once you open the paper, it should create a smiling mouth (or if you turn it around, a frown). Glue it to the mask, under the nose.
If you have some white paper left after you cut out your eyes, you could use it to make small square teeth for your mouth
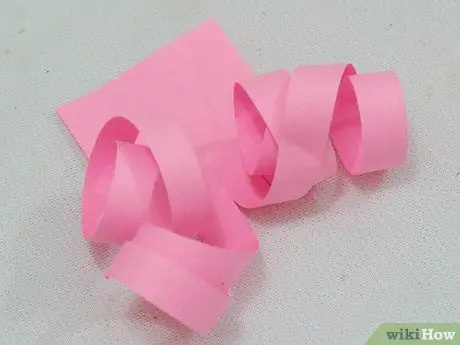
Step 10. Make your mask hair using curled strips of paper
Take a square piece of paper in the color of your choice and cut long strips. Stop your cuts right before the end of the paper - in other words, don't cut the strips at all. Then use scissors to curl the paper - place one blade of the scissors against the paper, then pull it firmly along the length of the strip. This process is the same as used for curling ribbons.
To speed up this step, it is best to stack two sheets of paper on top of each other before each step. In this way, you can cut identical strips from two sheets of paper at the same time, curl two sheets of paper at the same time, etc
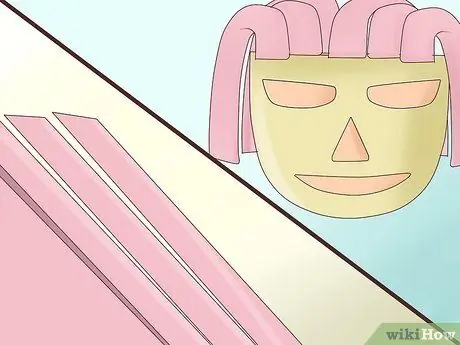
Step 11. Trim the "hair" to the length you want, then glue it to the mask
Cut your hair strips to the length you want, then glue them to the top side of the mask to give it lots of thick curls. If your mask hair is particularly curly, you can use it for sideburns as well, and if it's especially short and straight, you can make a nice mustache.
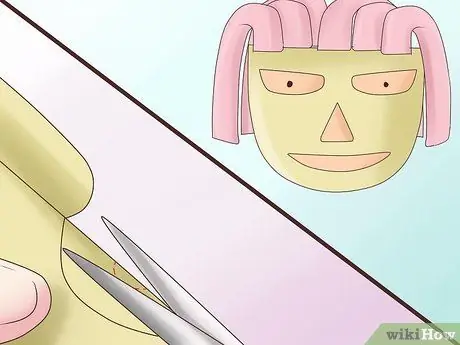
Step 12. Make eye holes in your mask
Make a small hole in the center of each eye so that you can see through it when wearing your mask. You can do this by gently folding the mask at eye level and using a pair of scissors to cut semicircles in the center, which once unfolded the paper will become small circles. You can also use a hole punch if you have one handy.
Step 13. Use a string to make a headband
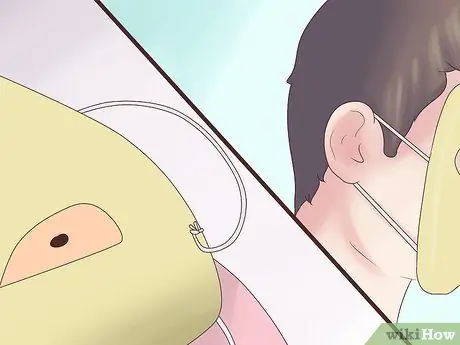
To be able to wear the mask, try to make a small hole in each side of the face and tie a string from one side to the other, going from behind. Thread this string over your head to create an impromptu headband.


