If you have a backward compatible PlayStation 3 (PS3) model, you can also use the Sony home console to play your favorite PlayStation 2 (PS2) games, just like you do with the native ones. Conversely, if your console isn't compatible with games made for PS2, you can download many of the most successful titles directly from the PlayStation Store. If you are the owner of a modified PS3, you can use it to play any video game produced for PS2, even in the case of titles that are not normally officially supported.
Steps
Method 1 of 3: Use a Backward Compatible PS3
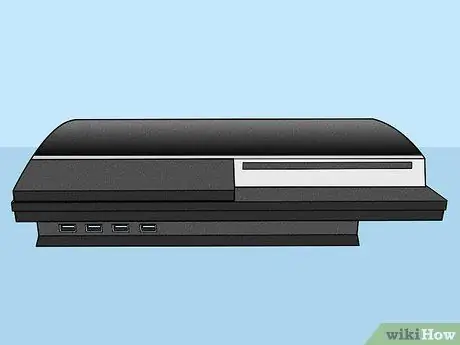
Step 1. Check your console to determine if it is a "fat" PS3
The original PS3 model (the first version launched on the market) is often referred to as "fat" precisely because of its rounded design. Only the "fat" version of the PS3 supports backward compatibility with PS2 titles, but not all consoles produced offer this feature. Conversely, the "slim" and "super slim" versions of the console are not compatible with PS2 titles.
- If you don't have a backward compatible PS3, the only way you can play PS2-made titles without having to change the console's firmware (by "jailbreaking") is to purchase and install games available from Sony's PlayStation Store.
- In order to play your PS2 video games on your PS3, you can jailbreak them. This console modification invalidates its warranty and may cause your account to be banned from PlayStation Network.
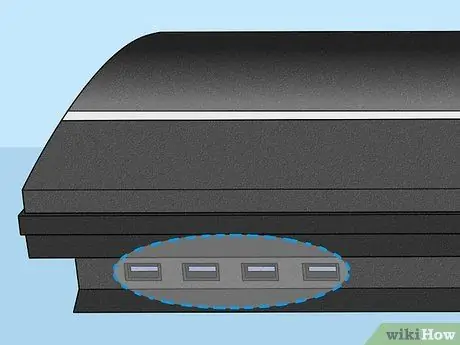
Step 2. Check the number of USB ports on your "fat" PS3
Backward compatibility is only present on PS3 consoles in the "fat" version, but unfortunately not all are. If you have a "fat" PS3, check the number of USB ports on the front of the console. If there are 4 USB ports, your console is backwards compatible. If there are only 2 USB ports, your PS3 cannot read optical media made for PS2.
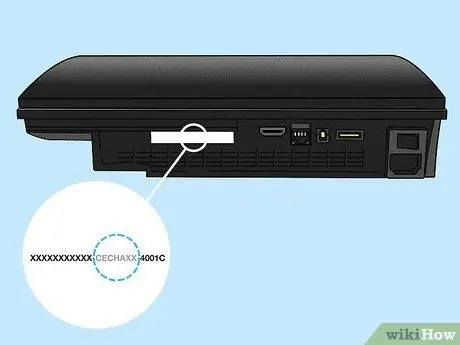
Step 3. Check the serial number
Check the sticker on the back of the console. The last digits of the serial number provide the information you need to understand if your console model implements full hardware backward compatibility (i.e. supports all PS2 titles) or software (i.e. supports a limited number of PS2 games).
- CECHAxx (60GB) and CECHBxx (20GB): Full hardware backward compatibility.
- CECHCxx (60 GB) and CECHExx (80 GB): software backward compatibility through emulation (in this case the execution of some titles for PS2 could give problems).
- CECHGxx and later numbering: These console models do not support backwards compatibility.
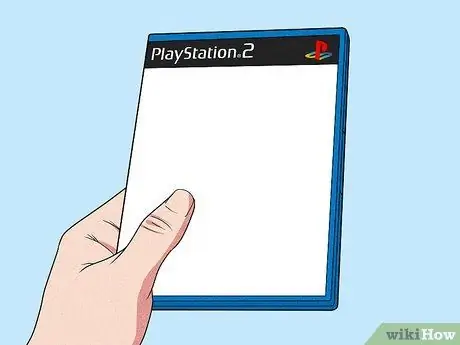
Step 4. Check if the title you want to use is compatible with the console
While, normally, to play your desired PS2 title, you just insert the relevant disc into your PS3's optical drive and start playing, some games have known backward compatibility issues. These problems occur more frequently in the case of PS3 models marked with the following serial numbers CECHCxx (60GB) or CECHExx (80GB), as they implement backwards compatibility via software instead of hardware emulation. Check out this guide for the complete list of PS2 video games supported by the various PS3 "fat" models.
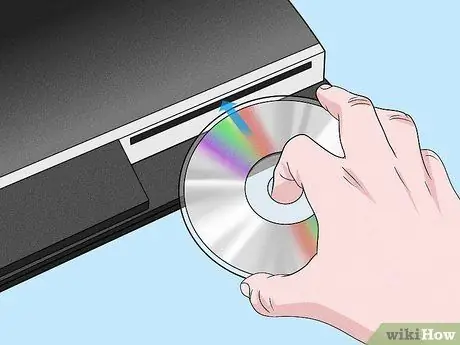
Step 5. Insert the PS2 title disc into the PS3 optical drive
If the video game you want to play is compatible with your PS3 model, you can use it like any other native title produced for your console. The title will run automatically and you will see the classic PlayStation 2 logo appear on the screen.
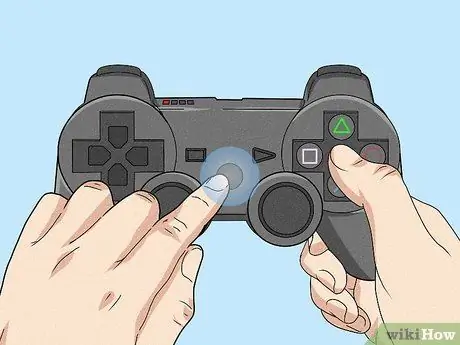
Step 6. To activate the game controller, press the "PS" button
When the chosen PS2 title starts loading, you will be prompted to plug in the console controller. To do this, press the "PS" button on the PS3 controller and assign it to "Slot 1". This way the title you are using will detect your DualShock 3 or SixAxis controller and allow it to be used.
Using a third-party PS3 controller may not be able to play some PS2 games properly. If that's the case, try using an original controller
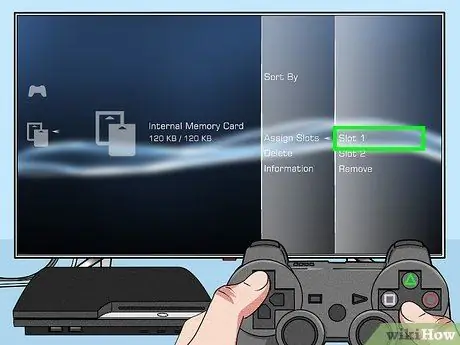
Step 7. Create a virtual memory card for PS2
In order to save your game progress, you need to create a virtual PS2 memory card, so that the title you are playing can handle it as if it were a physical memory card. You can do this directly from the PS3 XMB menu.
- Press the "PS" button on the controller to access the XMB menu.
- Access the "Game" menu, then choose the "Memory Card Utility (PS / PS2)" item.
- Select the "Create New Internal Memory Card" option, then choose the "Internal Memory Card (PS2)" option.
- Assign the new virtual memory card to "Slot 1". This way the title you are playing will be able to access the memory card, as if it were a normal physical memory card.
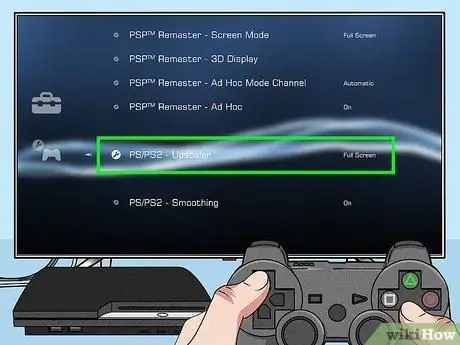
Step 8. Change the settings related to playing PS2 games
The backward compatibility of the PS3 gives the user the ability to change some settings related to the PS2 environment. Using this can improve the picture quality of PS2 titles:
- Access the "Settings" menu of the XMB interface, then select the "Game Settings" item.
- Choose the desired configuration for the "PS / PS2 Resolution Enhancer" item. This feature adapts the images of old PS2 titles so that they can be perfectly adapted to the resolution used by the screen connected to the PS3. In the case of the "Disable" option, the original resolution of the video game is used, sometimes generating annoying black bands on the screen while using the various PS2 titles. The "Normal" option increases the resolution of the images to match that used by the screen. The "Full Screen" option allows you to view the content in full screen with an aspect ratio change and an image stretch. If your images are distorted when this feature is on, choose the "Disable" option.
- Configure the "PS / PS2 Smoothing" item. This feature attempts to reduce the roughness found in PS2 title images. The results are much more evident in video games that use 3D graphics. In some cases, this function can generate a result that is not visually perceptible or even reduce the quality of the images.
Method 2 of 3: Buy PS2 Classic Titles
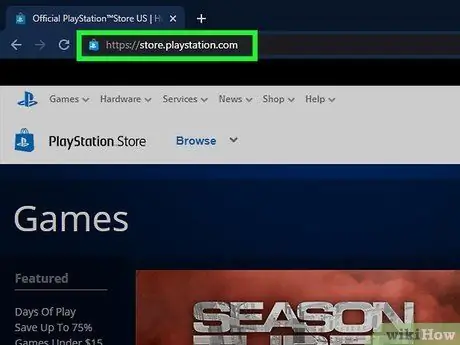
Step 1. Log in to the PlayStation Store
You can do this directly from your PS3 or by accessing the store.playstation.com website using your computer or mobile device.
PS2 Classic titles purchased from PlayStation Store can be played on any PS3 system, even if it does not support backwards compatibility
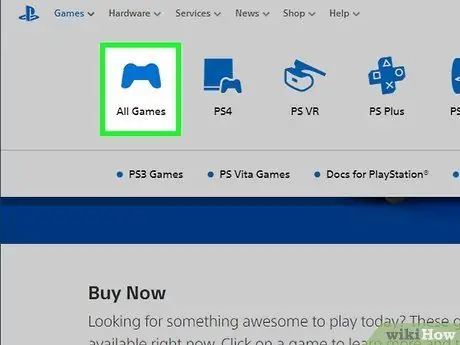
Step 2. Go to the "Games" section of the store
You will have several categories to choose from.
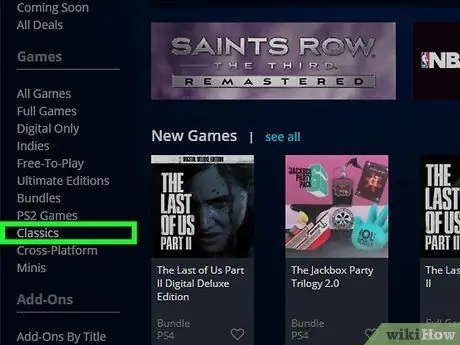
Step 3. Select the "Classic" category
In order to locate it, you may need to scroll down the list.
Note: If you are browsing the store via the website, the "PS2 Games" option only refers to titles compatible with the new PS4 console
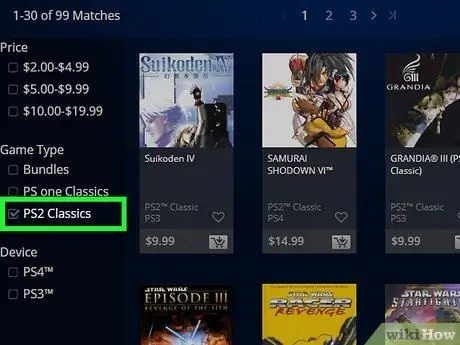
Step 4. Select the "PS2 Classic" checkbox
The search results will be filtered to make visible only the titles belonging to the "PS2 Classic" series.
"PS One Classic" titles are also available for PS3
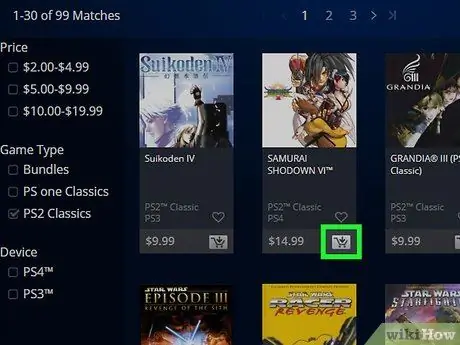
Step 5. Add all the games you wish to purchase to your cart
The selection of games available for purchase varies depending on the country you access the store from. Remember that not all PS2 games are available as "PS2 Classic" titles.
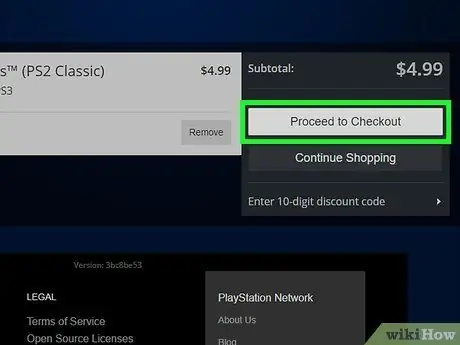
Step 6. Buy a video game
Only after you have entered all the titles you wish to purchase in your cart will you be able to proceed with the payment. You can complete the purchase using one of the valid payment methods associated with your account or using the credit present in your virtual wallet, which can be recharged through prepaid gift cards.
Check out this guide for more information on how to add a new payment method to your PlayStation Store account
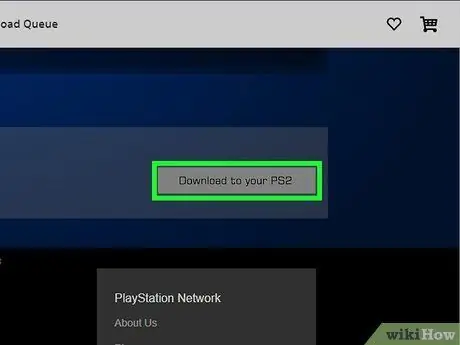
Step 7. Download your newly purchased PS2 titles
After completing the payment, you will be able to proceed to download the purchased games. You can start downloading files directly from the purchase confirmation page or by accessing the "Download" section of the Store.
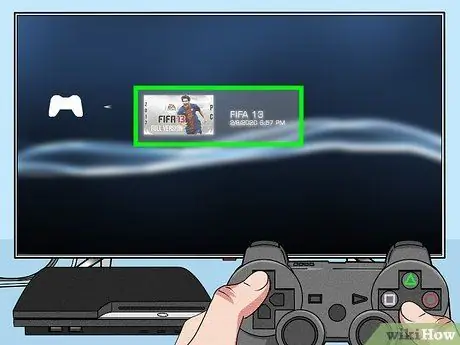
Step 8. Play your new video games
The "PS2 Classic" titles will be listed in the "Games" section of the XMB interface, along with any other titles installed on the console. Select the game you want to play, then start playing it.
Step 9. Create a virtual memory card for PS2
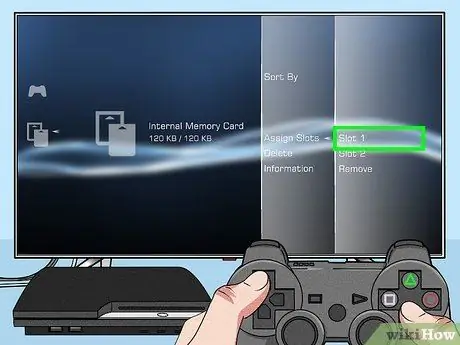
In order to save the game progress of your "PS2 Classic" titles, you need to create a virtual PS2 memory card. You can do this directly from the PS3 XMB menu.
- Press the "PS" button on the controller to access the XMB menu.
- Access the "Game" menu, then choose the "Memory Card Utility (PS / PS2)" item.
- Select the "Create New Internal Memory Card" option, then choose the "Internal Memory Card (PS2)" option.
- Assign the new virtual memory card to "Slot 1". This way the "PS2 Classic" title you are playing will be able to access the memory card, as if it were a normal physical memory card, allowing you to save your progress.
Method 3 of 3: Use a Modified PS3
Step 1. Jailbreak your PS3
If you already have a modified PS3, you can safely use it to play most PS2 titles. Remember that, in addition to being quite complicated, the procedure for jailbreaking your PS3 voids the warranty of the console and exposes you to the risk of being expelled (in jargon "banned") from the PSN community. Search the web for more information on how to modify your PS3, without forgetting that all the operations you perform are at your own risk.
You need to use a file manager like "multiman", the most used by users who have modified their PS3s. This is the file manager that is used by most packages for installing modified firmware
Step 2. Insert the PS2 disc into your computer
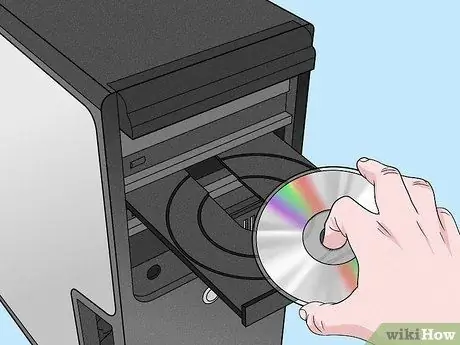
Even by modifying your PS3 you will not be able to play PS2 titles directly from optical media, you will still have to create an ISO image file that will be read by a PS2 Classics software emulator, which will allow you to play the selected title as if it were a video game from the "PS2 Classic" series. You have to go through the entire procedure using your computer, then transfer the resulting file to your PS3.
Step 3. Create an ISO image from PS2 title disc
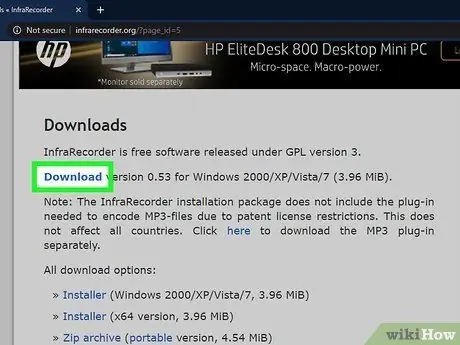
To do this, you need to use a dedicated program.
- On Windows: Download and install "InfraRecorder", it is a free and open-source ISO image creation software. Press the "Read Disc" button, then follow the on-screen instructions to create an ISO file of the selected optical media.
- On Mac: start the "Disk Utility" application located in the "Utilities" folder. Go to the "File" menu, choose the "New" option, then select the "Disk Image From" item. Store the resulting image file on the desktop. At the end of the procedure, a file in "CDR" format will be created. Open a "Terminal" window, then type the following command: hdiutil convert ~ / Desktop / original_filename.cdr -format UDTO -o ~ / Desktop / converted_filename.iso. This last step is used to convert the image file from the "CDR" format to the classic "ISO" format.
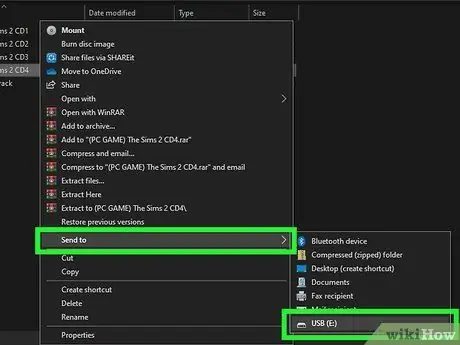
Step 4. Transfer the ISO file to the PS3
You can do this using a USB stick or an FTP client. Use "multiman" to copy the file into the console "dev_hdd0 / PS2ISO" folder.
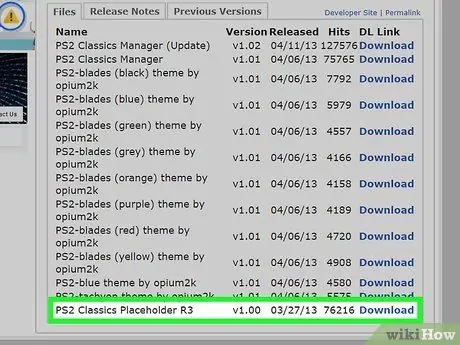
Step 5. Download the necessary tools compatible with the firmware version installed to be able to run the ISO files
You need to use two different packages, which must be installed on the PS3. Search Google using the following keywords:
- "ReactPSN.pkg".
- "PS2 Classics Placeholder R3".
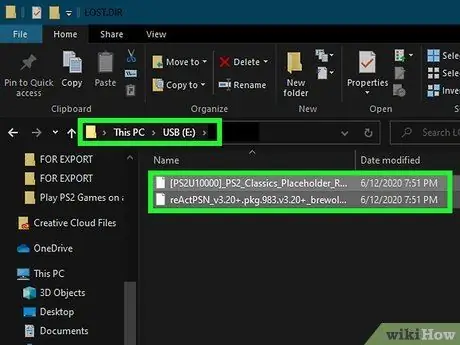
Step 6. Transfer the two files you just downloaded to the root directory of your USB stick
Copy the file "ReactPSN.pkg" inside the USB device, then extract the contents of the "PS2 Classics Placeholder R3" archive so that the elements [PS2U10000] _PS2_Classics_Placeholder_R3.pkg (file), exdata (folder) and klicensee (folder) appear in the root directory. Remember that all the items listed will need to be copied to the root folder of the USB drive you are using and not to a subfolder.
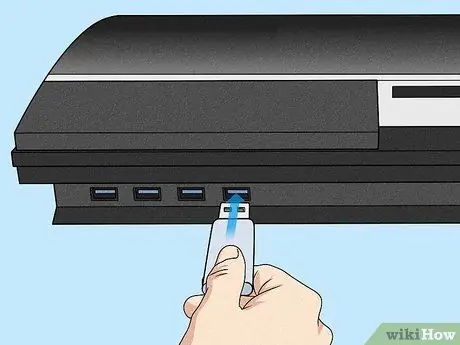
Step 7. Insert the USB drive into the USB port on the far right of the PS3
This is the USB port closest to the Blu-ray player.
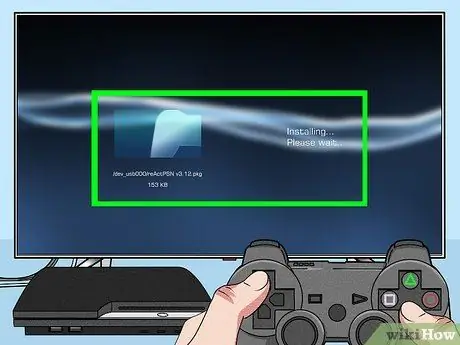
Step 8. Proceed by installing "ReactPSN"
To do this, select the relevant installation file on the USB key. At the end of the installation you should find it in the "Game" section of the menu. Do not start the program for now.
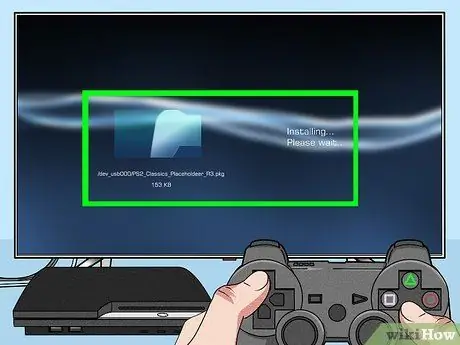
Step 9. Install the "PS2 Classics Placeholder R3" program
Follow the same procedure to install the "PS2 Classics emulation wrapper" software on the PS3.
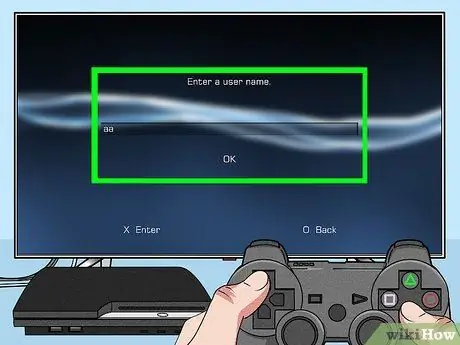
Step 10. Create a new account to log into the console called "aa"
This user profile is required to proceed with the installation process.
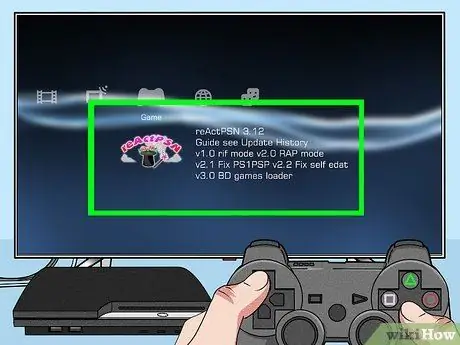
Step 11. Run the "ReactPSN" program found in the "Game" menu
After a few moments the PS3 will automatically restart and the newly created "aa" profile will be renamed to "reActPSN v2.0 1rjf 0edatr" or something similar.
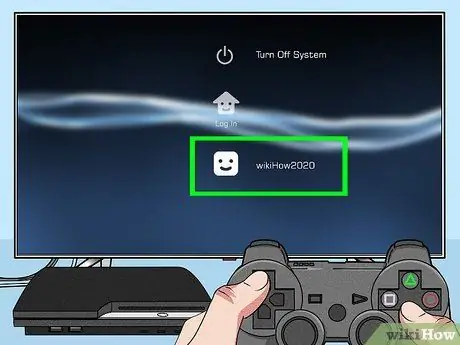
Step 12. Log into the console using your regular user profile
You do not need to use the new profile you just created, you can continue to use the same personal one.
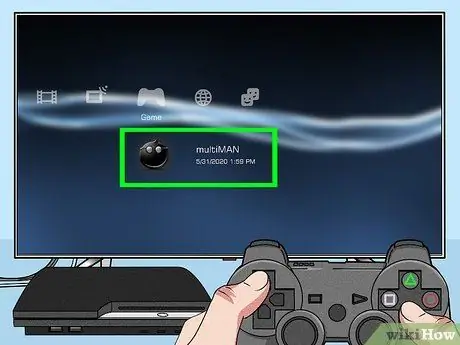
Step 13. Start "multiman" and select the "Back" section
This is the folder where you find all old titles, including PS2 video games.
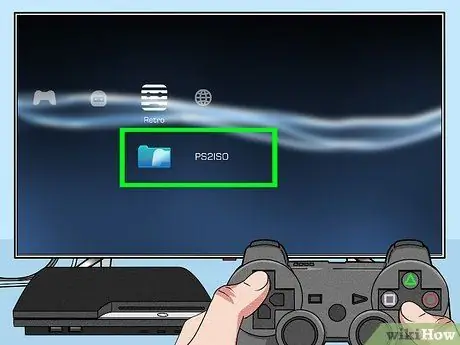
Step 14. Go to the "PS2ISO" folder
A list of all the ISO files that you have copied to the PS3 from your computer will be displayed.
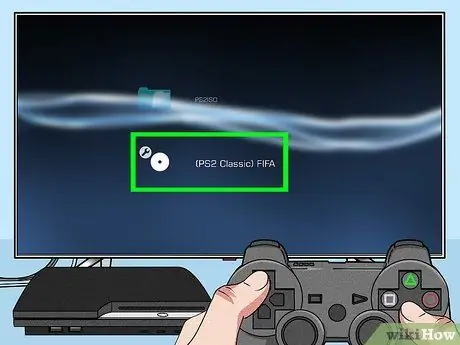
Step 15. Choose the title you want to play
"Multiman" will start processing the indicated ISO file to convert it into an executable file from the console. This step may take some time. After the conversion process is complete, the prefix "PS2 Classics" will have been added to the file name.
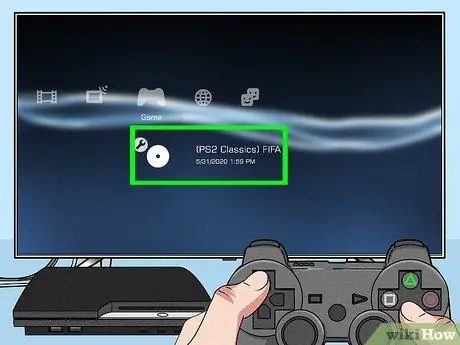
Step 16. Select the newly converted file to upload it to the console's XMB menu
When finished you will be redirected to the PS3 XMB menu.
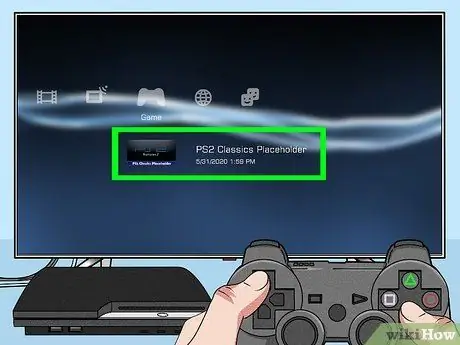
Step 17. Select the "PS2 Classics Placeholder" item available in the console's "Game" menu
This will play the newly converted title, giving you a chance to start playing. Good fun!


