This article explains how to enlarge or reduce the size of the icons visible on the Windows 7 taskbar. These are the icons that appear on the bar located at the bottom of the computer desktop. You can change the size of the taskbar icons or the screen resolution directly from the "Control Panel". If you need to use a custom size, you will need to change the registry configuration. The Windows Registry Editor should only be used by experienced users, since in the event of errors caused by improper use of this tool, the computer may become unusable.
Steps
Method 1 of 3: Using Small Icons
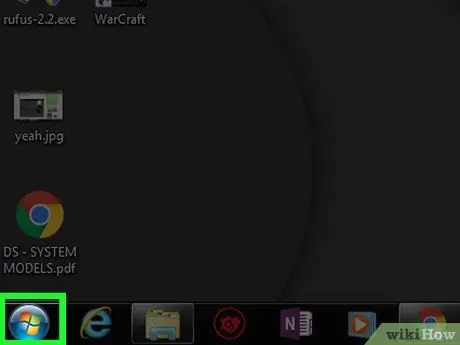
Step 1. Access the "Start" menu by clicking on the button
It features the Windows logo placed on a blue background and is located in the lower left corner of the desktop.
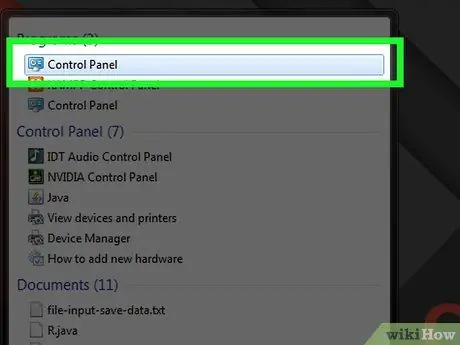
Step 2. Click on the Control Panel item
It is visible on the right side of the "Start" menu.
If the option Control Panel is not present in the "Start" menu, type the keywords "control panel" and click on the icon Control Panel as soon as it appears at the top of the "Start" menu.
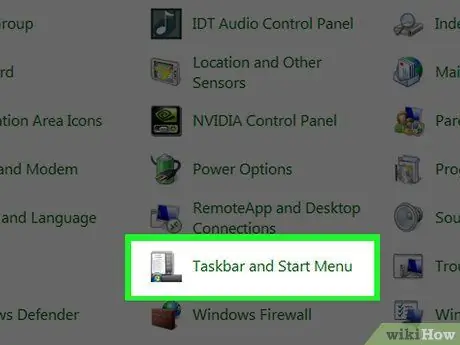
Step 3. Click on the Taskbar icon and "Start" menu
It is visible at the bottom of the "Control Panel" window. The "Taskbar and Start Menu Properties" dialog box will appear.
If the indicated option is not visible in the control panel, click on the "View by" drop-down menu located in the upper right corner, then choose the option Large icons.
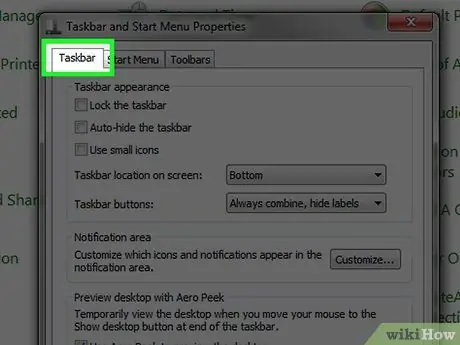
Step 4. Click on the Taskbar tab
It is located in the upper left part of the appeared window.
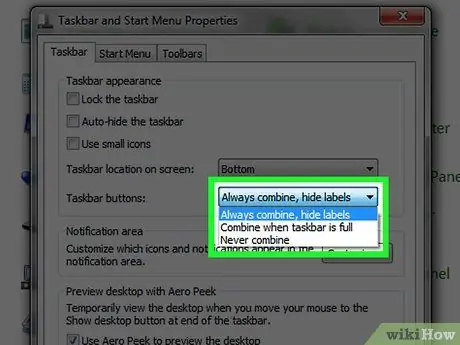
Step 5. Select the type of buttons to use
Click on the "Taskbar Buttons" drop-down menu, then click on one of the following options:
- Combine always shows only icon - the taskbar buttons will only display the icon of the program they correspond to and not the name. If a program consists of multiple windows, they will be grouped into a single icon on the taskbar;
- Combine if necessary - rectangular buttons will be displayed on the taskbar for each active program in which the name will also be visible. If the space on the taskbar runs out, all the buttons would be grouped automatically following the scheme explained in the previous point;
- Don't combine - the icons in the system tray will always have a rectangular shape and will always show the name of the program they refer to, regardless of the number of applications running.
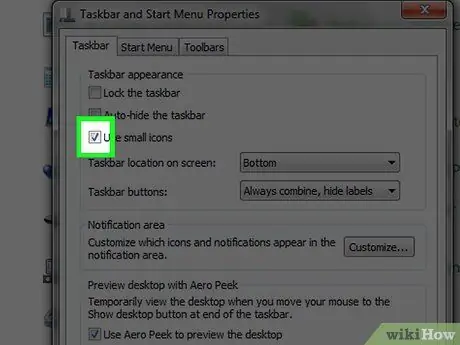
Step 6. Click on the "Use small icons" checkbox
It is displayed at the top of the "Taskbar" tab of the window. This will make the Windows 7 taskbar icons smaller.
If the check button in question is already selected, it means that the taskbar is already using the small icons
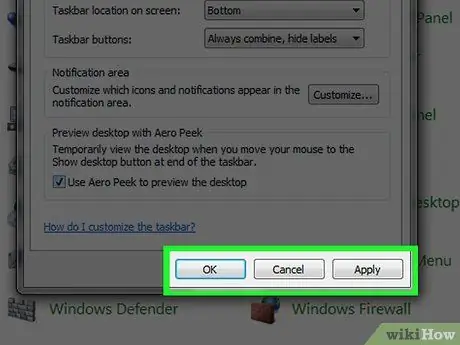
Step 7. Click the Apply buttons successively And OK.
This way, the new configuration settings will be applied and saved. The desktop display mode will be updated and the taskbar icons should appear smaller (or larger) than before.
Method 2 of 3: Change the Screen Resolution
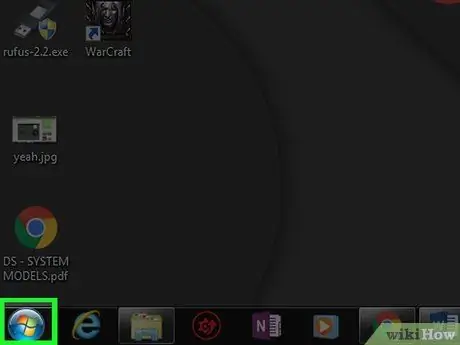
Step 1. Access the "Start" menu by clicking on the button
It features the Windows logo placed on a blue background and is located in the lower left corner of the desktop.
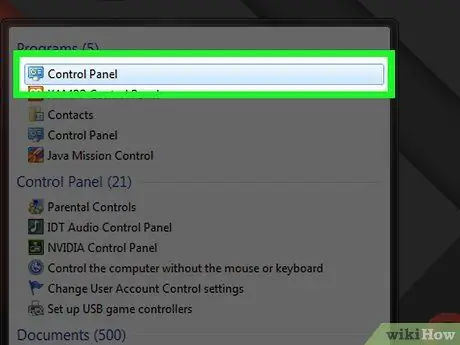
Step 2. Click on the Control Panel item
It is visible on the right side of the "Start" menu.
If the option Control Panel is not present in the "Start" menu, type the keywords "control panel" and click on the icon Control Panel as soon as it appears at the top of the "Start" menu.
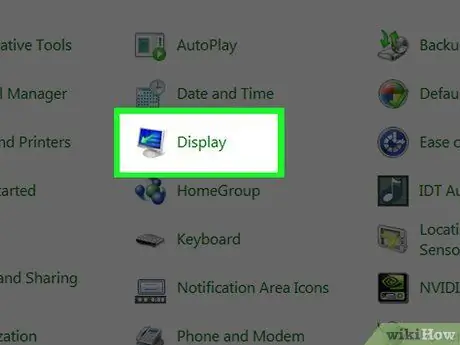
Step 3. Click the Display icon
It is located at the top of the "Control Panel". The "Display" dialog will be displayed.
If the indicated option is not visible in the control panel, click on the "View by" drop-down menu located in the upper right corner, then choose the option Large icons.
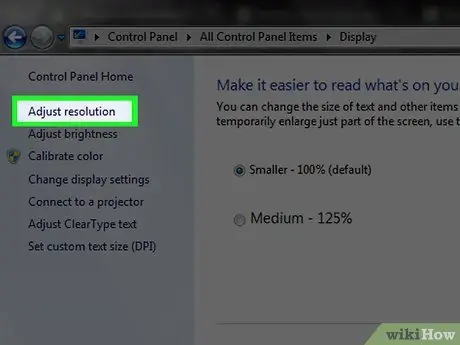
Step 4. Click the Change Resolution link
It is located in the upper right part of the window.
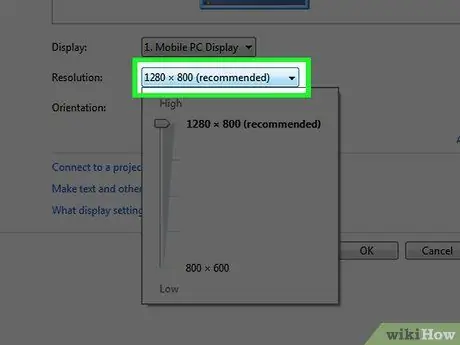
Step 5. Click on the "Resolution" drop-down menu
It is displayed in the center of the page. The list of possible resolutions you can adopt will appear.
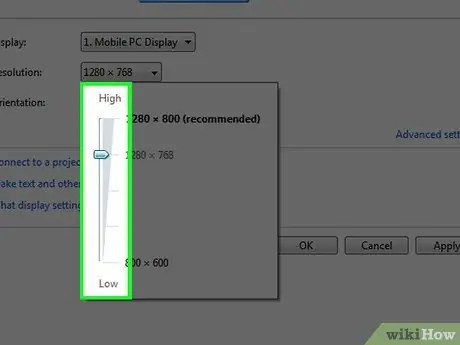
Step 6. Increase or decrease the screen resolution
Drag the appeared slider up to increase the screen resolution and reduce the size of the icons, or drag it down to decrease it and make the icons larger.
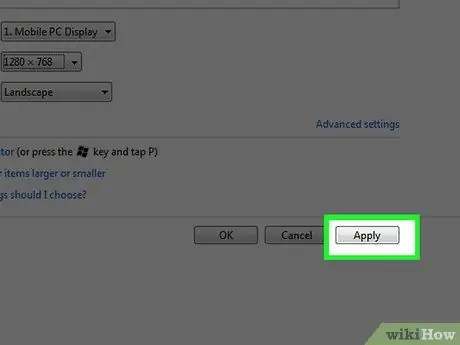
Step 7. Click the Apply button
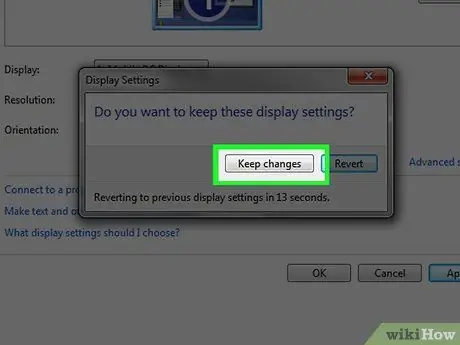
Step 8. Click the Keep changes button when prompted
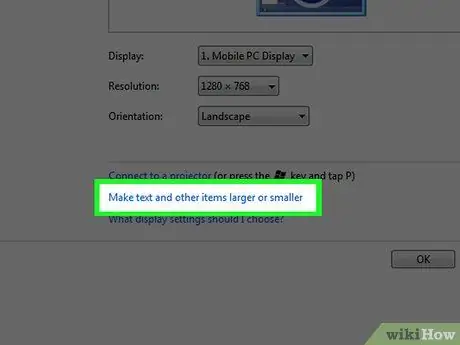
Step 9. Click the Enlarge or reduce the size of text and other elements link
It is located at the bottom of the main window pane. The "Appearance and Personalization" advanced menu will appear.
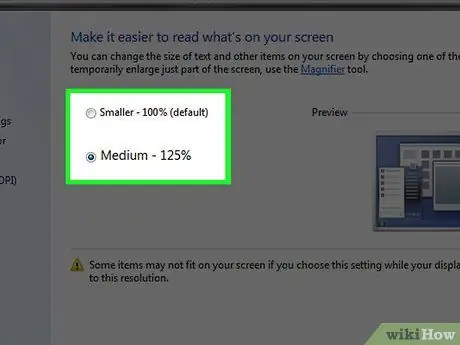
Step 10. Select the text size you want
Click on the button corresponding to the option you want to use. You can choose from the following items:
- Small - 100%;
- Medium - 125%;
- Large - 150% (not all monitors support this option).
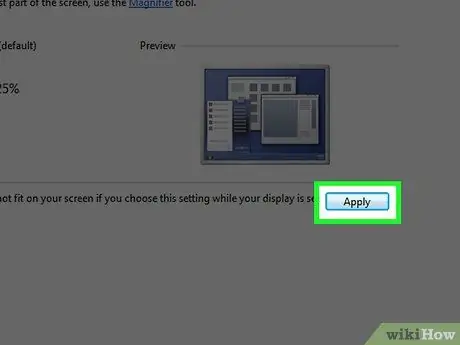
Step 11. Click the Apply button
It is located in the lower right part of the window.
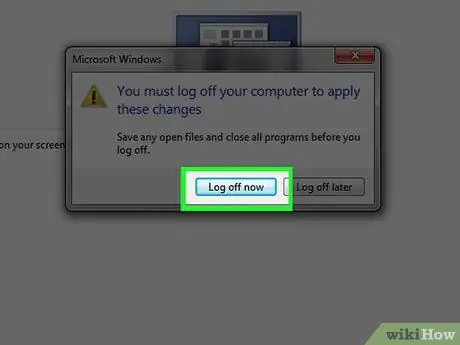
Step 12. Click the Disconnect Now button when prompted
This way, your user account will be logged out of Windows. When you log in again, all of your desktop icons should appear larger or smaller, depending on your chosen settings.
Method 3 of 3: Use a Custom Size
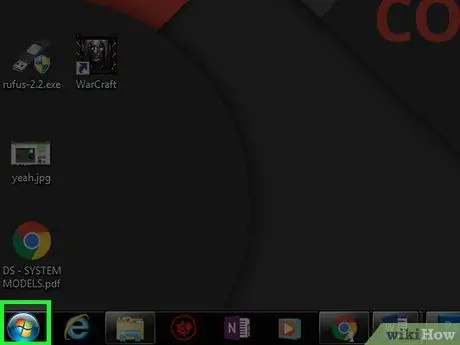
Step 1. Access the "Start" menu by clicking on the button
It features the Windows logo placed on a blue background and is located in the lower left corner of the desktop.
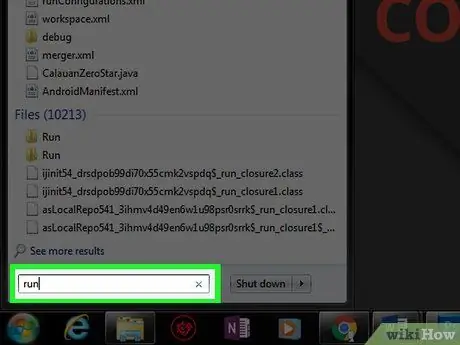
Step 2. Type the keyword run into the "Start" menu
Your computer will search for the "Run" program.
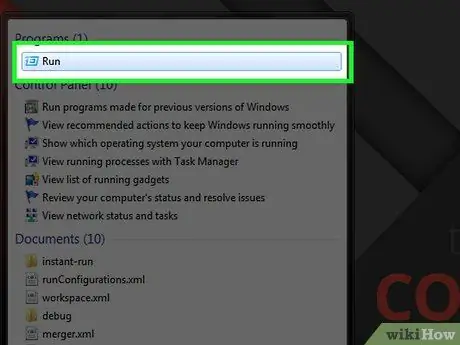
Step 3. Click on the Run app
It features an envelope-shaped icon angled to the right to give a sense of speed. It should have appeared at the top of the "Start" menu.
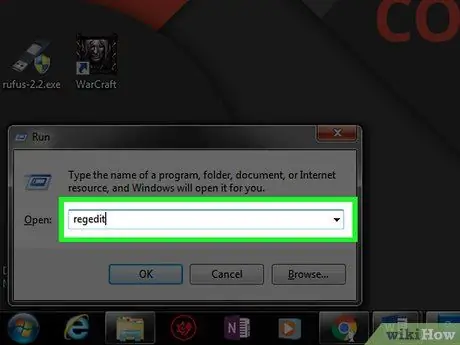
Step 4. Type the keyword regedit into the "Open" field of the "Run" window, then click the OK button
The Windows Registry Editor window will appear.
You may need to click on the button Yup when prompted to continue.
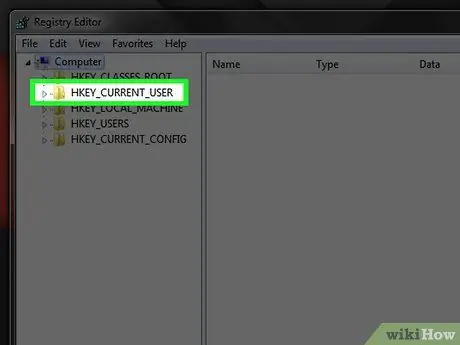
Step 5. Navigate to the "WindowMetrics" folder in the registry
Follow these instructions:
- Double-click the key HKEY_CURRENT_USER which is located in the upper left of the Registry Editor window;
- Double click on the option Control Panel;
- Double-click the folder Desktop;
- Click on the item WindowMetrics.
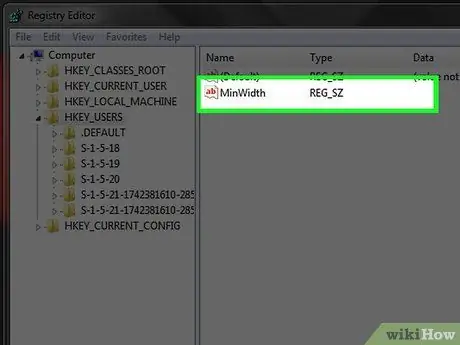
Step 6. Double click on the MinWidth option
It should be visible in the right pane of the Registry Editor window. A new pop-up will appear.
If the item MinWidth is not visible, follow these instructions: click on the menu Edit, choose the option New one, click on the option String value, type the name MinWidth and press the Enter key.
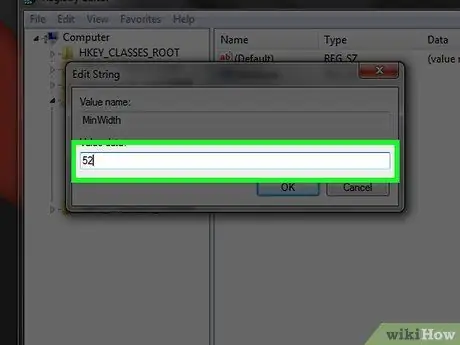
Step 7. Enter the value corresponding to the new size that the icons should have and press the Enter key
The default icon size is 52 and the minimum value you can use is 32. If you set a value smaller than this, the icons will not display correctly.
You can use a value larger than 52, but using icons that are too large can cause problems with the operation of the Windows taskbar
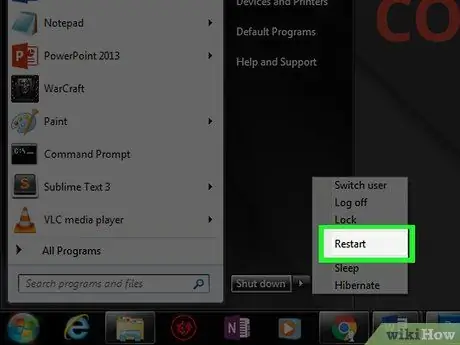
Step 8. Restart your computer
Access the menu Start, click the ► icon, then click the option Reboot the system.
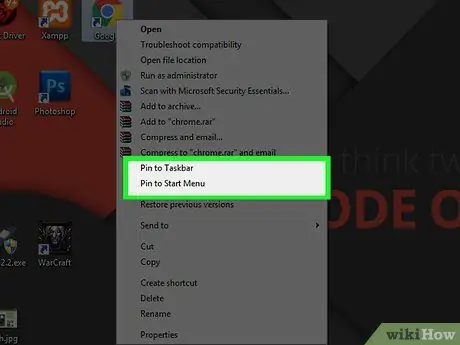
Step 9. Reset the system tray icons
When you place icons on the taskbar, Windows stores the corresponding images in the system cache. For this reason, at this point you will need to relocate all the icons you previously added to the taskbar to have the correct size. Right-click on each of the icons on the taskbar and choose the "Remove from taskbar" option. At this point, click on the icon of the program you just removed, visible in the "Start" menu, with the right mouse button and choose the option Pin to taskbar.


