This article shows you how to synchronize Gmail emails with the Outlook 2016 email client for Windows or Mac systems. If you haven't yet installed Outlook on your computer, you can purchase and download it directly from the web and install it by following these instructions.
Steps
Part 1 of 5: Enable Access Through IMAP Protocol on Gmail
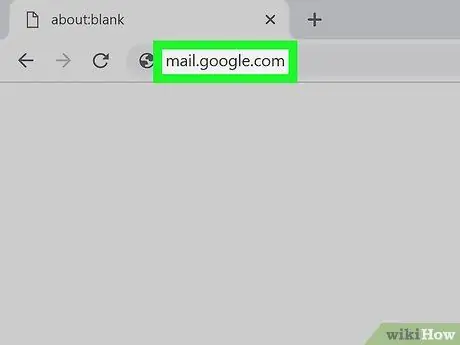
Step 1. Log in to the Gmail website
Use the internet browser of your choice and the following URL.
- If you have not already logged into your Google account, you will need to do so now by providing the relevant username and password;
- If, on the other hand, you are connected with an account other than the one you want to synchronize with Outlook, you can switch to a different Gmail profile by clicking the image of the current account visible in the upper right corner of the page, press the button Add account and provide the login credentials of the new profile (e-mail address and password).
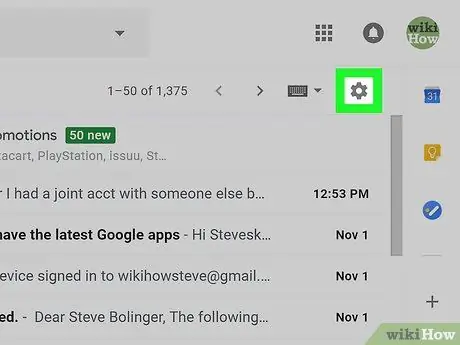
Step 2. Access the Gmail "Settings" menu by clicking the icon
It is located at the top right of the page. A small drop-down menu will appear.
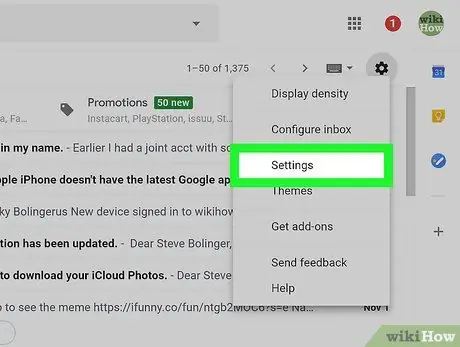
Step 3. Choose the Settings option
It is one of the items present in the middle of the drop-down menu that appeared. This will bring up the panel containing all the Gmail configuration settings.
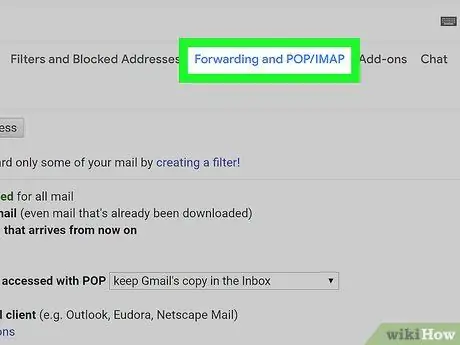
Step 4. Go to the Forwarding and POP / IMAP tab
It is visible at the top of the main panel of the Gmail GUI.
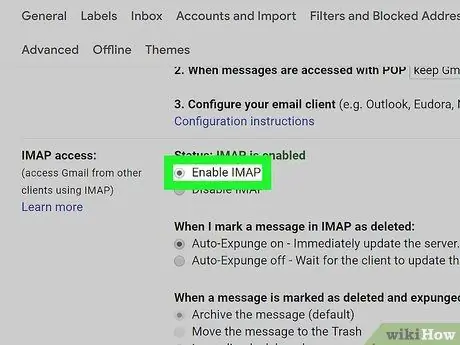
Step 5. Select the "Enable IMAP" radio button
It is located at the top of the "IMAP Access" section of the "Forwarding and POP / IMAP" tab.
This option may already be selected. In that case, skip this step and go directly to the section of the article about activating Google's "Two-Step Verification"
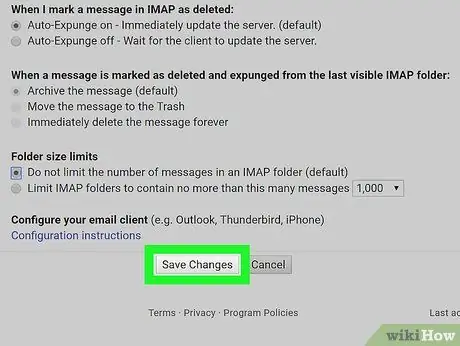
Step 6. Press the Save Changes button
It is gray in color and is positioned at the bottom of the page. In this way the IMAP access to your Gmail mailbox will be active, you can then access the e-mails you receive using any e-mail client, in this case Outlook.
Part 2 of 5: Enable Two-Step Verification for Gmail
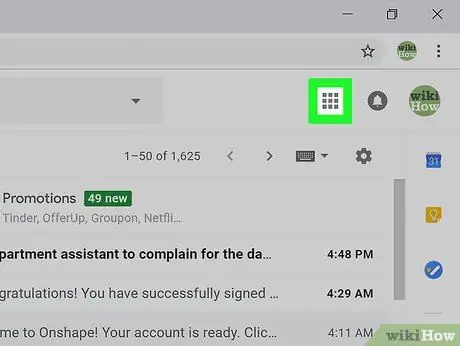
Step 1. Access the "Google App" menu by clicking the ⋮⋮⋮ icon in the upper right corner of the Gmail page
A drop-down menu will appear.
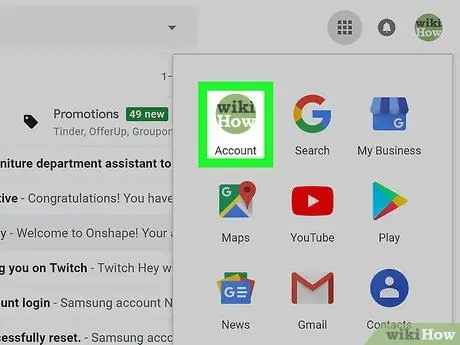
Step 2. Select the My Account option
It features a shield icon. This will redirect you to the configuration settings page of your Google account.
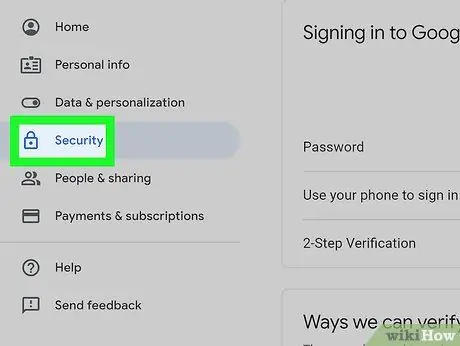
Step 3. Select the Login and Security item
It is located in the upper left of the page that appeared.
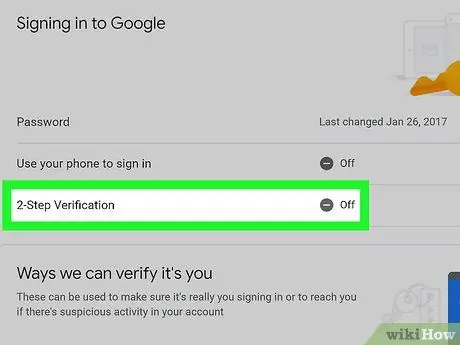
Step 4. Scroll down the newly appeared menu to locate and select the Two-Step Verification option
It is visible in the lower right of the "Login and Security" page.
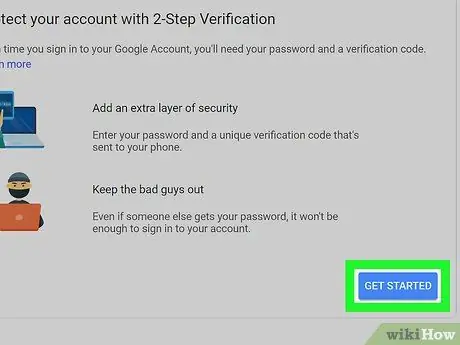
Step 5. Press the Get Started button
It is blue in color and is located in the lower right corner of the panel that appeared in the center of the page.
You may need to scroll down the page to find it
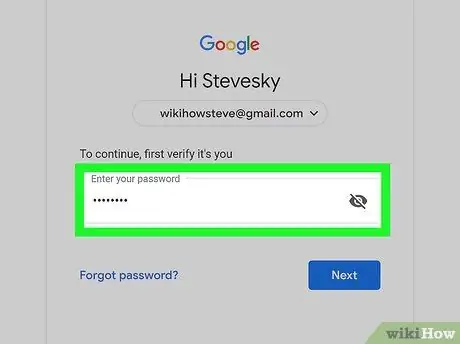
Step 6. Enter your login password when prompted
This is the password you normally use to log into your Google account.
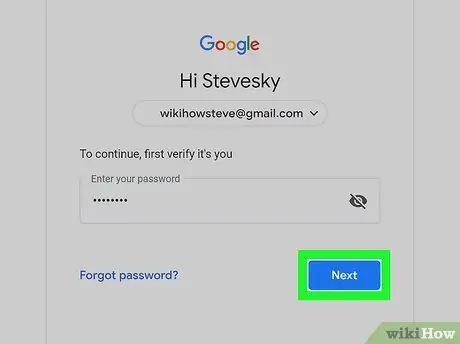
Step 7. Press the Next button
It is located at the bottom of the page.
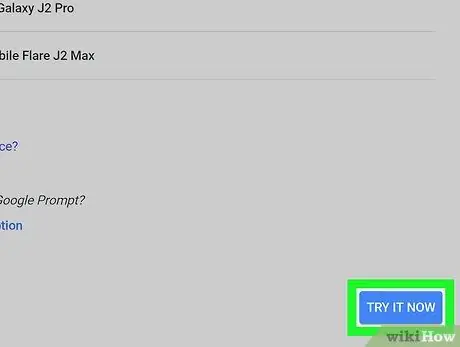
Step 8. Press the Try Now button
It is blue in color and located at the bottom right of the screen. This will send a notification message to the mobile number associated with your Google profile.
- If no smartphone is visible on the screen that appeared, you will need to run the current Gmail account using the Google app (iPhone) or by synchronizing the Google account with the device's Settings app (Android systems).
- If you are using an iPhone, you will need to install the Google application. You can download it for free from the App Store.
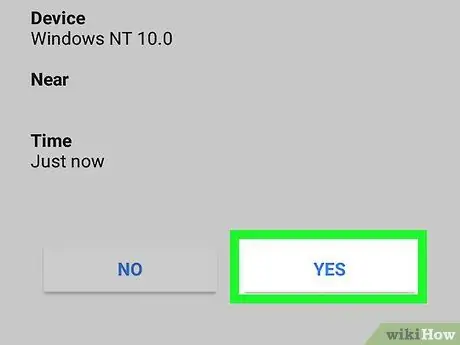
Step 9. Follow the instructions given to you
Open the notification message you received. If the device is locked, swipe the notification from left to right, while if the device is unlocked, simply tap it with your finger. When prompted, press the button Yup or Allow.
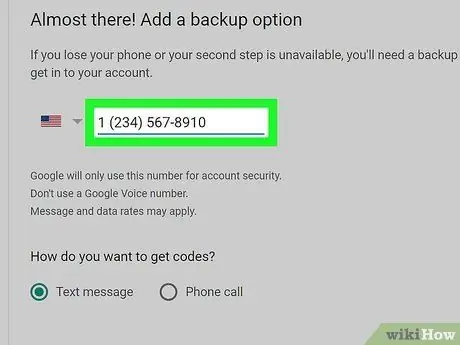
Step 10. Make sure the mobile number associated with your Google account is correct
Check the correctness of the phone number visible at the top of the page, if it is the one you have set to be able to reset the password in case of need you can proceed further.
If the phone number listed is incorrect, you will need to change it before you can continue
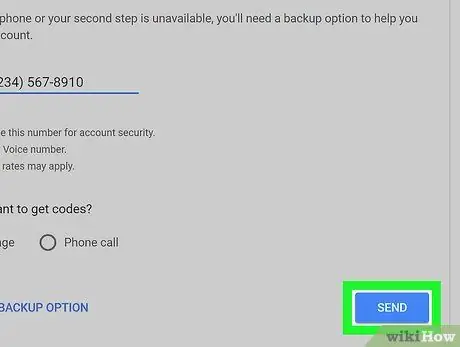
Step 11. Press the Submit button
It is blue in color and is located at the bottom right of the page. A verification code will be sent to the indicated mobile number.
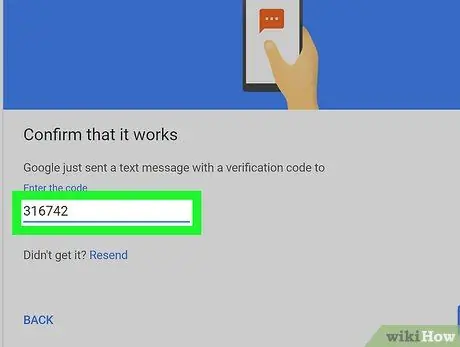
Step 12. Enter the verification code you just received
View the text message received on your mobile device, then enter it in the text field visible in the center of the web page.
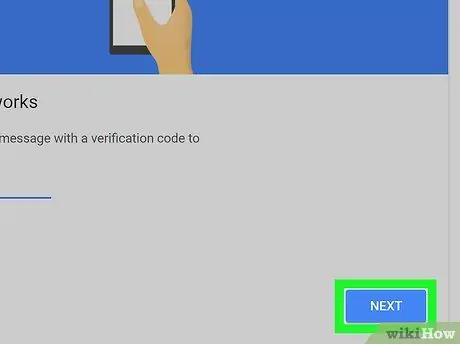
Step 13. Press the Next button
It is blue in color and is placed at the bottom of the page.
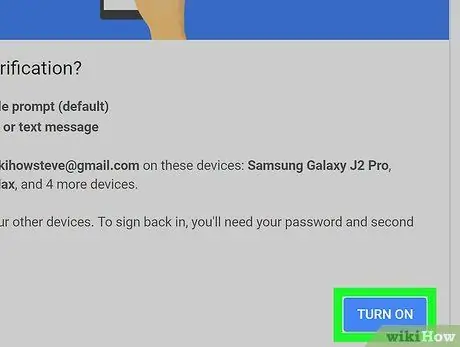
Step 14. Press the Activate button
It is blue in color and located on the right of the page. Google's "Two-Step Verification" security feature is now active on your account. Now you will need to create a password to access your application account.
Part 3 of 5: Create a Password for Accessing Gmail via the App
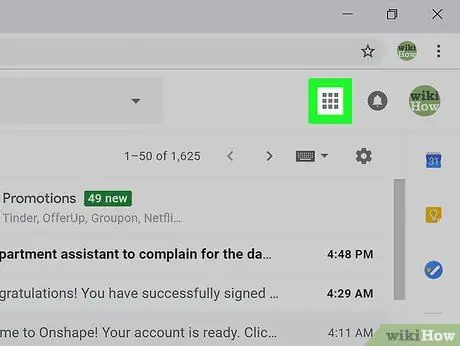
Step 1. Access the "Google App" menu by clicking the ⋮⋮⋮ icon in the upper right corner of the Gmail page
A drop-down menu will appear.
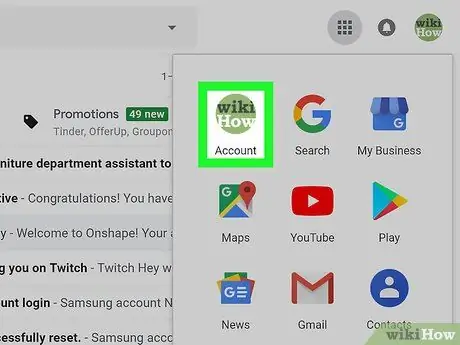
Step 2. Select the My Account option
It features a shield icon. This will redirect you to the configuration settings page of your Google account.
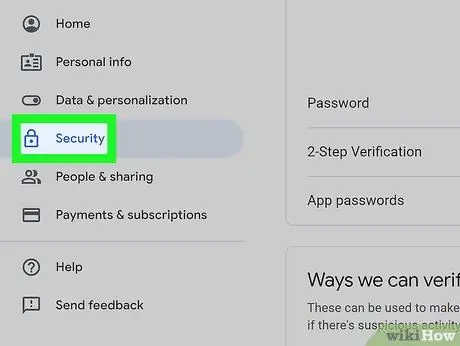
Step 3. Select the Login and Security item
It is located in the upper left of the page that appeared.
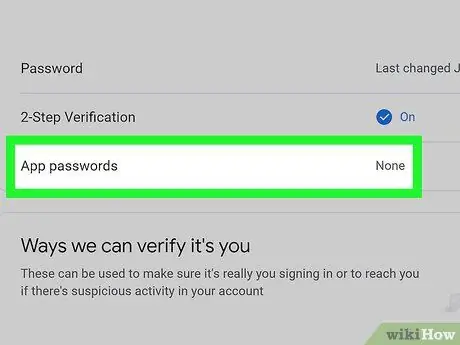
Step 4. Scroll down the newly appeared menu to locate and select the App Passwords option
It is visible in the lower right of the "Login and Security" page above the "Two-Step Verification" section.
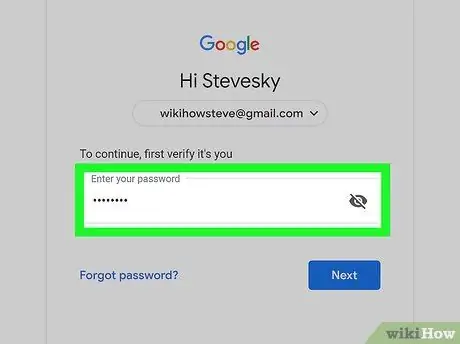
Step 5. When prompted, enter your login password
This is the password you normally use to log into your Google account.
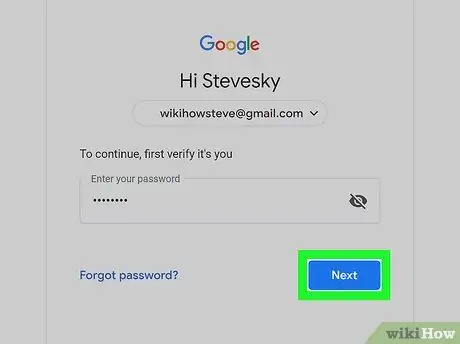
Step 6. Press the Next button
It's located at the bottom of the page below the text field you used to type your password.
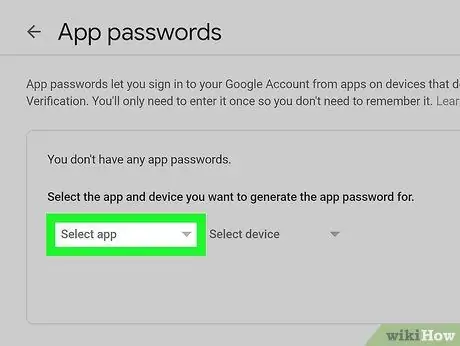
Step 7. Press the Select app button
It is gray in color and is located on the left side of the page. A drop-down menu will appear.
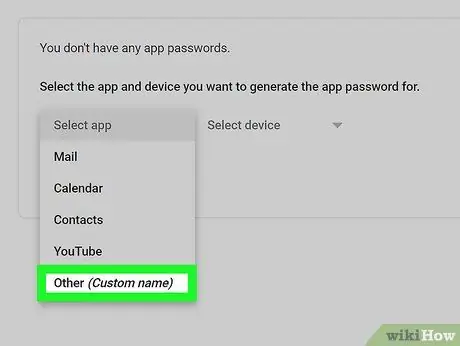
Step 8. Choose the Other (custom name) option
It is the last item present at the bottom of the drop-down menu that appeared. A text box will appear.
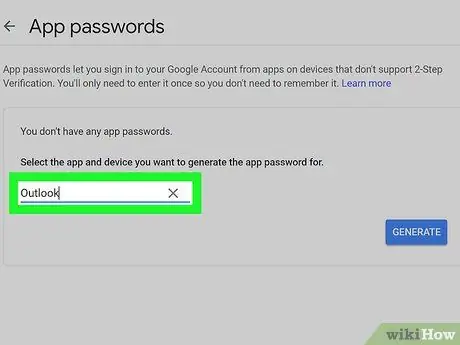
Step 9. Enter the name you want to assign to the service
In this case, it may be appropriate to type Outlook (or a similar name that will make you immediately understand what it refers to).
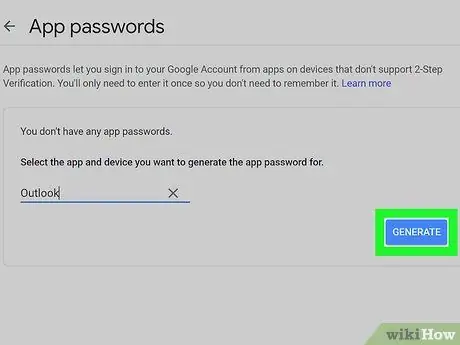
Step 10. Press the Generate button
It is blue in color and is located on the right side of the page. This will automatically create a password consisting of 12 letters visible on the right side of the page. You will need to use this security code to log into Gmail through Outlook.
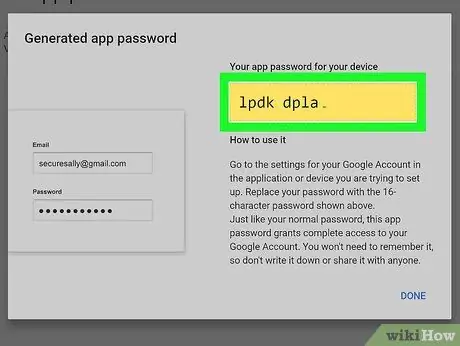
Step 11. Copy the password you just generated
Select the first letter of the security code with the mouse and drag it along its entire extension (at the end all 12 letters that make up the security password for the apps must appear highlighted). Now press the key combination Ctrl + C (on Windows systems) or ⌘ Command + C (on Mac).
Alternatively, select the password with the right mouse button and choose the option Copy from the context menu that appeared.
Part 4 of 5: Set up Gmail Account in Outlook
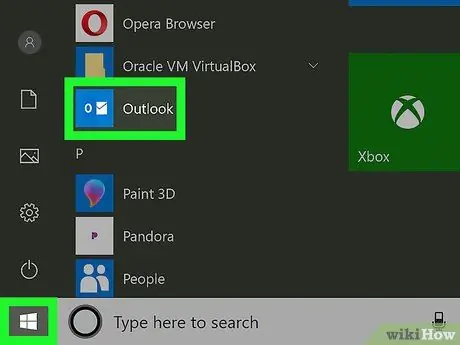
Step 1. Launch Outlook on your computer
It features a blue square icon with a white "o" inside flanked by a small envelope.
- If you are not logged in to Outlook, you will need to enter the email address associated with your primary Microsoft account, followed by the relevant security password and any information you will be prompted for.
- The Outlook email client for desktop platforms is different from the web-accessible service of the same name.
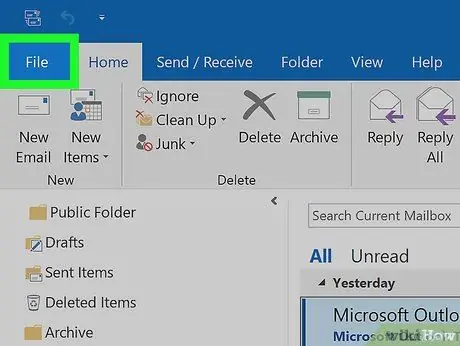
Step 2. Go to the File tab
It is located in the upper left of the program window. A new menu will appear.
- If the option is not visible in the upper left corner of the Outlook window File, it means that you are logged in to the Outlook website or that you are not using a desktop version of the program that allows you to add multiple accounts.
- If you're using a Mac, you'll need to access the drop-down menu instead Tools visible at the top of the screen.
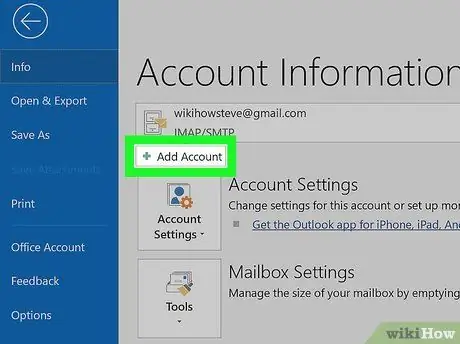
Step 3. Choose the Add Account option
It is located in the upper left of the tab File Outlook. A new dialog will appear.
If you are using a Mac, you will need to choose the option Account … of the menu Tools.
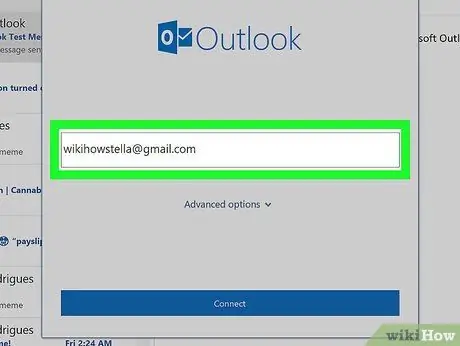
Step 4. Enter your Gmail account address
This is the email address you want to synchronize with the Outlook client.
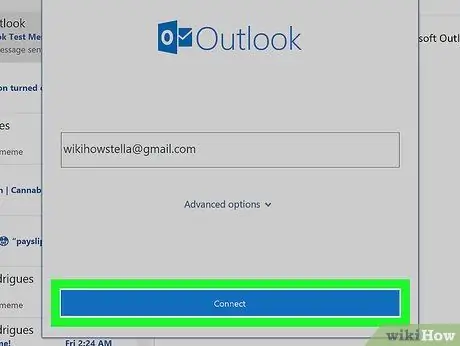
Step 5. Press the Connect button
It is located below the text field where you entered the email address.
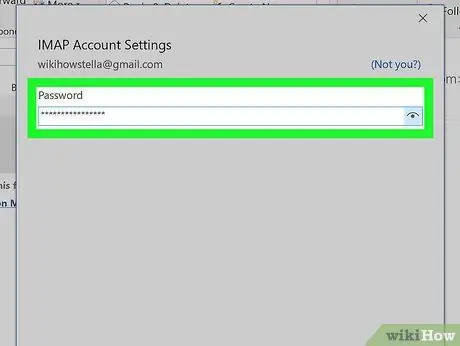
Step 6. Provide the password for the Gmail apps
Select the "Password" text field, then press the key combination Ctrl + V (Windows systems) or ⌘ Command + V (Mac) to paste the security code created in the previous section of the article.
Alternatively, you can select the "Password" field with the right mouse button and choose the option Paste from the context menu that will appear.
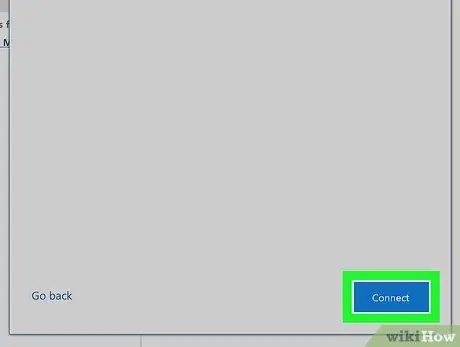
Step 7. Press the Connect button
It is located at the bottom of the window. The Gmail email account will be synchronized with the Outlook application.
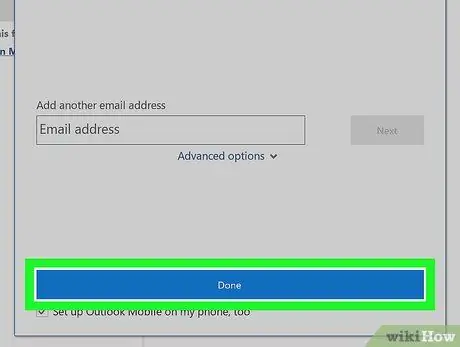
Step 8. Press the OK button when prompted
At this point the Gmail account is connected to the Outlook e-mail client, you can then receive and send the e-mails as if you were using Gmail. Your Gmail account name should have appeared on the left side of the Outlook GUI.
You may need to deselect the "Configure Outlook on my phone" checkbox before completing the setup
Part 5 of 5: Import the Google Contacts
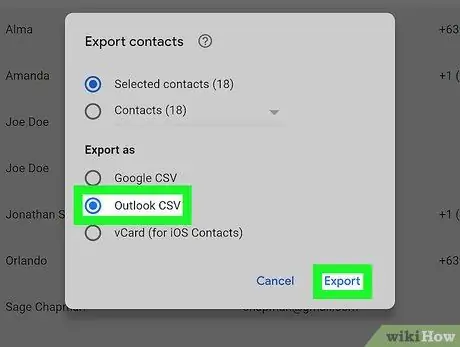
Step 1. Download Gmail contacts to your computer
Access the following URL using your preferred internet browser, then log in to your account if prompted. Now follow these instructions:
- Select the check button at the top left of the page to select all Google contacts;
- Access the drop-down menu Other;
- Choose the option Export … from the drop-down menu appeared;
- Select the radio button "All contacts";
- Choose the "Outlook CSV Format" export option. If you are using the Outlook for Mac version, you will need to choose the "vCard Format" option;
- Push the button Export located at the bottom left of the dialog box.
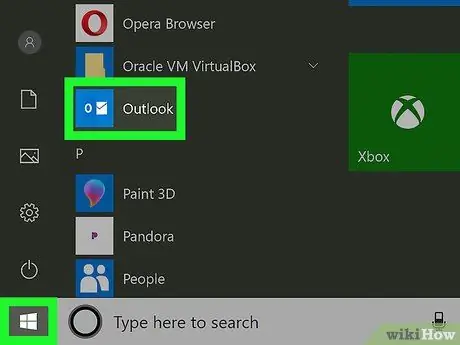
Step 2. Launch Outlook on your computer
To be able to import Google contacts into the Outlook address book, the program must be running.
- If you are using a Mac, you will need to select the file in "vCard" format you just downloaded, access the "File" menu in the upper left corner of the screen, choose the option Open with, choose the item Outlook and finally follow the instructions that will appear on the screen. This is the wizard for importing Gmail contacts into Outlook.
- If you closed the Outlook application, reopen it before proceeding any further.
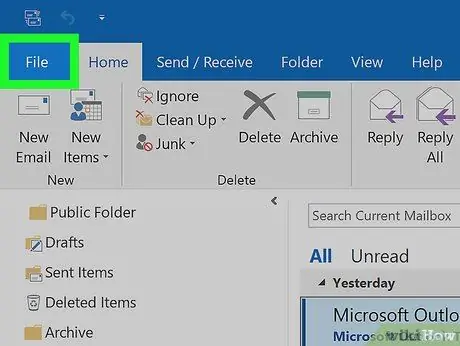
Step 3. Go to the File tab
It is located in the upper left corner of the Outlook window. The menu of the same name will be displayed.
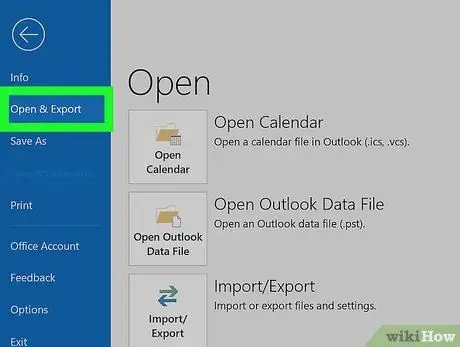
Step 4. Choose the Open and Export option
It is one of the items on the menu File. The "Import / Export" dialog will be displayed.
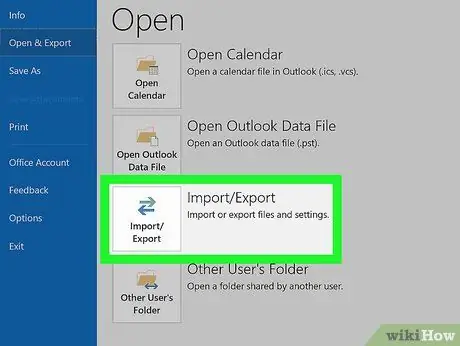
Step 5. Choose the Import / Export option
It is visible in the center of the dialog box. This will start the data import wizard within Outlook.
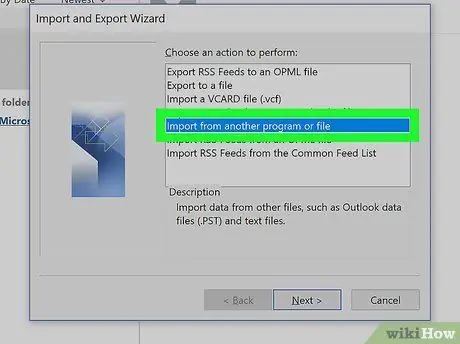
Step 6. Select Import data from other programs or files
It is located in the center of the import wizard window.
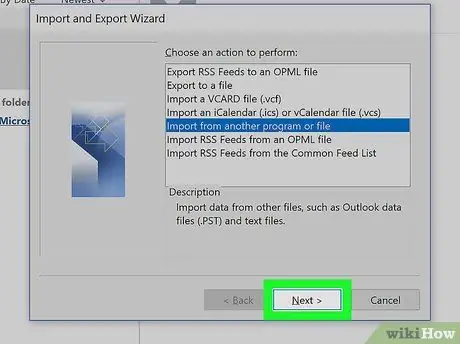
Step 7. Press the Next button
It is located in the lower right corner of the window.
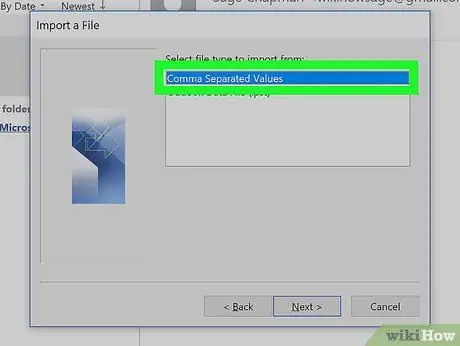
Step 8. Choose the Comma Separated Values option
It is one of the items visible at the top of the window.
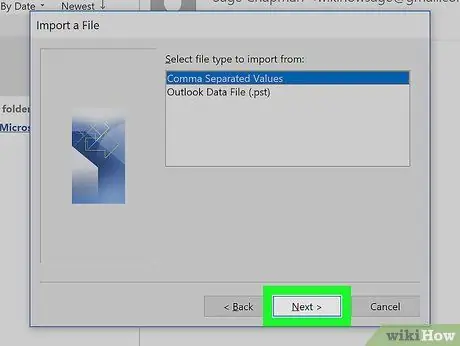
Step 9. Press the Next button
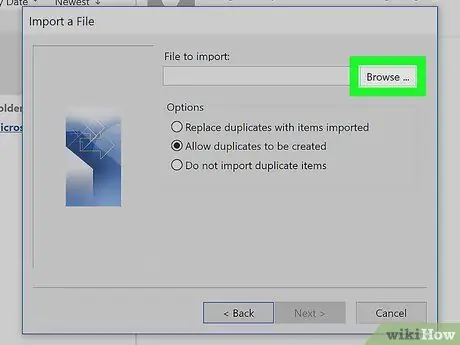
Step 10. Press the Browse… button
It is located in the upper right of the import window.
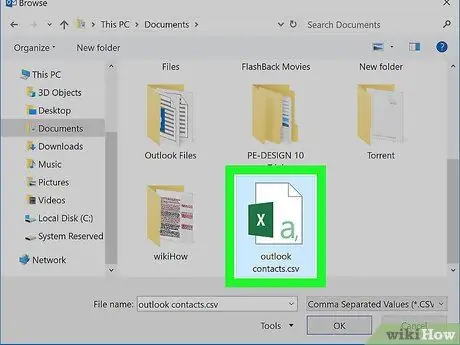
Step 11. Select the file that contains the contacts downloaded from Google
Access the folder in which you stored the file containing the data exported from the Google address book, then select the icon of the latter to highlight it.
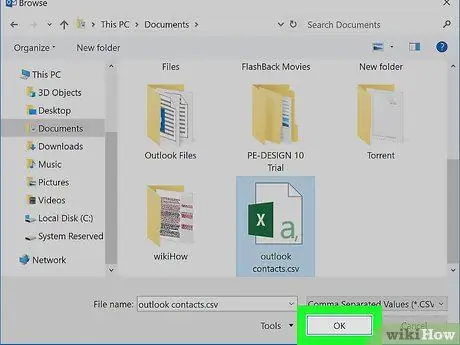
Step 12. Press the Open button
It is located in the lower right corner of the window. The contacts in the file will be selected to be imported into Outlook.
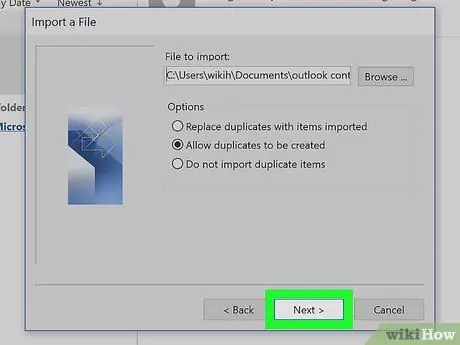
Step 13. Press the Next button
Select how you want to handle any duplicate contacts, for example by choosing the option Replace duplicates with imported items or Create duplicate items visible in the center of the window.
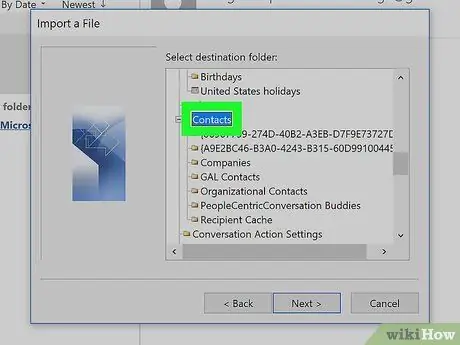
Step 14. Select the "Contacts" folder
Scroll the list that appears up or down to be able to locate and select the folder Contacts with the mouse.
- Normally the folder Contacts is visible at the top of the list.
- Remember that the Contacts it does not have a normal folder icon.
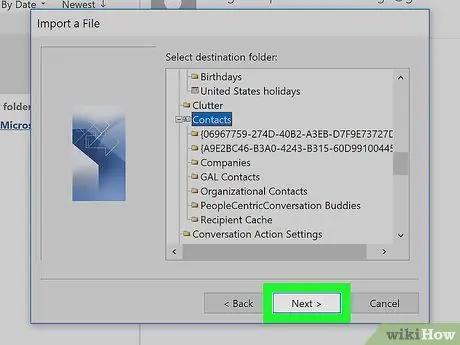
Step 15. Press the Next button
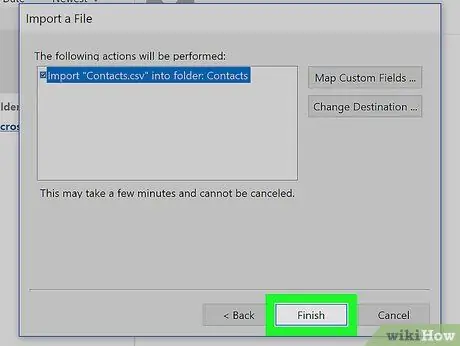
Step 16. Press the Finish button
It is visible at the bottom of the window. This way the contacts will be copied to the Outlook address book.
At the end of the import you will be able to consult your contacts in Outlook by selecting the button Address book visible within the "Search" section of the Outlook ribbon.
Advice
- Google's "Two-Step Verification" security process performs the same security function as Apple's Two-Factor Authentication. In this way, whenever you access your Gmail account from a device not yet registered, you will be asked to verify your identity by sending an authentication code, which will be sent to the mobile number you have associated with your Google account..
- The new version of the Google Contacts web service does not support the export of contact data, so you must use the previous version of the program to be able to perform this procedure and import the data into Outlook.
Warnings
- It should be remembered that when e-mail messages belonging to the Gmail account are labeled as "read" within the Outlook app, this status is not always synchronized correctly with the Google e-mail web client.
- The Gmail e-mail service, by default, does not allow the sending of messages that include executable files (with the extension ".exe") as attachments. In addition, a maximum limit of 25 MB is imposed on the size of files that can be attached.


