This article explains how to change the size of columns and rows on Google Sheets for the purpose of changing the width or height of a cell using a computer browser.
Steps

Step 1. Open Google Sheets using a browser
Type sheets.google.com in the browser address bar and press Enter on your keyboard.
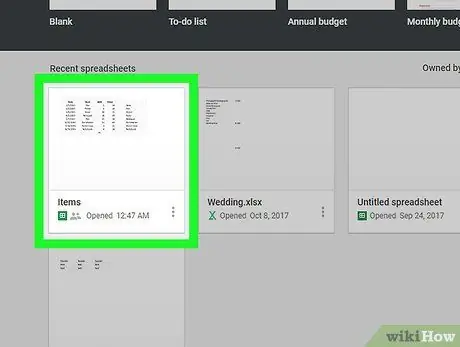
Step 2. Click on the spreadsheet you want to edit
Find the document you want to edit in the list of saved files and click on its name or icon to open it.
Alternatively, you can click on the option Empty at the top of the screen to create a new sheet from scratch.
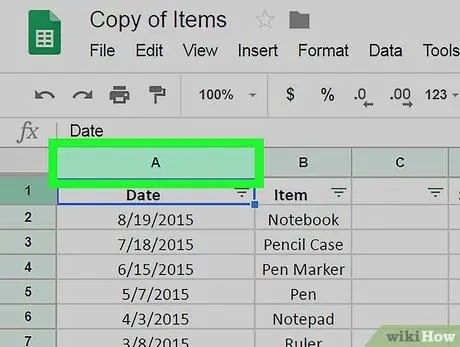
Step 3. Look for the header of the column you want to change
Each column is labeled with a letter at the top of the header.
- This allows you to change the size of all cells within the selected column at once.
- If you want to change the size of multiple columns at a time, press Control on Windows or ⌘ Command on a Mac and select all the columns by clicking on the header letter.
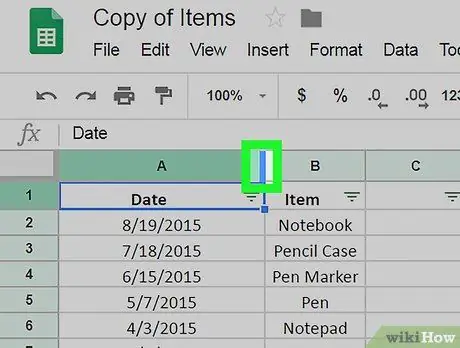
Step 4. Hover the mouse cursor over the right edge of the column header
This area will be highlighted in blue and the pointer will turn into a double-headed arrow.
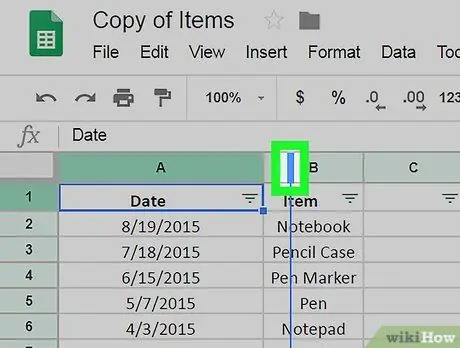
Step 5. Click and drag the border of the column header to the right
You can enlarge all the cells that are in the selected column by dragging the right border to the right.
If you want to make the column smaller, just click on the right border and drag it to the left
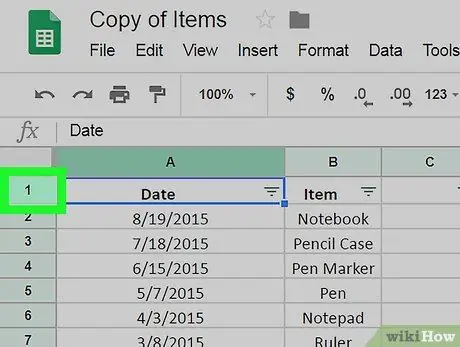
Step 6. Find the row number of the cell you want to change
All lines are numbered on the left side of the sheet.
- This allows you to edit all the cells found in the selected row.
- If you want to change multiple lines, press Control on Windows or ⌘ Command on a Mac, then select as many as you want by clicking on the corresponding number.
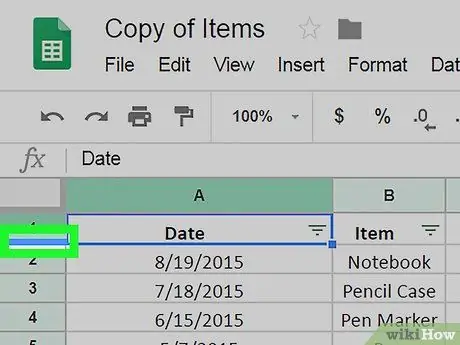
Step 7. Hover the mouse cursor over the bottom border of a line number
The border will be highlighted in blue and the pointer will become a double-headed arrow.
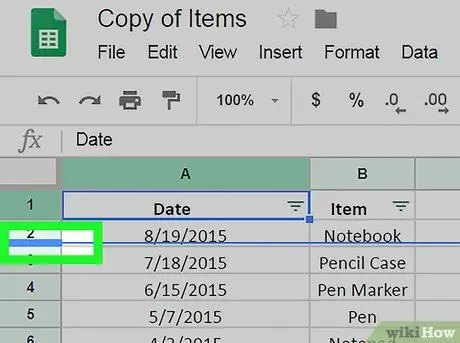
Step 8. Click and drag the row border down
This will enlarge all the cells of the selected rows.


