With a little creativity, you can turn the dull cover of your movie into something fun and memorable, making it look like a professional DVD. Follow the directions in this guide to create an interesting and original cover, whether it's a simple movie or a movie you shot yourself.
Steps
Part 1 of 3: Deciding What to Include on the Cover

Step 1. Determine the genre of your movie
Before creating the DVD cover, determine which genre the movie you created belongs to.
Is it a collection of home movies? A vacation video? Or maybe a short movie you made for a school project or just for fun?
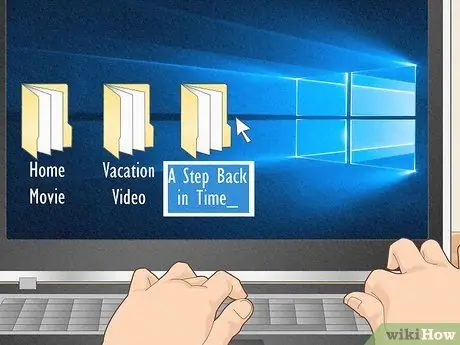
Step 2. Choose a title for your movie
The title should be interesting and intriguing, not just descriptive.
- Instead of titling it "Family Vacation", you might find a creative title to make the DVD cover more interesting.
- Include in the title the name of the vacation spot, or a reference to what you did.
- For example, if it is a history course project, you might call it "A Step Back in Time" rather than just "History Project".
Step 3. Find an image
Take any DVD, on the cover you will find an image or a central theme that usually includes some of the protagonists of the film.
- You can always use a still image taken from a clip of your movie, or a photo you took previously.
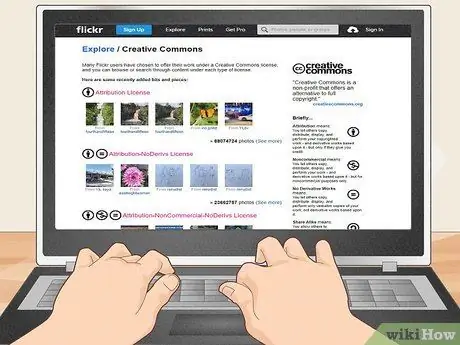
- Alternatively, you can search the internet for a photo that you like or that you think would be suitable for the cover. Be careful, however, because if you intend to distribute your DVD to the public you will have to obey the copyright laws of the images.
- You can find free or Creative Commons licensed photos by searching on the Creative Commons website, or in the related section on Flickr.
Step 4. Choose the fonts you prefer to use for the cover text
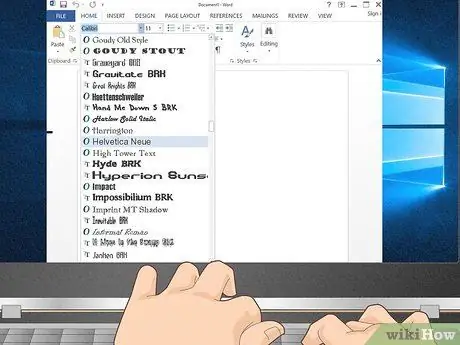
Use only one or two fonts, this will make the cover look cleaner and the text more readable.
- If you prefer the cover to have a more modern look you can use fonts such as Helvetica, Folio or Standard CT.
- If you have traveled to Asia, you may prefer a font that reflects oriental culture, such as Papyrus or Bonzai. If you prefer a more fun font you can try Distillery or True North.

Step 5. Get inspiration from your favorite DVDs
What's your favorite movie or poster? Look at the covers of some DVDs and take note of the items that are more to your taste.
Maybe you like a cover with a collage of images or a particular font. Getting inspiration from what you like is a great way to mentally figure out what your DVD cover will look like
Part 2 of 3: Creating the DVD Cover
Step 1. Use a word processing or image design program
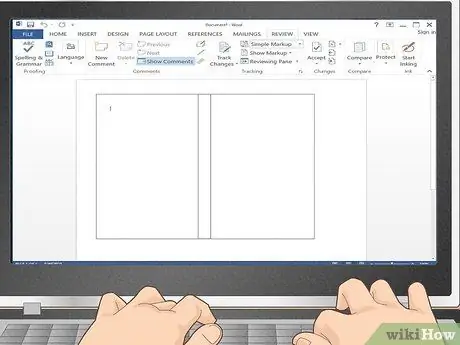
You can create your DVD cover using any program, from Microsoft Word to Photoshop.
- You can use a predefined template in Microsoft Word or set up a new document. In OpenOffice.org Writer or Microsoft Word, click on Format, then on Columns and choose 3. Set the width of the first column to 129mm, that of the second column to 15mm, and that of the third column to 129mm. Finally, click on Line between columns.
- If you are familiar with Photoshop you can also create your own cover with this application.
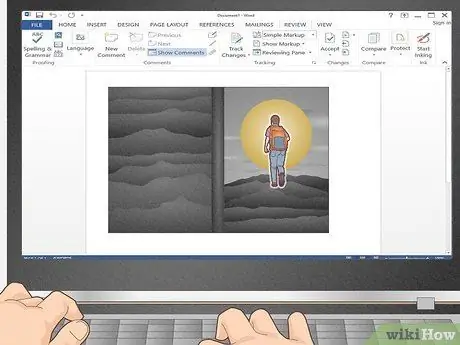
Step 2. Insert the images into the document
If you've set up your file so you can print a foldout page, you can start inserting images from both the front and back of the DVD.
- The standard measurements for a DVD cover are 184x273 mm. Depending on the size of the paper and the functions of your printer, it is possible to fit the entire DVD cover on a single sheet of paper (an A4 sheet, which is the standard size, is more than enough). Remember that you will probably need to reduce the page margins to 0.
- If the paper size does not allow printing on a single page, the front and back should measure 184x130 mm. The spine, also called the "rib", should measure 184x13 mm. This margin of space will allow you to join the front and back of the cover.
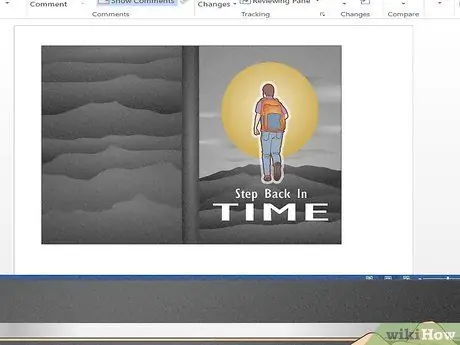
Step 3. Enter the text
Once you've added your cover images, you can insert whatever text you like into your document.
If you are using the Word application, you can use the "Insert text" function; or, if your application is Photoshop, click the "T" button on the toolbox and draw the text box on the image. The cursor should now flash, indicating that you can type text in the box
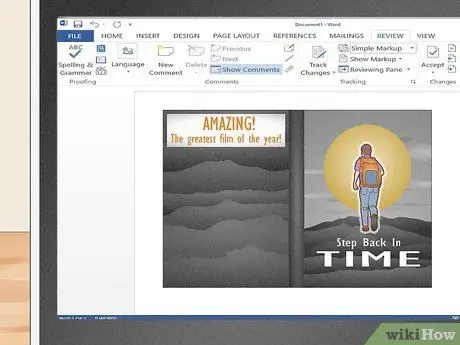
Step 4. Try to be creative
In addition to the images you can include a comment (real or fictional), such as: "Fantastic… the best film of the year" - Mario Rossi. If it is a different type of movie, you can add a quote from a clip, or even from your trip, which summarizes the content of your movie.
This way you will give your DVD even more meaning. If you prefer, you can even add a fake barcode and a recommended age range to make it more realistic
Part 3 of 3: Print and Insert the DVD Cover
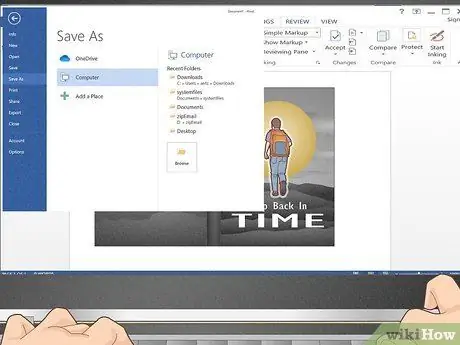
Step 1. Save your file
Before continuing, it is always a good idea to save your files so that if something goes wrong, or if you notice some errors during the printing phase, you can easily go back and make the necessary changes.
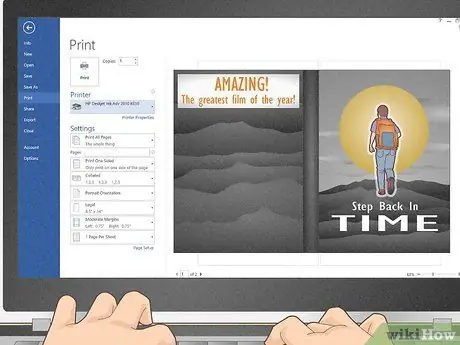
Step 2. Make a print preview
Before printing, do a print preview to make sure that all the elements inserted are in the right place and that the cover looks what you want.
- If you are using Windows, you can find the print preview button under "Menu".
- If you are using Mac OS X, you can find the print preview button under "File".
- The print preview in Photoshop, on the other hand, will be displayed directly by clicking on the "Print" button.
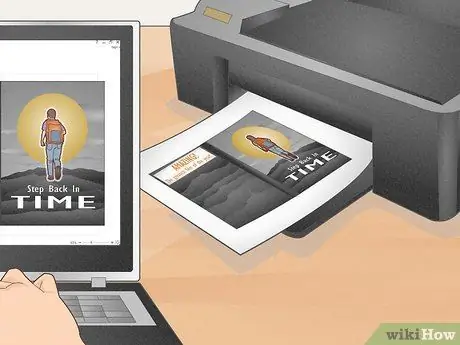
Step 3. Print a test page
If there are more than one pages, you should print a single test page first to make sure the DVD cover is to your liking. This way, if errors do occur, you won't have wasted paper and ink unnecessarily.
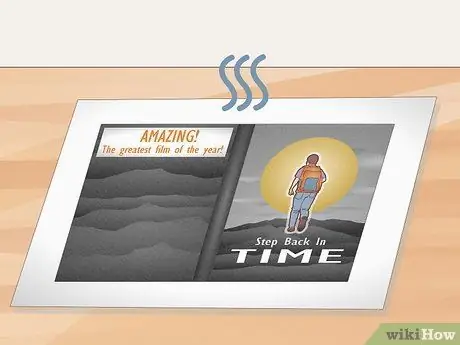
Step 4. Let the ink dry
Before inserting the DVD cover, spread the sheet on a horizontal plane and let the ink dry for about 20-30 minutes; this way you will avoid smudging when inserting the cover into the DVD case.
If you are using translucent photo paper, let it dry for a few more minutes
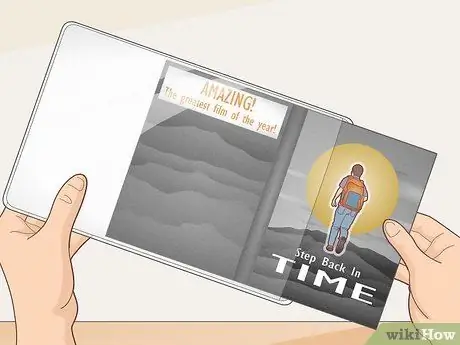
Step 5. Insert the sheet into the DVD case
Once the ink is dry, open the DVD case and place it on a flat surface. Simply slip the paper into the case and arrange it by matching all sides. Et voila! You have just created your DVD cover!
If your DVD disc is white in color and you have a DVD burner that allows you to screen print images onto the disc, use it! It will make your work even more realistic and professional. If not, you can always use an adhesive label; you can find a wide range in stationery and computer stores
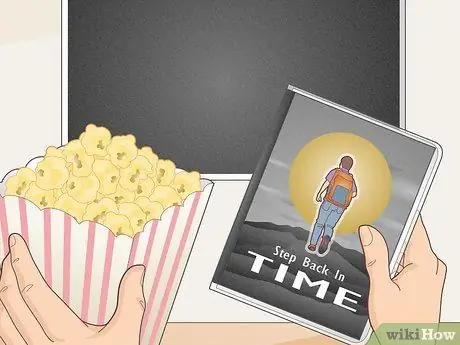
Step 6. Make the popcorn and enjoy the movie
Present your movie like a real DVD and surprise your audience!
Advice
- If you are having a hard time defining the sheet size and DVD cover size correctly, there are several predefined applications and templates that can help you do that.
- Get inspiration from DVDs and posters you like or already own.
- Let the sheet dry thoroughly before placing it in the DVD case.


