While you may have often heard not to judge a book by its cover, this is a very important part of promoting a publication. If you want to create a cover using Wattpad.com, follow these simple tips to learn how. With just a few steps, you can create a professional cover that complements your story!
Note: You must have Microsoft Word installed on your PC to follow these instructions.
Steps
Part 1 of 4: Follow the General Rules
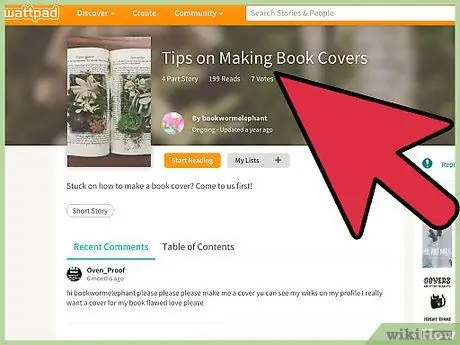
Step 1. Create a professional cover
The cover is the first image that potential readers of your book see. It shouldn't be off topic or creepy, nor too comical or absurd. Even if your book is a lot of fun, the cover needs to look professional. Remember that professional doesn't mean boring - the first page of your book needs to be interesting and engaging, but also neat and dignified.
- For example, if you want your book cover to depict a naked man running on a soccer field, that's fine. You just have to find a professional way to show it. Maybe the shot is taken from behind and from far away, to be able to see the empty stadium and the whole field. This is an example of an interesting, professional and engaging cover.
- Avoid low-quality images and fonts.
- Make sure the title is prominently displayed. It shouldn't disappear in the background of the cover.
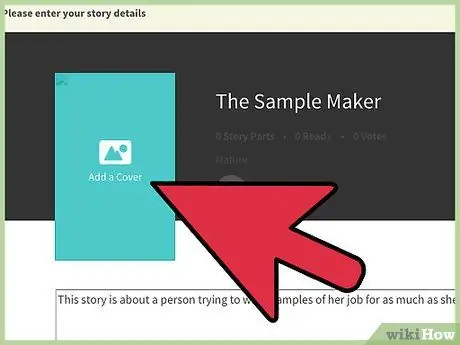
Step 2. Keep it simple
It doesn't take many elements to make it interesting. Don't choose images that are too confusing or complex. Remember, most people use a quick glance at books, so your cover should stand out without being too complicated. You don't even need to use Photoshop or any other professional image editing program to make a beautiful cover. If you don't do it properly, you risk ending up with a badly retouched photo.
Step 3. Complete the story with your cover
Everything from the choice of colors to the image should be an extension of your story. It is not necessary to show a scene or a character from the book, but the cover should give the reader the same feeling that he will experience reading your pages.
Part 2 of 4: Choosing an Image
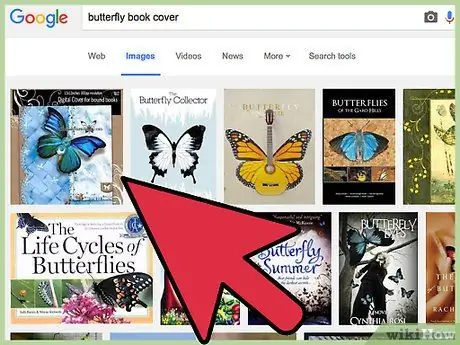
Step 1. Find an image that you have the rights to use
You probably won't be able to use any photo found on Google, because most of them are not usable for commercial purposes. Try doing a Flickr search to find public domain images you can use. You can also scan a photo you took yourself and use that.
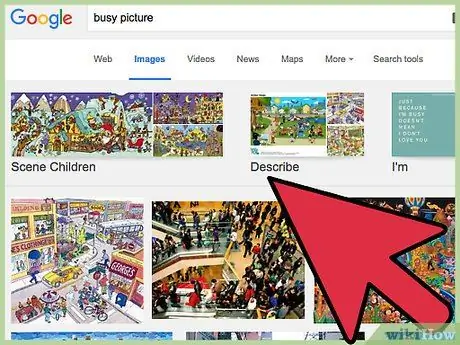
Step 2. Avoid overly blurry images
If there are too many elements on the cover, you will hardly catch the attention of the public. Too much action is not the right choice - you have to leave room for the book title and your name.
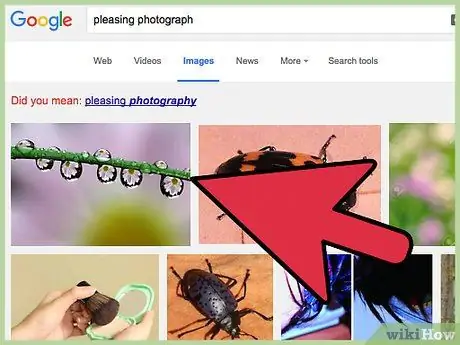
Step 3. Choose a visually attractive photo
Find an image that people want to look at. Even if you've written a horror story, guts and blood are not elements to put on the cover. Choose something scary but beautiful, like a dark lake or a forest at night.

Step 4. Trust your instincts and don't rush
When you find the perfect cover, you will know it. Don't settle for an image that doesn't quite convince you. There are so many beautiful illustrations that you shouldn't settle for the first one that hits you. You should be proud and excited that you have found the right image, without any indecision.
Part 3 of 4: Choosing the Font

Step 1. Choose a font that is easy to read
The image and title must catch the eye. If no one can understand the words on the cover, you won't win many readers. Man naturally skips the text he cannot understand.

Step 2. Use one font for the title and another for the author name
Some recommend using one to accent a few words in the title and a second for the rest of the words, including the author's name. Just make sure the two characters aren't too different from each other.

Step 3. Avoid using more than two fonts
Using too many fonts can make your cover look confusing and messy. Limit yourself to using two fonts that complement each other.
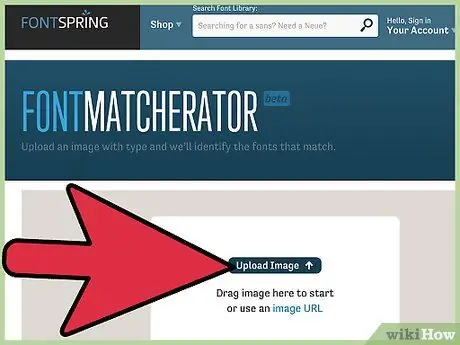
Step 4. Make sure the font fits the cover
Don't choose bubble words if your image is a serene landscape. The character should complement the illustration.
Part 4 of 4: Creating the Cover

Step 1. Open Microsoft Word and insert your image
Just click on the "Insert" tab, then on "Image". Select the file from the window that opens and copy it into the Word document, respecting its size, without stretching or making the illustration grainy.
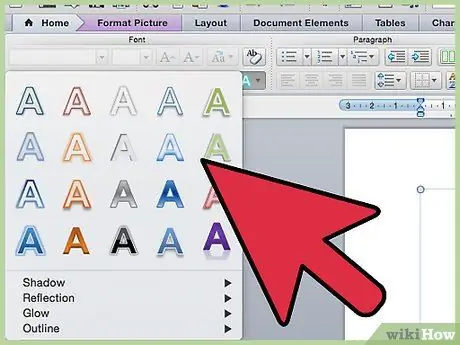
Step 2. Enter the text for the cover
Still from the "Insert" tab of the Microsoft Word document, click on "WordArt". Choose the style you prefer, then edit the Wattpad story title text. Change the font, color and effects as you like, then adjust the size of the text and place it on top of your photo (make sure everything stays on the cover and no words come out sideways). Repeat the same process with your name or Wattpad username.
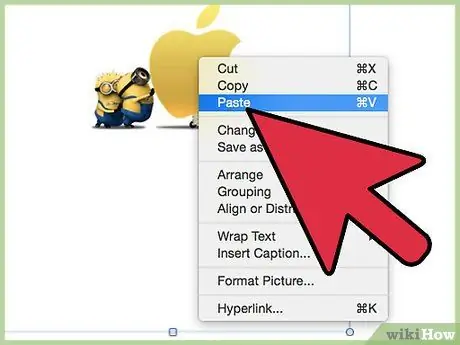
Step 3. Take a picture of the screen
Press Ctrl + Print at the same time, then right click on the Microsoft Word document. Select "Paste". The saved image of your screen will appear. You can also do this with Paint.
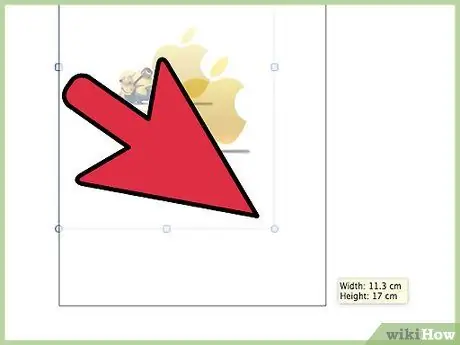
Step 4. Crop the image to be the right size
After copying the screenshot, click on the "Image Tools"> "Format" tab. Select "Crop" from the right side of the menu. Fit the image to your book cover by moving the black markers around its edges, then clicking the "Crop" button again. Here is your cover.
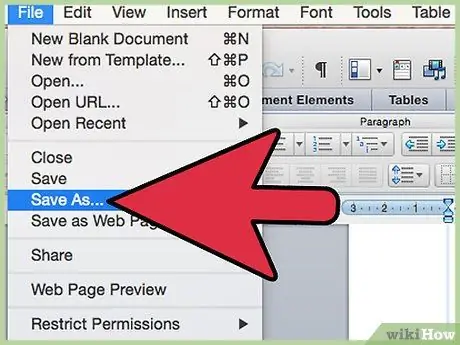
Step 5. Save the book cover
Right click on the photo you just cropped and select "Save as Image". Keep the file where you can easily find it.
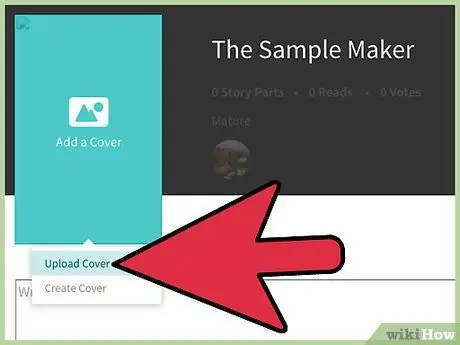
Step 6. Upload the cover to Wattpad
Once you have created an account on the site, you will immediately notice a dedicated button on the home screen. No need to press more! You now have a beautiful cover to accompany your story!
Advice
- Make sure you can see the image clearly and read the text well when uploading the photo. On the Wattpad page it is smaller than on your screen.
- Make sure the image is the right size, otherwise it will be automatically cropped.
- Make sure you don't write black or dark text on a black background. It would be illegible.
- Choose a cover text font that fits your story. Don't use a cheerful block font for a sad tale. Italic fonts are more effective in that case.
- Make sure you put your name on the cover so that no one can steal it from you.
- Do not use images taken from the internet for which you do not own the copyright.


