This article explains how to format a Mac, which involves erasing all data, files and settings stored on the hard drive. Read on to find out how.
Steps
Method 1 of 2: OS X 10.7 and Later
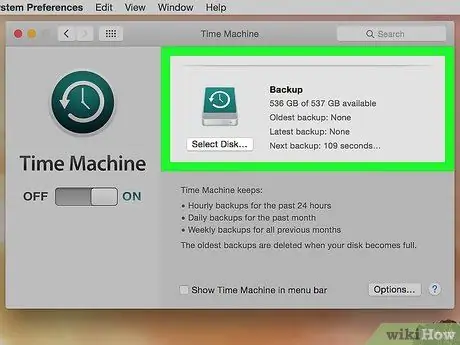
Step 1. Back up all data and files you want to keep
When you format any storage device, all of its contents are permanently erased. To avoid losing important information, back up any files you want to keep using an external hard drive or DVD.
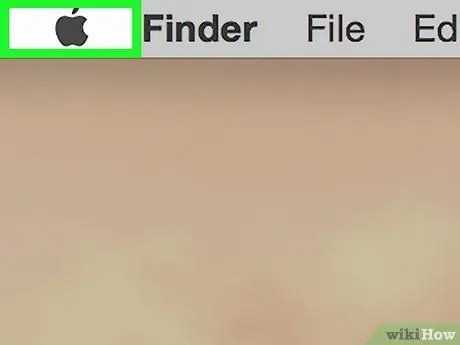
Step 2. Enter the "Apple" menu
It features the Apple logo and is located in the upper left corner of the screen.
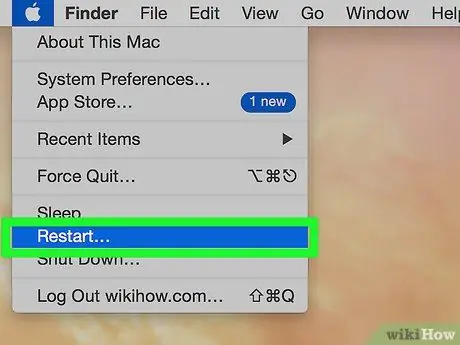
Step 3. Select the Restart… option
It is located at the bottom of the drop-down menu that appeared.
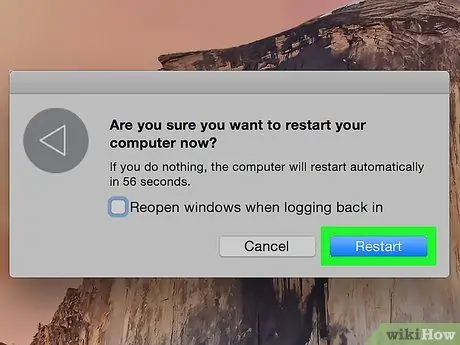
Step 4. Press the Restart button to confirm your action
This way the computer will be shut down and restarted immediately.
Wait for the Mac to shut down
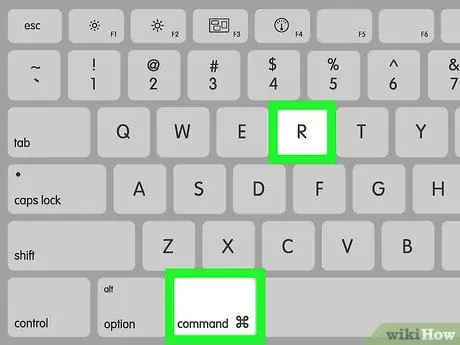
Step 5. Press and hold the key combination ⌘ + R as soon as the computer starts the restart phase
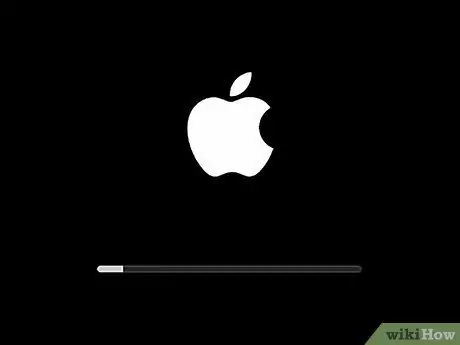
Step 6. When the Apple logo appears on the screen, you can release the keys
The "macOS Utility" window will appear.
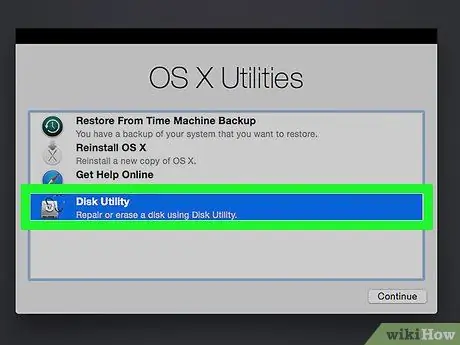
Step 7. Choose the Disk Utility option
It should be the last menu item that appeared.
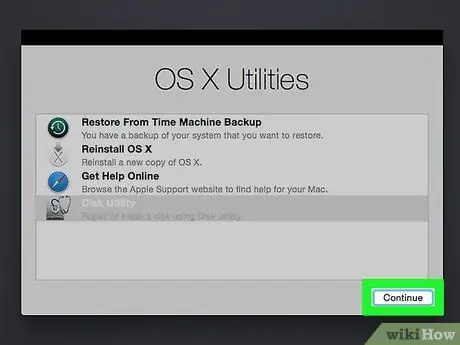
Step 8. Press the Continue button
It is located in the lower right corner of the dialog box that appears on the screen.
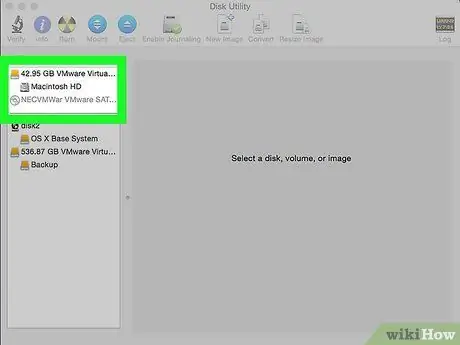
Step 9. Click the Mac hard drive icon
It is located within the left pane of the "Disk Utility" window in the "Internal" section of the list.
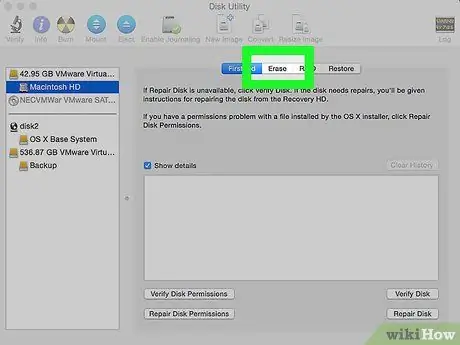
Step 10. Go to the Initialize tab
Press the button of the same name located at the top of the right pane of the "Disk Utility" window.
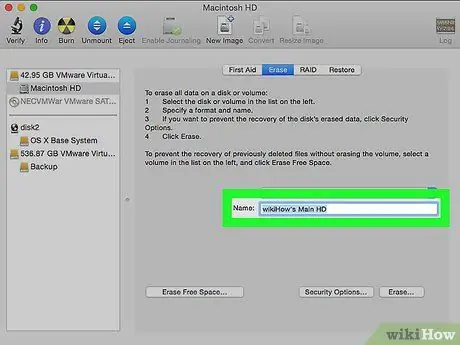
Step 11. Name the disk
To do this, use the "Name:" text field.
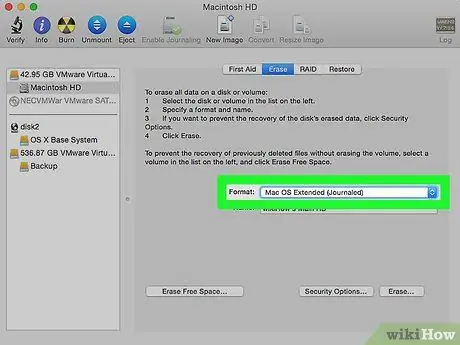
Step 12. Access the "Format:" drop-down menu
".
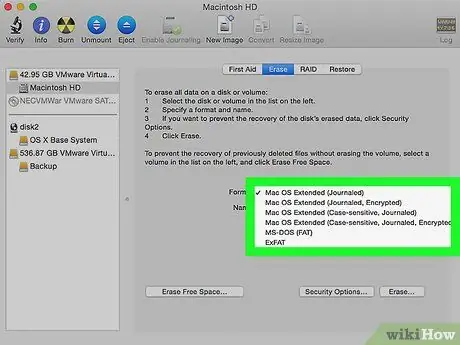
Step 13. Select the file system format to use to reinstall the macOS operating system
- Select the option Mac OS Extended (Journaled), if you want to perform a quick format.
- Select the item Mac OS Extended (Journaled, Encrypted), if you want to create an encrypted storage drive.
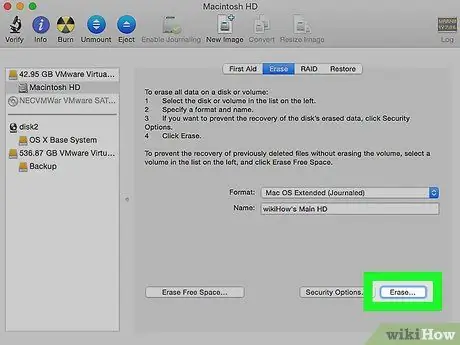
Step 14. Press the Initialize button
It is located in the lower right corner of the "Disk Utility" window. The formatting process will start immediately.
The time required for formatting to complete varies based on the size of the hard drive, the amount of data on it, and the file system format chosen
Method 2 of 2: OS X 10.6 and Earlier Versions
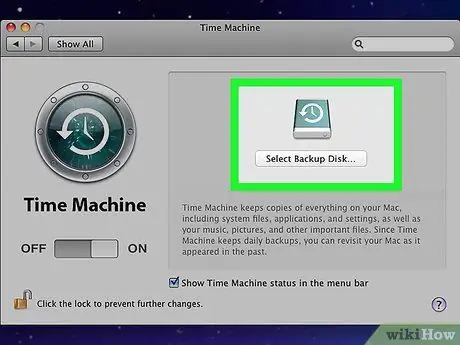
Step 1. Back up all data and files you want to keep
When you format any storage device, all of its contents are permanently erased. To avoid losing important information, back up any files you want to keep using an external hard drive or DVD.
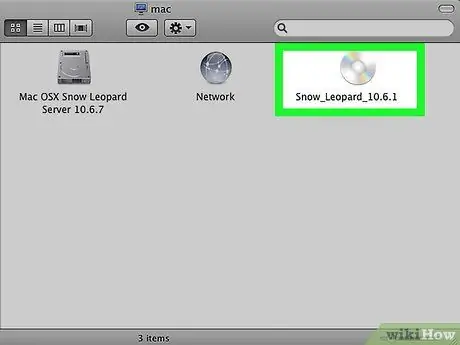
Step 2. Insert the operating system installation disc into the optical drive of the Mac
This is the DVD or CD that came with the device at the time of purchase. Wait for the media to be detected by the system.
If you used a USB installation drive instead of the optical disc, plug it into a free USB port on your computer
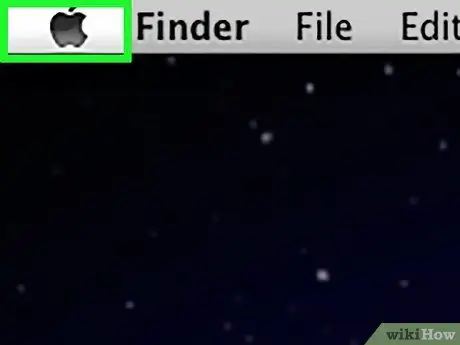
Step 3. Enter the "Apple" menu
It features the Apple logo and is located in the upper left corner of the screen.
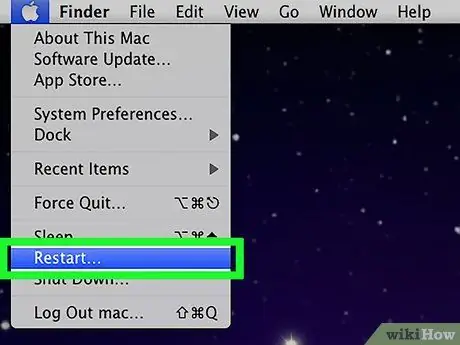
Step 4. Select the Restart… option
It is located at the bottom of the drop-down menu that appeared.
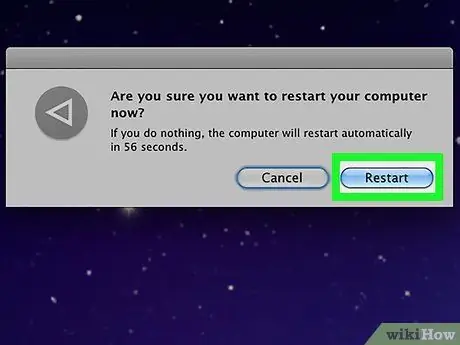
Step 5. Press the Restart button to confirm your action
This way the computer will be shut down and restarted immediately.
Wait for the Mac to shut down
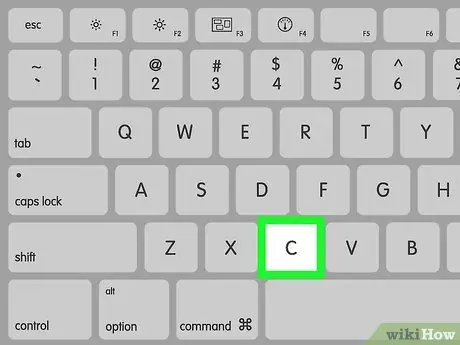
Step 6. Hold down the C key as the Mac starts booting
If you're using a USB memory drive instead of using the installation disc, press and hold the ⌥ Option key
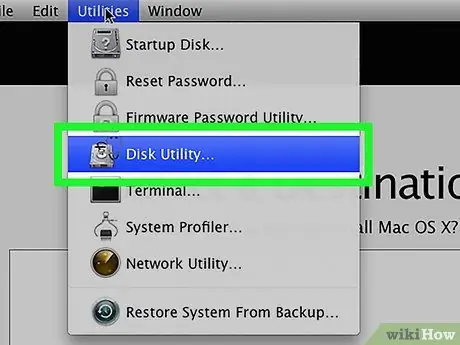
Step 7. Choose the Disk Utility option
It is located in the "Utilities" section of the installation menu.
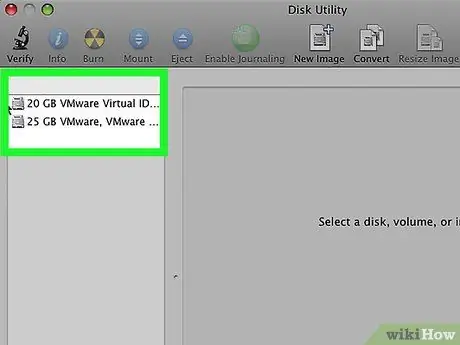
Step 8. Click the Mac hard drive icon
It is located inside the left pane of the "Disk Utility" window, in the "Internal" section of the list.
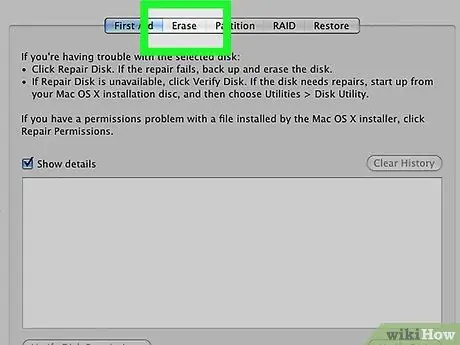
Step 9. Access the Initialize tab
Press the button of the same name located at the top of the right pane of the "Disk Utility" window.
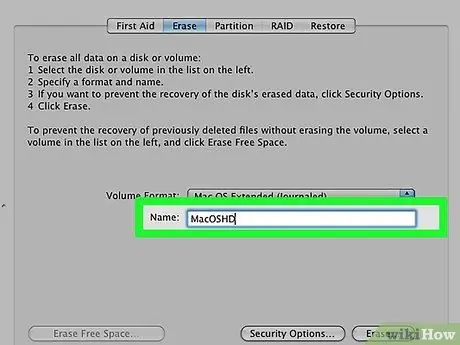
Step 10. Name the disk
To do this, use the "Name:" text field.
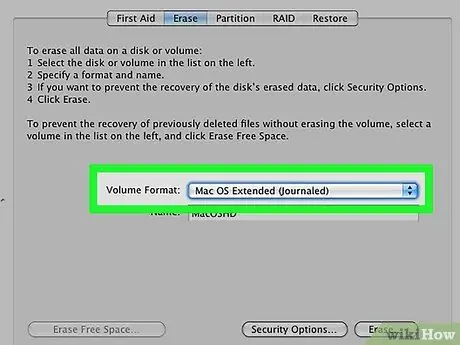
Step 11. Access the "Format:" drop-down menu
".
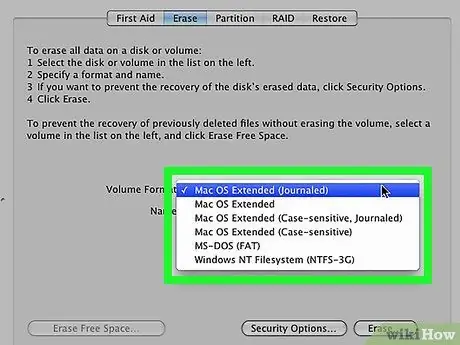
Step 12. Choose one of the available file system formats
If you have planned to reinstall the operating system from scratch, choose the option Mac OS X Extended (Journaled).
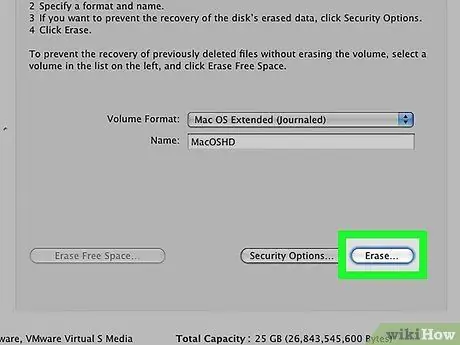
Step 13. Press the Initialize button
It is located in the lower right corner of the "Disk Utility" window. The formatting process will start immediately.


