This article explains how to connect a USB printer to a LAN using a dedicated print server (also called a "print server") or by connecting it directly to the network router. If the latter has a USB port, you can connect the printer directly to the router using that communication port. In this scenario, you will need to change the router configuration so that it can also be used as a print server. If your LAN router does not have a USB port or does not support print server functionality, you will need to purchase an external print server which will then be connected to the router via an Ethernet cable or Wi-Fi connection.
Steps
Part 1 of 3: Connect a Printer to a Router (Windows)
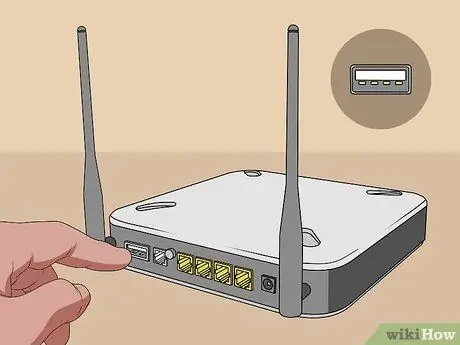
Step 1. Locate the USB port on the router
Remember that not all routers support direct connection via USB cable. Most high-end networking devices offer this type of connection. If your network router does not have a USB port, you will need to purchase an external print server that will act as a link between the printer and the router.
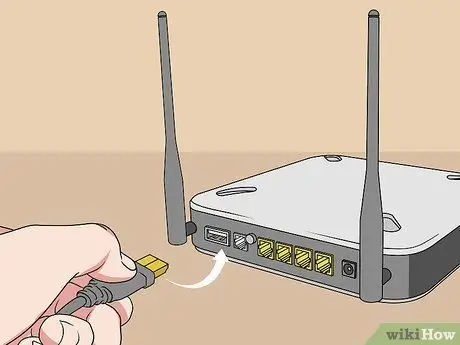
Step 2. Connect the printer to the router via USB port
If your network router has a USB port, you can connect the printer directly to the router quickly and easily using a USB cable.
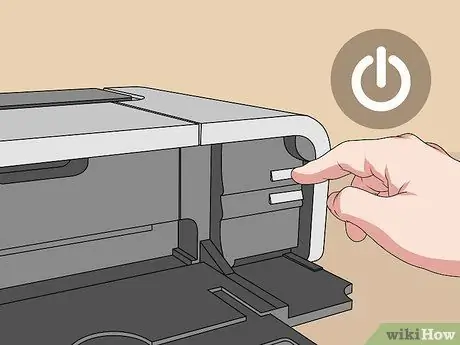
Step 3. Turn on the printer and wait about 60 seconds
If you have not already done so, connect the printer to the mains using the supplied cable. You can use a wall socket or a power strip. At this point, turn on the printing device and wait about 60 seconds, so that the router can detect the device.
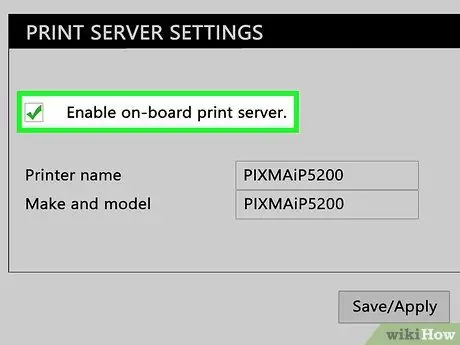
Step 4. Enable printer sharing on the router
To perform this configuration of the network device, you must start the internet browser of the computer and type, in the address bar, the IP address of the router (normally it is 192.168.0.1, 192.168.1.1, 10.0.0.1 or a similar value). At this point, you will need to log in to the router configuration page. A web page will appear that will allow you to change the device settings. Look for the section of the menu dedicated to USB port settings, then activate the "USB printer support" or "Printer Server" mode and save the changes. Each router has a different configuration interface and login procedure.
To find out how to log in and how to enable printer network sharing, consult your router's instruction manual or the manufacturer's website. Note that some routers may not support the print server function. If on the router configuration page you cannot find the section to activate the print server mode, you will need to purchase an external print server

Step 5. Access the Windows "Start" menu by clicking on the icon
It features the Windows logo and is located in the lower left corner of the desktop by default. Make sure you are using the same computer you used to change the network router configuration.
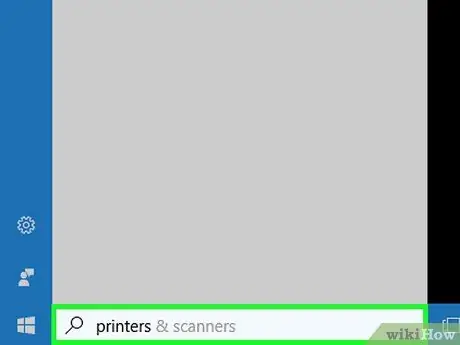
Step 6. Type in the keyword printers
The "Printers & Scanners" app icon will appear at the top of the results list.
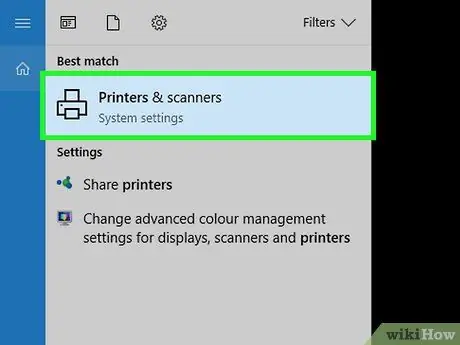
Step 7. Click the Printers and Scanners icon
It is located at the top of the "Start" menu. The "Printers and Scanners" dialog box will appear.
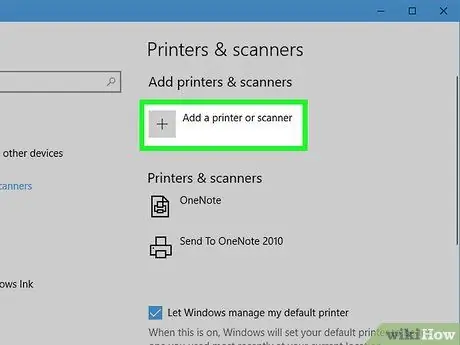
Step 8. Click the Add a Printer or Scanner button
The Windows operating system will perform a scan for the devices present. It will most likely not be able to detect the network printer.
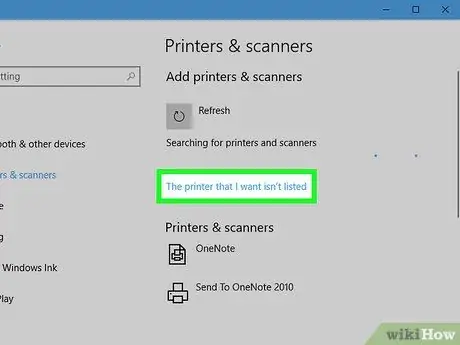
Step 9. Click the link The printer I want is not listed
It will appear when Windows has finished searching for available printers.
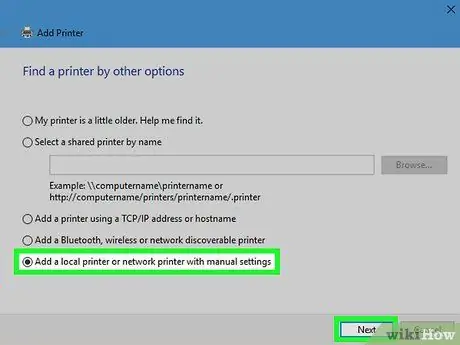
Step 10. Select the "Add a local or network printer with manual settings" option, then click the Next button
It appears at the bottom of the "Find a printer based on other options" window. After selecting the radio button of the indicated item, click on the "Next" button in the lower right corner of the window.
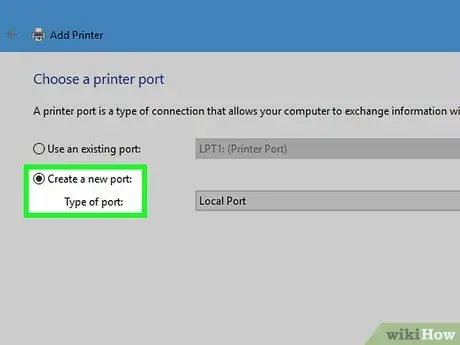
Step 11. Select the "Create a new door" item
It is the second option listed in the "Choose a printer port" window. Click on the corresponding radio button to select it.
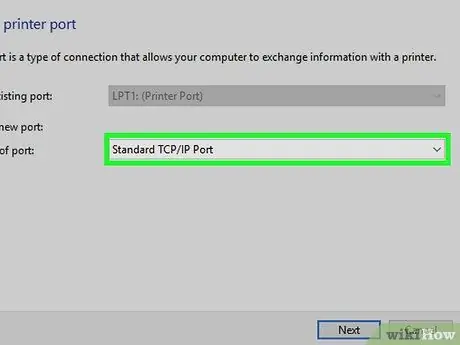
Step 12. Select the "Standard TCP / IP Port" option and click the Next button
Use the "Type of port" drop-down menu to select the "Standard TCP / IP Port" option, then click on the "Next" button located in the lower right corner of the window.
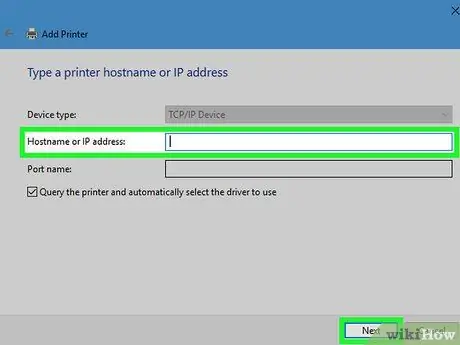
Step 13. Enter the IP address of the router and click on the Next button
You must use the same IP address that you used to login to the router configuration page. Type it in the "Host name or IP address" text field. You can choose to name the new print port whatever you like. At this point, click on the "Next" button located in the lower right corner of the window. Windows will detect and create the indicated port.
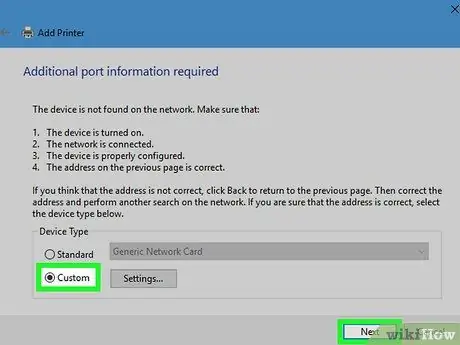
Step 14. Select the "Custom" option and click on the Next button
A custom setup will be created for the print port you just added. Click on the "Next" button, located in the lower right corner of the window, to continue.
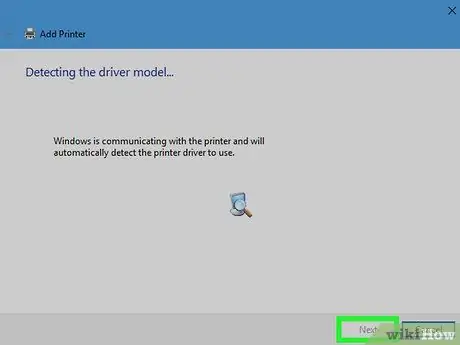
Step 15. Install the printer drivers and click the Next button
After creating a custom print port, a pop-up dedicated to installing the printer drivers will appear. From the left pane, you have to choose the brand of the printing device, while from the right pane, you have to select the model. If you have a printer installation CD, insert it into your computer drive and click the "Have Disk" button.
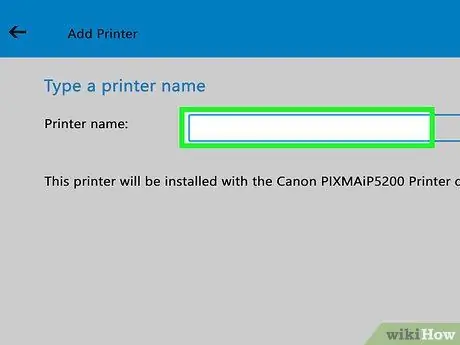
Step 16. Type the printer name and click the Next button
You can name the new printer using the "Printer Name" text field or you can choose to use the default name. To continue, click on the "Next" button located in the lower right corner of the window.
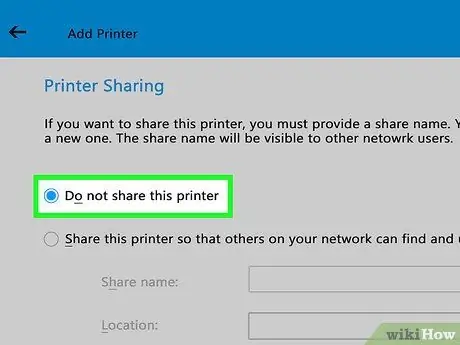
Step 17. Select the "Do not share this printer" option and click the "Next" button
This completes the printer setup on the current computer. At this point, click on the "Print a test page" button to verify that the printer is working correctly, then click on the "Finish" button.
Repeat steps 5 to 17 on all Windows-based computers on the LAN that need to be connected to the printer
Part 2 of 3: Connect a Printer to a Router (Mac)
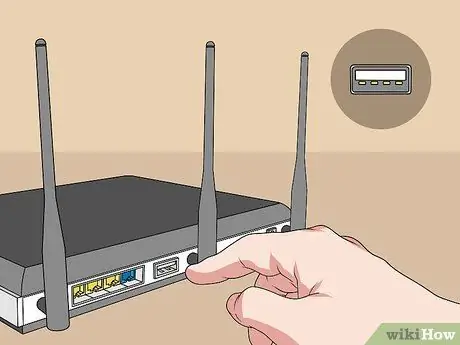
Step 1. Locate the USB port on the router
Remember that not all routers support direct connection via USB cable. Most high-end networking devices offer this type of connection. If your network router does not have a USB port, you will need to purchase an external print server that will act as a link between the printer and the router.
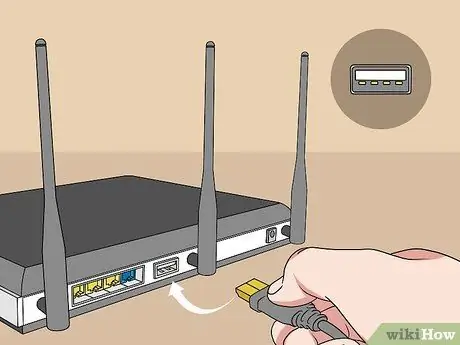
Step 2. Connect the printer to the router via USB port
If your network router has a USB port, you can connect the printer directly to the router quickly and easily using a USB cable.
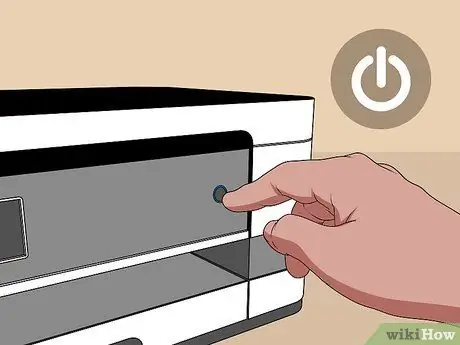
Step 3. Turn on the printer and wait about 60 seconds
If you have not already done so, connect the printer to the mains using the supplied cable. You can use a wall socket or a power strip. At this point, turn on the printing device and wait about 60 seconds for the router to detect the device.
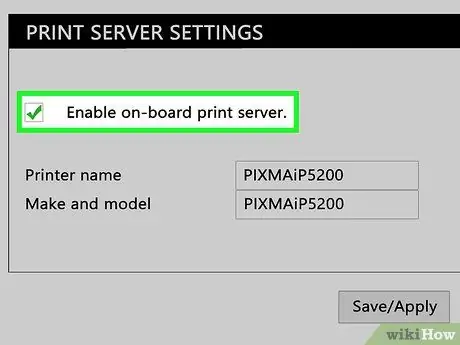
Step 4. Enable printer sharing on the router
To perform this configuration of the network device, you must start the internet browser of the computer and type, in the address bar, the IP address of the router (normally it is 192.168.0.1, 192.168.1.1, 10.0.0.1 or a similar value). At this point, you will need to log in to the router configuration page. A web page will appear that will allow you to change the device settings. Look for the section of the menu dedicated to USB port settings, then activate the "USB printer support" or "Printer Server" mode and save the changes. Each router has a different configuration interface and login procedure. To find out how to log in and how to enable printer network sharing, consult your router's instruction manual or the manufacturer's website. Note that some routers may not support the print server function. If in the router configuration page, you do not find the section to activate the print server mode, you will need to purchase an external print server.
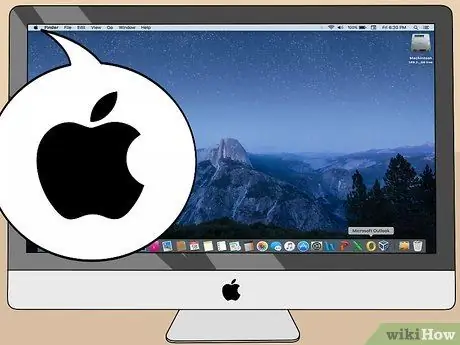
Step 5. Access the "Apple" menu by clicking on the icon
It features the Apple logo and is located in the upper left corner of the screen.
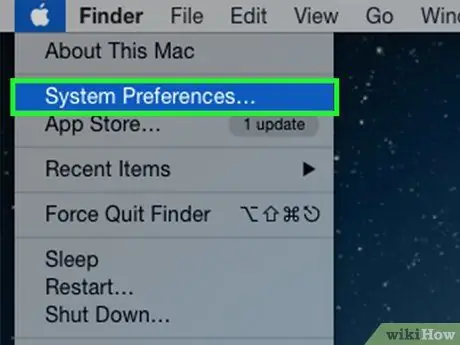
Step 6. Click on the System Preferences item
It is the second option in the "Apple" menu. The "System Preferences" dialog box will appear.
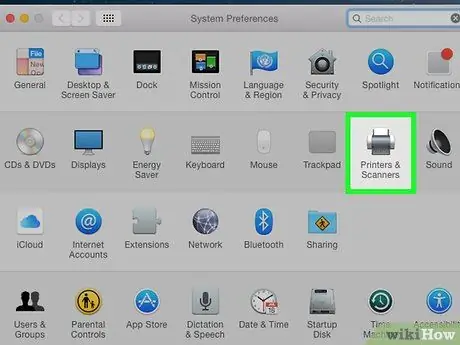
Step 7. Click the Printers and Scanners icon
It features a printer icon.
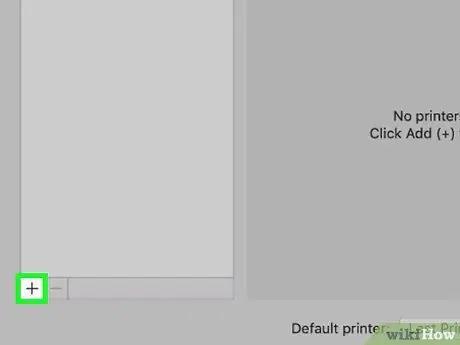
Step 8. Click the + button to add a new printer
It is located below the pane listing the printers and scanners already installed on your Mac displayed on the right side of the "Printers & Scanners" window.
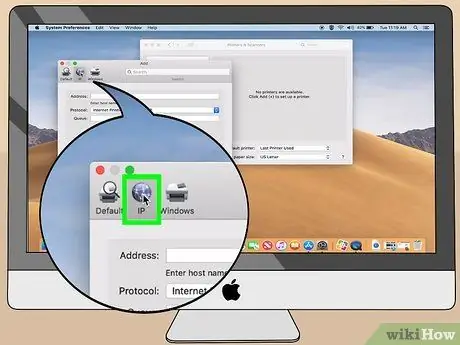
Step 9. Click on the IP tab
It features a globe icon located at the top left of the window.
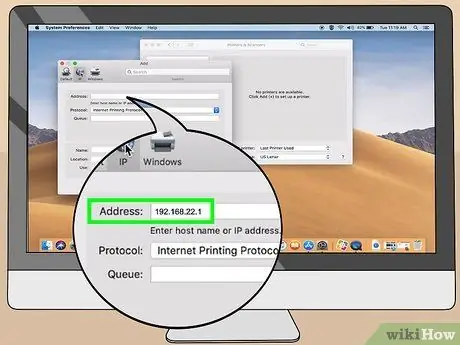
Step 10. Type the IP address of the network router into the "Address" text field
It is the first text field listed in the window. Remember to use the same IP address you used to connect to the router configuration page via your computer's internet browser.
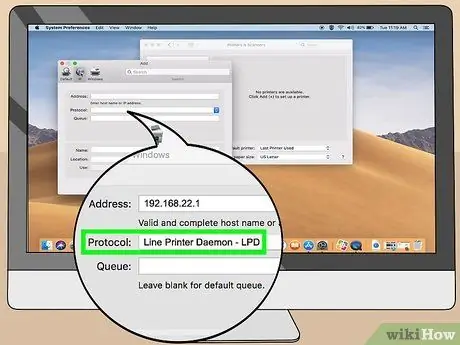
Step 11. Select the "Line Printer Daemon" option from the "Protocol" drop-down menu
The latter is located below the "Address" text field. Use the drop-down menu shown to select the "Line Printer Daemon" item.
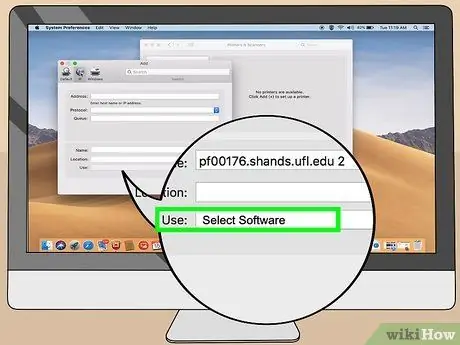
Step 12. Select the "Select Software" option from the "Use" drop-down menu
A list of all available drivers will be displayed.
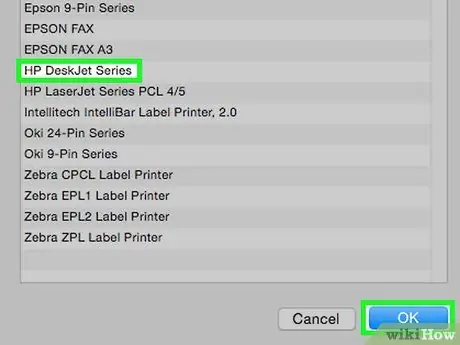
Step 13. Select the make and model of the printer you want to install, then click the OK button
Type the printer brand in the search field in the upper right corner of the window that appears, then choose the model and click on the "OK" button.
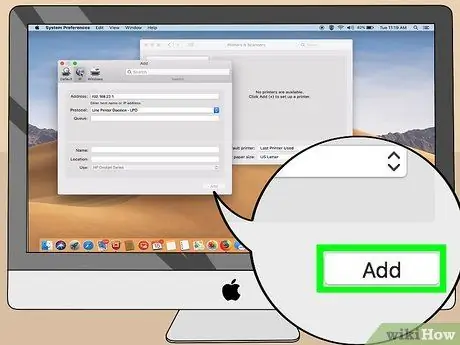
Step 14. Click the Add button
It is located in the lower right corner of the "Add" window. The printer drivers indicated on the Mac will be installed, so that you can use the device to print documents via the computer's Wi-Fi connection.
Repeat steps 5 to 14 to install the printer on all other Macs connected to the LAN that need to be able to access the device
Part 3 of 3: Using a Print Server
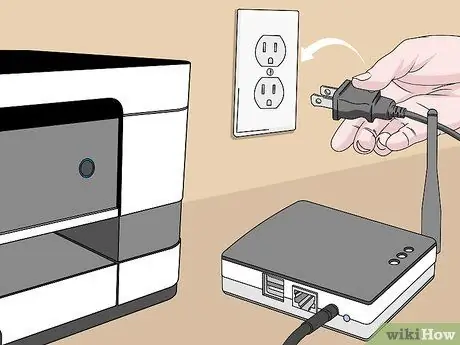
Step 1. Connect the print server
It is a network device that looks similar to that of a normal router. Plug it into an electrical outlet that is located near the network router and printer.
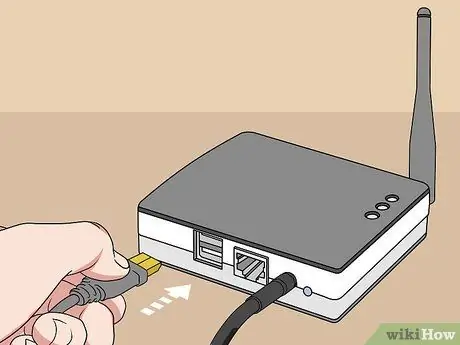
Step 2. Connect the printer to the print server
Use the supplied USB cable to connect the print device to the print server.
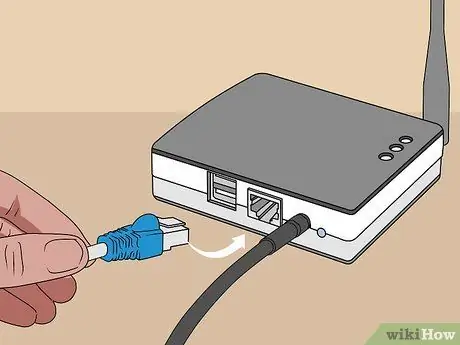
Step 3. Now connect the print server to the network router
There are several ways to establish this link:
- Using an Ethernet cable. You can use a wired connection via a regular Ethernet network cable. Many wireless print servers require initial setup to be done via such a wired connection.
- Wireless connection. If your print server has a "WPS" or "INIT" button, you can connect it to your network router via a Wi-Fi connection by simply turning it on and pressing the router's "WPS" button and the "WPS" or "INIT" button "of the printing device. The connection will be established automatically.
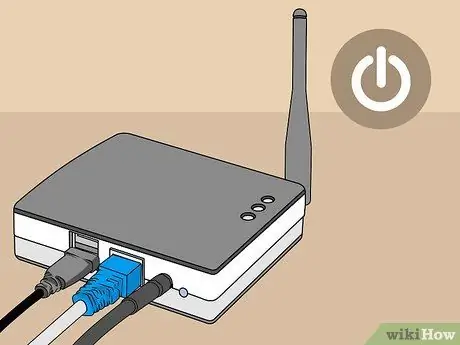
Step 4. Turn on the print server
If you have not already performed this step, turn on the print server by pressing the appropriate button.
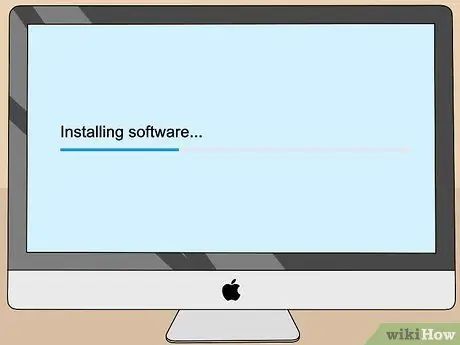
Step 5. Install the print server software
Most likely the device you purchased comes with a CD that contains the software to use the server. Alternatively, you can download the software directly from the device manufacturer's website. Use the CD to install the print server software on all computers on the network that will need to have access to the print server. Insert the CD into your computer's optical drive and start the installation wizard. The latter varies by the make and model of the print server. The installation procedure will guide you step by step through the process of connecting to the print server and setting up the wireless connection (if it is a wireless device). You may need to provide the password to access the Wi-Fi network in order to connect the print server to the LAN wirelessly. After this step is complete, try printing a test page to make sure everything is working correctly.


