By connecting the HP Deskjet 3050 printer to a wireless router, you can print comfortably without having to go crazy with too many cables and cords. You can connect it to a wireless router on any Windows or Mac computer, as long as it knows the router's username and password.
Steps
Method 1 of 5: Windows 8
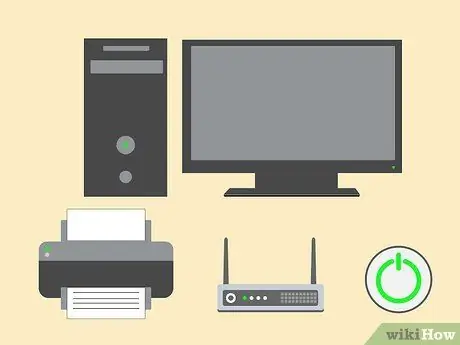
Step 1. Make sure your computer, printer, and wireless router are turned on
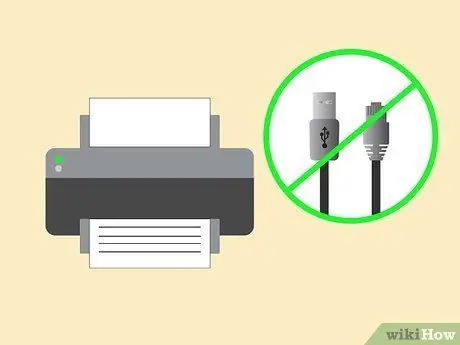
Step 2. Disconnect any USB or Ethernet cables that may be connected to the printer
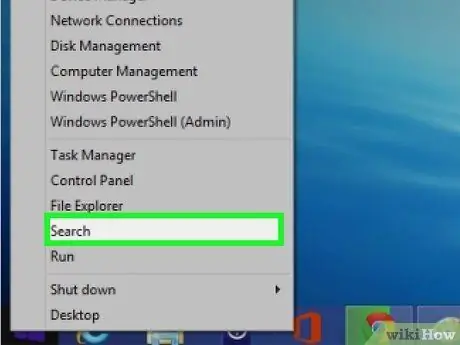
Step 3. Right-click the Start button, then click "Search"
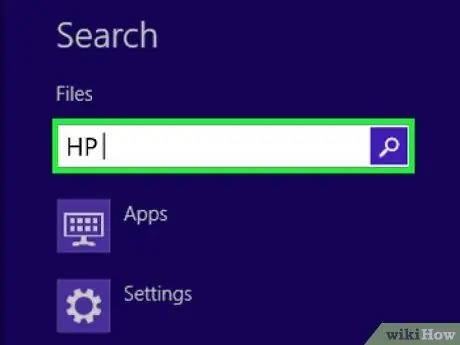
Step 4. Type "HP" in the search field, then click the printer icon
The wizard for the printer software will be launched and displayed on the screen.
If you are using the HP Deskjet 3050 printer for the first time on your Windows computer, go to the HP website and click "Download" to install the latest software and device drivers
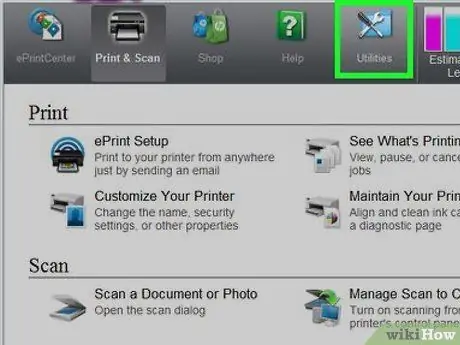
Step 5. Click on "Utilities", then click on "Printer Installation and Software Selection"
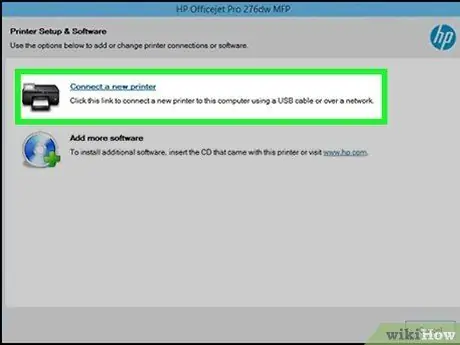
Step 6. Choose the option to connect a new printer to your computer
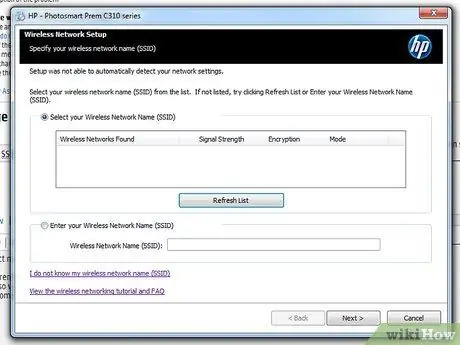
Step 7. Follow the on-screen instructions to connect the printer to the wireless router
You will be asked to enter the SSID, or network name, as well as the security password, also known as the WEP or WPA key.
Examine the router for the network name (SSID) and WPA key, or contact your internet service provider to find out how to obtain this information
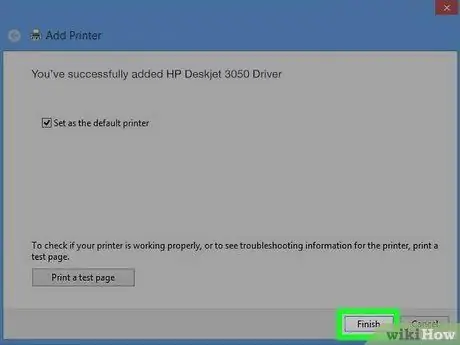
Step 8. Click the "Done" button on the last screen of the installation wizard
The printer will now be connected to the wireless router.
Method 2 of 5: Windows 7 / Windows Vista / Windows XP
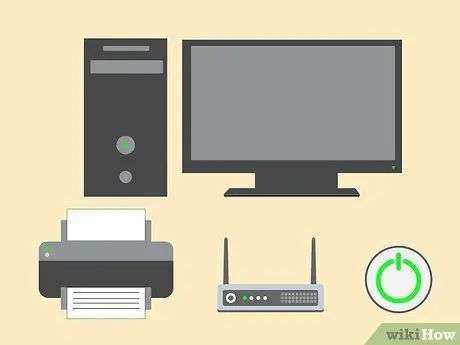
Step 1. Make sure your computer, printer, and wireless router are turned on
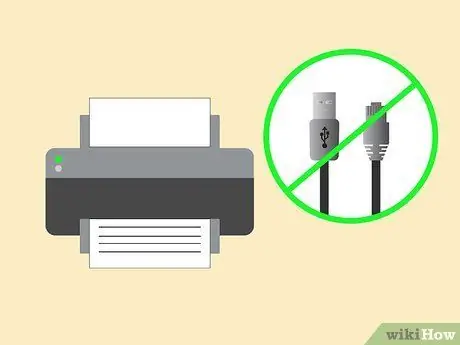
Step 2. Disconnect any USB or Ethernet cables that may be connected to the printer

Step 3. Click on the "Start" button and choose "All Programs"
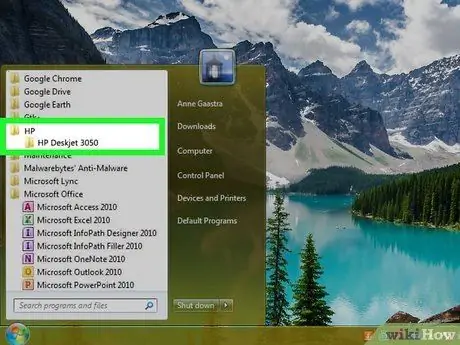
Step 4. Click on the "HP" folder, then click on the printer folder
If you are using the HP Deskjet 3050 for the first time on your Windows computer, go to the HP website and click "Download" to install the latest version of the device software and drivers
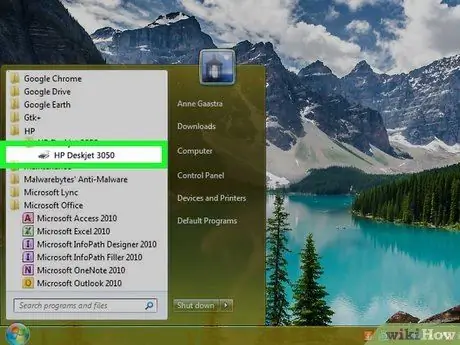
Step 5. Click on the printer icon
The installation wizard will be launched and displayed on the screen.
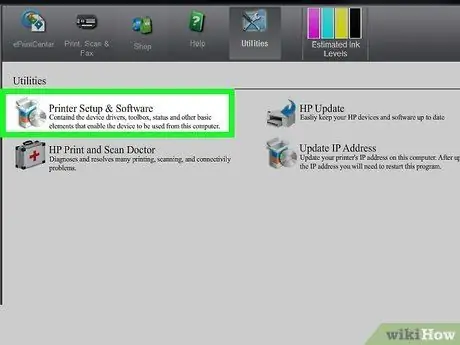
Step 6. Click on "Printer Installation and Software Selection"
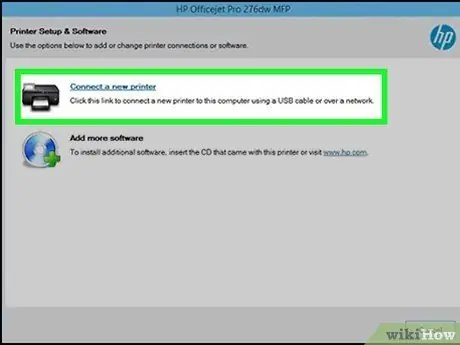
Step 7. Select the option to connect a new printer to your computer
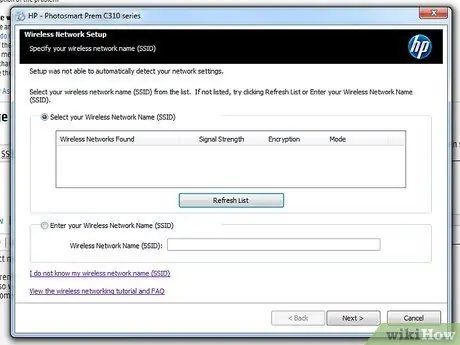
Step 8. Follow the on-screen instructions to connect the printer to the wireless router
You will be asked to enter the SSID, or network name, and the security password, also known as the WEP or WPA key.
Examine the wireless router for the network name (SSID) and WPA key, or contact your Internet service provider to find out how to obtain this information
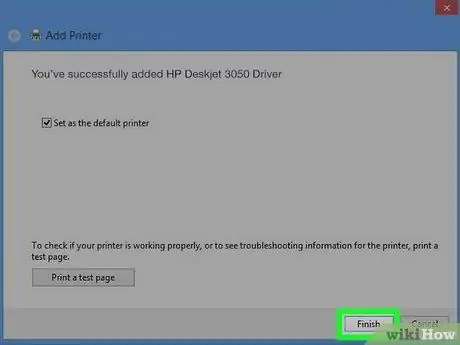
Step 9. Click the "Done" button on the last screen of the installation wizard
The printer will now be connected to the wireless router.
Method 3 of 5: Mac OS X v10.9 Mavericks
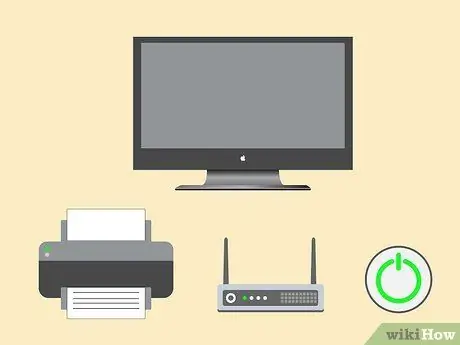
Step 1. Make sure your computer, wireless router, and HP Deskjet printer are turned on
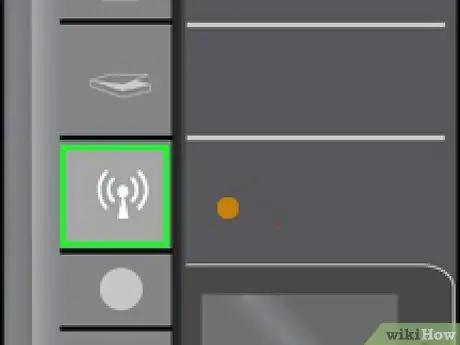
Step 2. Press the "Wireless" button on the printer control panel for at least three seconds, or until the wireless light starts blinking
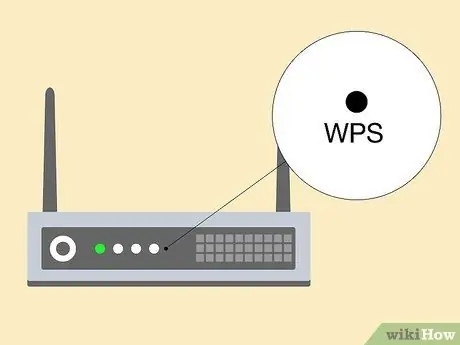
Step 3. Press the "WPS" (WiFi Protected Setup) button on the router for a few seconds
The printer detects the wireless network and sets up the connection automatically.
To be able to establish a connection with the router, perform the previous step within two minutes of pressing the "Wireless" button on the printer
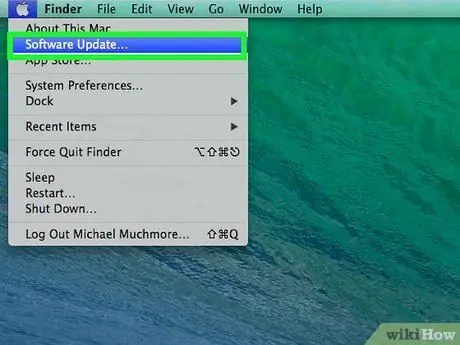
Step 4. Click on the Apple menu and select "Software Update"
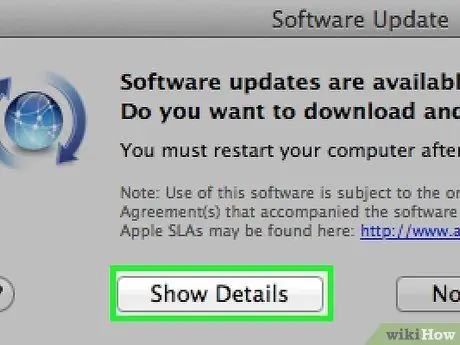
Step 5. Click on "Show details" and place a check mark next to all applicable updates
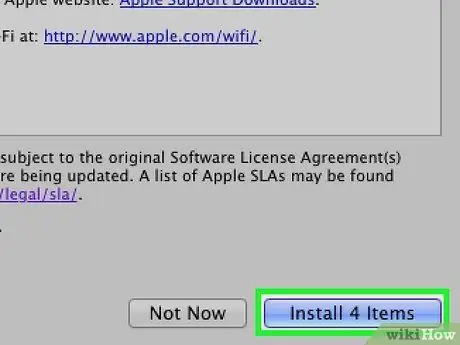
Step 6. Click on "Install"
The computer will install updates that can ensure the system runs efficiently when connected to the printer.
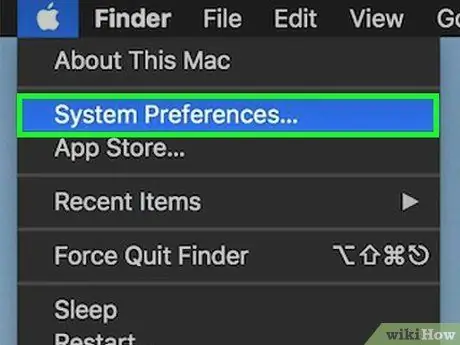
Step 7. Click on the Apple menu and select "System Preferences"
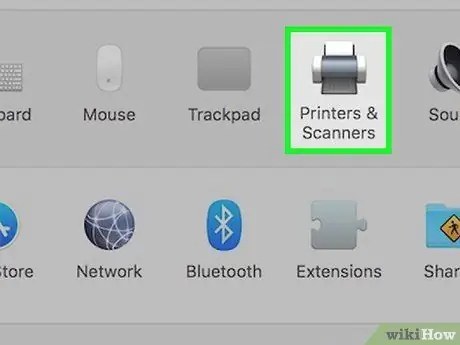
Step 8. Click on "Printers and Scanners"
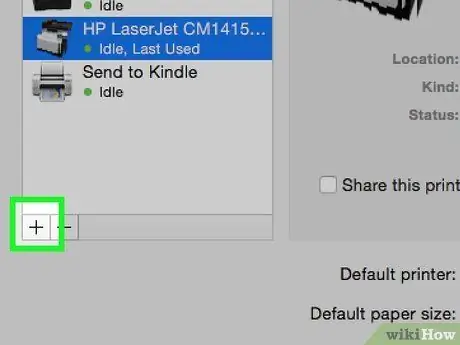
Step 9. Click on the "+" symbol in the lower left corner of the window, then click "Add Printer or Scanner"
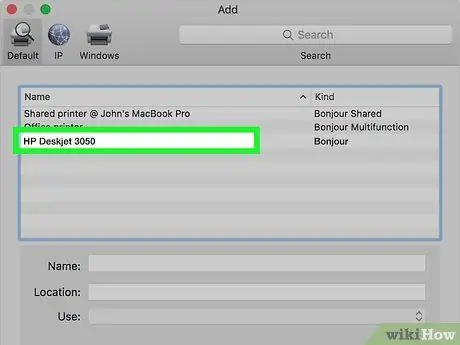
Step 10. Click on the printer name under the "Name" category
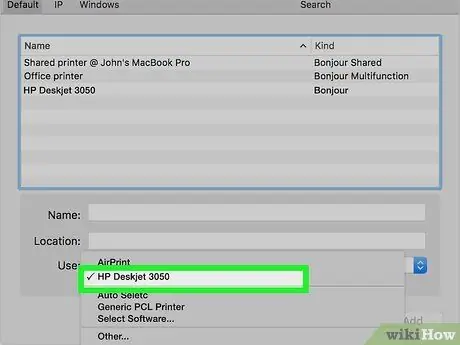
Step 11. Place a check mark next to "Use", then choose your printer from the drop-down menu
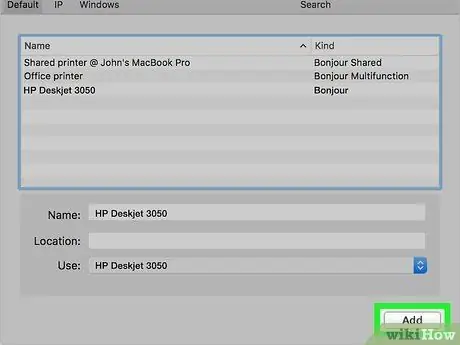
Step 12. Click "Add" and then "Install" if prompted
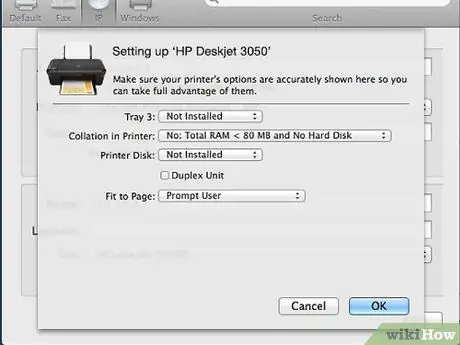
Step 13. Follow the on-screen instructions to complete the installation
The HP Deskjet 3050 printer will be connected to the same wireless router as the computer.
Method 4 of 5: Mac OS X v10.8 and Newer Versions
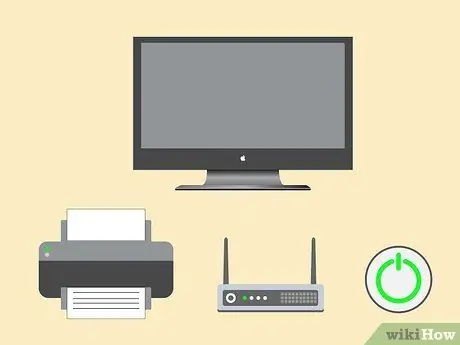
Step 1. Make sure your computer, wireless router, and HP Deskjet printer are turned on
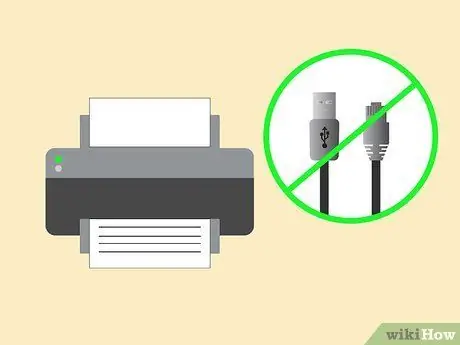
Step 2. Disconnect any USB or Ethernet cables that may be connected to the printer
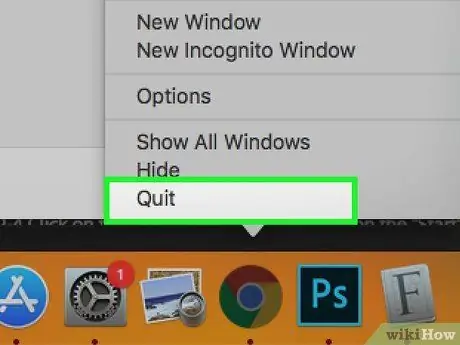
Step 3. Close all applications or programs running on your computer
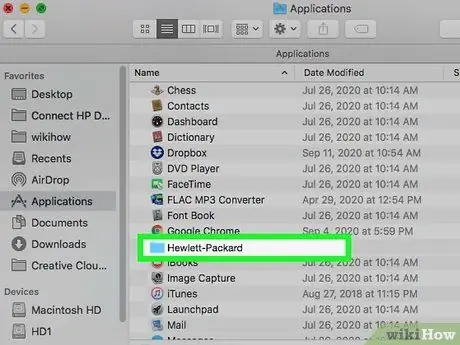
Step 4. Open the applications folder and double click on the HP folder
If you are using the HP Deskjet 3050 printer for the first time with your Mac computer, go to the HP website and click "Download" to install the printer software and drivers
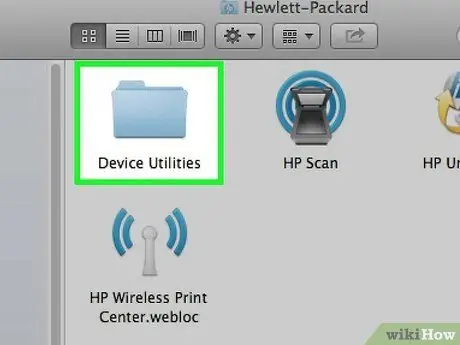
Step 5. Click on "Device Utilities", then double click on "HP Installation Assistant"
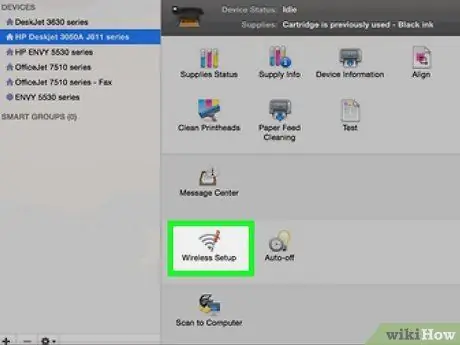
Step 6. Select the option to connect the printer to the computer using a wireless network connection
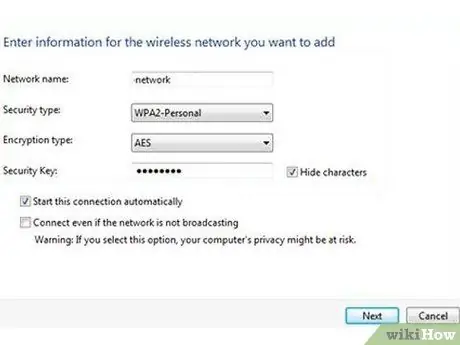
Step 7. Follow the on-screen instructions to connect the printer to the router
You will be asked to enter the SSID, or network name, as well as the security password, also known as the WEP or WPA key.
Examine the router for the network name (SSID) and WPA key, or contact your internet service provider to find out how to obtain this information
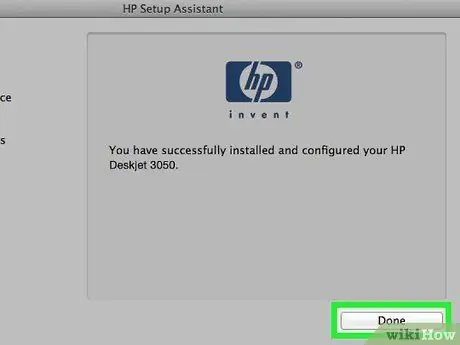
Step 8. Click on "Done" or "Done" on the last screen of the installation assistant
The printer will now be connected to the wireless router.
Method 5 of 5: Troubleshooting
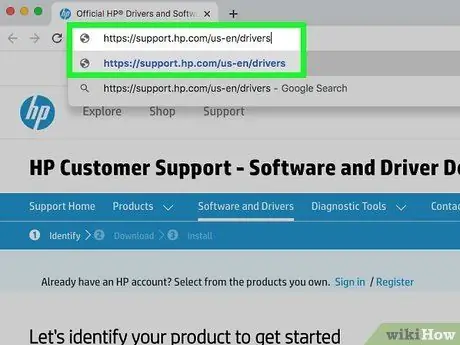
Step 1. Download the latest software and drivers for the HP Deskjet 3050 printer, if your computer is unable to connect to or detect the device properly
In some cases, the printer software installed on your computer may be out of date.
Go to the HP website and type in your printer model to get the latest software and drivers
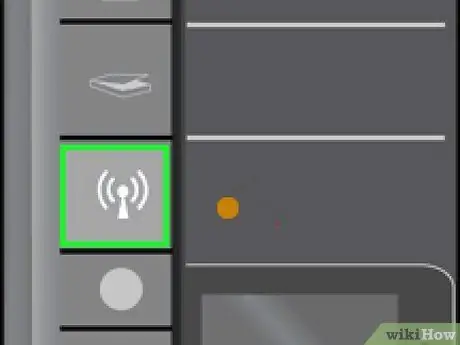
Step 2. Change your printer's wireless settings if you've recently started using a new router or network
In some cases, the printer may not automatically connect to the new router or network.
- Press the "Wireless" button on the printer and select "Wireless Settings".
- Select "WPS", then select "PIN".
- Enter your router login credentials, then select the option to save the change.


