This article shows you how to enable the Dynamic Host Configuration Protocol (DHCP) service on a network router. The DHCP protocol allows the automatic assignment of an IP address to each device that connects to the LAN managed by a router. In this way, the configuration of the network access parameters will be performed automatically by the router / modem, avoiding that two devices can have the same IP address, a scenario in which connection errors would be generated due to the presence of a conflict between the transmitted data packets. on the network.
Steps
Part 1 of 2: Finding the Router's IP Address
Windows systems
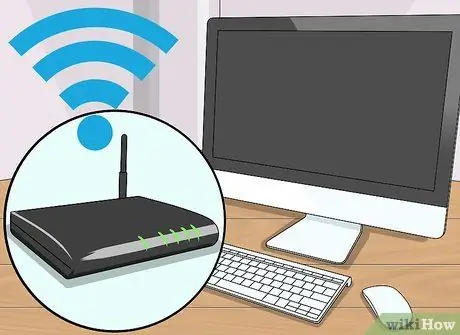
Step 1. Make sure that the computer is connected to the LAN managed by the router in question
If the computer is not connected to the same network that the router is connected to, you will not be able to determine the IP address of the device.
If there is no Wi-Fi connection or if it is not working properly, you will need to connect your computer directly to the router using an Ethernet network cable

Step 2. Access the "Start" menu by clicking the icon
It features the Windows logo and is located in the lower left corner of the desktop.
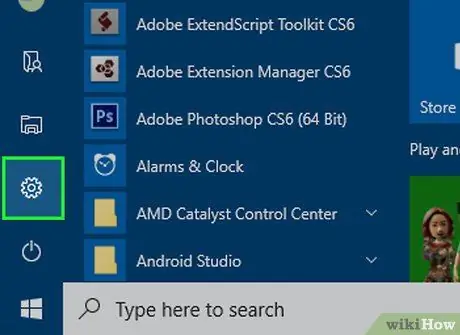
Step 3. Launch the Settings app by clicking the icon
It features a gear and is located at the bottom left of the "Start" menu.
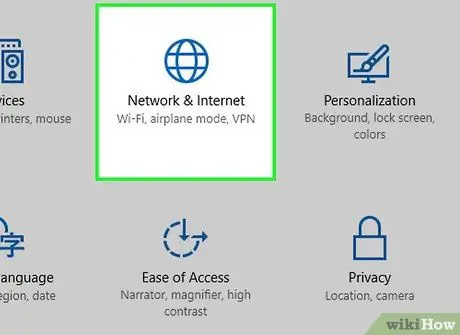
Step 4. Select "Network and Internet" by clicking the icon
It is listed at the top of the "Settings" window and has a globe icon.
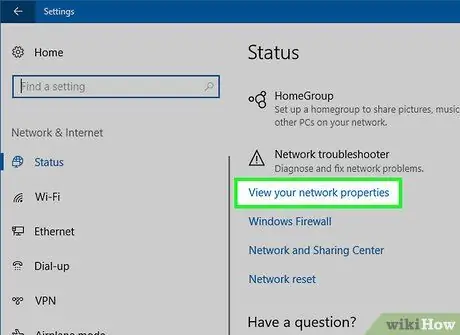
Step 5. Select the View Network Properties link
It is located at the bottom of the page. In some cases you will need to scroll down the menu in order to locate it.
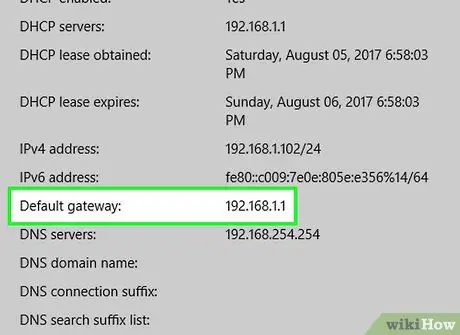
Step 6. Make a note of the series of numbers next to the "Default Gateway" entry
This is the IP address of the router that manages the LAN to which the computer is connected and that you will need to use in order to access the configuration page and activate the device's DHCP service.
Mac
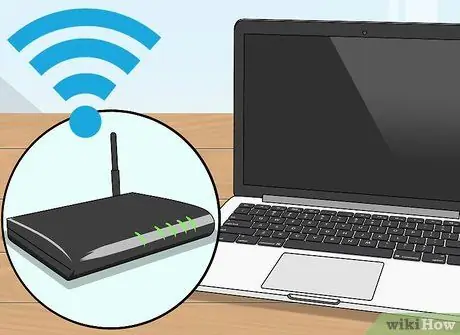
Step 1. Make sure that the computer is connected to the LAN managed by the router in question
If the computer is not connected to the same network that the router is connected to, you will not be able to determine the IP address of the device.
If there is no Wi-Fi connection or if it is not working properly, you will need to connect your computer directly to the router using an Ethernet network cable

Step 2. Enter the "Apple" menu by clicking the icon
It features the Apple logo and is located in the upper left corner of the screen. A drop-down menu will appear.
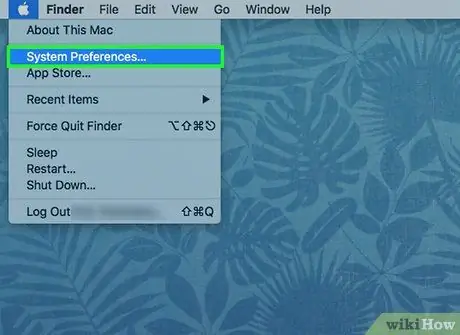
Step 3. Choose the System Preferences… item
It is one of the options present in the drop-down menu that appeared. The "System Preferences" dialog box will appear.
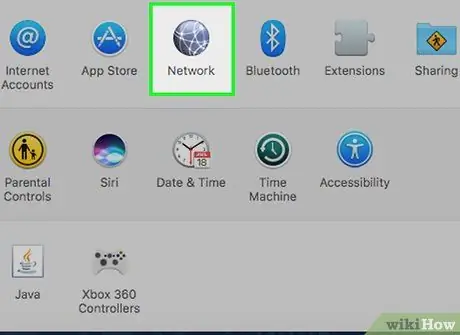
Step 4. Click the Network icon
It is characterized by a globe and is located inside the "System Preferences" window.
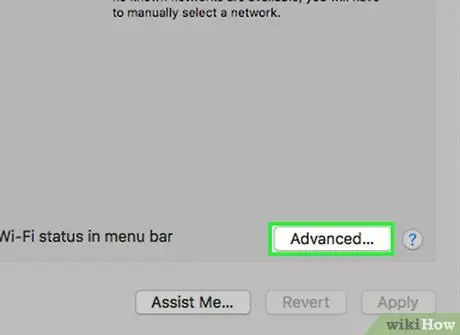
Step 5. Press the Advanced button
It is visible in the center of the newly appeared window.
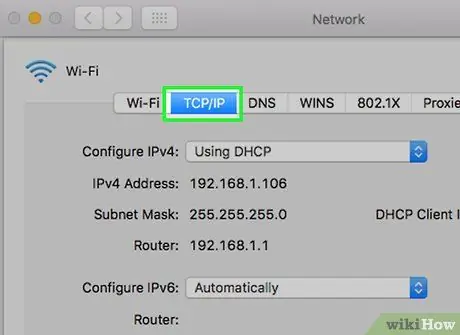
Step 6. Access the TCP / IP tab
It is located at the top of the advanced settings window.
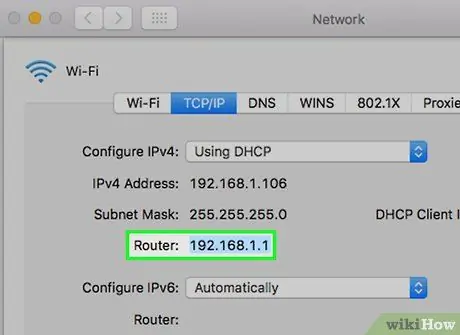
Step 7. Make a note of the series of numbers next to "Router:
This is the IP address of the router that manages the LAN to which the computer is connected and that you will need to use in order to access the configuration page and activate the device's DHCP service.
Part 2 of 2: Enable the DHCP Service
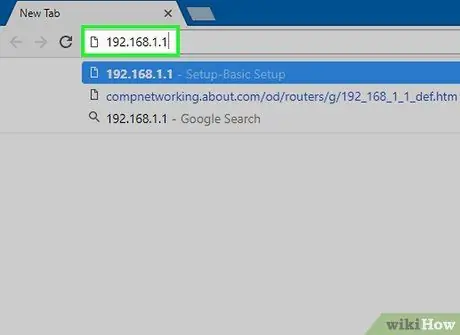
Step 1. Launch an internet browser and type the router's IP address into its address bar
You will be redirected to the administration page of the network router.
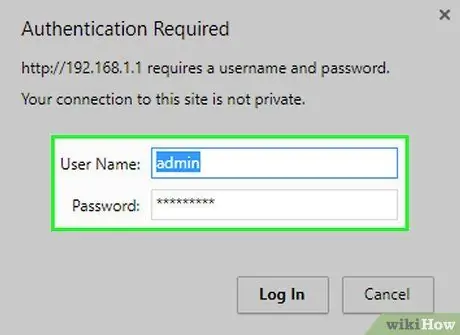
Step 2. Log in if prompted
In some cases, access to the network router administration page is secure and requires the use of a username and password. If you have not set a password to access your network router, the default credentials are usually shown directly in the user manual of the device.
- Alternatively, search online using the make and model of your network router. This way you will be able to trace the device's default login credentials.
- If you have set a custom username and password, but have now forgotten them, do a factory reset on your device to fix the problem.
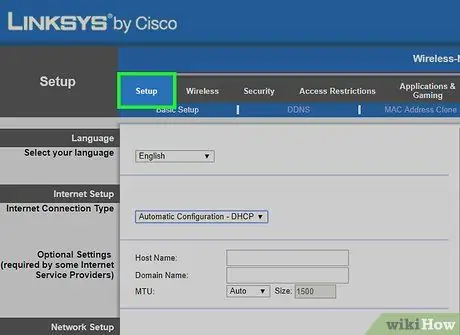
Step 3. Access the router configuration settings
Remember that the administration interface of a network router changes slightly from device to device, so focus on looking for the section on basic router configuration settings.
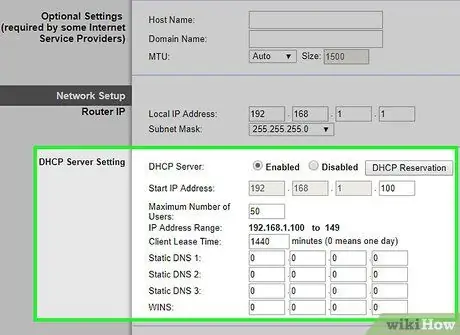
Step 4. Locate the section dedicated to the DHCP service
Normally it is located inside the "Network Settings" or "LAN Setting" tab of the router (most of the administration interfaces of the network devices are localized in English). If in your case you cannot find the DHCP server configuration settings, try searching the "Advanced settings", "Setup" or "Local Network settings" sections or run an online search using the make and model of your network device.
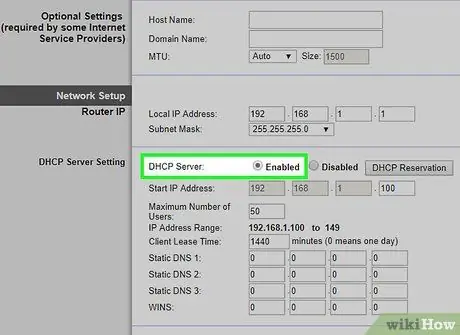
Step 5. Enable the DHCP service
Select the option Enable (may be visible in the form of a button, toggle, or tick button). In some cases you will need to access the drop-down menu for "DHCP" and choose the option Enabled.
You may also have the option to change the number of devices that can connect to the router. If this is your case, be very careful when changing this parameter as allowing the simultaneous connection of an excessive number of devices could generate connection errors on some of them
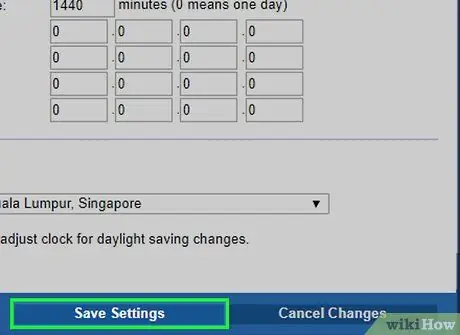
Step 6. Save the configuration settings
Push the button Save or Apply to save the new router settings. In some cases, you will be asked to restart the router for the new changes to take effect.
Advice
The best approach in this case is to follow the specific procedure related to the device in use, as all network routers have their own administration interface which changes from device to device
Warnings
- Make sure you have physical access to all network devices (routers, modems, etc.) in case you need to do a factory reset of those devices.
- Never enable the DHCP service on Wi-Fi networks that are not protected by a login password.


