This article explains how to scan a paper document to create the digital version using a Windows computer or a Mac and a multifunction printer manufactured by Canon.
Steps
Part 1 of 3: Prepare to Scan
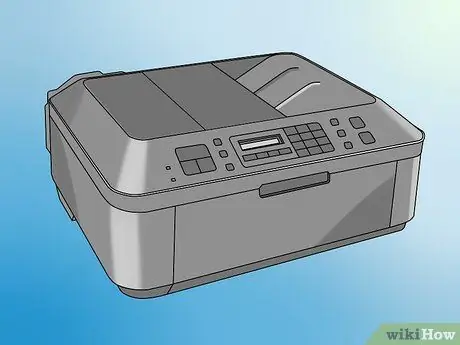
Step 1. Make sure your Canon printer has a built-in scanner
If it is a multifunction printer, it also includes a document scanner inside. There are also other models of Canon printers that can scan paper documents, but in this case you will need to consult the instruction manual or the web page of the Canon website to be sure.
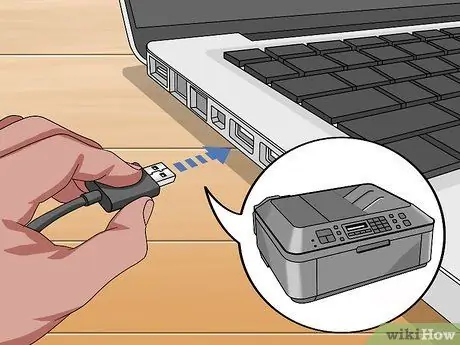
Step 2. Connect the printer to the computer
Most Canon printers that offer the ability to scan documents are able to connect to computers wirelessly using the device's touchscreen directly. However, in other cases you will need to use the appropriate USB cable.
Most printers also come with a USB data cable that you can use at any time to connect the device to your computer in case the wireless connectivity does not work properly
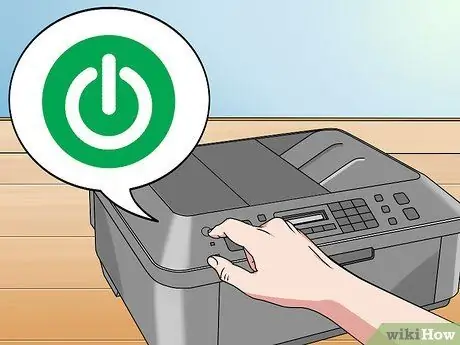
Step 3. Turn on the printer
Press the power button - this is usually located on the top or back of the device. If the printer does not turn on, check that it is connected to the mains using the appropriate cable.
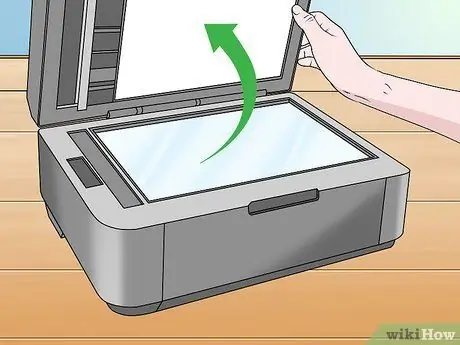
Step 4. Log in to the scanner
Lift the top cover of the printer to gain access to the glass bottom of the scanner.
- If your Canon printer has a built-in scanner, you simply need to place the document to be scanned in the appropriate slot. Refer to the symbols next to it to understand how to orient the sheets to scan correctly.
- If you cannot understand how to use the scanner of your Canon printer, please refer to the instruction manual.
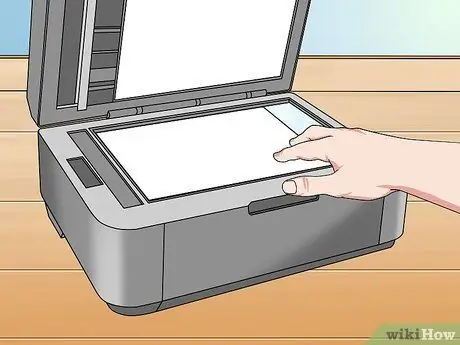
Step 5. Place the document to be scanned directly on the scanner glass with the usable side facing down
There should be reference marks along the edges of the scanner's glass bottom to help you position and orient the sheet correctly.
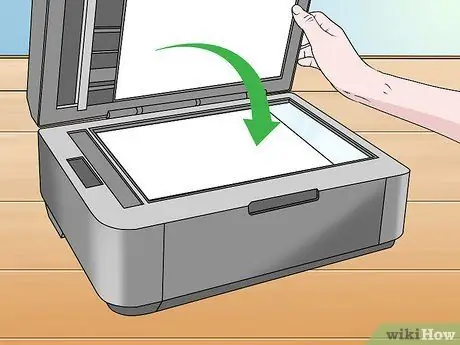
Step 6. Close the scanner lid
Before scanning your document, make sure the top cover of the scanner is firmly closed.
Part 2 of 3: Performing a Scan Using a Windows Computer

Step 1. Access the "Start" menu by clicking the icon
It features the Windows logo and is located in the lower left corner of the desktop. Alternatively, press the ⊞ Win key on your keyboard.
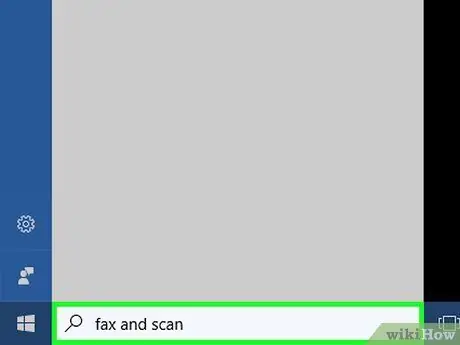
Step 2. Type the keywords fax and windows scanner into the "Start" menu
It will search your computer for "Windows Fax and Scan".
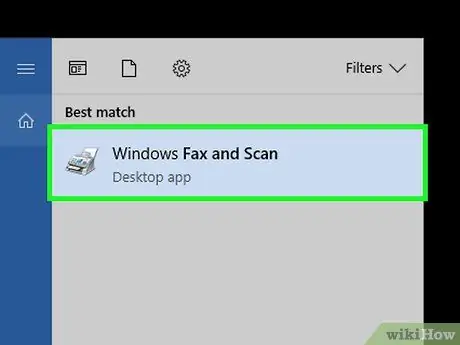
Step 3. Click the Windows Fax and Scan icon
It should have appeared at the top of the "Start" menu. The "Windows Fax and Scan" program window will appear.
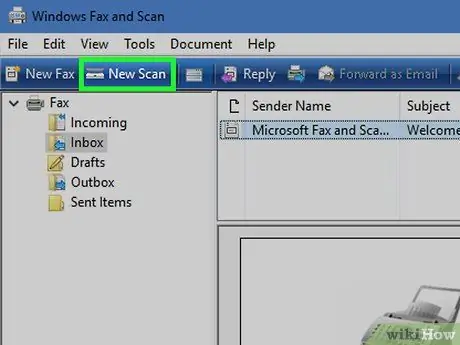
Step 4. Press the New Scan button
It is located in the upper left of the program window. A new dialog will appear.
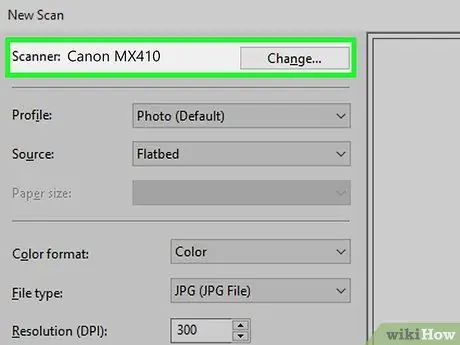
Step 5. Make sure the correct scanner is selected
At the top left of the new window that appears, you should see "Canon" followed by the printer model. If the make and model of the device do not match those of the Canon connected to the computer, press the button Change … and select the correct option.
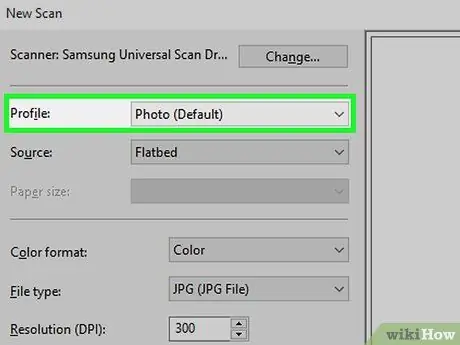
Step 6. Select the type of document to be processed
Go to the "Profile" drop-down menu and choose the document format you want to scan (for example "Documents").
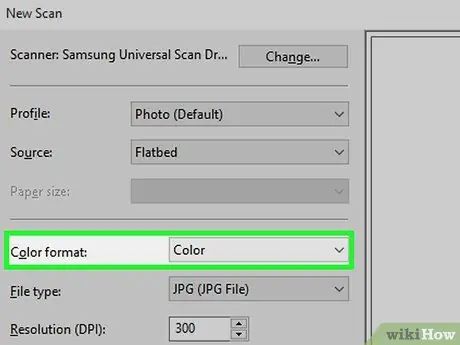
Step 7. Choose whether to scan in color
Access the "Color Format" drop-down menu and select the item Color or Greyscale.
Depending on your scanner model, you may have additional formats (or fewer options) for color management
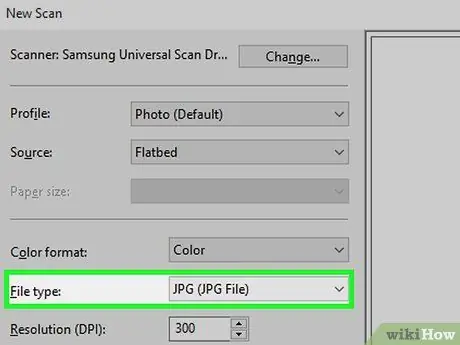
Step 8. Select the file format that will be generated by scanning the document
Access the "File Type" drop-down menu and choose the format you prefer (for example PDF or JPG). It will be the type of file that will be used to store the digital version of the scanned document on the computer.
Since you are digitizing a paper document, you should normally use the PDF.
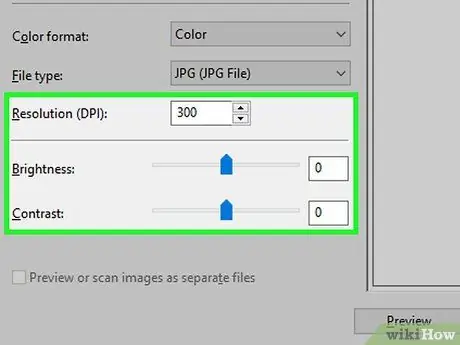
Step 9. Modify any other options present to suit your needs
Depending on the scanner model you are using, you may be able to set other configuration options (for example "Resolution"). Remember to perform this step before scanning.
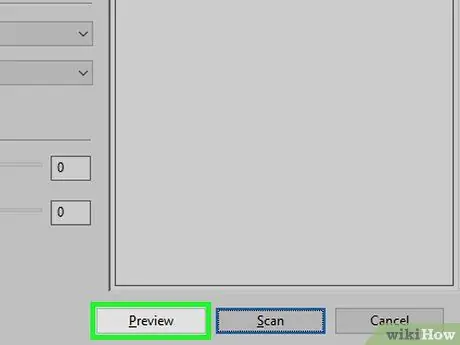
Step 10. Press the Preview button
It is located at the bottom of the dialog box. A preview of the scanned version of the document on the scanner will be created.
If the scan result appears warped, uneven, or text is missing, you will need to reposition the paper document inside the scanner and repeat the test scan by pressing the button again. Preview to check if the solution you adopted solved the problem.
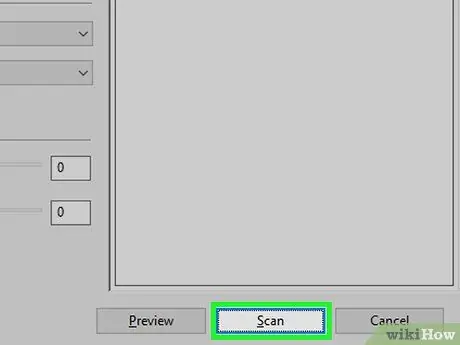
Step 11. Press the Scan button
It is located at the bottom of the window. The document will be scanned and stored on your computer. Once the scanning process is complete, follow these instructions to access the digital file of the document:
-
Access the menu Start clicking the icon
-
Open the window File Explorer clicking the icon
- Select the folder Documents located in the left sidebar of the "File Explorer" window.
- Access the folder Digitized documents.
Part 3 of 3: Scan Using a Mac
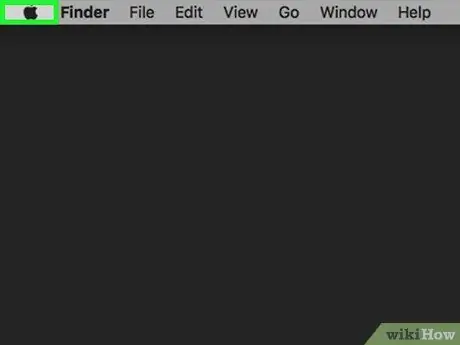
Step 1. Enter the "Apple" menu by clicking the icon
It features the Apple logo and is located in the upper left corner of the screen. A drop-down menu will appear.
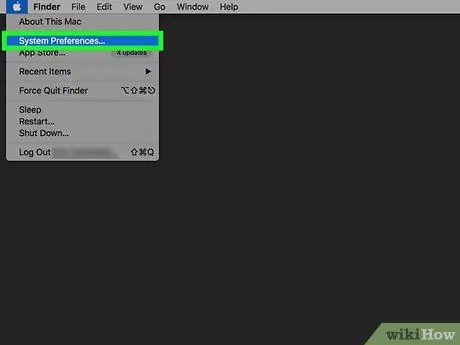
Step 2. Choose the System Preferences… item
It is one of the options present in the drop-down menu that appeared. The "System Preferences" dialog box will appear.
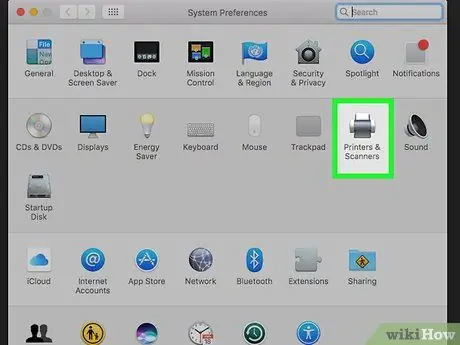
Step 3. Click the Printers and Scanners icon
It features a stylized printer and is located on the right side of the "System Preferences" window.
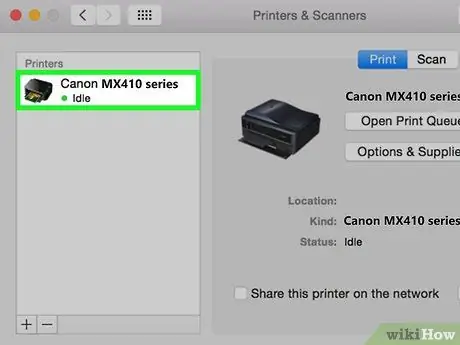
Step 4. Select the Canon printer
Click the "Canon" icon listed in the left pane of the "Printers and Scanners" window.
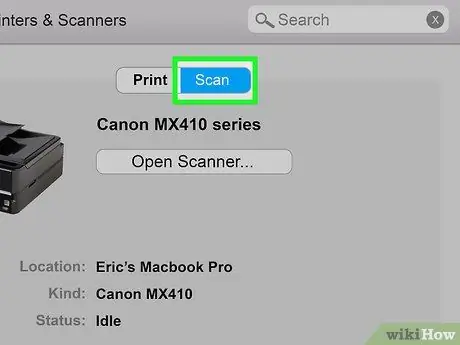
Step 5. Go to the Scan tab
It is displayed at the top of the window.
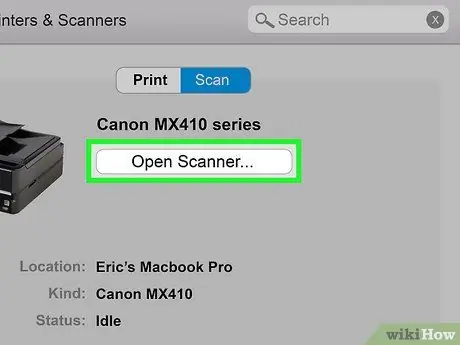
Step 6. Press the Open Scanner… button
It is visible at the top of the tab Scan.
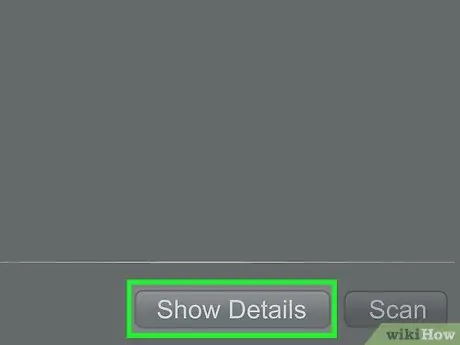
Step 7. Press the Show Details button
It is located in the lower right part of the appeared window.
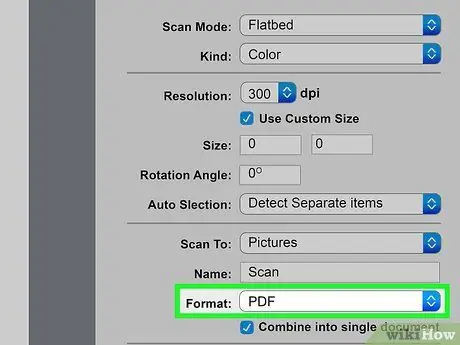
Step 8. Select the file format to use for scanning
Access the "Format" drop-down menu and choose the format you prefer (for example PDF or JPG). It will be the type of file that will be used to store the digital version of the scanned document on the computer.
When scanning any type of document other than a photograph, you must use the PDF.
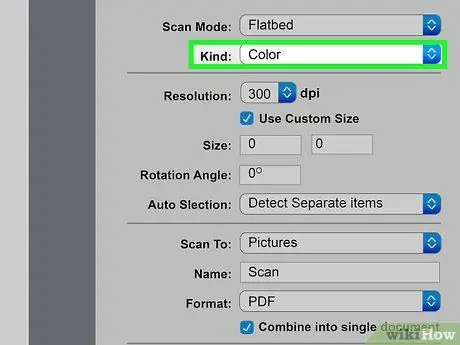
Step 9. Choose the color profile to use
Access the "Type" drop-down menu at the top of the window and select the option you prefer (for example Black and white).
Depending on the scanner model, the available options may be limited
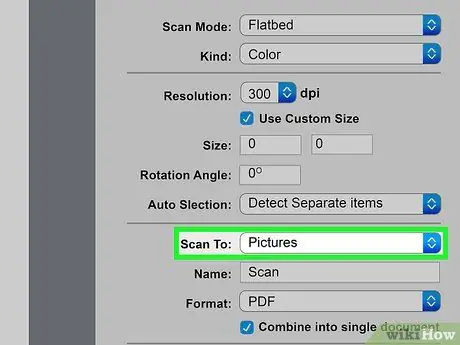
Step 10. Select the destination folder
Open the "Scan to" drop-down menu, then select the folder where you want the scanned file to be saved (for example Desktop).
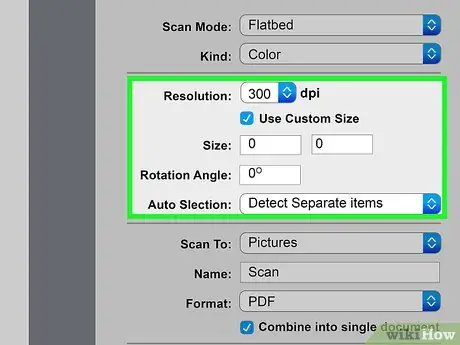
Step 11. Change the other configuration options in the window
Depending on the type of document you are scanning, you may need to change the resolution or orientation using the "Resolution" and "Rotation angle" fields respectively.
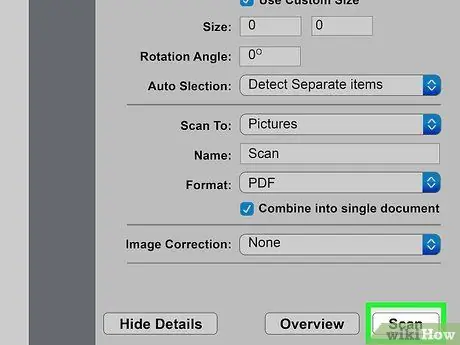
Step 12. Press the Scan button
It is located in the lower right corner of the window. The document will be scanned and stored on your computer. At the end of the scanning process you will find your document in digital version in the folder on your computer that you selected in the previous steps.


