This article explains how to scan a document on your computer, smartphone or tablet. To do this from your computer, you need to connect a scanner (or printer with integrated scanner) to the system. On an iPhone, you can use the default Notes application to scan documents from an Apple mobile phone, while Android users can use the Google Drive scanning feature.
Steps
Method 1 of 4: Windows
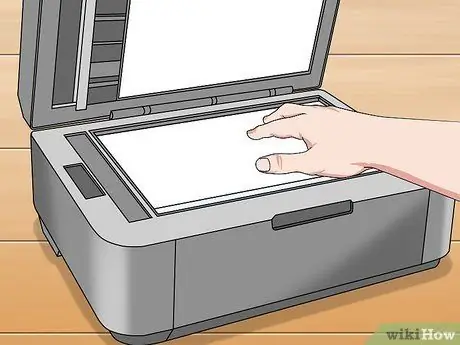
Step 1. Place the document face down in the scanner
Before continuing, make sure your scanner is turned on and connected to your computer.

Step 2. Open Start
Click the Windows logo in the lower left corner of the screen.
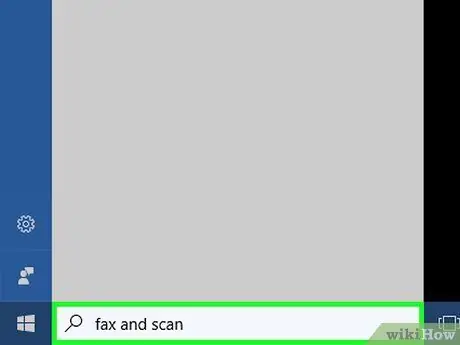
Step 3. Write fax and scanner in the Start menu
This will search for the Windows Fax and Scan application.
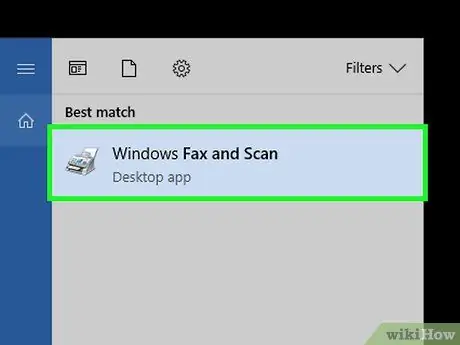
Step 4. Click Windows Fax and Scan
It should be the first result in the Start window.
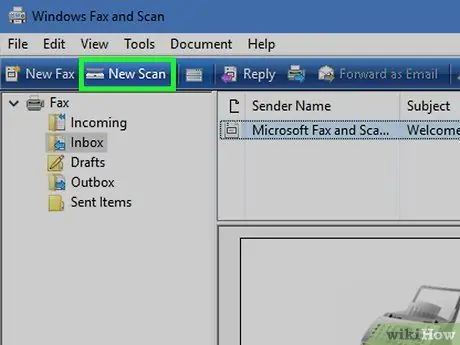
Step 5. Click New Scan
You will find this option at the top left of the program window. It will open a new window.
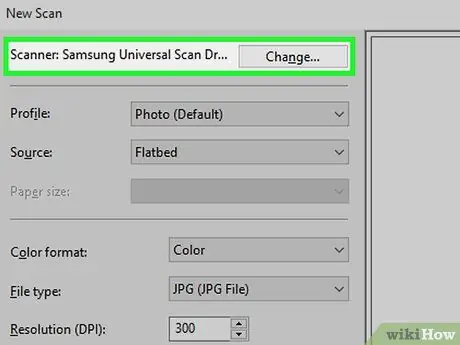
Step 6. Make sure the scanner is the right one
If you do not see the name of your scanner at the top of the window or if you see the name of a wrong scanner, click "Change …" in the upper right of the window, then select the correct device name.
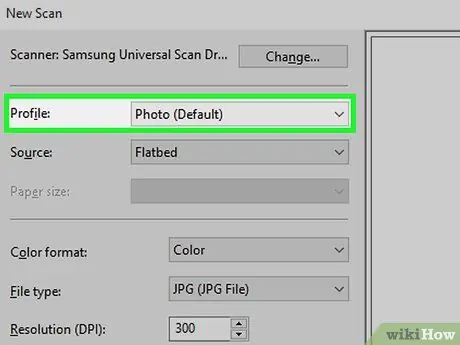
Step 7. Select a document type
Click the "Profile" drop-down menu, then select the type of document (eg Photo) in the menu.
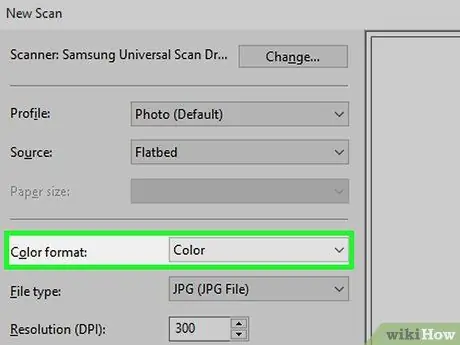
Step 8. Decide whether to import the color document
Click the "Color Format" drop-down menu, then choose Coloured or Black and white. Depending on your scanner model, you may find different options in this menu.
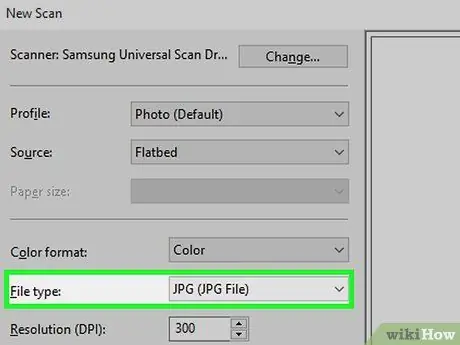
Step 9. Select a file type
Click the "Files of type" drop-down menu, then click the format (for example PDF or JPG) that you want to use to save the scanned document to your computer.
If you are scanning a document other than a photo, better choose PDF.
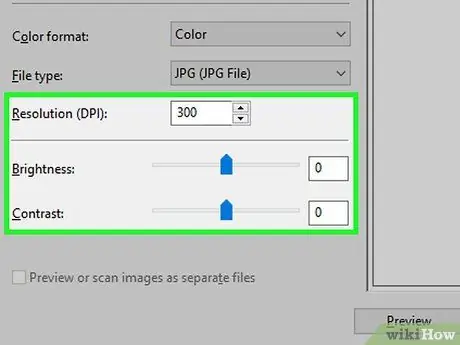
Step 10. Change the options on the page
Depending on your scanner, you may see other options (such as "Resolution") that you can change before scanning the document.
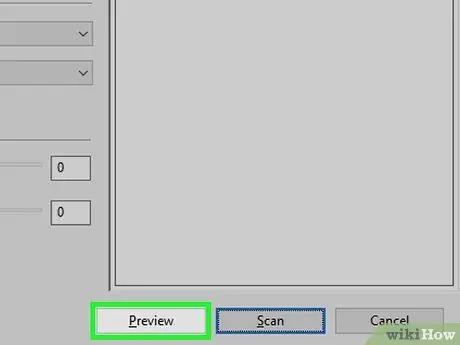
Step 11. Click Preview
This item is located at the bottom of the window. Press it and you will be able to see a preliminary scan that will show you what the final image looks like.
If the document looks skewed, uneven or some part is cut off, you can reposition it inside the scanner and click again Preview to see if the fix resolved the problem.
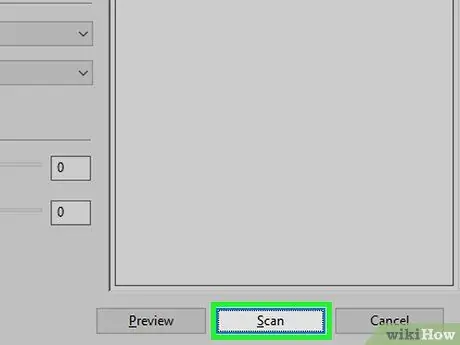
Step 12. Click Scan
You will find this button at the bottom of the window. The document will be scanned into your computer, with the settings and format chosen by you.
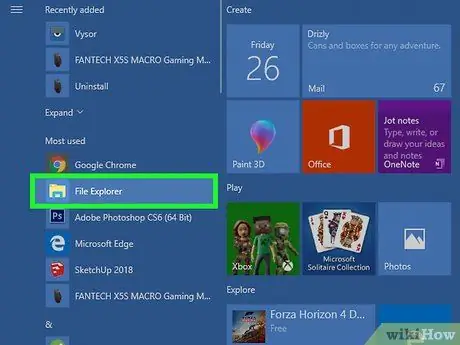
Step 13. Find the scanned document
To do it:
-
You open Start
-
You open File Explorer
- Click Documents on the left side of the window
- Double-click the folder Scanned documents
Method 2 of 4: Mac

Step 1. Place the document face down in the scanner
Before continuing, make sure your scanner is turned on and connected to your computer.
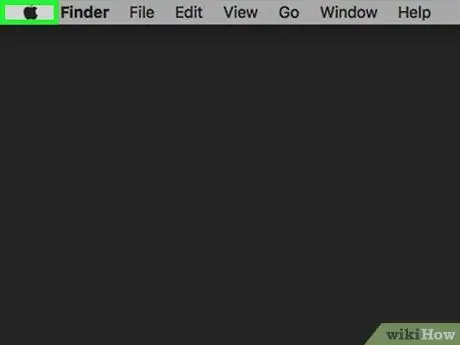
Step 2. Open the Apple menu
Click the Apple logo in the upper left corner of the screen. A drop-down menu will appear.
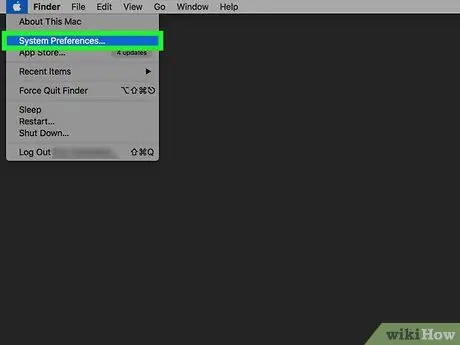
Step 3. Click System Preferences…
This is one of the first items on the menu.
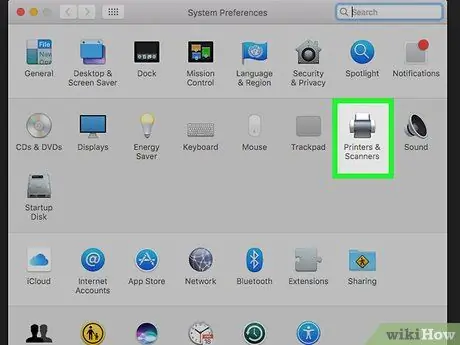
Step 4. Click Printers & Scanners
This item has a printer icon and is located on the right side of the System Preferences window.
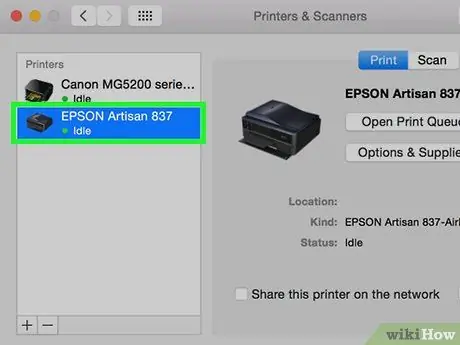
Step 5. Select the scanner
Click the device name in the left column.
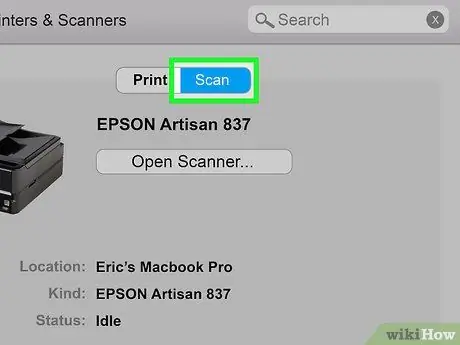
Step 6. Click the Scan tab
It is located at the top of the window.
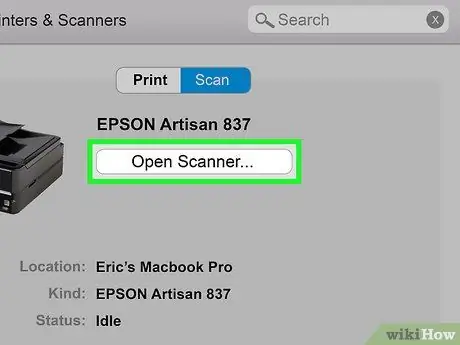
Step 7. Click Open Scanner…
You will find this button among the first in the "Scan" window.

Step 8. Click Show Details
It is located on the right side of the window.
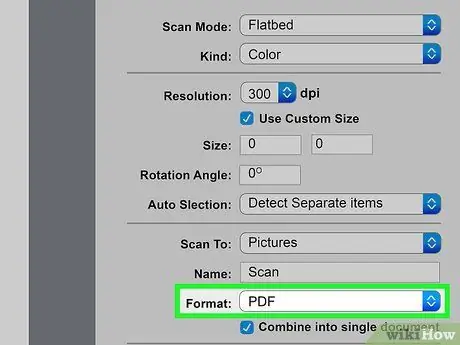
Step 9. Select a file type
Click the "Format" drop-down menu, then click the file type (eg PDF or JPEG) that you want to use to save the file.
When scanning a document other than a photo, it is better to choose PDF.
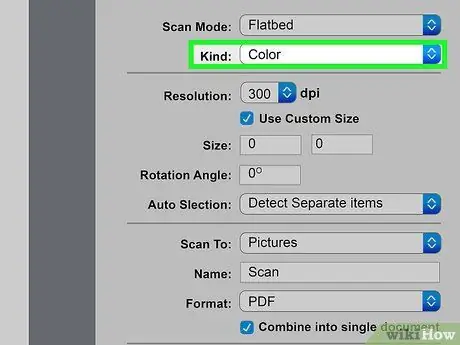
Step 10. Decide whether to scan the document in color
Click the "Type" drop-down menu at the top of the page, then select a color option (for example Black and white).
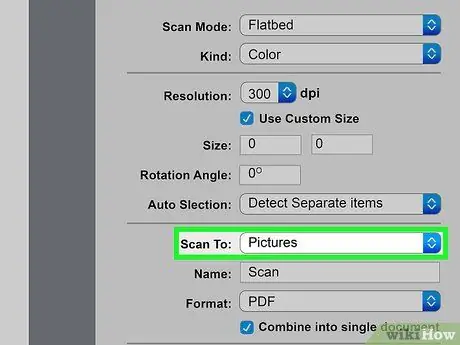
Step 11. Choose a save location
Click the "Save in" drop-down menu, then click the folder where you want to save the scanned document (for example Desktop).
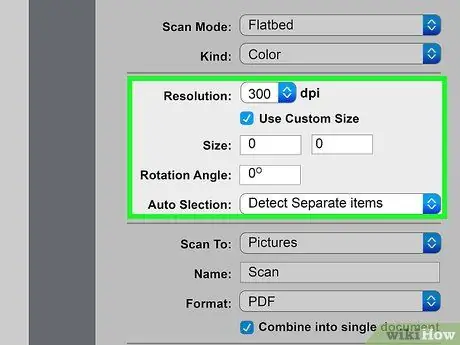
Step 12. Change the other options on the page
Depending on the type of file you are scanning, you may change the "Resolution" or "Orientation" values.
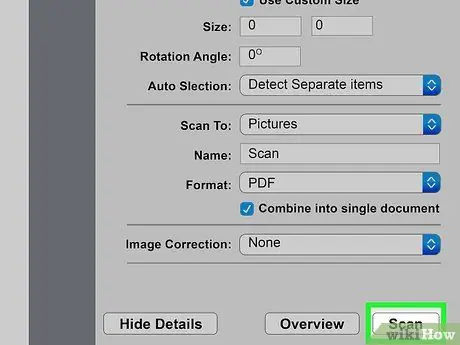
Step 13. Click Scan
You will find this button in the lower right corner of the window. Scanning of the document will begin and when finished you will be able to find the file in the folder you have selected.
Method 3 of 4: iPhone
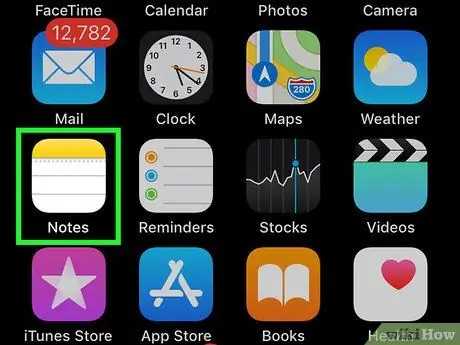
Step 1. Open Notes
Press the app icon to do this.

Step 2. Press the "New Note" icon
It is located in the lower right corner of the screen.
- If the app opens on an existing note, press <Notes in the upper left corner of the screen;
- If the app opens to the "Folders" page, press a save path before continuing.
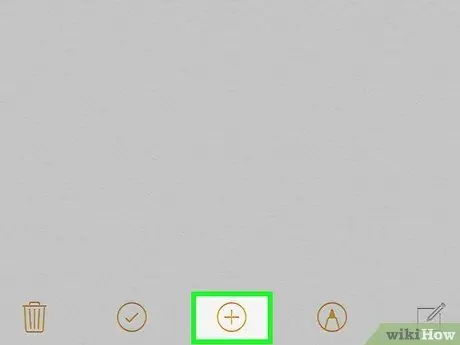
Step 3. Press
You will find this plus icon at the bottom of the screen. A menu will appear.
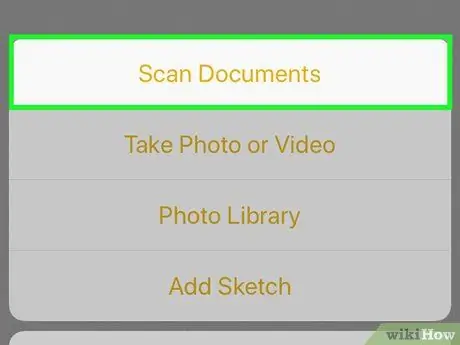
Step 4. Press Scan Documents
This button is one of the first in the menu that just appeared.
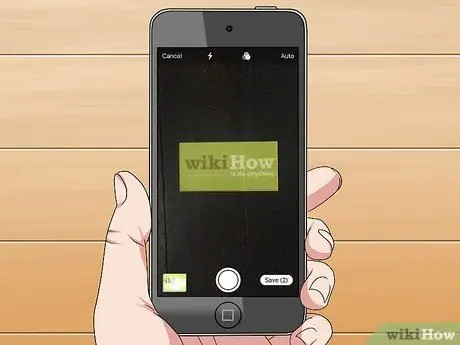
Step 5. Point your phone's camera at a document
Make sure you frame it all.
Try to center the document on the screen as much as possible to make the scan clearer
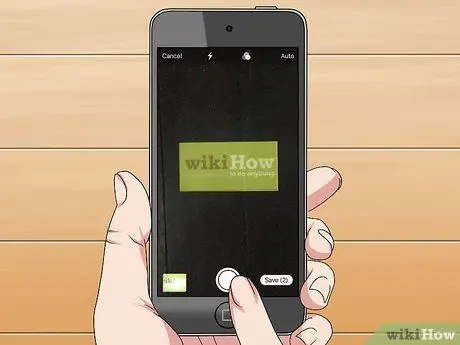
Step 6. Press the "Capture" button
It is a white circle at the bottom of the screen. Press it and you'll scan the document.

Step 7. Press Save Scan
It is located in the lower right corner of the screen.
- You can also press and drag one of the spheres in the corners of the scan to enlarge or narrow the area of the image you want to save.
- If you want to try scanning the document again, press instead Capture again in the lower left corner of the screen.

Step 8. Press Save
You will find this option in the lower right corner of the screen.

Step 9. Press
This button is in the upper right corner of the screen.
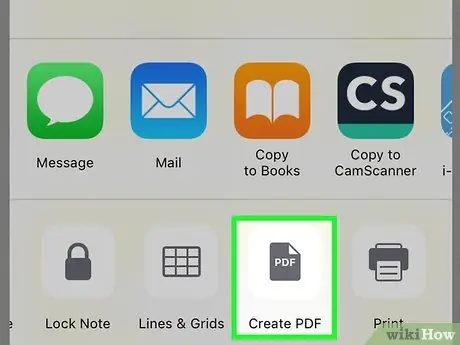
Step 10. Scroll left and hit Create PDF
Make sure you swipe right to left above the lowest row of options, not the top.

Step 11. Press Done
You will find this button in the upper left corner of the screen.
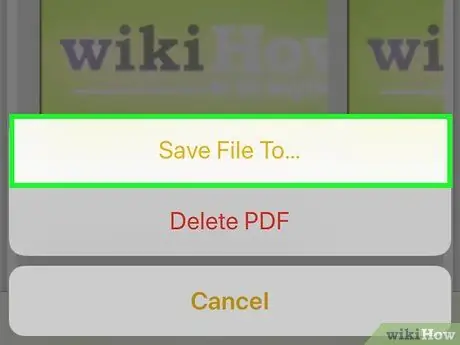
Step 12. Save the scanned document
Awards Save file to … when asked, then follow these steps:
- Awards iCloud or another cloud storage option;
- Awards add in the upper right corner of the screen.
Method 4 of 4: Android
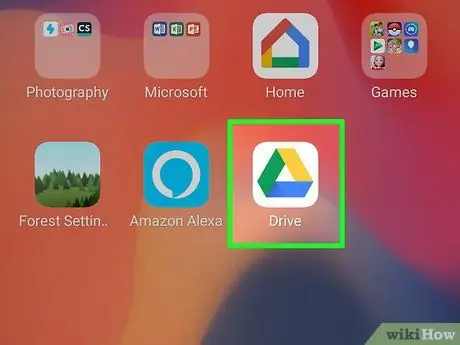
Step 1. Open Google Drive
Press the Google Drive app icon, which looks like a blue, green, and yellow triangle.
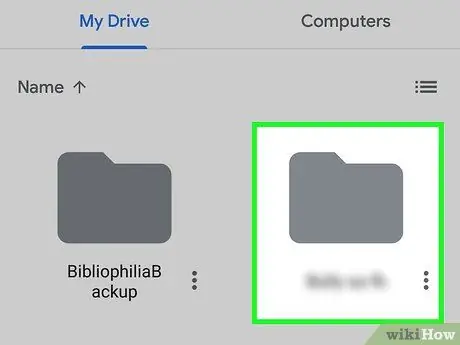
Step 2. Select a folder
Press the folder where you want to save the images.

Step 3. Press +
It is located in the lower right corner of the screen. Press the button and a menu will open.
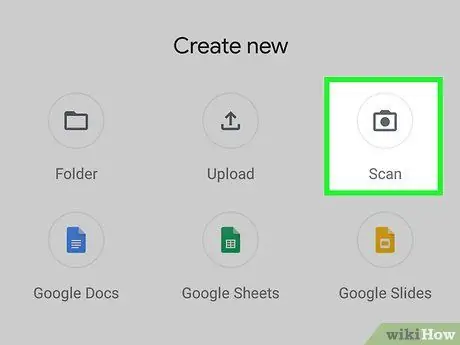
Step 4. Press Scan
This button with the camera icon is in the menu that just appeared. Press it and your phone (or tablet) camera will open.

Step 5. Point your phone's camera at the document
Try to center it within the screen.
Make sure the document is straight and completely within the screen before continuing

Step 6. Press the "Capture" button
It is a blue and white circle at the bottom of the screen. Press it and you will scan the document.
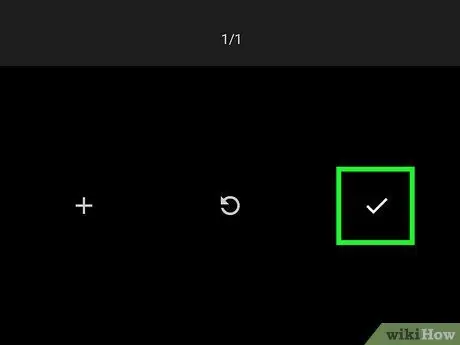
Step 7. Press ✓
You will find this button in the lower right corner of the screen. Press it and you will save the scan.
- You can also crop the scan by pressing and dragging the spheres that are on the edges of the image;
- For other options (such as colors), press ⋮ in the upper right corner of the screen;
- To add pages to the PDF, press + and scan another document.
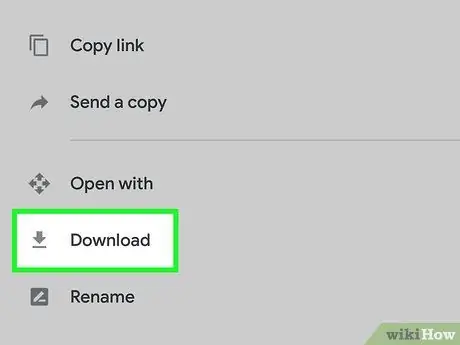
Step 8. Save the scanned document to your phone
Press ⋮ in the lower right corner of the document preview, then press Download in the menu that appears.


