If you would like to be able to print the list of all the songs in Windows Media Player, you can do it by creating a playlist with all the contents in the program's library and then opening it using the Notepad application. At that point you will be able to transform the content of the document into plain text, a much more readable format than the native Windows Media Player format, using Microsoft Word's "Find and Replace" function.
Steps
Part 1 of 2: Using a Normal Text Editor
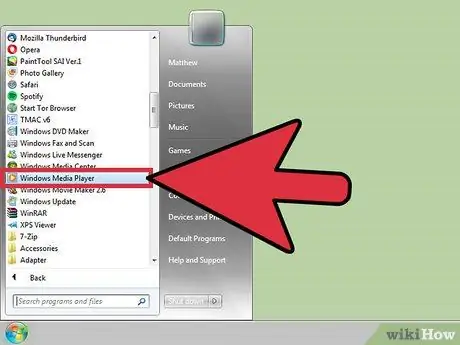
Step 1. Launch Windows Media Player
Windows Media Player is an application integrated into the operating system and present on all computers using Windows.
Type the keyword "WMP" into the Windows search bar to quickly locate the Windows Media Player icon
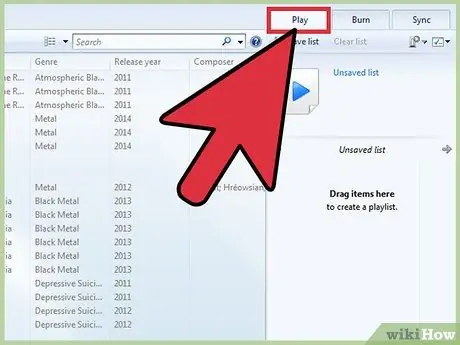
Step 2. Go to the "Play" tab
It is located in the upper right corner of the program window, next to the "Burn" and "Synchronize" tabs. Within the "Play" tab you can create a new playlist.
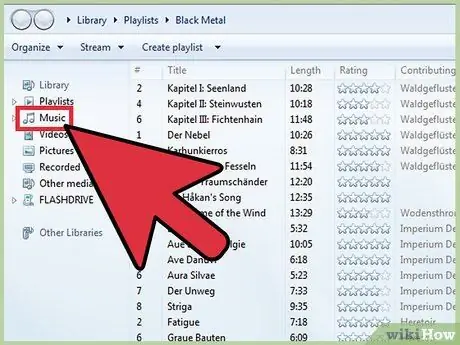
Step 3. Select the "Music" item located in the Windows Media Player tree menu located on the left side of the window
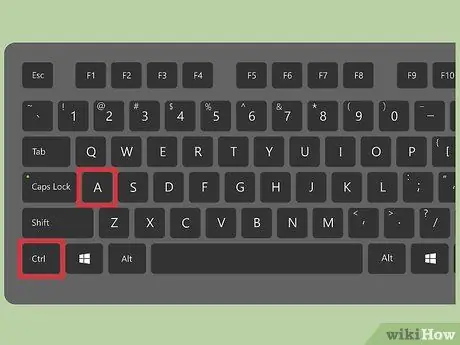
Step 4. Choose any song, then press the hotkey combination Ctrl + A
In this way all the elements in the library will be selected automatically.
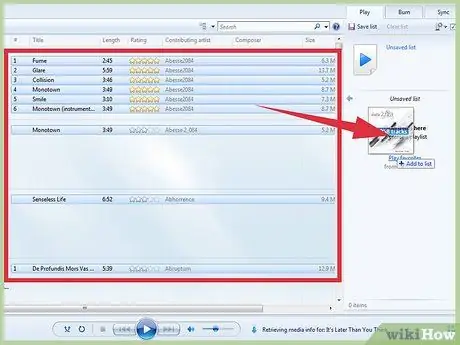
Step 5. Now drag the selection of songs to the "Play" tab
This way all the music in the program library will be used to create a new playlist.
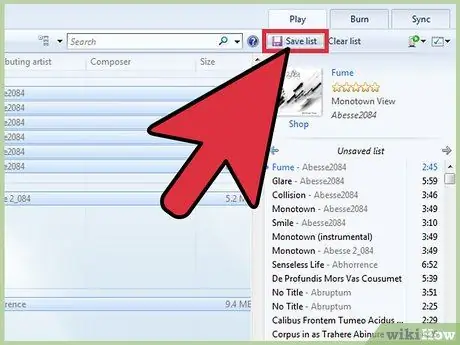
Step 6. Choose the "Save List" option
It is located in the upper left of the "Play" tab. You will be asked to name the playlist.
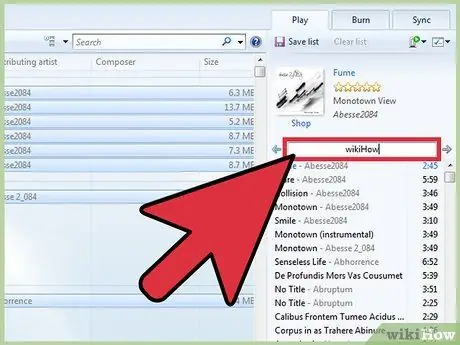
Step 7. Name the new playlist
When finished press the Enter key to save the changes. The new collection of songs should appear within the "Playlists" section of the Windows Media Player tree menu.
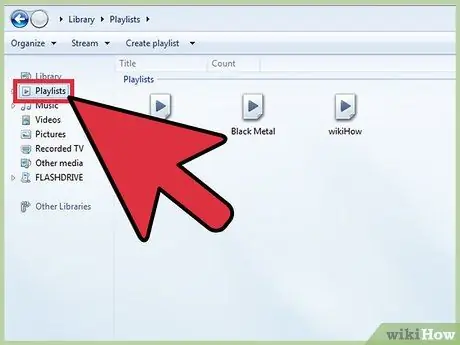
Step 8. Choose the "Playlist" menu item
This way, within the central panel of Windows Media Player, you should see the icon of your new playlist.
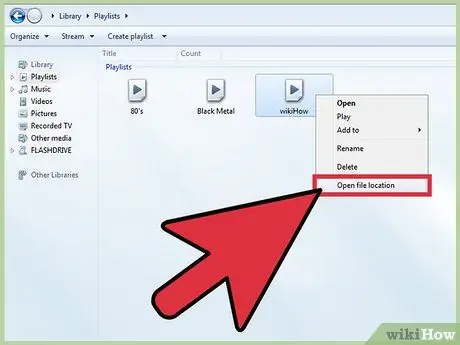
Step 9. Select the playlist icon with the right mouse button, then choose the "Open file path" option
This will open a new dialog for the folder on your hard drive where Windows Media Player saves all playlists.
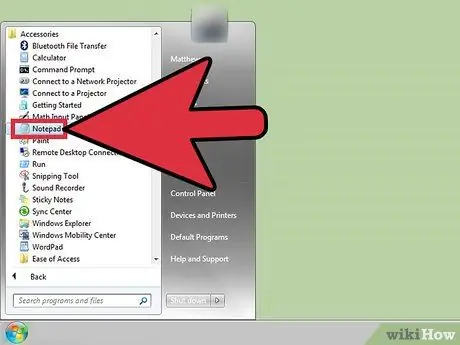
Step 10. Launch the "Notepad" application
It is a very simple text editor, included in all versions of Windows. You can find it quickly by searching using the keywords "Notepad" and the Windows search bar.
Alternatively, you can access the "Start" menu, choose "All apps" and select the "Windows Accessories" option. The "Notepad" program is located in the "Windows Accessories" folder
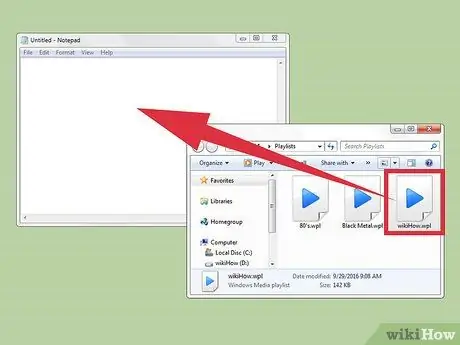
Step 11. Drag the newly created playlist icon from the folder where it is stored into the "Notepad" program window
The easiest way to do this is to place the "Notepad" app window next to the one where the playlist is stored
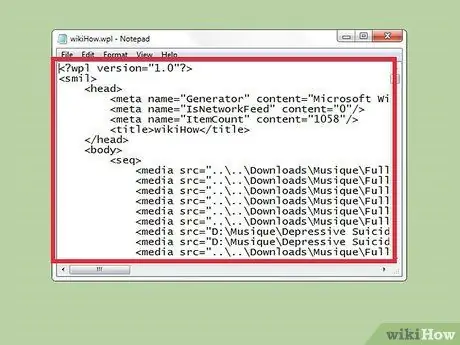
Step 12. Drop the file containing the playlist into the "Notepad" program window
At this point you should see a large amount of characters appear in the text editor window. Songs within the playlist are stored as the path to the audio file they refer to, so the "Notepad" editor will display them in this format: " [save folder] Music [artist_name] [album] [track_title] ".
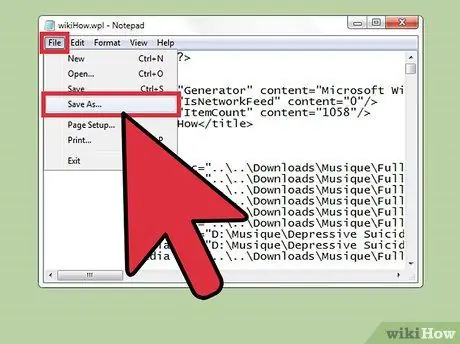
Step 13. Save the text file
To do this, go to the "File" menu of the "Notepad" editor, located in the upper left corner of the window, and choose the option Save as ". Now assign a name to the new file and press the" Save "button Congratulations you were able to create a textual list of all the music in the Windows Media Player library.
Part 2 of 2: Delete Unnecessary Text Using the Find and Replace Function
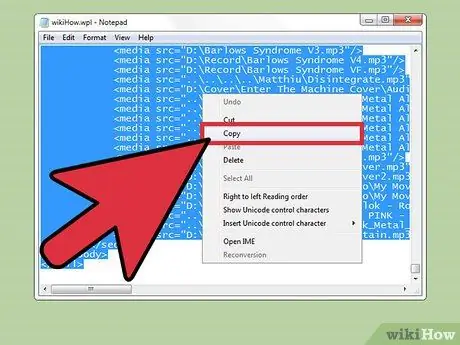
Step 1. Copy the contents of the document created with the "Notepad" editor
The easiest way to do this is to use the Ctrl + A shortcut status combination. Now copy the selected text by pressing the key combination Ctrl + C.
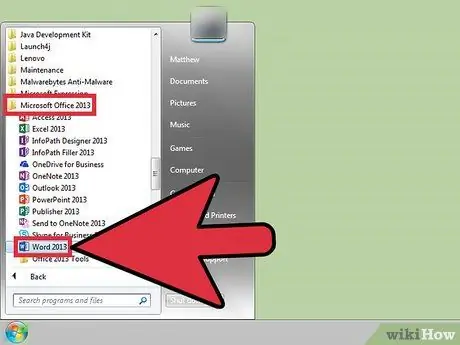
Step 2. Start Microsoft Word and create a new document
If you don't have Microsoft Word installed on your computer, you can use Google Docs - a completely free online text editor.
Depending on the version of Word you are using, you may need to choose the "New Blank Document" option to be able to create a new text document
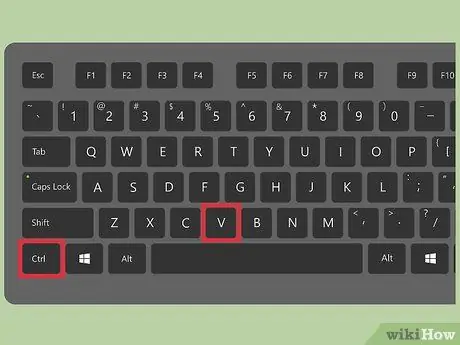
Step 3. Paste the contents of the text document created with "Notepad" into Word
You can do this quickly and easily by using the hotkey combination Ctrl + V.
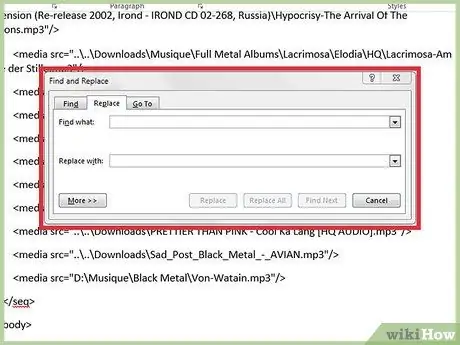
Step 4. Familiarize yourself with how Word's "Find and Replace" feature works
To activate this tool press the hotkey combination Ctrl + H. At this point, enter the text you want to search for in the "Find" field, then fill in the "Replace with" field with the one you want to use as a replacement. You can use this Word feature to quickly remove the HTML tags present in the text file, thus making it much more tidy, accurate and readable.
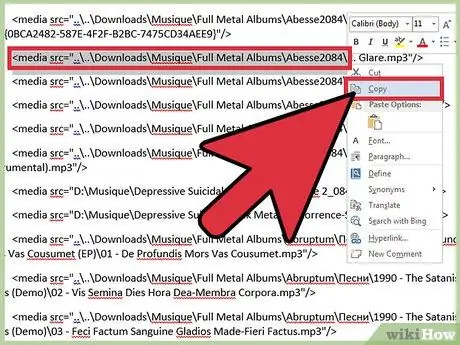
Step 5. Copy the "media" tags and information about the folders where the individual songs are stored
To do this, select the string "<media src =".. "present at the beginning of the storage path of any of the songs, then press the key combination Ctrl + C. Make sure you select the entire path of the file up to the" / "preceding the name of the artist who composed the song.
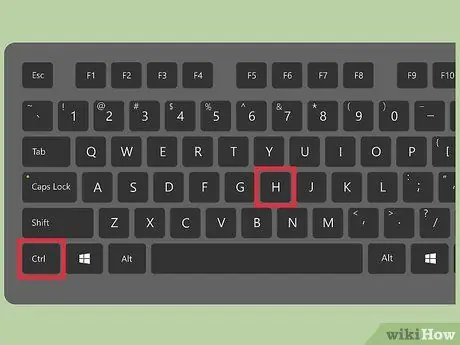
Step 6. Open the "Find and Replace" window
Make sure at this point that the mouse cursor is positioned at the beginning of the entire document, so that the Word tool can perform a full scan of all the text.
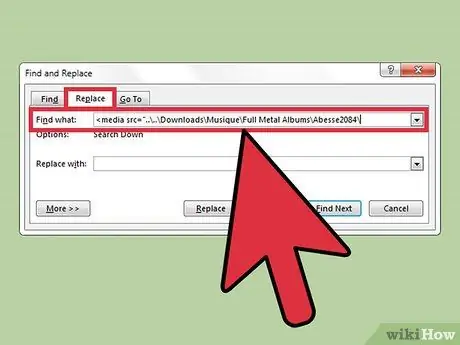
Step 7. Paste the search string into the "Find" field, while in the "Replace with" field you can simply add a blank space by pressing the Spacebar
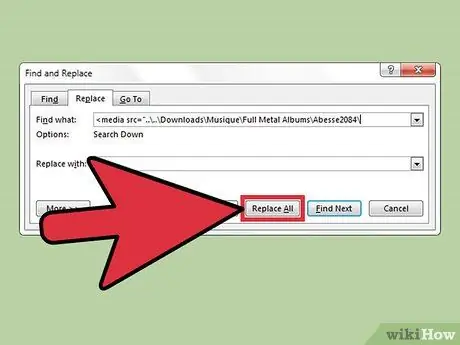
Step 8. Press the "Replace All" button
Should Word ask for permission to parse the text document from the beginning, simply press the "Yes" button.
If the music in your Windows Media Player library is physically stored in different folders on your computer, you will need to repeat the step for each one
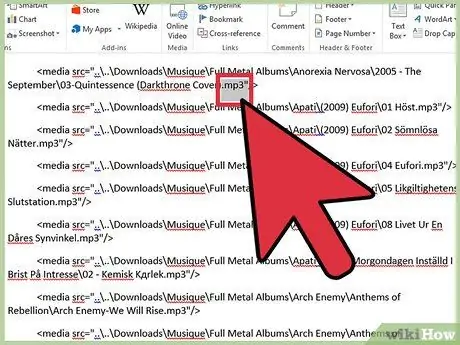
Step 9. Clear the file information
They represent the extension of the name that indicates the audio format with which the relative song has been saved; for example ".mp3", ".mp4", ".wav", etc. This data is found at the end of each file path. You can quickly delete them by pasting the string ". [File_extension]" /> "into the" Find "field and inserting a blank space into the" Replace with "field.
- Remember that you will have to repeat this step for each of the audio file formats in the document.
- Also consider replacing the separator "\" with a double space. This way you can format the artist name, album name and song title in separate columns.
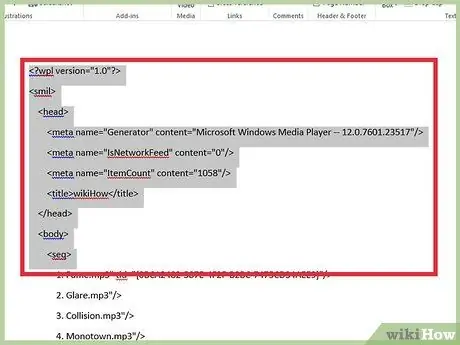
Step 10. Remove the remaining HTML at the beginning of the document
Before the information about the first song in the playlist you will notice the presence of several HTML tags. Likewise, some of these tags are also present at the end of the document. Simply select them with the mouse, then press the Delete key to delete them. These should be the last pieces of unformatted text that need to be deleted
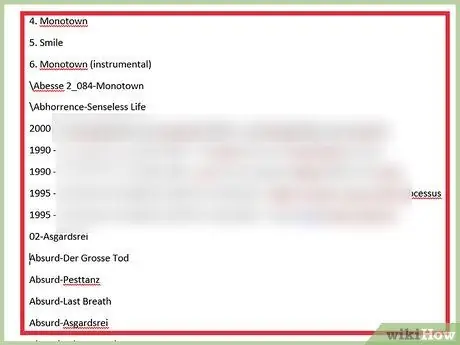
Step 11. Check the list in its new format
Now you can print the list of all the songs in the Windows Media Player library in a readable and ordered format.


