This article explains how to use an external adapter to connect a USB device to an iPad. In this way, you will have the possibility to connect devices such as digital cameras directly to the tablet, in order to view or copy the photos they contain. It should be noted that not all USB devices support connection with an iPad.
Steps
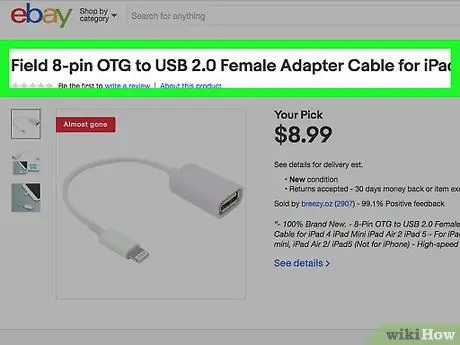
Step 1. Check the documentation of your USB device to make sure it is compatible with the iPad
Remember that not all devices of this type are compatible with the camera adapters provided by Apple.
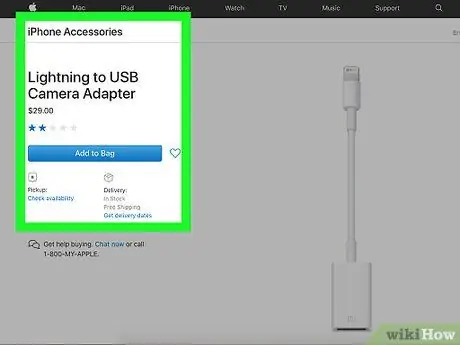
Step 2. Get a Lightning to USB adapter
You will need to get a Lightning to USB camera adapter or an OTG cable. Apple manufactures its own adapters, but cheaper third-party adapters can also be found on the market.
Older iPad models use a 30-pin communication port. In this case, a different adapter is required which unfortunately Apple has discontinued
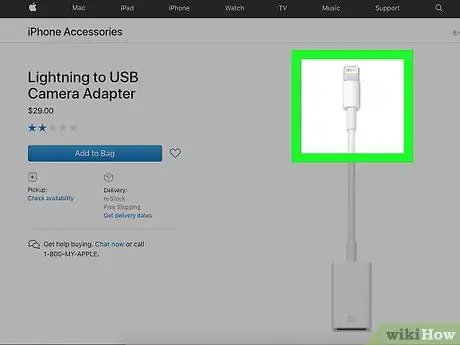
Step 3. Insert the Lightning connector of the iPad port adapter
This is the male connector of the adapter which can be connected to the communication port of the iPad.
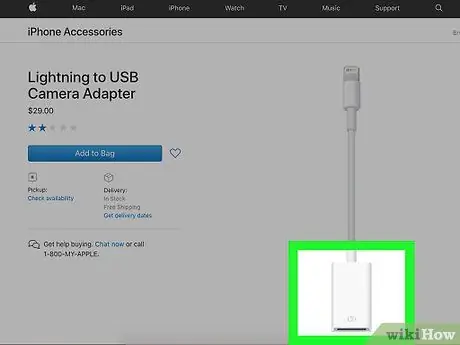
Step 4. Connect the USB device to the corresponding connector on the adapter
For example, you can connect a USB external memory drive, digital camera or SD card reader.
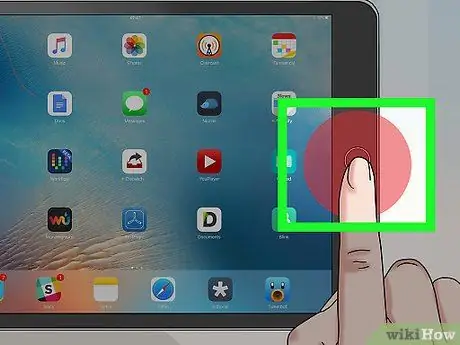
Step 5. Turn on the device
- If the device you want to connect to the iPad is a digital camera, the Photos app will automatically launch and show the Import tab on the screen, so that you can directly select the images and videos to import to the iOS device. You can choose the Import All option to copy all the contents of the USB device to the iPad or you can select only some specific items and copy them by pressing the Import button. If you don't want to use the Photos app, you can choose to use the Files app to import data to iPad.
- If you've connected a USB external hard drive to your iPad, all the data it contains will be displayed in the Files app. If the files are in ZIP format, simply select them with your finger, then the data they contain will be automatically extracted into separate folders.
- If the USB device is not supported by the iPad, you will see an error message appear on the screen:
-
"The connected volume is invalid" (or similar). This error message is displayed when the USB memory drive has been formatted with an unsupported file system.
- "The connected USB device is not supported" (or similar). This error message is displayed when the USB device is not supported by the adapter in use.
- "Connected USB device requires too much current" (or similar). This error message appears when the USB device requires more power than the iPad can deliver. You can work around this by plugging the USB device into an external power source (such as a power outlet). Alternatively, you can choose to use a USB drive that requires less power to work.
- If you are experiencing any other difficulties or malfunctions, simply try restarting the iPad.
Advice
- If you're trying to insert a USB memory drive into the iPad's camera adapter, make sure the storage device is formatted with the FAT file system. The iPad camera adapter is not compatible with any other file system.
- The iPad will need to be running iOS 9.3 or later in order to use the Apple USB 3 Camera Adapter.
- If you have a stick with a USB-A or Lightning connector available, you won't need any additional adapters to connect it to your iPad. In this case, you will be able to view the photos contained in the memory drive directly with the Files app or with the USB device app, if one is present.


