Scanning is the process of reproducing an image in digital or electronic format. You can learn how to scan photos with the appropriate features on your computer, using a multifunction printer or scanner.
Steps
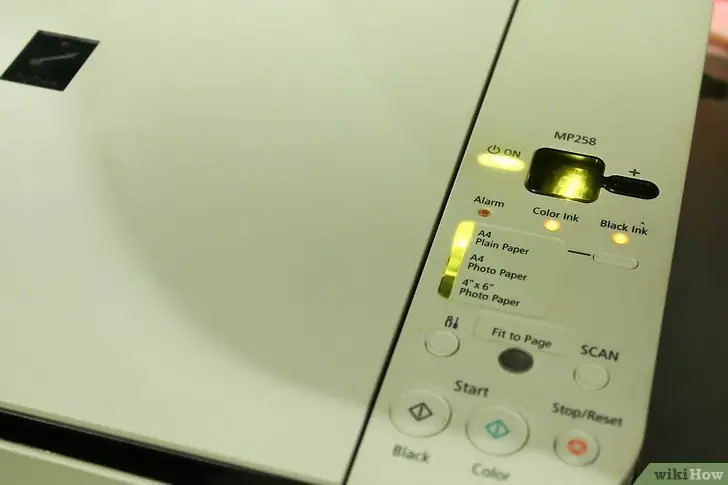
Step 1. Turn on your computer and printer to make sure they are connected
If the system does not work:
- Check power sources including plugs and wall outlets.
- Troubleshoot loose cable connections.
- Confirm that the USB cable is connected to the correct port.
- Make sure you have the right type of cable.
- Read the instruction manual on installing your printer or scanner.
- Send a request for assistance to the help desk or access the online help feature.
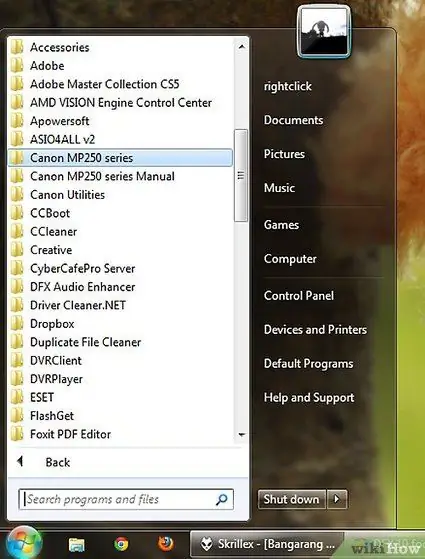
Step 2. In Windows, click the Start button to bring up active programs
If you are using a Mac, click on the scanner icon. If the program is not installed:
- Review the license agreement and download the software from the vendor's website or reinstall it using the discs available with your printer or scanner.
- Find the scanner program.
- Activate and open the scanning program by double clicking on the program name or by pressing the scan button on the scanner or printer.
- Click the Next button to continue to the next step.
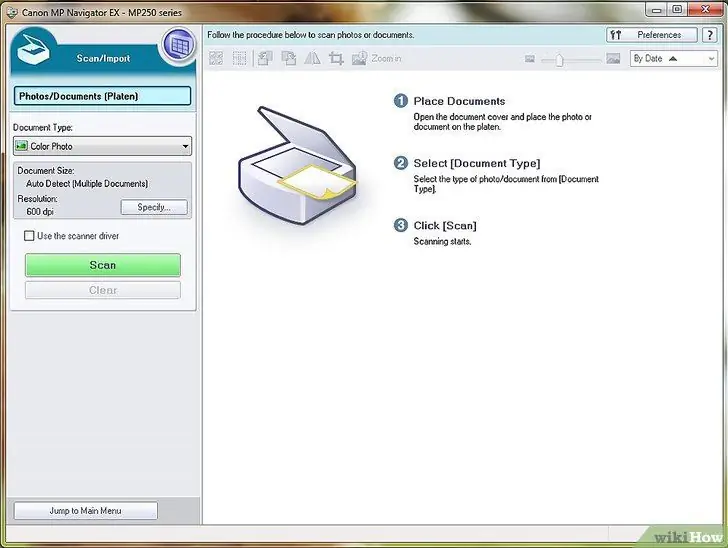
Step 3. Decide on the type of format, orientation and resolution before continuing
- Format - the size and layout of the document or photo that will appear on the screen.
- Orientation - allows the user to select the type of portrait or landscape, vertical or horizontal.
- Resolution - determines the sharpness of the image.
- A higher resolution will make image details more evident. To sharpen an image, increase the resolution. Note: This will also reduce the size of the image.
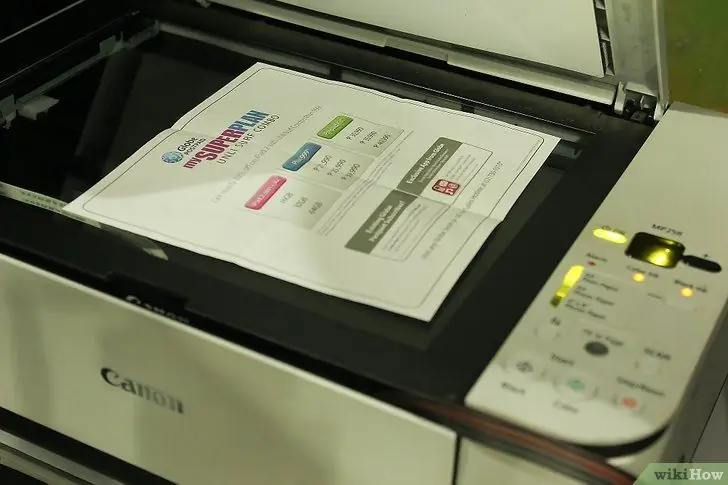
Step 4. Place the documents face down on the surface of the printer or scanner
- Align photos within the arrows or grids on the device.
- Press Scan on the scanner or printer panel.
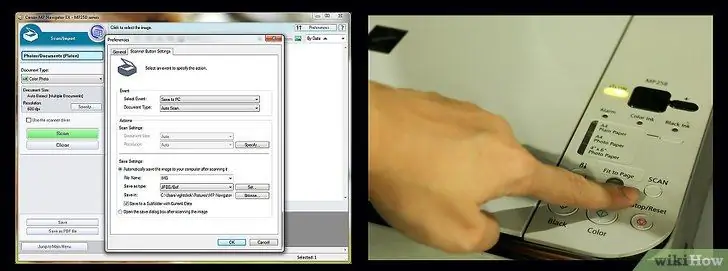
Step 5. Follow the Guided Scan step by step
The Wizard will show you step by step how to copy images from a scanner to your computer or website.
- Choose your Scan Preferences - color, black and white, gray or custom. You can also choose the digital format in which you want to save the image (jpg, jpeg or tif).
- Click Preview - review your selection before continuing to make any necessary changes to the settings.
- Photo Name and Destination - allows you to name and select where the photos will be stored.
- Select Finish to continue and complete the process.
- Save the image to a website or computer.
- Delete - clears the saved file format if changes are required.
Advice
- A scanned photo can be used as a computer screensaver or desktop wallpaper.
- Most software manufacturers offer free software downloads for previous software editions. The latest versions are available for a fee.
Warnings
- To avoid viruses, always download the software from a trustworthy website.
- Read the software download agreements and conditions carefully before downloading the files.


