If you have noticed that the file on a USB stick or SD card that you own has disappeared and has been replaced by shortcuts, it means that the removable device is most likely infected with the Shortcut virus. In this case your data has not been deleted, but is still present inside the memory unit; they were simply hidden by the virus. This type of virus can be eliminated using a dedicated tool, such as UsbFix, or by using the Windows "Command Prompt". After deleting the virus from the removable device, run a full scan of the entire computer using up-to-date antivirus software before reconnecting the USB stick to the system.
Steps
Method 1 of 2: Use UsbFix Antimalware Program
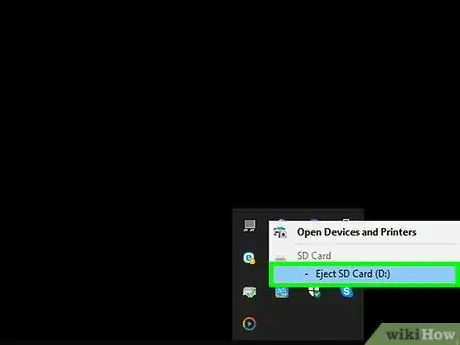
Step 1. Unplug the memory drive from your computer and reboot your system
Do not reconnect the USB device to your computer until you have installed a little software that will prevent the virus from starting automatically.
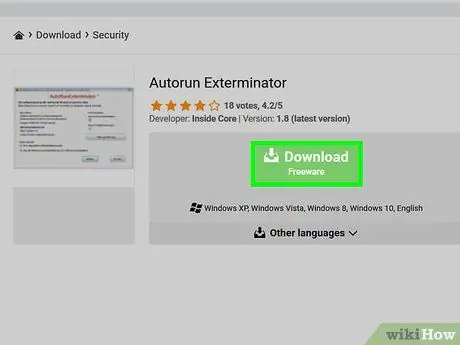
Step 2. Download and run the Autorun Exterminator program
To prevent the virus from starting automatically when you connect the USB memory drive to your computer, you will need to install the program in question. Follow these instructions:
- Visit the website https://ccm.net/download/download-11613-autorun-exterminator and click on the green button Download. If prompted, choose the folder where to download the file and click on the button Save;
- Access the folder Download computer (or the one where you saved the file);
- Select the file named AutoRunExterminator-1.8.zip with the right mouse button, then select the option Extract all;
- Click on the button Extract. In this way the contents of the ZIP archive (the executable application) will be stored inside a normal folder;
- Double click on the new appeared folder named AutoRunExterminator-1.8;
- Double-click the executable file AutoRunExterminator. Exe. If prompted, click the button Yup or OK to authorize the execution of the program.
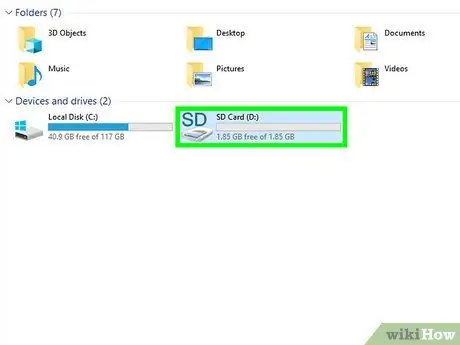
Step 3. Connect the infected USB device to your computer
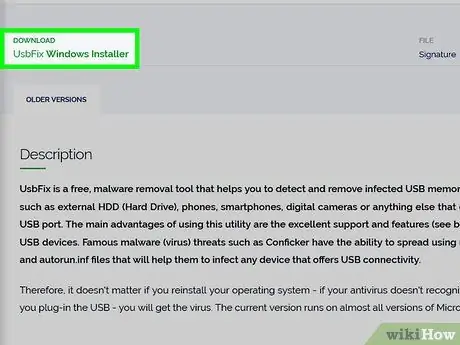
Step 4. Download and run the UsbFix program
This is a free application that will eliminate the virus from your device while restoring its original content. Follow these instructions:
- Visit the website https://www.fosshub.com/UsbFix.html and click on the UsbFix Windows Installer link. It is displayed in the "Download" section;
- Select the folder Download computer and click on the button Save.
- Access the folder Download and double-click on the file whose name begins with the word "UsbFix". You may need to click on the button Yup to authorize the execution of the program.
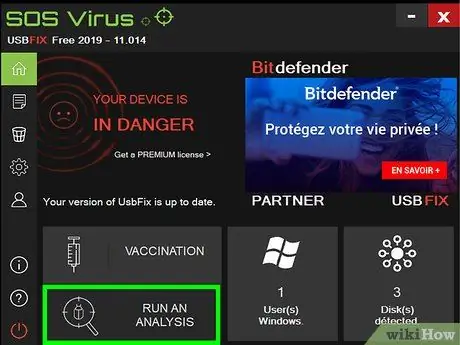
Step 5. Click on the Run an Analysis option
It is displayed at the bottom of the window that appeared.
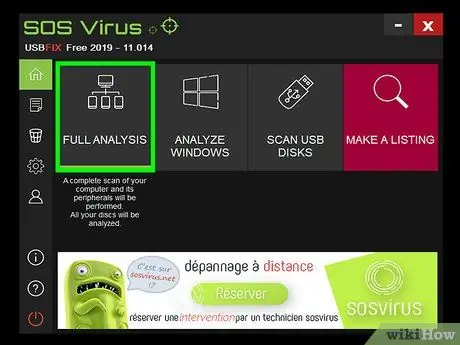
Step 6. Click on the Full Analysis item
The program will perform a full scan of your computer, including USB devices, for viruses. This step will take some time to complete.
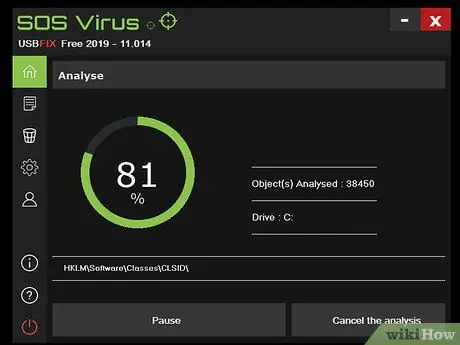
Step 7. Follow the on-screen instructions to complete the virus removal process
If the USB device is indeed infected with a virus, it will be deleted by the program.
If the program did not detect any viruses or fails to eliminate them, try using the Windows "Command Prompt"
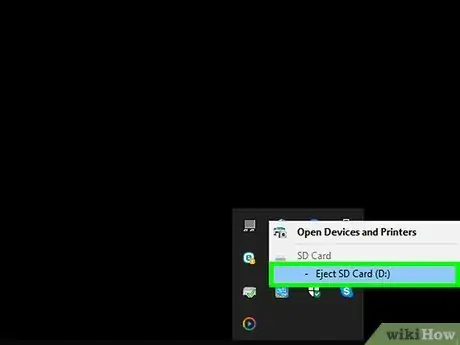
Step 8. Disconnect the USB device from the computer and restart the system
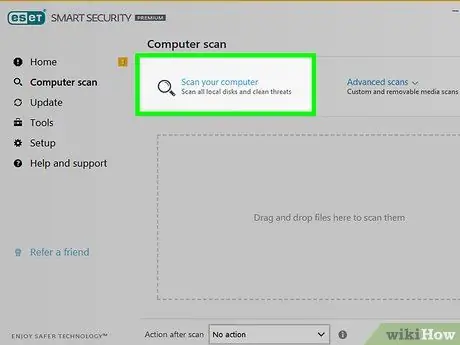
Step 9. Run a full computer scan
After deleting the virus from the infected USB device, please refer to this article to cover how to perform a full system scan with an antivirus program in order to eliminate any other viruses or malware present. Before reconnecting the USB device to the computer, you need to be sure that the system is free from threats (viruses, malware, etc.).
- At this point the files that were present on the USB device before the virus should be visible again. If not, they might be hidden in a folder. In this case the folder in question may not have a name or may have one that you do not recognize. Double-click each folder on your memory drive until you find the one that contains your files.
- You can delete the AutorunExterminator program at any time by opening the "File Explorer" window, clicking on the corresponding folder with the right mouse button and choosing the option Delete from the menu that will appear.
Method 2 of 2: Use the Command Prompt
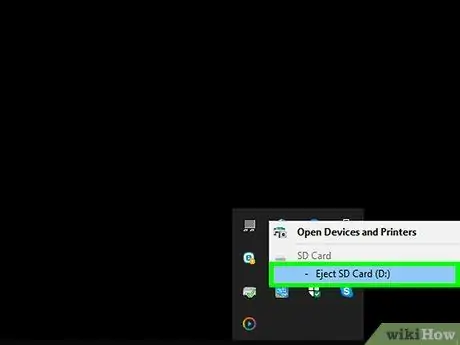
Step 1. Unplug the USB drive from your computer and reboot your system
Since most variants of the Shortcut virus are able to start automatically, you will need to disconnect the USB device from your computer before turning it on.
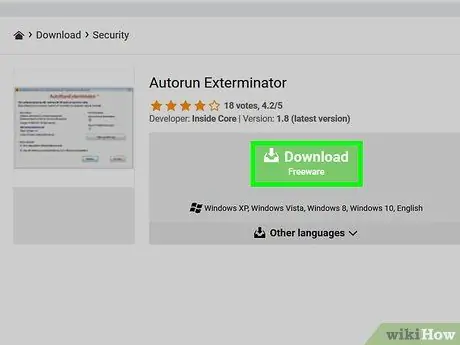
Step 2. Download and run the Autorun Exterminator program
To prevent the virus from starting automatically when you connect the USB memory drive to your computer, you will need to install the program in question. Follow these instructions:
- Visit the website https://ccm.net/download/download-11613-autorun-exterminator and click on the green button Download. If prompted, choose the folder where to download the file and click on the button Save;
- Access the folder Download computer (or the one where you saved the file);
- Select the file named AutoRunExterminator-1.8.zip with the right mouse button, then select the option Extract all;
- Click on the button Extract. In this way the contents of the ZIP archive (the executable application) will be stored inside a normal folder;
- Double-click on the new appeared folder named AutoRunExterminator-1.8;
- Double-click the executable file AutoRunExterminator. Exe. If prompted, click the button Yup or OK to authorize the execution of the program.
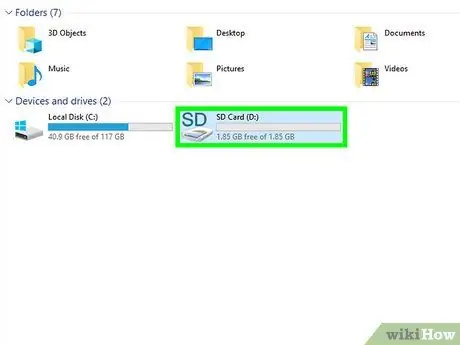
Step 3. Connect the infected USB device to your computer
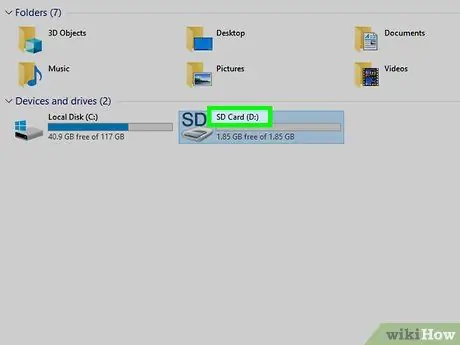
Step 4. Determine the drive letter of the USB device
If you already know this information (for example "E:"), you can skip the step. If not, follow these instructions:
- Press the key combination ⊞ Win + E to open the "File Explorer" dialog;
- Scroll the list displayed on the left side of the window down to the "This PC" or "Computer" section;
- Find the drive letter displayed next to the name of the infected USB stick.
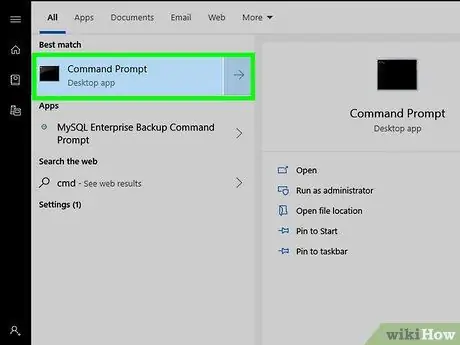
Step 5. Open a "Command Prompt" window as a computer administrator
The procedure to follow varies depending on the version of Windows you are using:
- Windows 10 and Windows 8: press the key combination ⊞ Win + X to display the context menu of the "Start" button (alternatively click on the latter with the right mouse button), then click on the option Command Prompt (Admin) or Windows PowerShell (administrator). Click on the button Yup if requested.
- Windows 7 and earlier versions: Press the key combination ⊞ Win + R to open the "Run" system window, type the keyword cmd, then press the key combination Ctrl + ⇧ Shift + ↵ Enter to open the "Command Prompt" as computer administrator. If prompted, enter your account password or confirm your action.
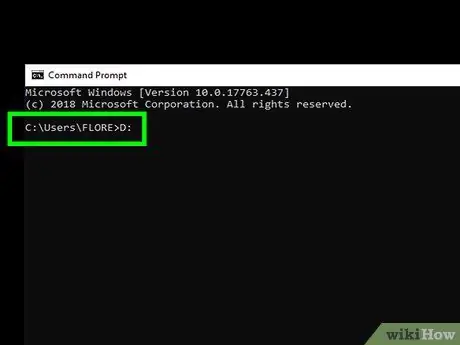
Step 6. Type the command [drive_ letter]:
and press the Enter key. Replace the [drive_ letter] parameter with the drive letter associated with the infected USB device.
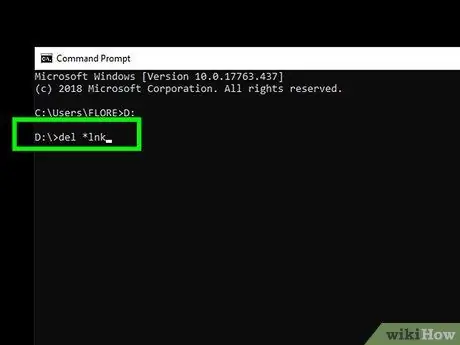
Step 7. Type the command del * lnk and press the Enter key
This way all shortcut files created by the Shortcut virus will be deleted from your device.
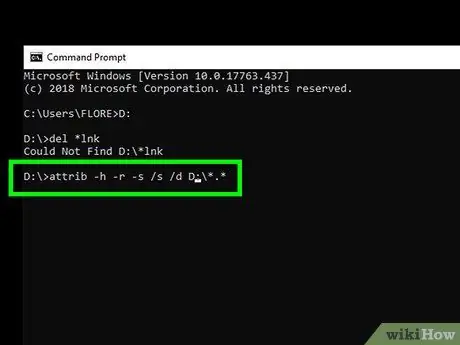
Step 8. Type the command attrib -h -r -s / s / d [drive_ letter]:
*. * and press the Enter key. Replace the [drive_ letter] parameter with the drive letter associated with the infected USB device. In this way all the files present on the device before the virus infected it will be visible again and the "read only" attribute will be removed. Once the command is finished, all your files will be usable again.
For example, if the drive letter of the USB device is E:, you will need to type the command attrib -h -r -s / s / d E: / *. * And press the Enter key
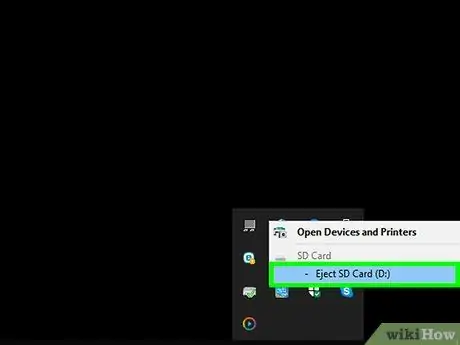
Step 9. Disconnect the USB drive from the computer
The next step is to run a full scan of your entire computer for viruses and malware and to fix any problems that have created the virus on the system so that the USB device cannot be infected again.
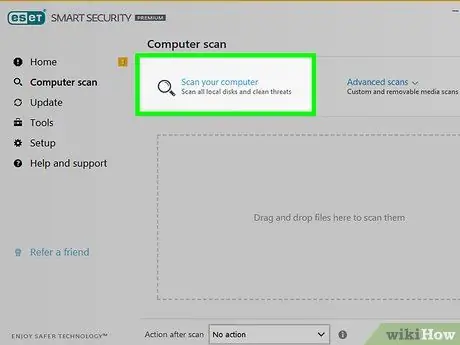
Step 10. Run a full Windows scan for viruses
If you haven't installed third-party antivirus software, check out this article to find out how to use the Windows built-in antivirus program. In case a virus or malware is detected, follow the instructions that will appear on the screen to eliminate it.
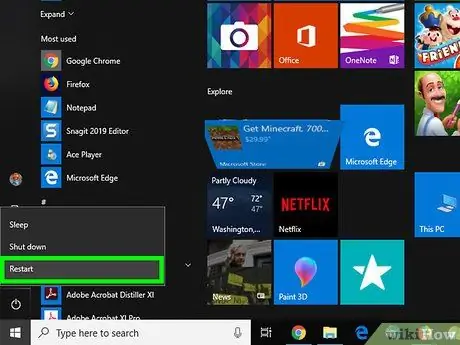
Step 11. Restart your computer and plug in the USB stick again
Now that the system is virus free and the USB device is working properly, it may be useful to format the USB drive to fix any problems that still exist. The next steps in the article will guide you through the formatting process.
After the computer restarts, the AutoRunExterminator program will not run automatically. You can delete it at any time by opening the "File Explorer" window, clicking on the corresponding folder with the right mouse button and choosing the option Delete from the menu that will appear.
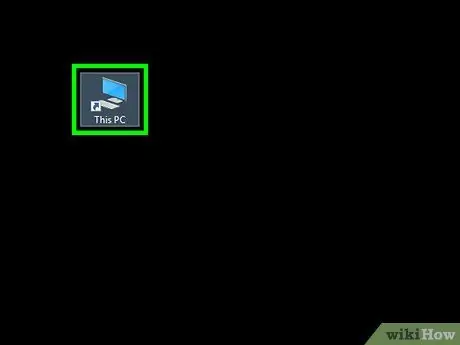
Step 12. Open a "File Explorer" window and double click on the USB drive to format
If you have already closed the "File Explorer" system window, you can reopen it by simply pressing the key combination ⊞ Win + E. The USB drive to be formatted is listed within the "This PC" or "Computer" section visible in the left pane of the window. The contents of the device will be displayed.
If the files on the USB drive do not appear, they are most likely located inside a folder. In this case the folder in question may not have a name or may have one that you do not recognize. Double-click each folder on your memory drive until you find the one that contains your files
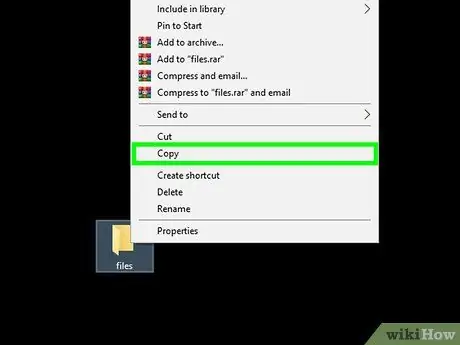
Step 13. Copy the files you recovered to a safe folder on your computer
You will need to make a backup copy of the files in question and store it on your computer, to avoid losing data due to formatting.
A quick and easy way to perform this step is to create a folder on the desktop (click on an empty spot on the desktop with the right mouse button, select the option New folder, name the directory and press the Enter key) and drag the files you want into it. Do not continue any further until all the files in question have been copied to the new folder. Otherwise you will lose important information, as you are about to format the USB drive.
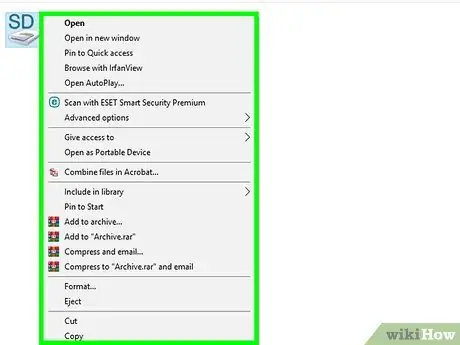
Step 14. Select the USB drive icon, visible in the "File Explorer" window, with the right mouse button
It is listed under the "This PC" or "Computer" section. The corresponding context menu will be displayed.
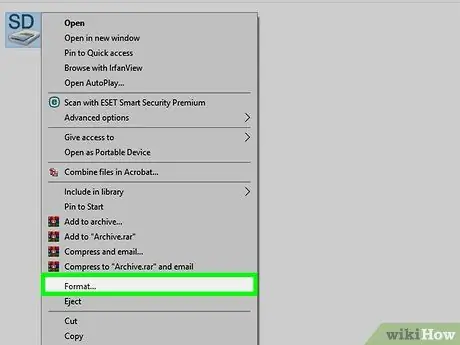
Step 15. Click on Format option
The window for formatting will be displayed.
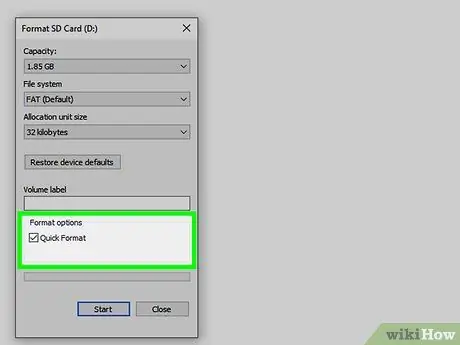
Step 16. Uncheck the "Quick Format" checkbox and click the Start button
This way the USB drive will be fully formatted and all data it contains will be deleted, including any traces of the virus. This step may take some time to complete, depending on the memory capacity of the USB device and the speed of the computer.
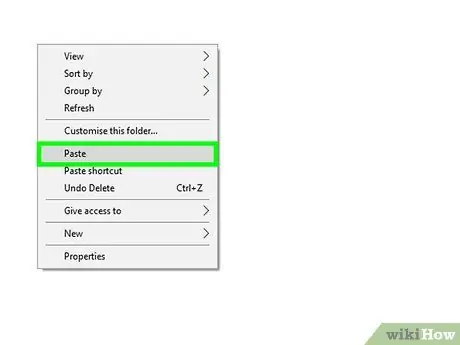
Step 17. Transfer the files back to the USB drive after formatting is complete
At this point you can use it as you normally would.


