To transfer files from Android to a PC, you must first connect the device to the USB port. Then, set it to "File Transfer" mode. This will allow you to view its storage space, just as if it were a USB key. You can then drag and drop files as you wish.
Steps
Part 1 of 4: Connect the Device
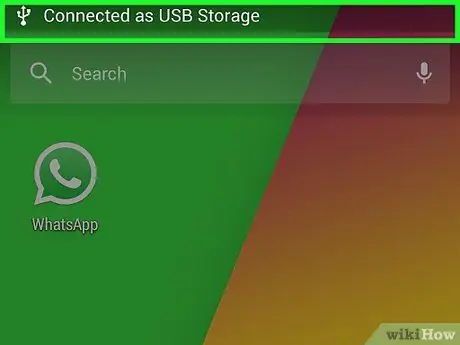
Step 1. Connect your Android device to the computer via the USB port
Use that cable you usually use to charge the device.

Step 2. Unlock the device screen
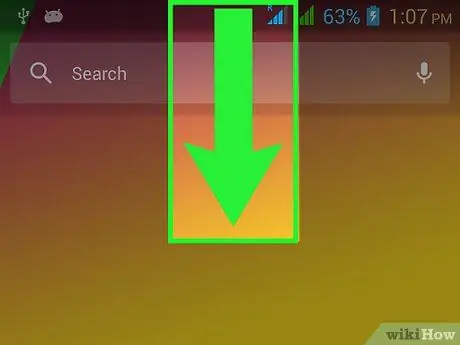
Step 3. Swipe down from the top of the screen
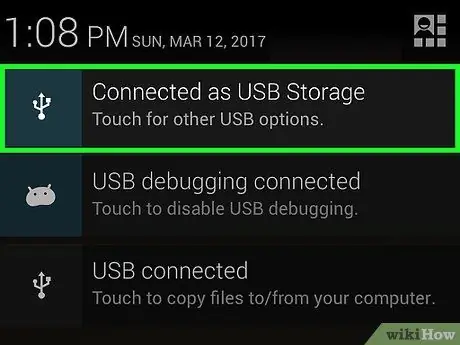
Step 4. Tap the "Use USB Connection" notification
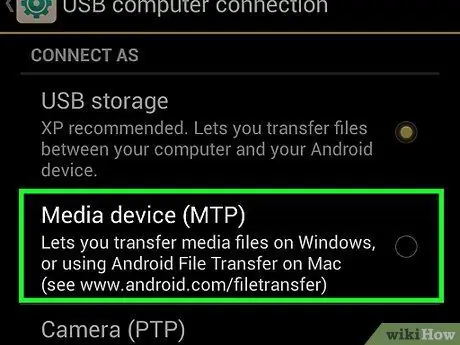
Step 5. Tap File Transfer or MTP
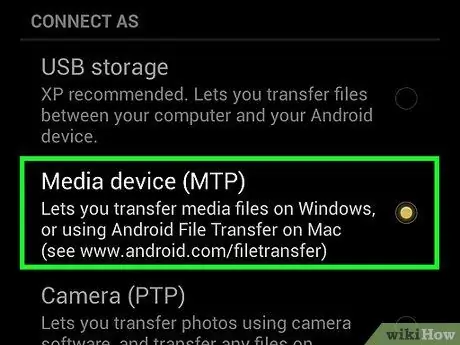
Step 6. Tap Only this time
You can select "Always", but this would pose a potential risk if someone were to get hold of the unlocked device.
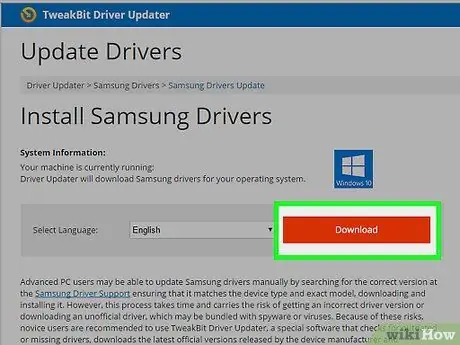
Step 7. Wait while Windows installs the drivers
This will only happen the first time you connect the device and it should be automatic.
If you are having trouble installing the drivers for your device, visit the manufacturer's support page and search for your model so you can find the right USB drivers to connect it to Windows
Part 2 of 4: Transfer Files
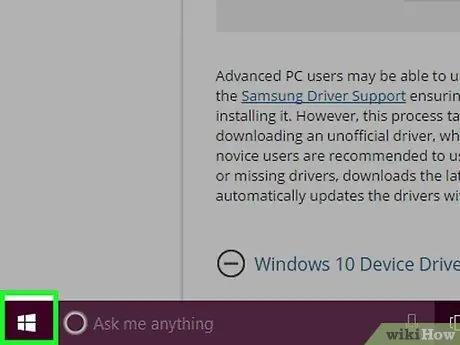
Step 1. Click on the "Start" menu
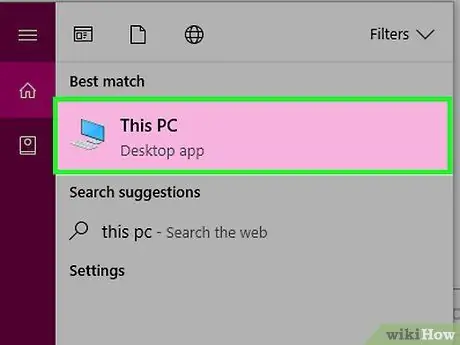
Step 2. Click on the Computer or This PC button
On Windows 10, the icon is depicted as a folder and is located on the left side of the "Start" menu.
You can also press ⊞ Win + E to open the window directly
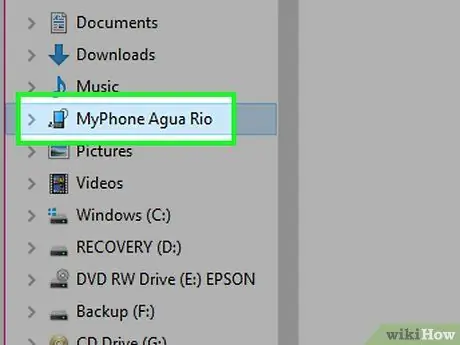
Step 3. Double click on the Android device
It will appear listed in the "Devices and Drives" section. It can be labeled with its name or model number.
Make sure your device is unlocked and set to file transfer / MTP mode
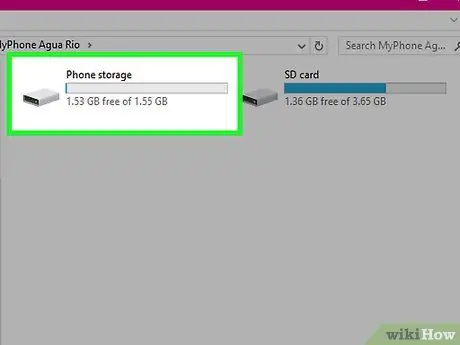
Step 4. Double click on Internal Memory
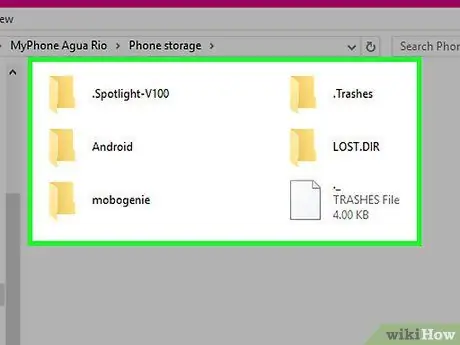
Step 5. Explore the storage space of the device
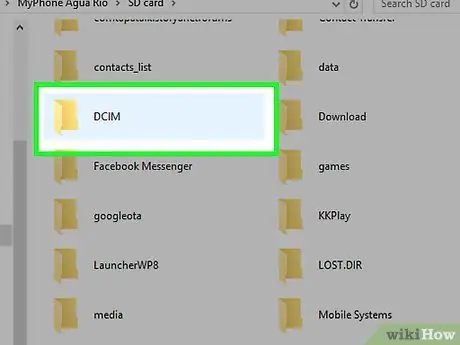
Step 6. Double click on a folder to open it
Here are some commonly used folders to store files:
- Download;
- Documents;
- Images;
- Music;
- DCIM (camera).
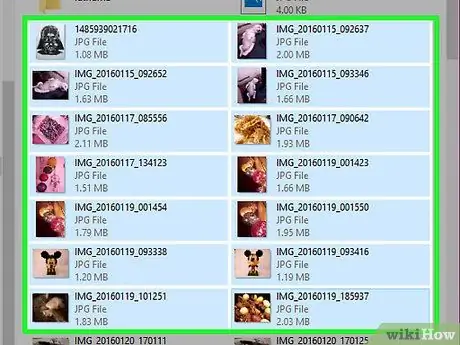
Step 7. Select the files you want to transfer
Once you have found a file you want to copy to your computer, click on it to select it. You can click on the file and drag the mouse on the screen to include others in the selection or hold down Ctrl and click on each file you want to select.
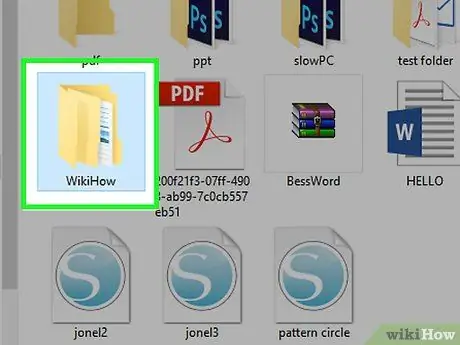
Step 8. Open a folder on your computer to transfer files to it
You can create a new one for the files or move them to an existing folder. Leave it open to facilitate the transfer. You can also simply transfer them to the desktop if you prefer.
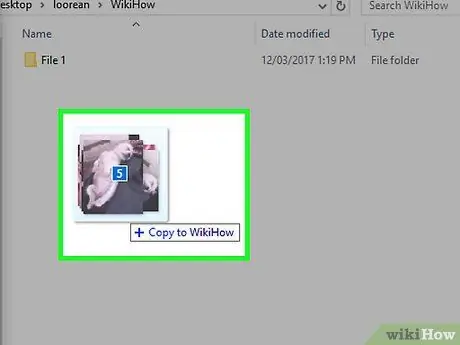
Step 9. Drag the selected files from the Android device to the open folder
This action will start the process of copying them to your computer.
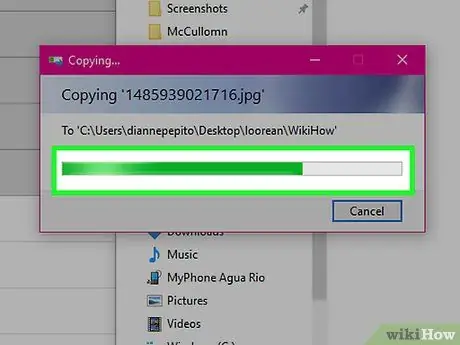
Step 10. Wait for the files to be transferred
The transfer can take longer when the files are large or large. Do not disconnect the device during the procedure.
If you've completed the file transfer and no longer need the device connected, you can eject it. In any case, make sure that no files are being transferred
Part 3 of 4: Importing Images
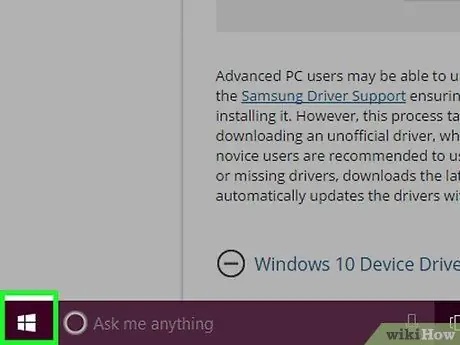
Step 1. Click on the "Start" menu
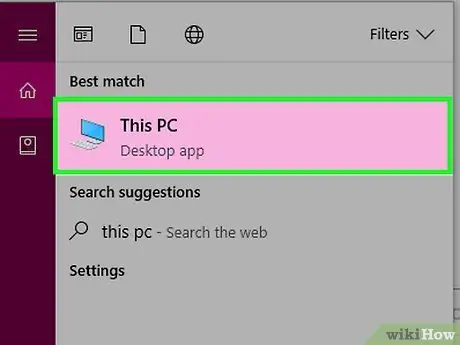
Step 2. Click on the Computer or This PC icon
If you are using Windows 10, click on the folder button located to the left of the "Start" menu.
You can also press ⊞ Win + E
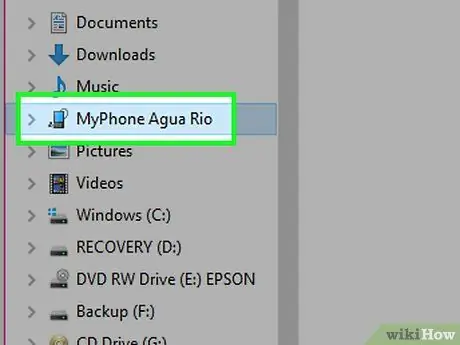
Step 3. Click on your Android device with the right mouse button
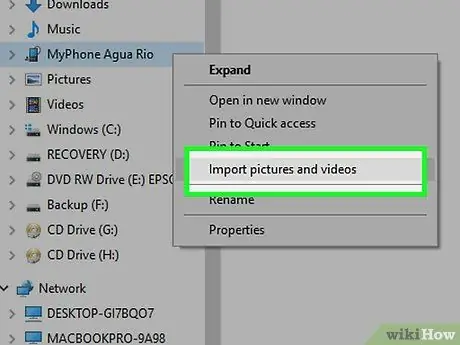
Step 4. Click Import Images and Videos
It may take some time to scan all the images you have on your device.
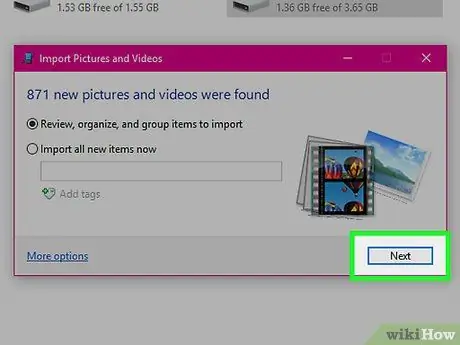
Step 5. Click Next in the window that appears
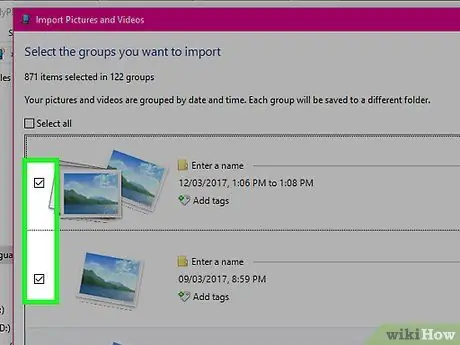
Step 6. Click on the checkboxes to select the images you want to import
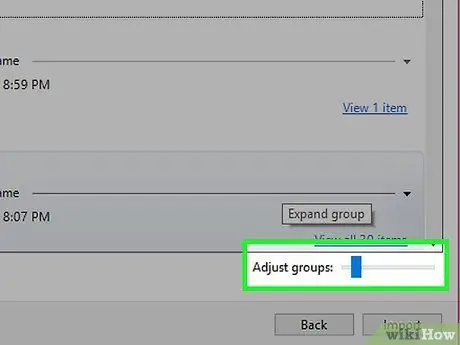
Step 7. Click on the Edit Groups slider and drag it
This action will change the number of days each group includes.
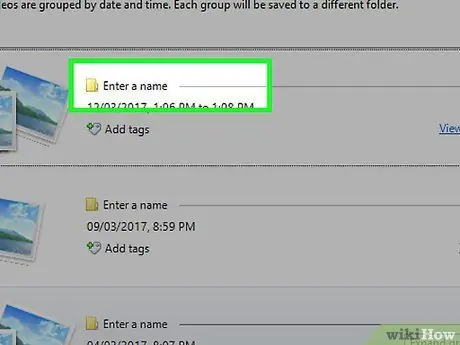
Step 8. Click Enter a name to change the folder name of each group
This will be the name of the folder inside "Pictures".
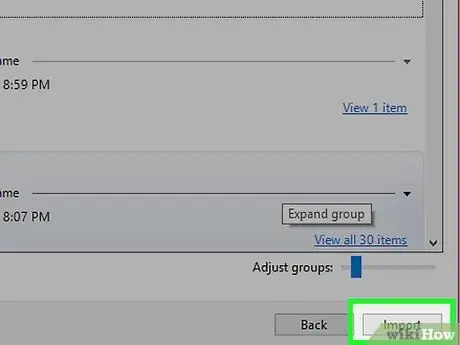
Step 9. Click Import to start transferring the selected photos
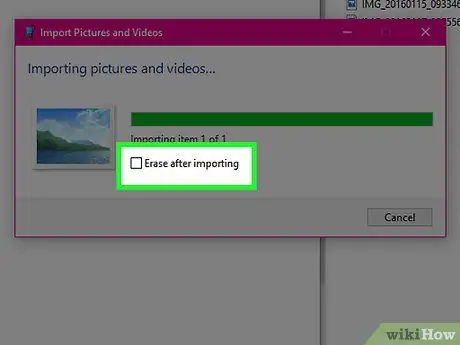
Step 10. Decide if you want to delete the original copies
After the transfer you will be asked if you want to keep or delete the original files. Deleting them will free up space on your device.
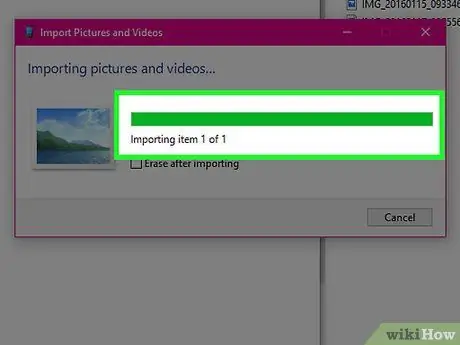
Step 11. Disconnect the device after the transfer is complete
Part 4 of 4: Transfer Files Wirelessly

Step 1. Tap the Play Store button on Android
You can use a program called AirDroid to transfer files from Android device to computer wirelessly. AirDroid can be downloaded for free from the Play Store.
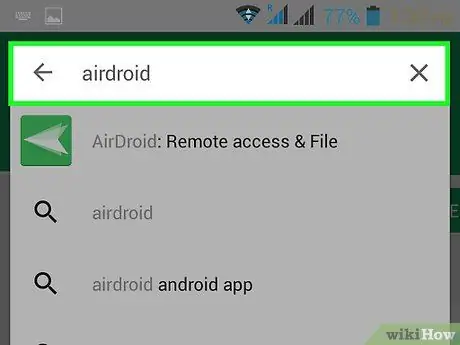
Step 2. Search for "AirDroid"
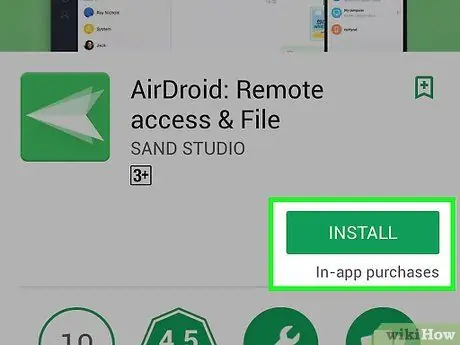
Step 3. Tap Install on the application page
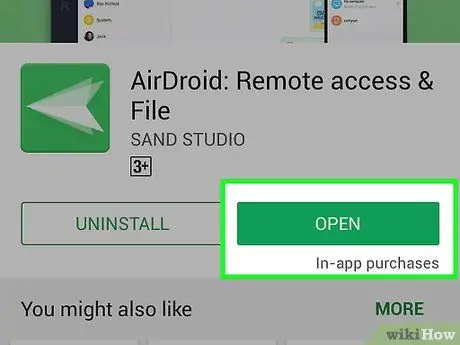
Step 4. Tap the Open button after installing AirDroid

Step 5. Tap Registration
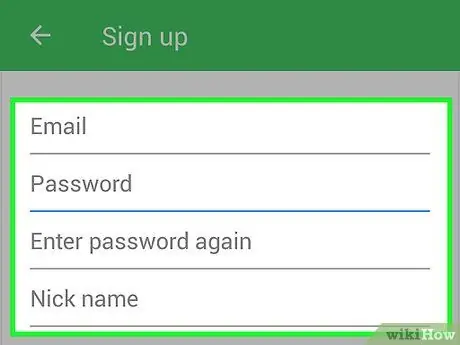
Step 6. Enter the information needed to create a new account

Step 7. Visit airdroid.com on your computer

Step 8. Click the Download Now button
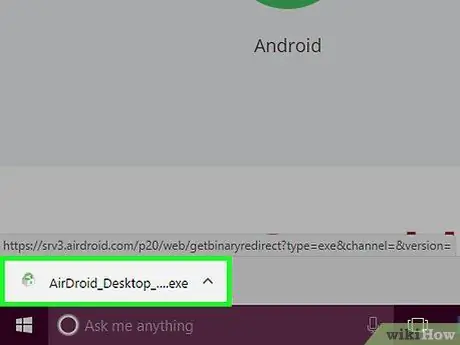
Step 9. Double click on the downloaded installer
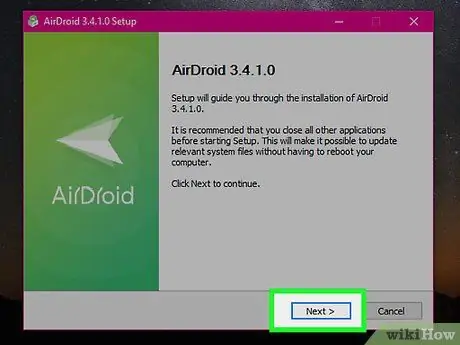
Step 10. Follow the prompts to complete the installation
Remove the check mark from McAfee's offer if you don't care (not required to use AirDroid).
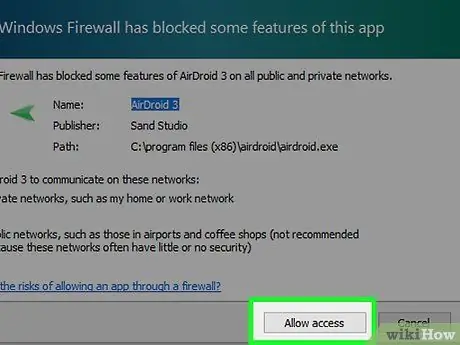
Step 11. Click Authorize Access when prompted by Windows
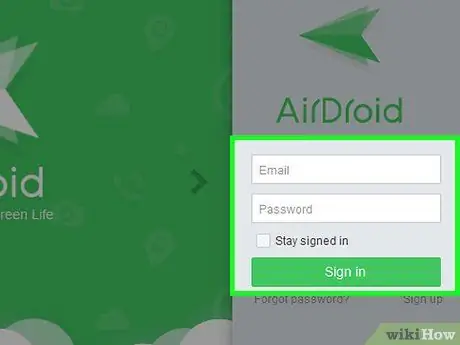
Step 12. Enter the data associated with your new account and click on "Login"

Step 13. Tap the Transfer button on the application
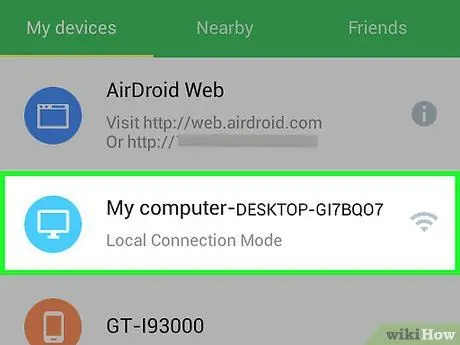
Step 14. Tap "My Computer"
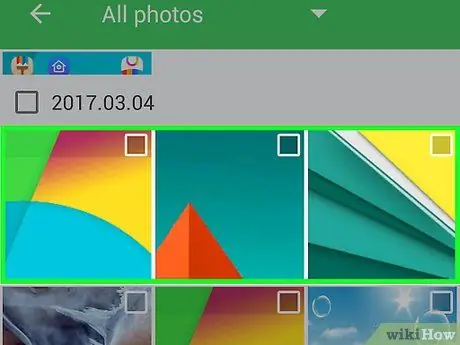
Step 15. Tap the files you want to transfer

Step 16. Tap Transfer
The files will begin to be transferred to your computer via the wireless network.


