This article explains how to activate a keyboard you have downloaded on your Android device to use different keys than the normal keyboard.
Steps

Step 1. Open the Android "Settings"
Search and tap the icon

in the application menu to open Settings.
-
Alternatively, you can scroll down the notification bar (located at the top of the screen) and tap the icon
top right.
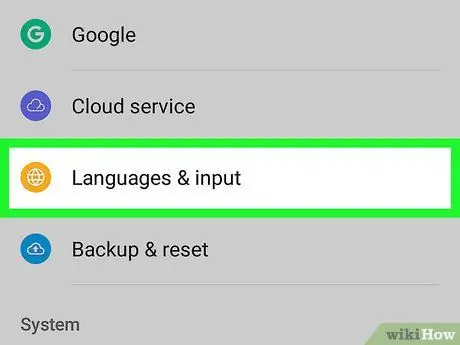
Step 2. Scroll down and tap Language & input
This option is found almost at the bottom of the Settings menu.
- On some versions this option is called "Language and keyboard" or simply "Languages".
- If you don't see this option, search for "General Management" in the Settings menu and tap "Language & input".
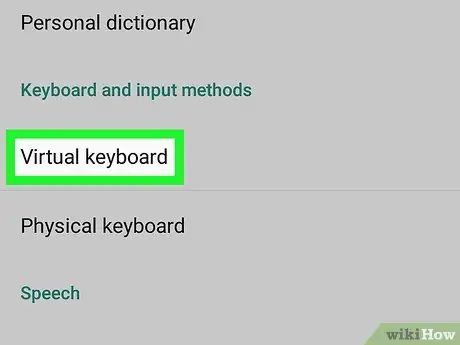
Step 3. Tap Virtual Keyboard
A list of all keyboards currently enabled on the device will open.
If you don't see this option, search for "Current keyboard" or "Change keyboard"
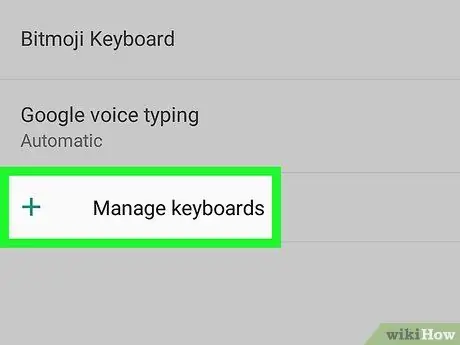
Step 4. Tap Manage keyboards
A list of all available keyboards will open, allowing you to activate or deactivate each of them.
This button may also be called "Choose keyboards"
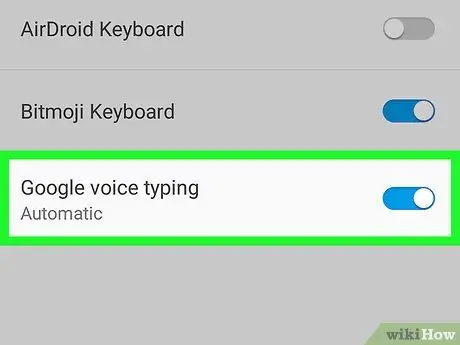
Step 5. Swipe the button next to the keyboard to activate it
Once the list is open, find the keyboard you want to use and activate it.
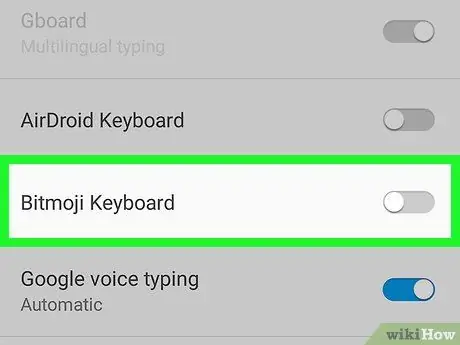
Step 6. Swipe the current keyboard button to turn it off
This will disable the old keyboard. You will then be able to write messages and notes with the new one.


