The braid is a simple and versatile hairstyle: comfortable, graceful and never too difficult to achieve, it allows anyone to express their personal style thanks to the many varieties available. By continuing to read this article you will learn how to braid your hair in different ways for different occasions!
If you want to weave bracelets in addition to your hair, read this article.
Steps
Method 1 of 3: Basic Braid
Step 1. Brush your hair
To achieve an ideal result, the hair must be untangled and in order, so brush or comb it carefully to remove all the knots. It may be helpful to apply a dry shampoo while brushing them to remove any excess oil that would make them slippery and more difficult to braid.
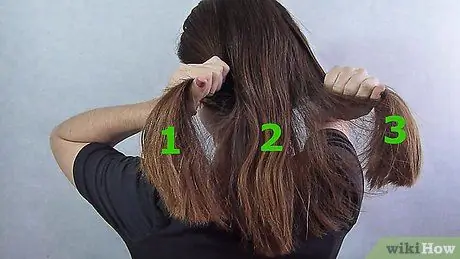
Step 2. Divide the hair into three equal sections
If you want, position the hair so that the braid is in a specific place, such as the back or side of the head. Divide the entire canopy into three equally sized sections: one on the left, one in the center, and one on the right.
Step 3. Start weaving from the right section
Grab the three strands carefully and overlap the right one with the middle one. The right section should now have become the middle section, while the one that used to be in the center should have moved to the right.
Step 4. Cross the left section
Now slide the left section over the new middle section. At this point they should have swapped places, just like in the previous step.
Step 5. Repeat the process
Continue to weave the side strands with the central one, alternating left and right, until you reach the ends of the hair.
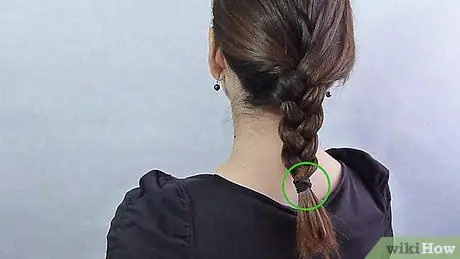
Step 6. Secure the end of the braid
Using a rubber band, bow, barrette, or different hair accessory of your choice, secure the braid by tying the bottom end, where it is no longer possible to continue braiding.
Method 2 of 3: French braid
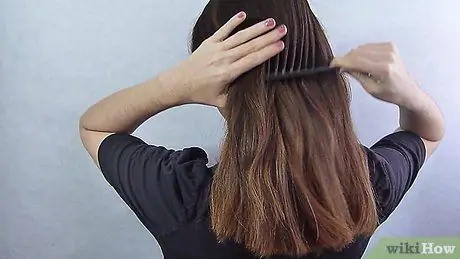
Step 1. Brush your hair
To achieve this hairstyle, your hair must be well combed and free of knots, so brush it carefully before starting. You can also spray some dry shampoo to remove excess oil.
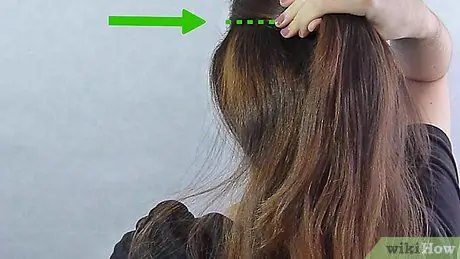
Step 2. Isolate the upper section of the hair
Using your fingers or a comb, separate the hair from the top of your head from the rest of your hair.
Step 3. Divide the section of hair into three equal strands
Make sure they are the same size as possible - each strand should be about 2.5-5cm wide.
Step 4. Braid the locks
Start by bringing the left section to the center, then cross the right section with the new middle section. Continue to pass the right and left strands in succession over the middle strand. This time, however, before each weaving, incorporate an additional small amount of hair from the side of the strand that you need to bring to the center. Continue like this until all the hair is incorporated into the braid.
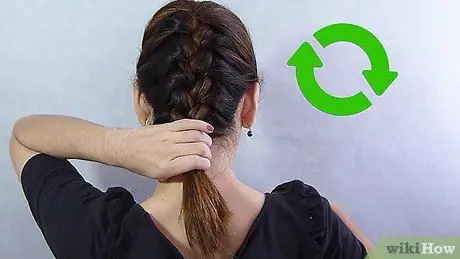
Step 5. Continue with a regular braid
Once all the hair is incorporated, weave the last part of the lengths into a classic three-strand braid, going all the way to the ends.
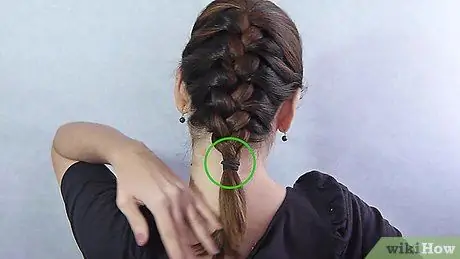
Step 6. Secure the end of the braid
Using a rubber band, bow, barrette, or different hair accessory of your choice, secure the braid by tying the bottom end, where it is no longer possible to continue braiding.
Method 3 of 3: Headband Braid
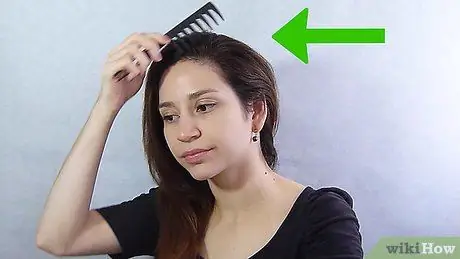
Step 1. Start by untangling all the knots
Brush or comb the entire hair well; you can also use some dry shampoo to remove excess sebum and add some texture.
Step 2. Separate the hair to be braided
Use the comb or pencil to separate the hair you intend to form the "headband" with, taking a section about 2.5-5cm wide from the area behind the ear.
Step 3. Make a regular braid
Stretch the section you isolated on the side of your head and make a simple three-strand braid, without over-tightening. Go all the way and tie the end with a rubber band.
Don't make a braid that is too tight, as it may not fit snugly around your head
Step 4. Place the braid on the head as if it were a headband
Lift it up and slide it over the top of your head, bringing it behind your ear on the opposite side. Secure it behind your ear with a pair of bobby pins.


