This article shows you how to put together an "extension" for your speaker cables using electrical tape and additional cables. Keep reading.
Steps
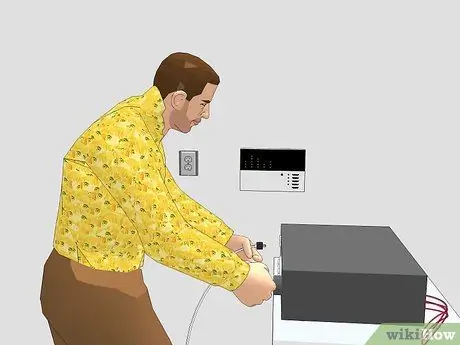
Step 1. Turn off the system and unplug the power outlet
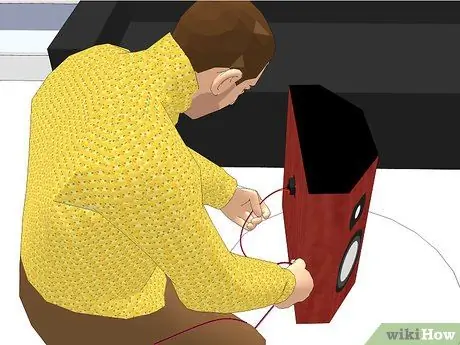
Step 2. Disconnect the speaker cable from the stereo or home entertainment system and examine it
- For each of the speaker cables you should be able to see two wires consisting of a metal end covered with flexible insulation (strand).
- One of the cables is the positive while the other is the negative. There are usually signs that make them recognizable such as bumps along the insulation, white streaks or they can be of a different color (usually red for the positive and black for the negative).
- The end of each cable should already be separated and have a shape similar to a "Y" of a few centimeters.
- The tip of each "Y" should be bare exposing about half a centimeter of strand.

Step 3. Buy a roll of wire that is the same size as your speaker wire
Speaker cables are available in a variety of thicknesses and sizes. The right size can be indicated directly on the cables in your possession or in the manual of your audio system. If you can't determine the exact size, try to get as close as possible.

Step 4. Buy some plugs or insulating caps that will match your wire size and a roll of electrician's electrical tape
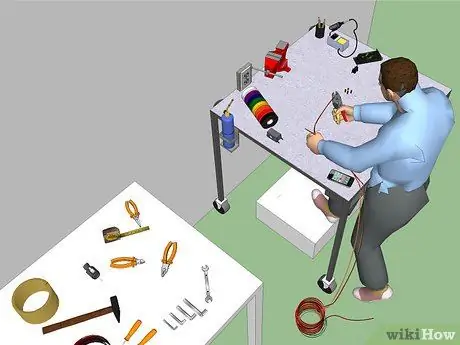
Step 5. Cut the new thread
- Starting with the cable you have, measure how long the new cable needs to be.
- Cut the new cable taking into account the measurements you took previously.
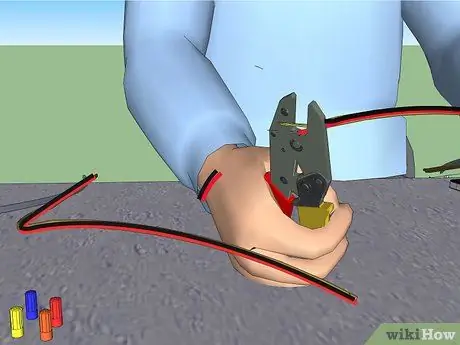
Step 6. Prepare the ends of each cable
- Divide a few centimeters from the end of each cable and form a "Y".
- Remove the insulation from the end of each strand leaving about one and a half centimeters of bare cable exposed.
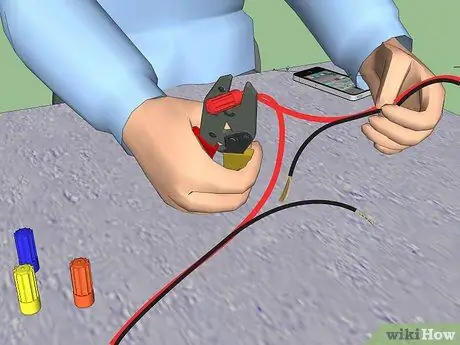
Step 7. Connect the new cable to the old one and isolate it
There are a few ways to do this. The best connection is made by soldering the cables and putting heat shrink in the soldering point. Other methods involve the use of protective caps or clamps. Both require some soldering material or clamps. If you have a hard time finding these specific materials, hoods are your best bet.
- Take the previously prepared end of the new cable and that of your old cable. You should now have four cables in your hand with the metal ends not covered.
- Connect the old positive lead with the new one. There may be a symbol on the insulation to indicate that it is a positive cable. The strand of the positive cable may be of a different color than the negative one.
- Make the connection between the old and the new cable. If you choose the thermo-shrink method, before making the connection, slide some insulation long enough to cover the weld between the cables.
- If you choose to use a clamp, hold the bare wire ends of the old cable and the new one together. Position them side by side, holding them between the thumb and forefinger.
- With the other hand, place a connector between the contact ends. Turn them clockwise. By doing so, the metal ends inside the connector will intertwine firmly with each other and the connector will act as an insulator.
- For soldering: twist the exposed ends of the strands and solder.
- For the connector: Insert the ends of the two cables into the connector and press them together by pressing on the connector. There are many useful products for this purpose; some resemble clamps and others look and function very differently. Read the instructions for the connector you purchased.
- Repeat this step for each of the cables.
- Each cable should now have two flaps. Wrap some insulating tape around each set of cables making sure that it adheres well to the parts adjacent to the connector or slide the cable insulation until it covers them. In this case you will need a heat gun to heat the tube and make it more malleable.
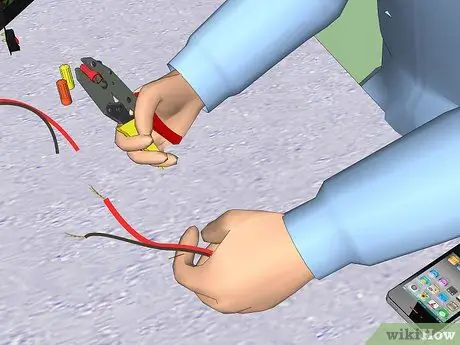
Step 8. Repeat this step for each speaker cables
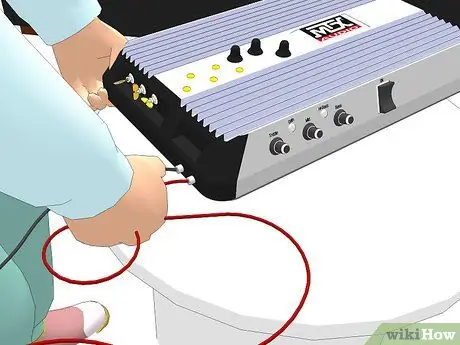
Step 9. Connect the end of the extended cable to your amplifier
Usually you plug the positive cable into the red socket. Plug the negative cable into the black socket.

Step 10. Plug your system back in, turn it on and enjoy your music or movies
Advice
- Not everyone knows that stereo cables are actually made up of two cables each internally. There is a positive and a negative cable in each set. There is usually a white line along the insulation of the positive lead. In other cases the metal strands can be of different colors and usually the positive cable has the color of copper.
- Soldering the terminals is the best solution.


