Some software, such as Thunderbird and Outlook. greatly simplify the procedure for sending an e-mail message. Problems start when your messages no longer reach their destination. How can I understand what really happens when I press the "Send" button of a normal e-mail client? One of the options available is to send a test message via telnet commands using the outgoing server of your mail account. Telnet is a small application present in all operating systems. However, remember that not all e-mail servers allow the use of a connection via telnet, so in some cases you may receive an error message.
Steps
Part 1 of 2: Connecting to the Email Server Via Telnet
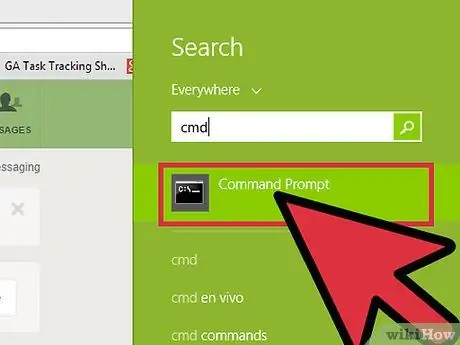
Step 1. Get a telnet client
If you are using a computer running OS X or Windows XP, you already have everything you need to proceed. If you are using a machine equipped with a Windows Vista, Windows 2008 server, Windows 7, Windows 8.1 or Windows 10 operating system, you must first enable the use of the telnet client integrated into the system.
- Windows Vista, Windows 2008 server, Windows 7 and Windows 8.1: go to the "Start" menu and choose the "Control Panel" option. Choose the "Programs" category, then select "Turn Windows features on or off". A list of features provided by the operating system will be displayed. Scroll through the list until you locate and select the "Telnet Client" checkbox. When finished, press the "OK" button.
- Windows 10: select the "Start" button with the right mouse button, then choose "Programs and Features". Click the "Turn Windows features on or off" link on the left side of the window that appeared. Scroll through the displayed list until you find the "Telnet Client" checkbox, then select it. When finished, press the "OK" button.
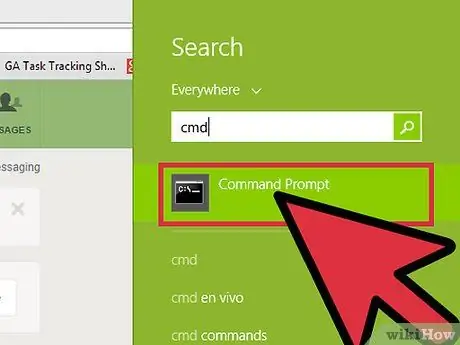
Step 2. Open a system command line window
The process varies slightly between Windows and Mac computers.
-
Any version of Windows: Press the key combination ⊞ Win + R, then type the command
cmd
- . When finished press the Enter key.
- Mac: From the Finder window, go to the "Applications" folder, then choose the "Utilities" directory. At this point select the "Terminal" icon with a double click of the mouse. Alternatively, type the keyword "Terminal" into the "Launchpad", then select its icon.
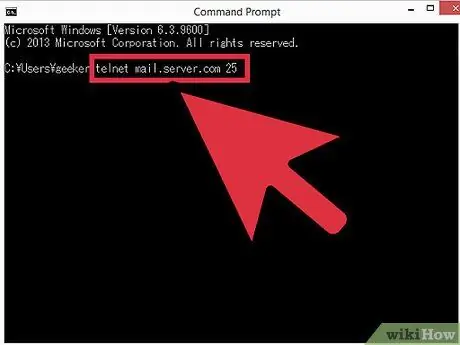
Step 3. Open a telnet connection
Inside the command line type the string
telnet mail.server.com 25
where "mail.server.com" represents the Simple Mail Transfer Protocol (SMTP) server address of your email account (for example smtp.live.com), while 25 is the standard port number used by SMTP services. When finished, press the "Enter" key.
- You should receive a server response message similar to "220 mail.server.com".
- Connection port 25 is the standard one used by most SMTP servers, but some network administrators may have configured a different port number, such as 465 (to use secure connections) or 587 (for users using Microsoft Outlook). To find out the correct port number, contact your network administrator or check your mail account information.
- If you receive an error message such as "Unable to open a connection with the host on port 25", even if you are sure of the correctness of the port number (25), it is likely that the mail server in question could have problems.
Part 2 of 2: Send an Email Message
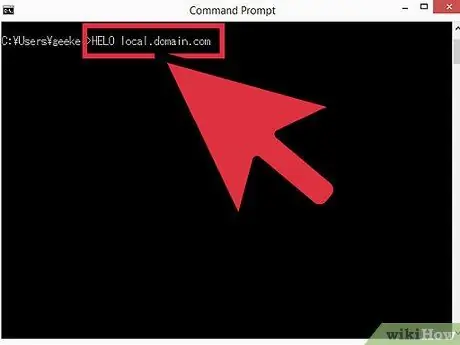
Step 1. Introduce yourself to the server
The sequence of commands is always the same, regardless of the operating system in use. Type the command
HELO domain.com
where "domain.com" is the domain name you are sending the email from. Note that the "HELO" command is actually written like this, with just one "L". When finished press the Enter key.
- You should receive a response message from the server similar to the following: "250 mail.server.com Hello [domain.com] pleased to meet you".
-
If you don't get any response or get an error message, try using the command
EHLO
instead of
HELO
- . Some servers prefer to use the first command while others prefer the second.
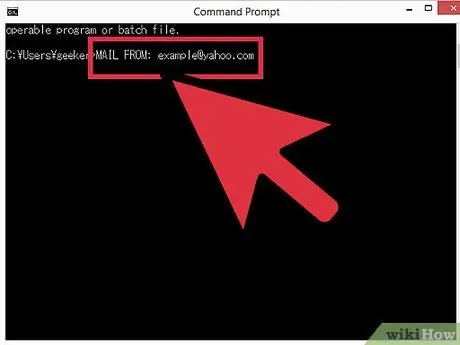
Step 2. Provide the message "header" information regarding the sender
Type the command
mail from: your [email protected]
. Replace the string "your [email protected]" with your real email address. Make sure you leave a blank space after the command
mail from:
. At the end of the insertion press the Enter key.
- You should receive a response from the server similar to the following: "250 Sender OK".
- If you receive an error message, make sure you have entered an email address that matches the domain of the server you connected to. The mail service you are using may not allow the sending of e-mails from other domains, such as "yahoo.com".
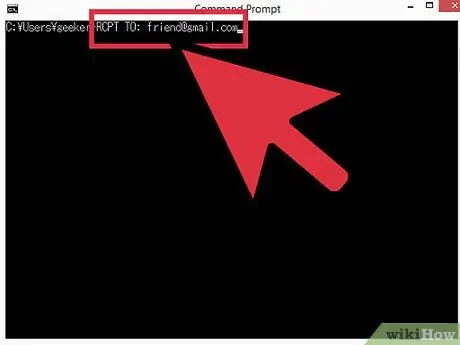
Step 3. Provide the recipient's email address
To do this, type the command
rcpt to: username_dest@domain_dest.com
where "username_dest@domain_dest.com" represents the full email address of the recipient of your message. When finished press the Enter key.
- You should receive a response from the server similar to the following: "250 OK - MAIL FROM [email protected]".
- If you receive an error message, it means that the email address you are trying to send the message to may be blocked.
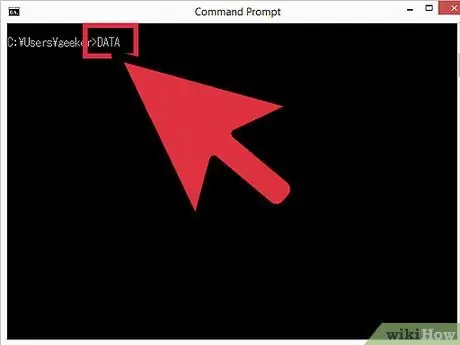
Step 4. Compose your message text
To format and send the mail correctly, you need to use some commands:
-
Type the command
date
- , then press the Enter key.
-
On the next command line, type the command
subject: Test
- , then press the Enter key twice. Replace the string "Test" with the desired email subject.
- Type the message text, then when you are done press the Enter key.
- Type the key. once to indicate that you have finished typing your message, then press the Enter key. You should see a message confirming that your email has been accepted or queued, waiting to be processed. The exact text of this confirmation message varies depending on the server being used.
- If you receive any error messages, please take note of the relevant codes and contact your email account manager.
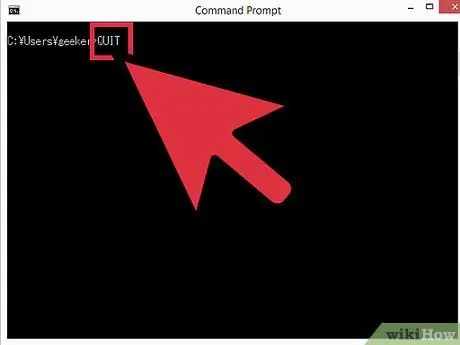
Step 5. To close the Telnet session, type the command
quit
then press the key Enter.
Advice
- The telnet commands shown in this article work with any Telnet client, even on Linux systems.
- Some web e-mail services (such as Hotmail) do not allow the sending of messages via telnet.
- Some email clients automatically filter messages sent via telnet, identifying them as spam. If you are using this procedure to test your email account, and you do not receive the test message sent, check the recipient's spam folder.
- Using telnet commands you can also check the messages in your mailbox. Search the web for a detailed list of commands to use.


