You can change the signature that is automatically inserted at the end of emails directly from an iPad's Settings app. If you have multiple email accounts configured on your device, you can set up a custom signature for each. You can also create a signature using HTML code directly. In this case, images and links can also be included in the signature. In this case the signature will be created on the computer and sent to the iPad. If you need to use a hand-created digital signature, you will need to use one of the many third-party apps on the App Store.
Steps
Method 1 of 2: Change the Email Signature
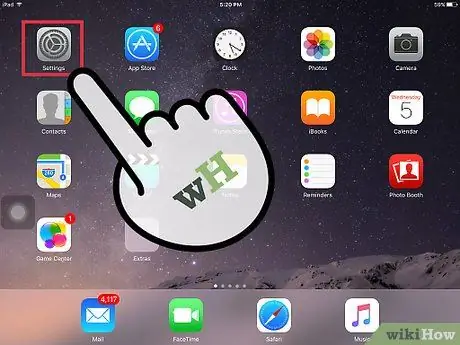
Step 1. Launch the iPad Settings app
You can find it directly on the Home of the device. It features a gear icon.
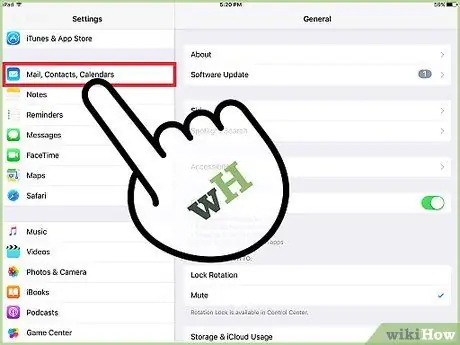
Step 2. Select the item "Mail, contacts, calendars"
The list of email account settings will be displayed.
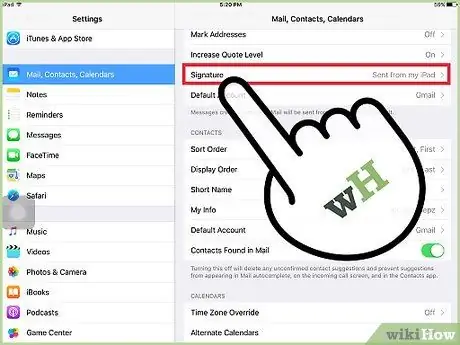
Step 3. Select the "Signature" option
Your current signature will be displayed and automatically inserted into all email messages.
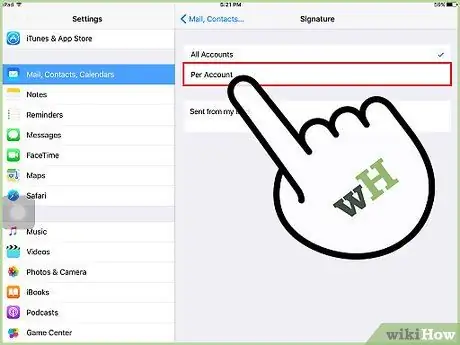
Step 4. Select the "By account" item if you want to set a custom form for each of the email accounts on the device
By default the iPad uses the same signature for all mail accounts created. Selecting the "By account" option will display the signature of each of the e-mail accounts present, allowing you to create a personalized one for each.
The indicated option will not be present if only one email account is configured on the iPad
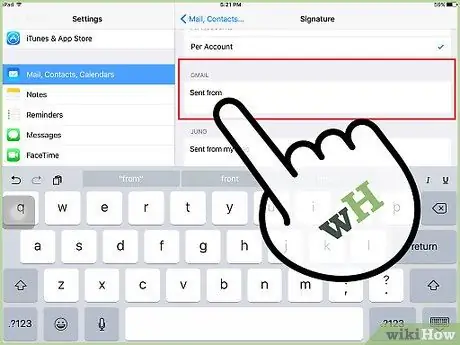
Step 5. Delete the default signature
The default signature is "Sent from iPad". Select the text field where the signature appears and use the iPad virtual keyboard to edit the signature.
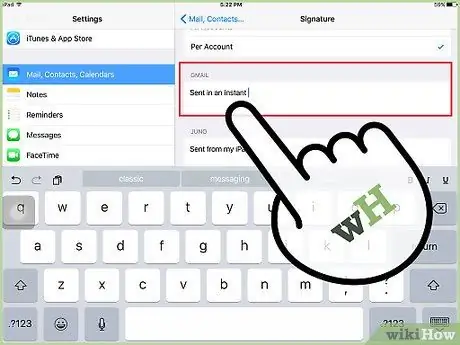
Step 6. Enter the signature you want to use
Try to be concise and essential by entering only the strictly necessary information in the signature. To add a new line of text to the signature press the "Enter" key.
If you need to create a signature that includes formatted text and images, you will need to use HTML code, so refer to the next section of the article
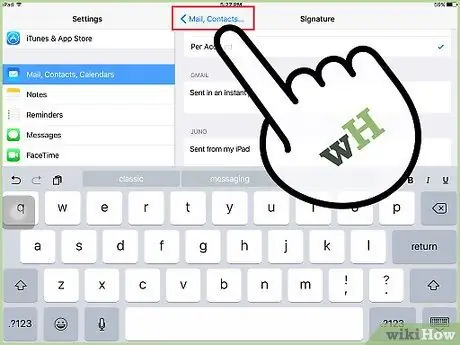
Step 7. Go back to the previous menu to save the new settings
Press the "<Mail" button located in the upper left corner of the screen to return to the "Mail" menu. The new email signature you created will be stored and automatically applied to all email messages you send with your iPad.
Method 2 of 2: Create a Signature with HTML Code
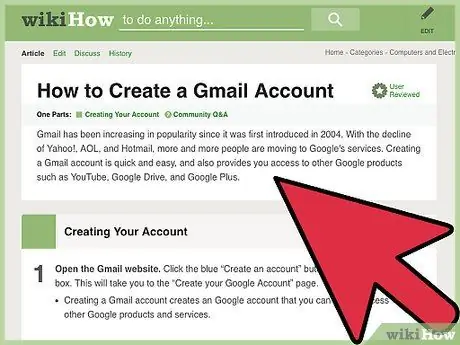
Step 1. Log into Gmail using a computer
If you don't have a Gmail account, create one now. You only need Gmail to create the new email signature using the HTML code that you will then use on your iPad.
You don't have to use Gmail as an email account. The Gmail web interface comes with a very powerful and easy-to-use email signature editor. To accomplish this, you can use an existing account or you can create a new one. Read this article for more information
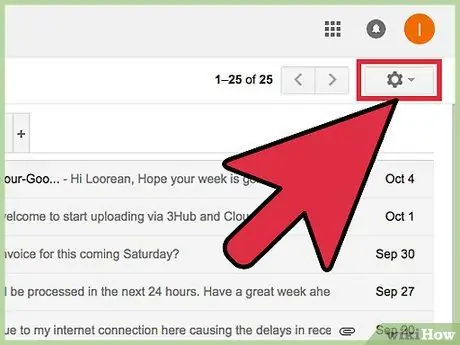
Step 2. Click on the gear icon in the upper right corner of the page and choose "Settings"
The Gmail settings menu will appear.
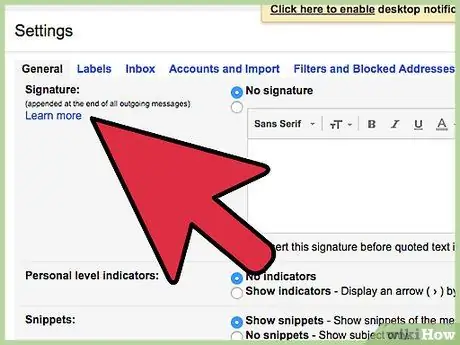
Step 3. Scroll the "General" tab down to the "Signature" section
You will have to scroll down the page to be able to reach the indicated section.
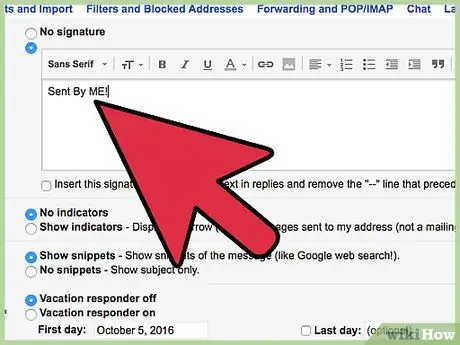
Step 4. Use the Gmail signature editor to create the signature as you wish
Use the buttons above the signature text box to change the formatting of the text and to insert images and links. You can use images stored on your computer or within Google Drive.
Remember that the font changes will be undone when you import the signature to the iPad
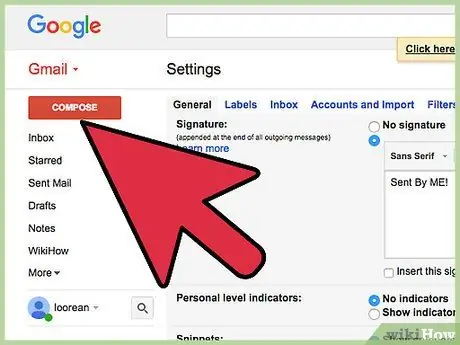
Step 5. Send an email with the new signature from your Gmail account to one of the accounts on the iPad
Return to the main screen of the Gmail web client, click on the "Write" button located in the upper left corner of the page and send an e-mail message to one of the accounts on the iPad. In this case, you don't need to enter the subject or body of the message.
If the Gmail account is also present on the iPad, you can simply send an email to yourself using the computer
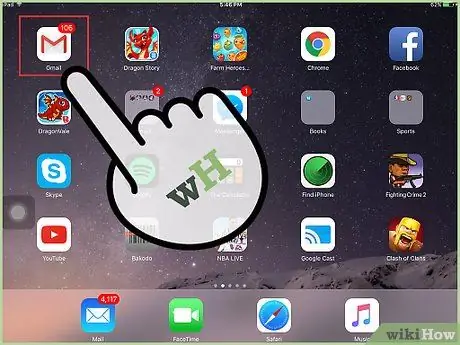
Step 6. Read the email you sent yourself using your iPad
The email you sent from Gmail should appear on the iPad in a few moments.
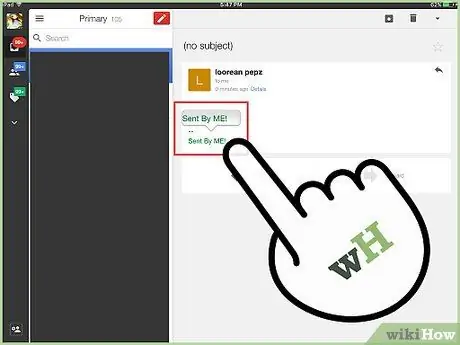
Step 7. Press and hold your finger on the email signature until a magnifying glass appears
This will give you the ability to select the text and other elements present within the email.
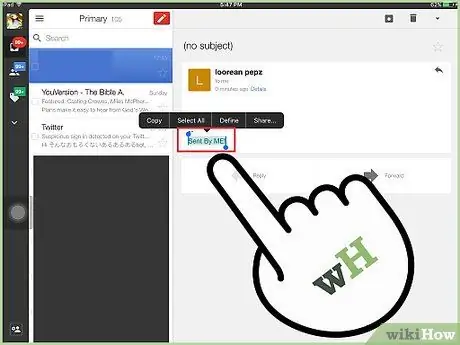
Step 8. Use the cursors that appeared to be able to select the text and images present in the email signature
Make sure all signature content is highlighted, including images.
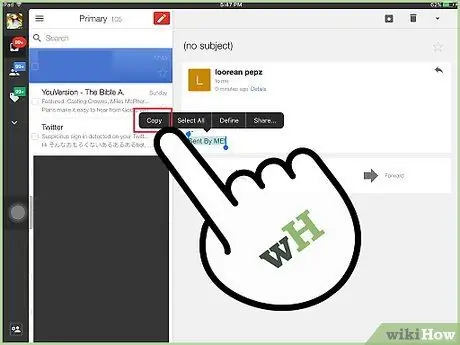
Step 9. Select the "Copy" option from the menu that appeared
This way the signature you selected will be copied to the iPad system clipboard.
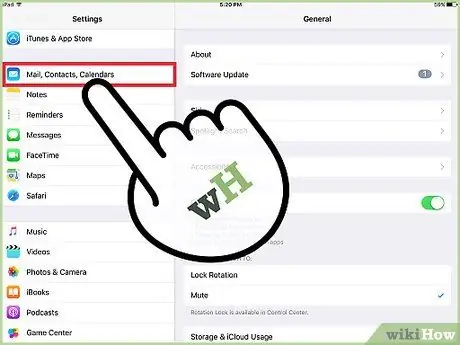
Step 10. Launch the Settings app and select the "Mail, Contacts, Calendars" item
The list of email account settings will be displayed.
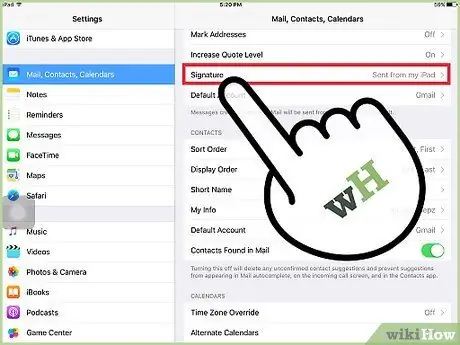
Step 11. Select the "Signature" option
The list of mail accounts with their signatures will be displayed.
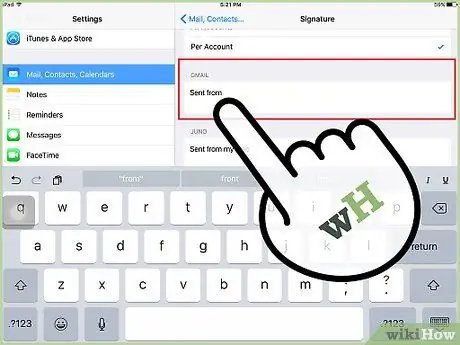
Step 12. Tap the field for the signature you want to edit
In this way the text cursor will be positioned inside the chosen field. Delete the existing signature you want to replace with the one you just created.
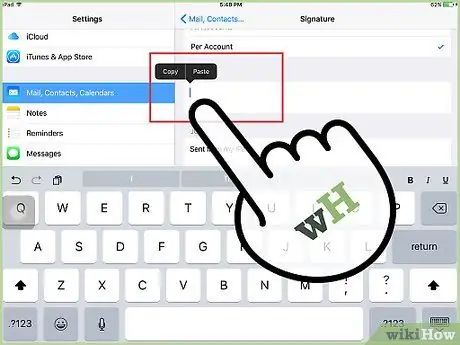
Step 13. Keep your finger pressed on the text field until a magnifying glass appears
A context menu will appear above the cursor.
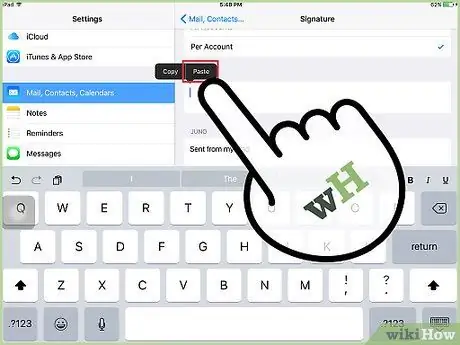
Step 14. Select the "Paste" option
This way the entire signature you created with Gmail will be pasted into the text field, including images and links.
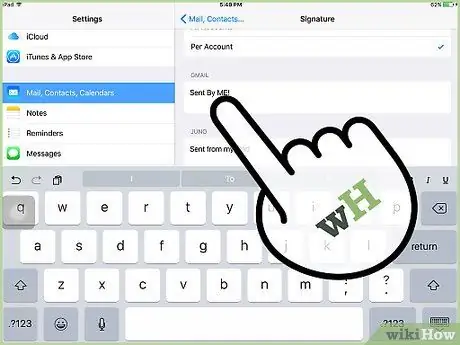
Step 15. Make the necessary changes
The formatting of the text may not be perfectly compatible with the iPad settings, so you may need to make adjustments to improve its visual appearance.
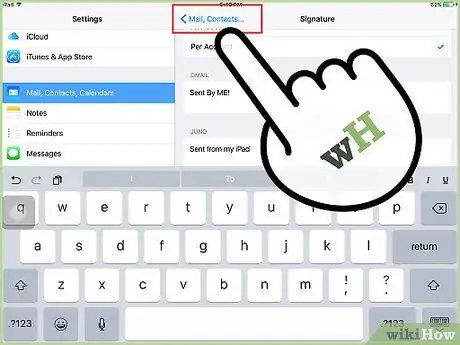
Step 16. Return to the previous menu to save the new settings
Press the "<Mail" button located in the upper left corner of the screen to return to the "Mail" menu. The new email signature you created will be stored and automatically applied to all email messages you send with your iPad using the current account.


