One of the features that made Snapchat such a popular image sharing service is the ease with which you can draw on photos and videos. Just press the "Pencil" button and use your fingers to draw whatever you like on your Snaps. The iPhone and Android versions of the app allow you to change the color of the lines, but the process differs slightly from platform to platform.
Steps
Method 1 of 2: iPhone
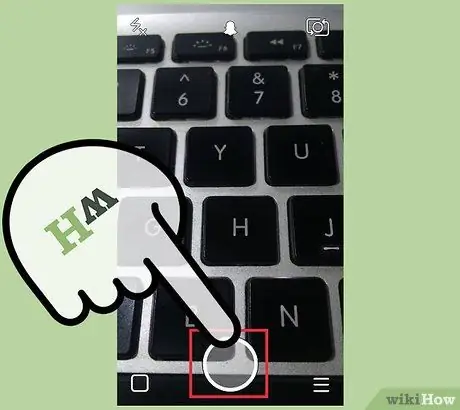
Step 1. Take a photo or record a video on Snapchat
The app allows you to draw on any Snap, image or video that is. Press the shutter button on the Snapchat camera screen to take a photo, or press and hold to record a video.
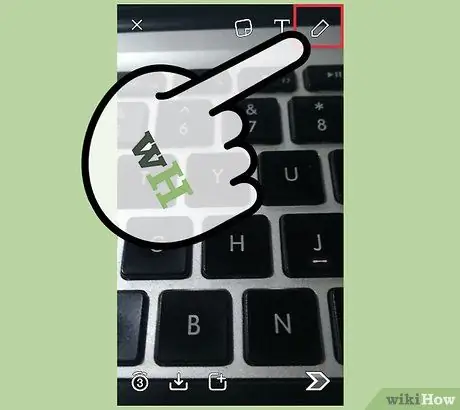
Step 2. Press the "Pencil" button to open the "Drawing" mode
This feature allows you to draw on snaps with your finger. You will see a slider appear on the right side of the screen to select the color.

Step 3. Slowly drag your finger up and down on the slider to choose a color
Move your finger and you will see the colors change. By proceeding slowly, you will be able to select exactly the color and hue you want to use. You can see the current color in the background of the "Pencil" button.
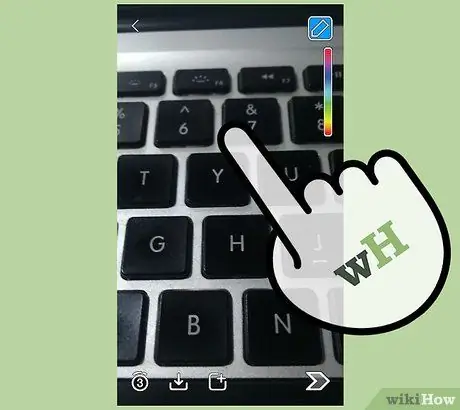
Step 4. Drag your finger directly to the left after choosing a color if you want to lighten it
The further you drag it to the left, the clearer it will become. Make sure you move your finger perfectly horizontally, otherwise you will change the color.
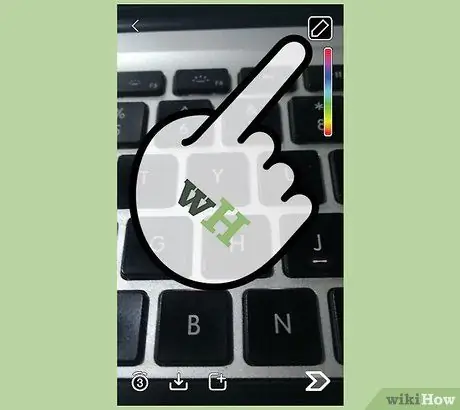
Step 5. Drag your finger across the bottom of the screen to select black
If you want to draw in black, just drag your finger all the way to the bottom of the screen on the color picker.

Step 6. Drag your finger on the left side of the screen to select white
Starting with the color picker, drag your finger to the left edge of the screen if you want to draw with white.
- You can drag your finger left, then down to select gray.
- The semi-transparent lines of the Android version are not available in the Snapchat for iOS version.
Method 2 of 2: Android

Step 1. Take a photo or record a video on Snapchat
You can draw on any snap, even in video format. To take a photo, press the shutter button on the app camera screen. To record a video, press and hold it.
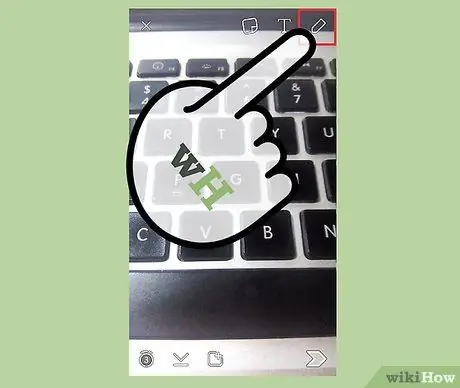
Step 2. Press the "Pencil" button to open the "Drawing" mode
You can drag your finger across the screen to draw.

Step 3. Press and hold the color strip in the upper right corner
The strip will open in three columns, where you can select all 33 available colors.
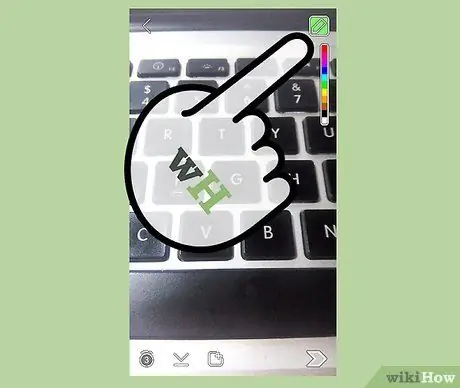
Step 4. Lift your finger from the color you want to use
You will see the "Pencil" button change color as you move around the palette. Raise your finger once you find the right shade.
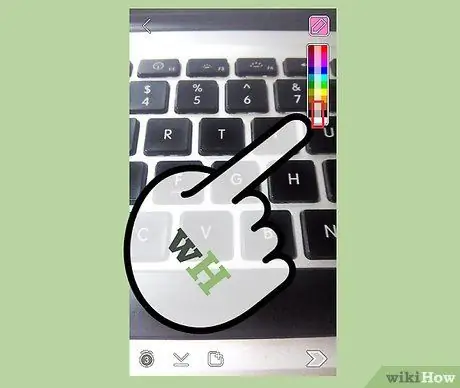
Step 5. Select the bottom and middle color to draw with transparency effect
This option allows you to draw a semitransparent line. You will be able to see the underlying layer, including the original image or other drawings. Thanks to this feature you can get advanced effects, such as shadows.
The "Black" option in the lower left column is a darker transparent color, which allows you to use two different transparency options
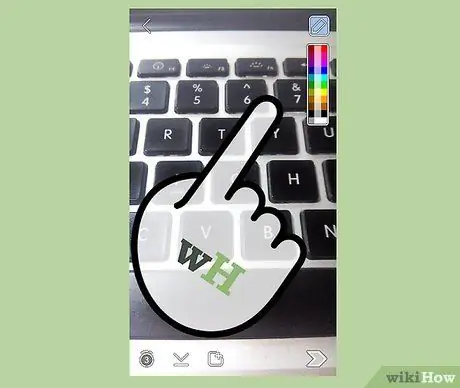
Step 6. Drag your finger on the column if you want to create a custom color
You are not limited to the shades that appear on the columns. After opening the selector, drag your finger on the column in the center of the image and you will have the possibility to change the color.
- Drag your finger up and down on the screen to change color. You can see the current hue on the "Pencil" button.
- Drag your finger left and right to change the hue of the selected color. Moving left will make it darker, right will make it lighter.


