Changing the IP address of a computer can be useful to prevent a cyber attack by other users who know this precious information, or simply to take on a new "online identity". Using the "System Preferences" you can change the IP address of a Mac at any time.
Steps
Method 1 of 2: Change the IP Address
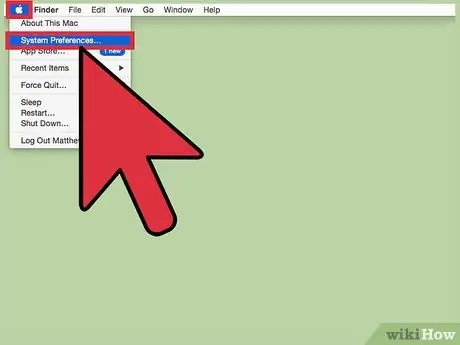
Step 1. Go to the "Apple" menu, featuring the Apple logo, and choose the "System Preferences" option
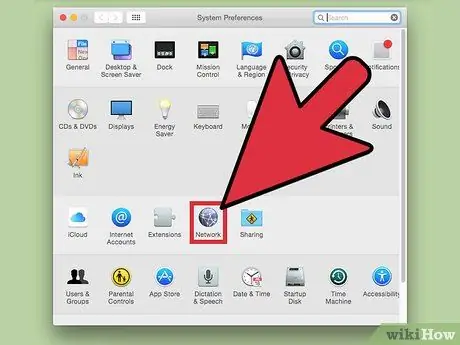
Step 2. Click the "Network" icon
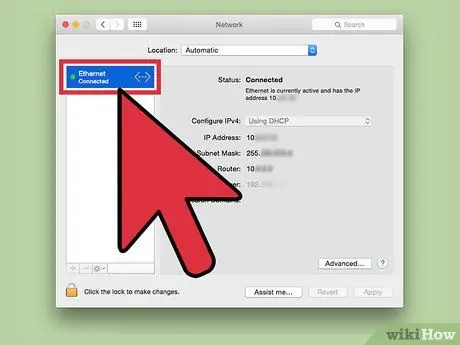
Step 3. Select the network connection currently in use by the system
It is visible within the left sidebar of the "Network" window. For example, if your Mac is connected to the web via a Wi-Fi network, you will need to select the "Wi-Fi" item.
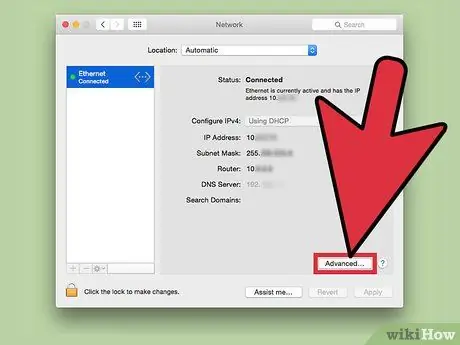
Step 4. Press the "Advanced" button located in the lower right corner of the "Network" window
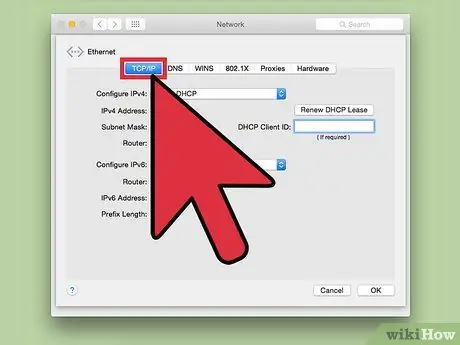
Step 5. Go to the "TCP / IP" tab
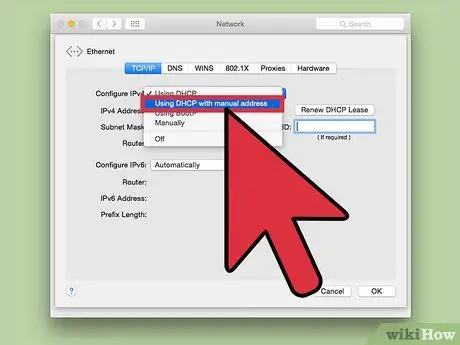
Step 6. Select the "Configure IPv4" drop-down menu, then choose the "Use DHCP with manual address" option
Alternatively, you can press the "Renew DHCP Assigned" button to have the network router automatically assign a new IP address to the computer
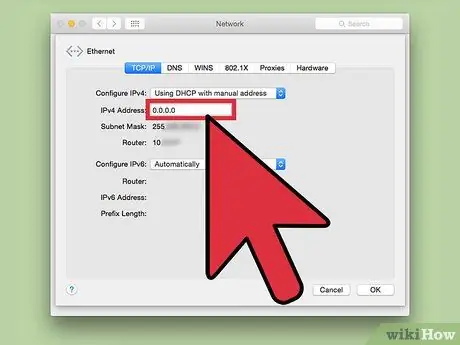
Step 7. Enter the IP address you want to assign to the Mac
Use the text field named "IPv4 Address".
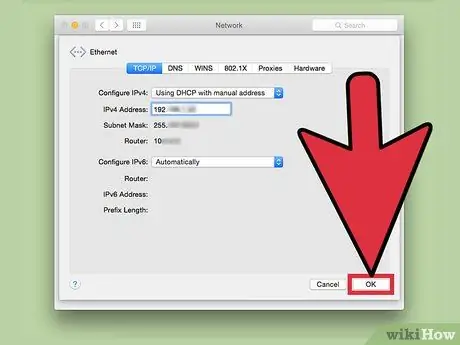
Step 8. Press the "OK" and "Apply" buttons in succession
At this point your Mac's IP address has been successfully changed.
Method 2 of 2: Use a Proxy Server
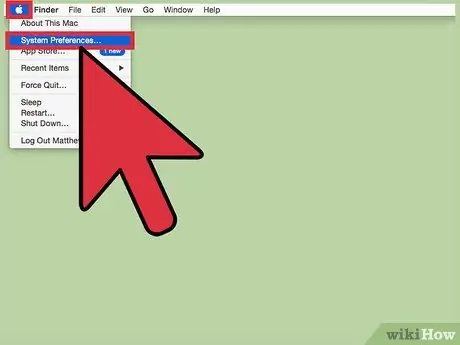
Step 1. Go to the "Apple" menu, featuring the Apple logo, and choose the "System Preferences" option
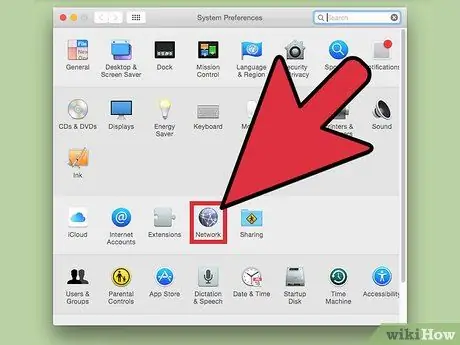
Step 2. Click the "Network" icon
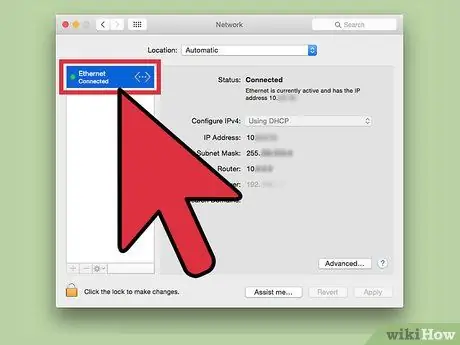
Step 3. Select the network connection currently in use by the system
It is visible inside the left sidebar of the "Network" window.
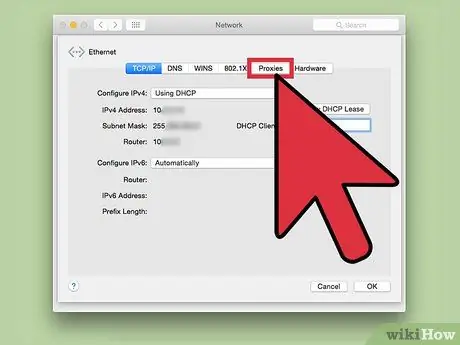
Step 4. Press the "Advanced" button, located in the lower right corner of the "Network" window, then go to the "Proxy" tab
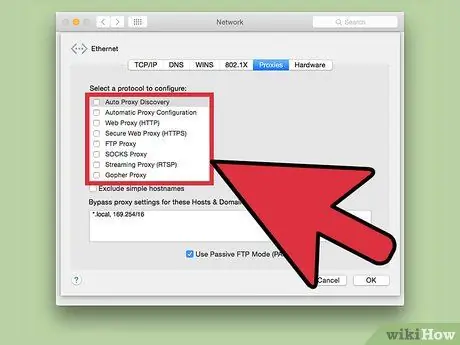
Step 5. Select the check button for the protocol you want to use a proxy service for
Inside the "Select a protocol to configure" box, there is a list of all the available options.
If you are not sure which protocol to use, select the "Proxy SOCKS" option. The "Proxy SOCKS" protocol is often used to route data packets between the client and the server through the use of a proxy server, thus increasing transmission security and hiding the computer's IP address from prying eyes
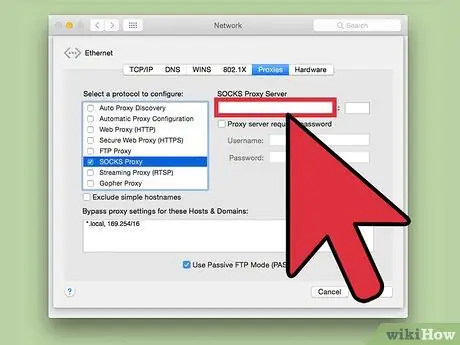
Step 6. Type the IP address of the proxy server you wish to use in the appropriate text field at the top of the "Network" window
If you don't know what to enter, consult the website https://sockslist.net/ to get the IP address (type 4 or 5) of an active proxy server
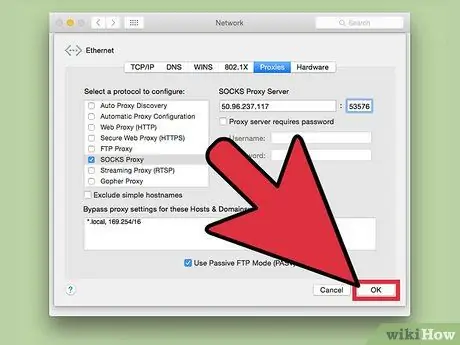
Step 7. Press the "OK" and "Apply" buttons in succession
At this point the Mac will be connected to the proxy server indicated, making web browsing anonymous.


