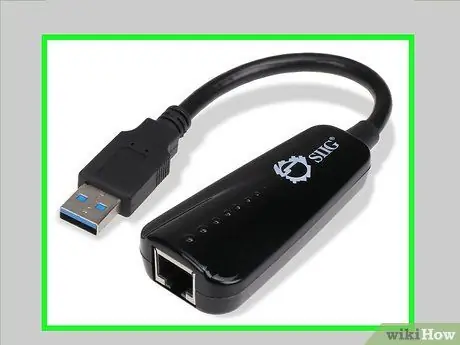
This article explains how to use a wired network connection with a laptop without an Ethernet port. Modern laptops are designed to be thinner and lighter, which means some features are eliminated. Nowadays it is not uncommon to find laptops without an RJ-45 network port or Ethernet port on the market. Obviously this is a problem if you need to rely on a wired network connection when you need maximum performance and maximum stability. However this is a problem that has a very simple solution which is to purchase a USB adapter.
Steps

Step 1. Purchase a USB adapter
On the market there are different types. Many adapters are extremely cheap with a price between 10 and 30 €. The cheapest adapters are those that adopt the USB 2.0 standard, but do not allow you to have a network connection with a high speed. If the latter is very important, you can opt to buy a USB 3.0 adapter if your laptop has a USB 3.0 port. If your budget allows, you can choose to purchase a docking station that includes a USB hub to expand the number of USB ports at your disposal, an audio port, and an Ethernet port.
If you are using a MacBook or laptop with an operating system other than Windows, check that the USB adapter you want to buy is compatible with the computer's operating system. The adapter packaging should clearly state the list of operating systems it is compatible with

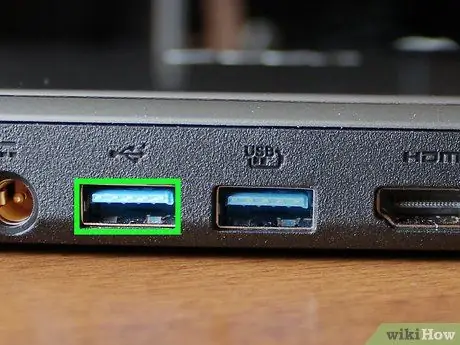
Step 2. Plug the adapter into a USB port on your computer
Find a free USB port to connect the adapter to. If you purchased a USB 3.0 adapter, be sure to plug it into a USB 3.0 port.

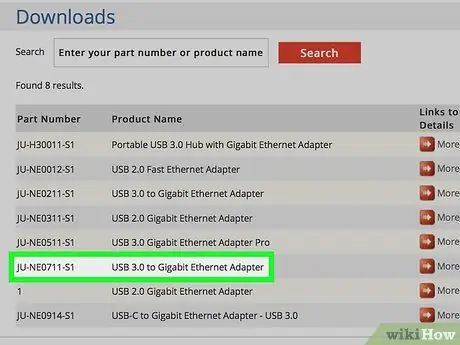
Step 3. Download and install the adapter drivers (if needed)
Many of the devices on the market today are "plug-and-play". This means that the drivers necessary for their operation are installed automatically. If not, you will have to install the drivers manually by downloading them from the manufacturer's website. This last step is necessary especially in the case of an older version of Windows. To manually download the adapter drivers follow these steps:
- Visit the device manufacturer's site;
- Click on the tab Downloads or Products;
- Find the technical support page for your device model;
- Click on the link to download the drivers;
- Double-click on the installation file you just downloaded and found in the "Downloads" folder.
- Follow the instructions that will appear on the screen to complete the installation wizard.

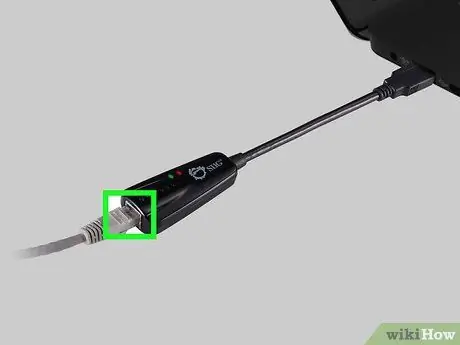
Step 4. Connect the Ethernet cable to the appropriate port on the adapter
After connecting the adapter to your laptop and installing the drivers, you can connect it to the Ethernet cable and have access to the internet via a wired network connection.


