This article explains how to connect a computer to a router using an Ethernet cable and how to configure network settings in both Windows and Mac. A wired network connection is much more stable and reliable than a Wi-Fi connection. In order to establish the connection, you will need to use an Ethernet network cable also known as an RJ-45 or CAT 5 cable.
Steps
Part 1 of 3: Connect the Computer to the Modem or Router
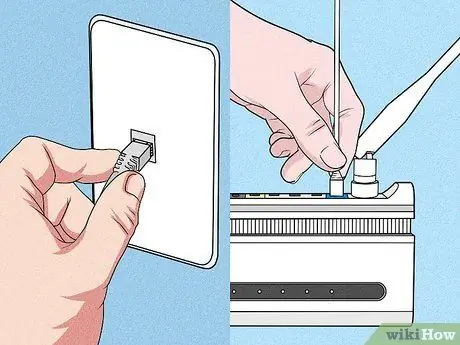
Step 1. Connect the modem to the internet line
Use the telephone cable or fiber optic depending on the type of internet line you have.
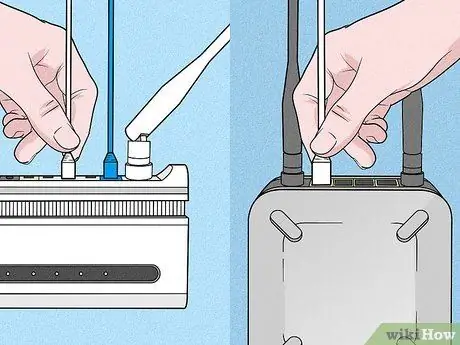
Step 2. Now connect the modem to the router
If you have a separate Wi-Fi router, you will need to use an Ethernet network cable to connect it to the modem. In this case, use the port on the router dedicated to connecting with the modem. It may be marked with one of the following abbreviations: "Internet", "WAN", "UpLink" or "WLAN". Most modern modems have a Wi-Fi router built into them. If you don't need to use a separate wireless router, skip this step and read on.
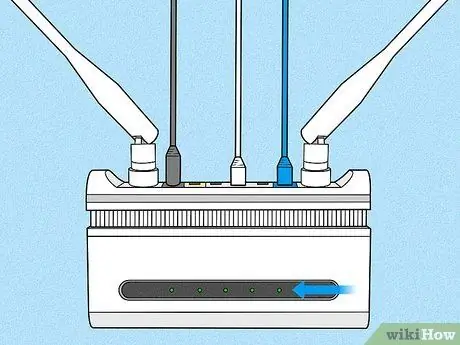
Step 3. Make sure the mode / router is online
Look at the lights on the front of the device. The lights labeled "Power", "Internet / Online" and "US / DS" should be solid (normally green). If they blink, it means that the modem is not connected to the internet line. In this case you may need to contact your internet line manager to solve the problem.
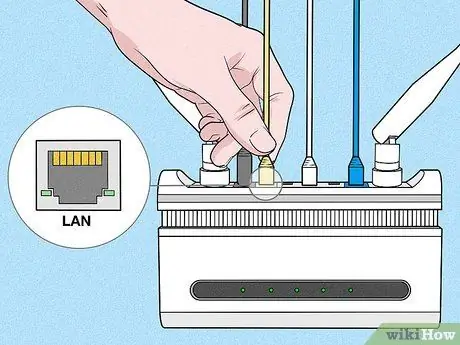
Step 4. Connect an Ethernet cable to one of the modem / router's network ports
Insert one end of the network cable into one of the free "LAN" ports on the device.
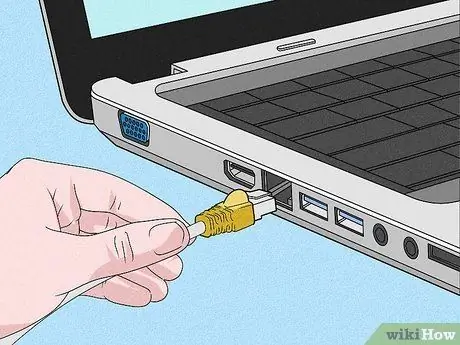
Step 5. Now connect the other end of the Ethernet cable to your computer's network port
The latter should be equipped with an RJ-45 port. If you are using a laptop, the network port is usually located on the left or right side of the case. If you are using a desktop computer, the RJ-45 port should be located on the back side of the case.
Part 2 of 3: Verify Network Connection in Windows 10

Step 1. Access the "Start" menu by clicking on the icon
It features the Windows logo and is located in the lower left corner of the desktop.
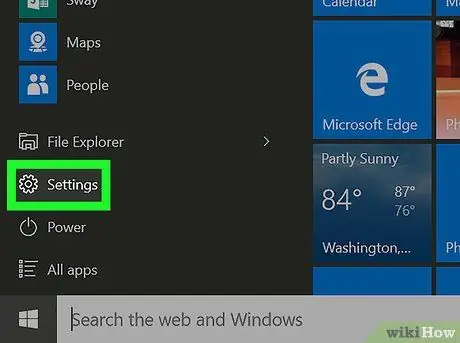
Step 2. Click on the "Settings" icon
It features a gear and is located on the left side of the "Start" menu.
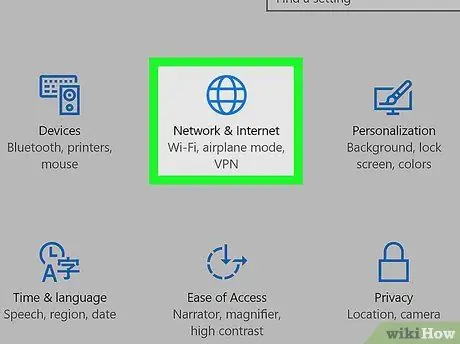
Step 3. Click on the "Network and Internet" icon
It is characterized by a globe.
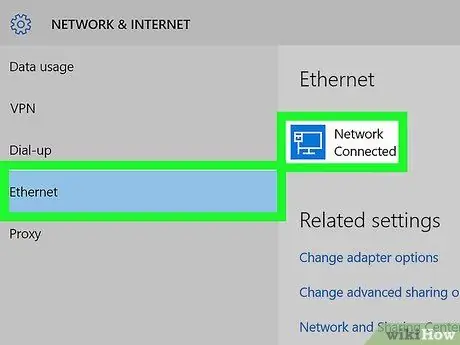
Step 4. Click on the Ethernet tab
It is listed along the left side of the page. You should see "Connected" next to the Ethernet network connection icon at the top of the window. If "Not Connected" is displayed, try using a different LAN port on the modem / router or try using a different Ethernet cable. If the problem persists, try contacting the customer support of your internet connection provider.
Part 3 of 3: Verify Network Connection on Mac
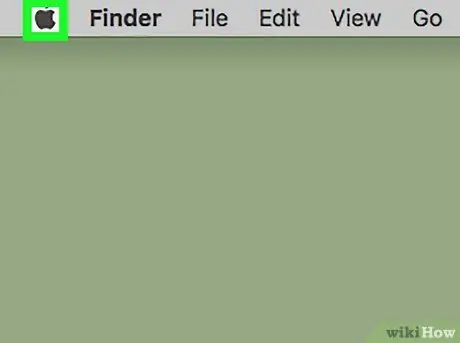
Step 1. Access the "Apple" menu by clicking on the icon
It features the Apple logo and is located in the upper left corner of the screen. A drop-down menu will appear.
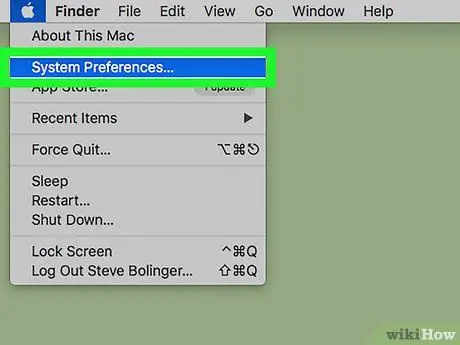
Step 2. Click on System Preferences…
It is one of the options present in the drop-down menu that appeared. The "System Preferences" dialog box will appear.
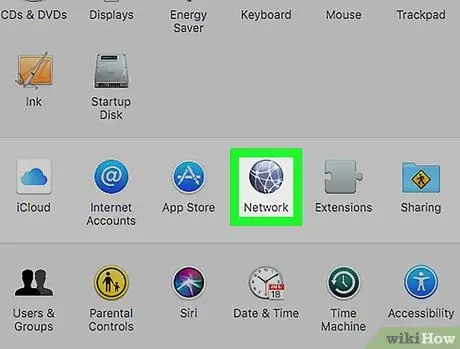
Step 3. Click the Network icon
It is characterized by a sphere with some white curved lines inside.
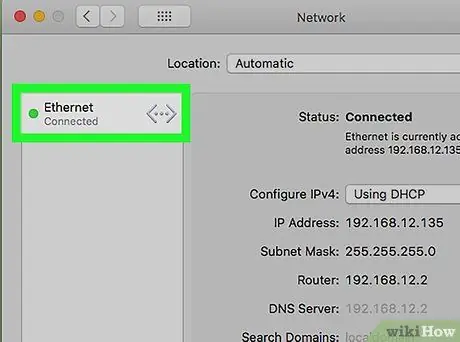
Step 4. Click on the Ethernet tab
It is listed in the left pane of the window. There should be "Connected" and a small green dot on the left. Otherwise it means that the Ethernet network connection is not active. To fix this, try using another LAN port on your modem / router or another network cable.
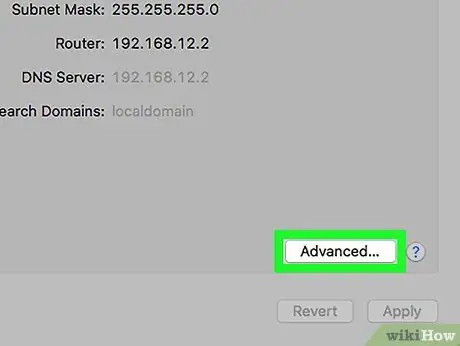
Step 5. Click the Advanced button
It is located in the lower right corner of the window.
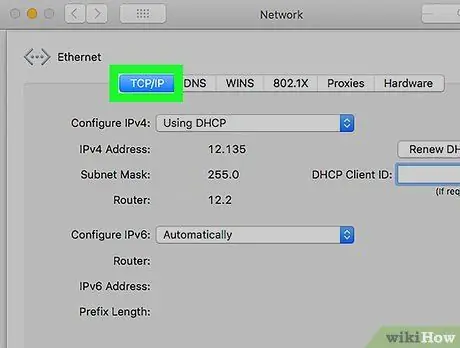
Step 6. Click on the TCP / IP tab
It is displayed at the top of the "Advanced" window that appeared.
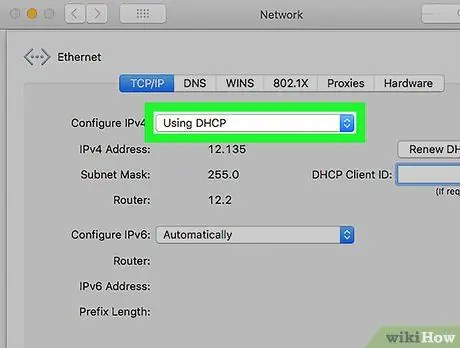
Step 7. Verify that "Using DHCP" is displayed in the "Configure IPv4" drop-down menu
It is the first entry in the main pane of the "TCP / IP" tab. If the "Using DHCP" option is not displayed, select it from the "Configure IPv4" drop-down menu.
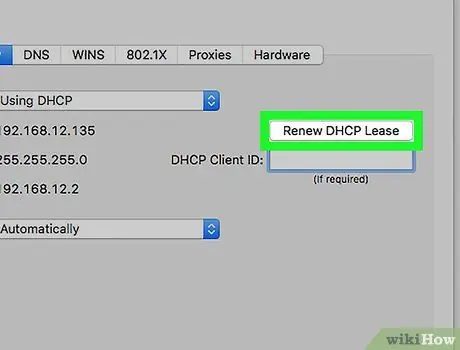
Step 8. Click the Renew DHCP Assigned button
This will ensure that you can access the web using your Mac's Ethernet connection.


