This article teaches you how to draw using a Wacom graphics tablet or similar.
Steps
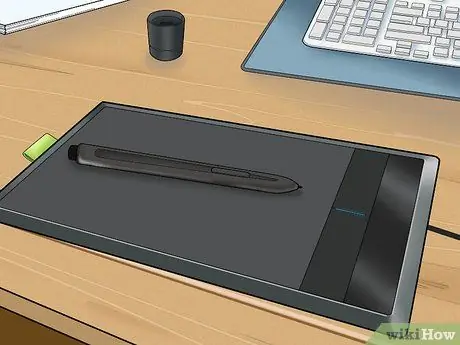
Step 1. Choose which Wacom tablet model you want to use
All tablets have pros and cons, and are meant for different activities. Based on what you want to do (drawing, photo editing, etc.), you will have to choose the one that suits you best.
-
The Bamboo model is the cheapest one, and is designed for both the home and the office. However, all input signals will be displayed on the computer screen and not on the tablet itself.
- The Bamboo Connect model is the simplest one, and is designed for drawing, sketching, communicating and connecting to the internet. In the box you will also find a copy of the Autodesk Sketchbook Express program. The Bamboo Splash model is very similar, but it also includes the ArtRage 3 program.
- The Bamboo Capture model is one of the most popular, and includes the Autodesk Sketchbook Express and Photoshop Elements programs. While it's meant for photo editing, buyers can use Photoshop to draw and paint as well.
- The Bamboo Create model is the most expensive in this series, but it is a larger tablet, and includes all the programs mentioned above (except ArtRage) and Corel Painter.
- The Intuos model is designed for professionals, or for those who take their hobby very seriously. It comes in 4 different sizes, all including Autodesk Sketchbook Express, Photoshop Elements, Anime Studio, and a 90-day trial version of Corel Painter.
- While the Wacom Cintiq model is the most expensive of all, it has the advantage of displaying your drawing directly on the tablet. The same programs are included in conjunction with the Wacom Intuos model.
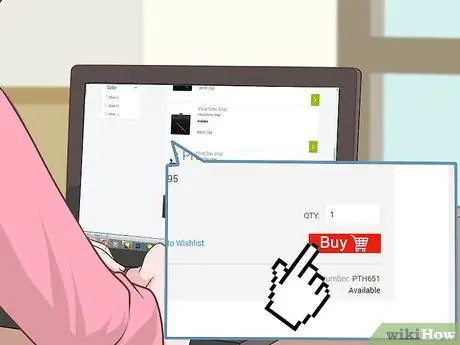
Step 2. Order your tablet
You can buy it in a shop or on the Internet.
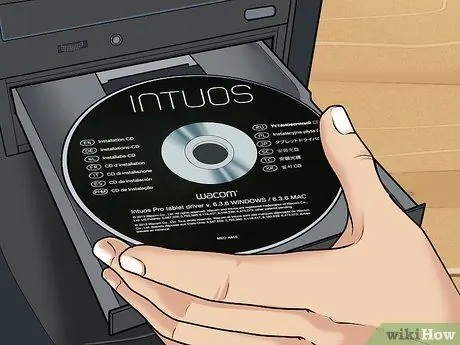
Step 3. Once you receive the tablet, insert the installation disc into your computer
You should have received it along with the tablet; follow the installation instructions.
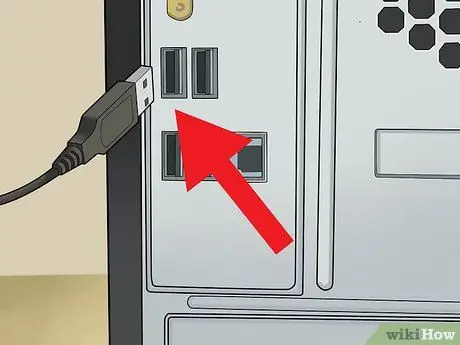
Step 4. Use the USB cable included in the package and connect your new tablet to your computer
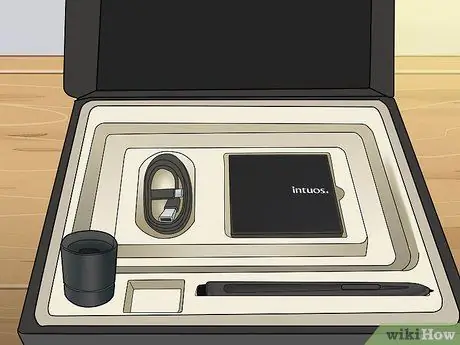
Step 5. Take a look at the accessories
This is a stylus and any other accessories you may have purchased along with the tablet.
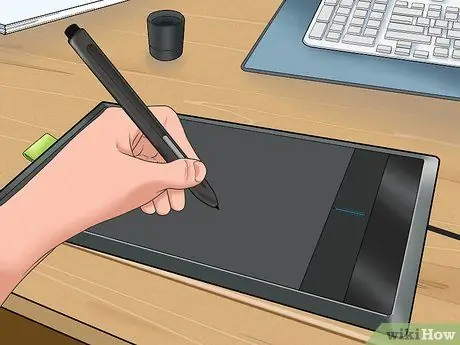
Step 6. The accessories will automatically be programmed to work with your tablet, and require no batteries
Simply put them in contact with the tablet and they will be immediately functional.
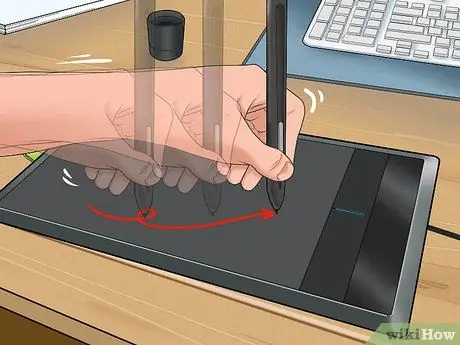
Step 7. When using the stylus, you can keep a distance of about 3 cm from the tablet surface to move the cursor
To click or draw, tap the surface instead.
- Your stylus will also have additional tips. Each has a different texture to perfect your drawing experience. Some are rougher and simulate drawing on paper well, while others are softer and smoother.
- If you use some programs compatible with Wacom models, your tablet can change the sensitivity. The more you press, the thicker and darker the lines will be.
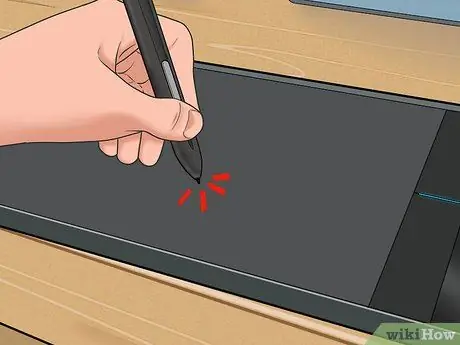
Step 8. Don't press too hard with the stylus
You could damage the sensitivity of the tablet, or irreparably damage the surface, which is not covered by the warranty.
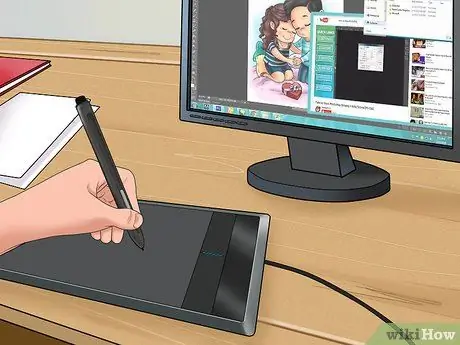
Step 9. Draw, surf the internet or play games using your new tablet
It can also completely replace the mouse.
You don't have to unplug the tablet when you're not using it
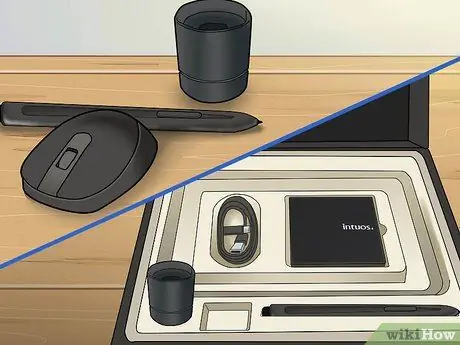
Step 10. Also check out the other Wacom accessories available
There are some that look like paintbrushes!
Advice
- If you lose the extra nib tips, you can buy new ones online without breaking the bank.
- Don't press too hard on the tablet. You could break the nib or the surface of the tablet.
- The button on the side of the stylus can be used as the right mouse button.
- The wheel on your tablet (Intuos) is a zoom.
- You can use the tablet's Express Keys to create shortcuts.


