This article shows you how to connect two computers together so that you can share the same internet connection and the data inside them.
Steps
Method 1 of 5: Sharing the Internet Connection on Windows Systems
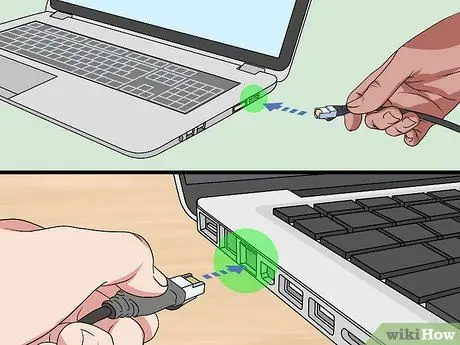
Step 1. Connect the network cards of the two computers directly to each other using an Ethernet cable
Use a standard Ethernet network cable to connect the RJ-45 port of one computer to that of the second machine.
If you're using a Windows laptop or Mac that only has USB-C ports, you'll need to purchase a USB-C to Ethernet adapter in order to properly wire the network connection

Step 2. Access the "Start" menu by clicking on the icon
It features the Windows logo and is located in the lower left corner of the desktop.
Make sure you perform the procedure using the computer that is currently connected to the internet and not the one you want to share it with and that you just connected to the first one
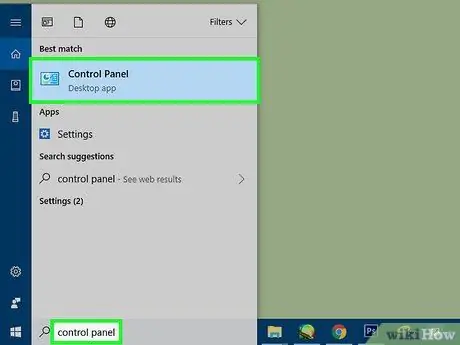
Step 3. Go to the "Control Panel"
Type in control panel keywords, then select the icon Control Panel when it appears at the top of the menu Start.
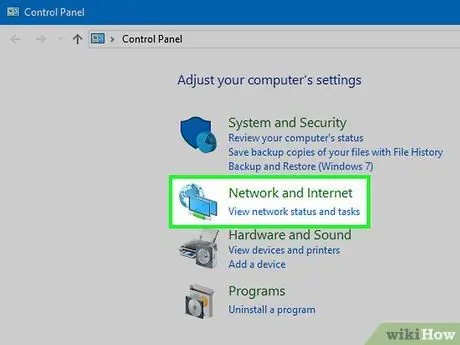
Step 4. Select the Network and Internet link
It is visible in the upper left of the "Control Panel" window.
If you are in the "Small Icons" or "Large Icons" view mode of the "Control Panel", you can skip this step
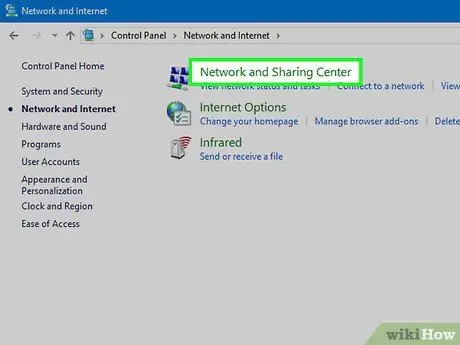
Step 5. Choose the Network and Sharing Center option
It is positioned in the center of the window. The list of network connections configured on the computer will be displayed.
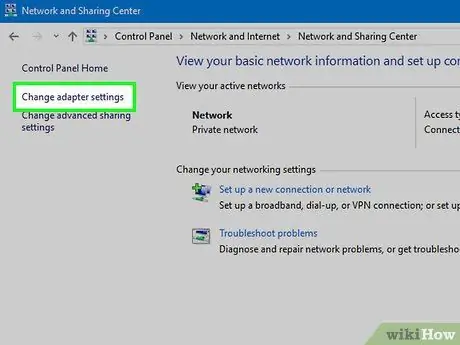
Step 6. Select the Change adapter settings item
It is located in the upper left of the page.
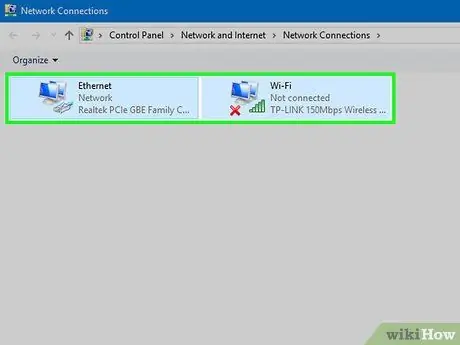
Step 7. Select both the Wi-Fi connection and the Ethernet network connection icons
They are both characterized by two computer monitors, but in the first case the symbol of the Wi-Fi signal is visible, while in the second there is an RJ-45 connector and the words "Ethernet". Hold down the Ctrl key while selecting both icons with the mouse. Alternatively, press the key combination Ctrl + A.
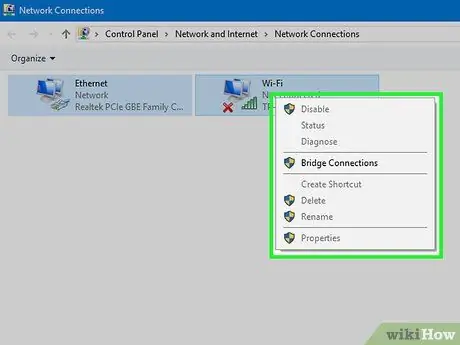
Step 8. Select the Wi-Fi connection icon with the right mouse button
A drop-down menu will appear.
- If you are using a one-button mouse, press the right side of the pointing device or press the single button using two fingers.
- If you're using a computer with a trackpad instead of a mouse, tap it using two fingers or press the lower right side.
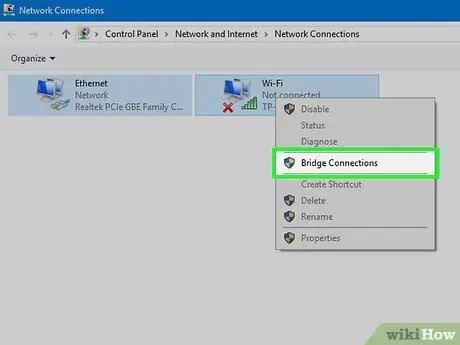
Step 9. Choose the Bridged Connections option
It is one of the items of the context menu that appeared. After a few seconds, the internet access guaranteed by the computer's Wi-Fi connection will be shared with the Ethernet network connection and the machine connected to it.
Method 2 of 5: Share Internet Connection on Mac
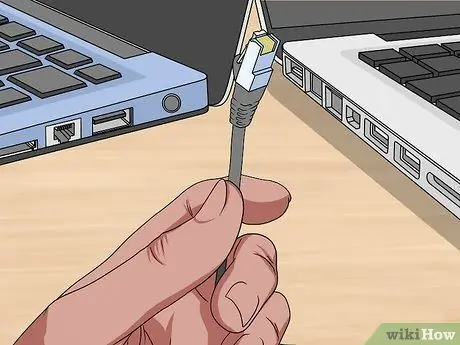
Step 1. Connect the two computers directly to each other using an Ethernet cable
Use a regular Ethernet network cable to connect two Macs together.
If you're using two MacBooks that only have USB-C ports, you'll need to purchase two USB-C to Ethernet adapters in order to properly wire the network connection
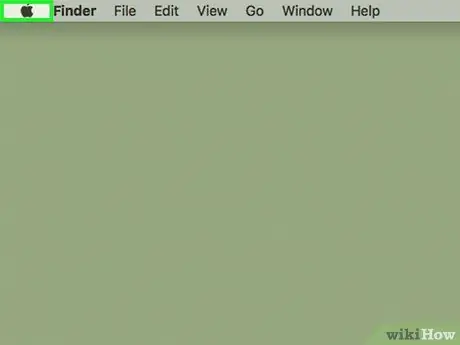
Step 2. Access the "Apple" menu by clicking on the icon
It features the Apple logo and is located in the upper left corner of the screen. A drop-down menu will appear.
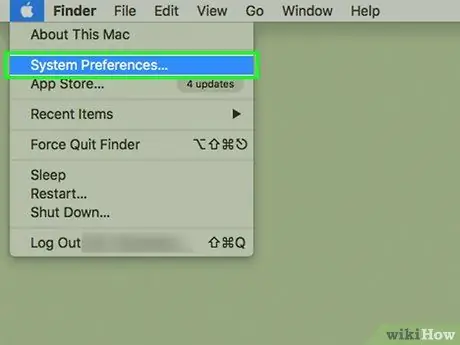
Step 3. Choose the System Preferences… item
It is one of the options present in the drop-down menu that appeared. The "System Preferences" dialog box will appear.
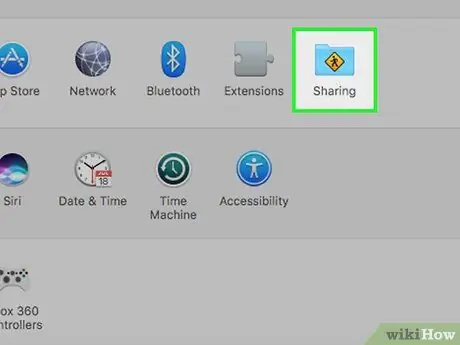
Step 4. Click the Sharing icon
It is characterized by a blue folder visible in the center of the "System Preferences" window. A new window will appear.
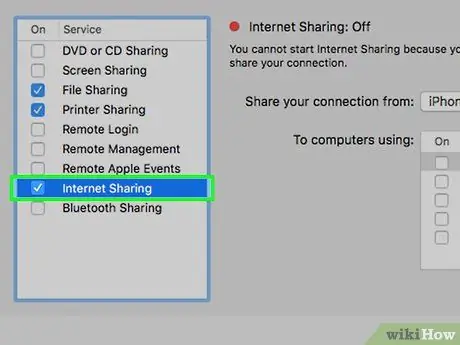
Step 5. Select the "Internet Sharing" checkbox
It is located inside the box on the left of the "Sharing" window.
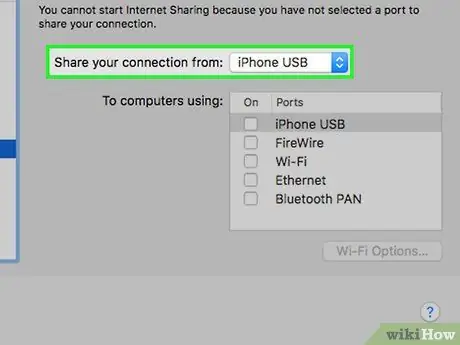
Step 6. Access the "Share your connection from" drop-down menu
It is placed in the center of the window. A small drop-down menu will appear.
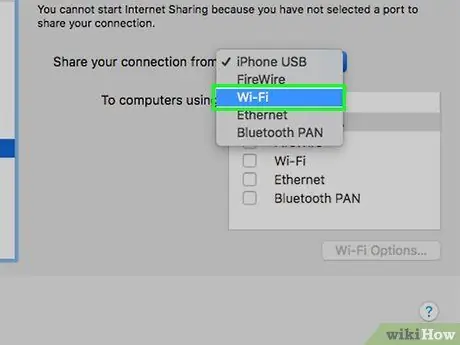
Step 7. Choose the Wi-Fi option
It is one of the items in the menu that appeared.
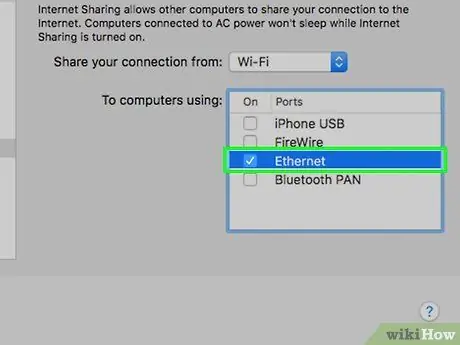
Step 8. Select the "Ethernet" checkbox visible in the box labeled "To computers using:
This way your Mac's internet connection will be shared with the machine it's currently connected to via an Ethernet cable.
Method 3 of 5: Share Files and Printers between Windows Systems
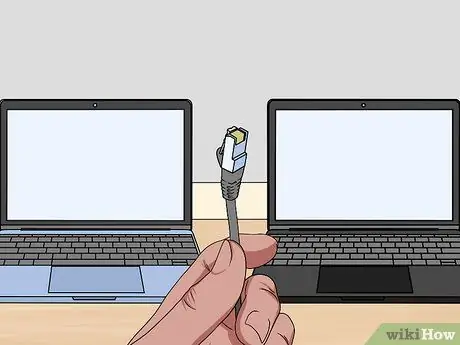
Step 1. Connect the network cards of the two computers directly to each other using an Ethernet cable
Use a standard Ethernet network cable to connect the RJ-45 port of one computer to that of the second machine.
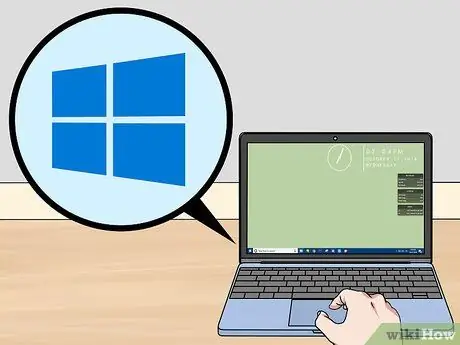
Step 2. Access the "Start" menu by clicking on the icon
It features the Windows logo and is located in the lower left corner of the desktop.
Make sure you perform the steps in this section using the computer where the files you want to share reside
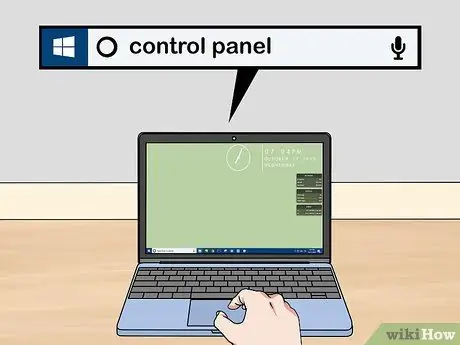
Step 3. Go to the "Control Panel"
Type in control panel keywords, then select the icon Control Panel when it appears at the top of the menu Start.
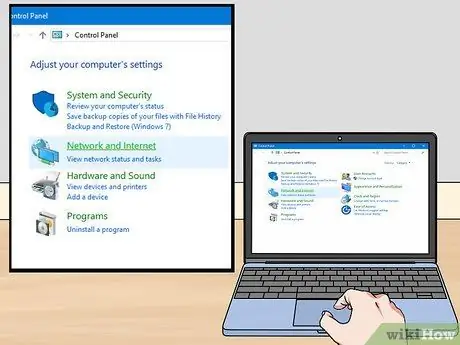
Step 4. Select the Network and Internet link
It is visible in the upper left of the "Control Panel" window.
If you are in the "Small Icons" or "Large Icons" view mode of the "Control Panel", you can skip this step
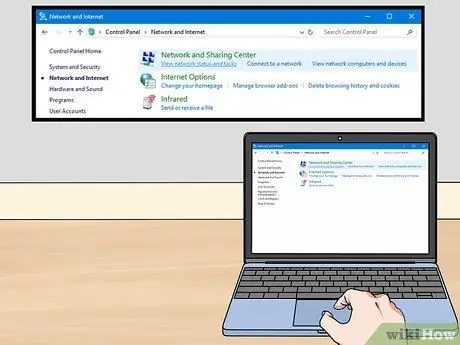
Step 5. Choose the Network and Sharing Center option
It is positioned in the center of the window.
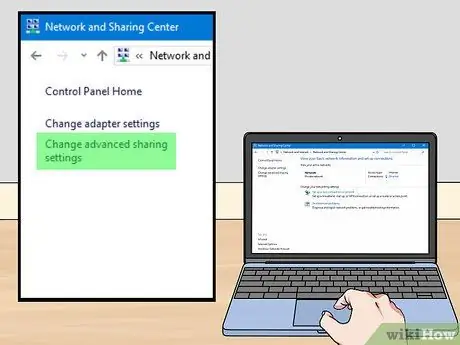
Step 6. Select the Change advanced sharing settings link
It is located at the top left of the page.
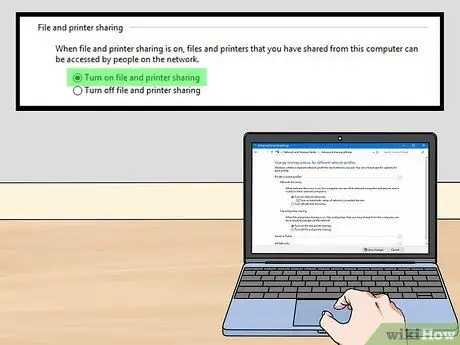
Step 7. Turn on file sharing
Select the "Enable File and Printer Sharing" radio button located within the "File and Printer Sharing" section visible in the center of the page.
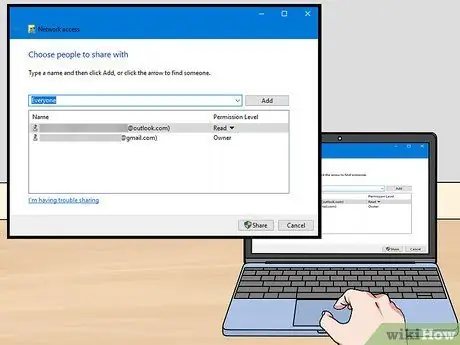
Step 8. Share a folder on the network
Follow these instructions:
- Access the directory containing the folder to be shared using the "File Explorer" window;
- Select the folder to share with a single mouse click;
- Access the card Share of the "File Explorer" window;
- Choose the option Specific users …;
- Select the option Everyone from the drop-down menu located at the top of the dialog box that appeared;
- Push the button Share;
- Push the button end.
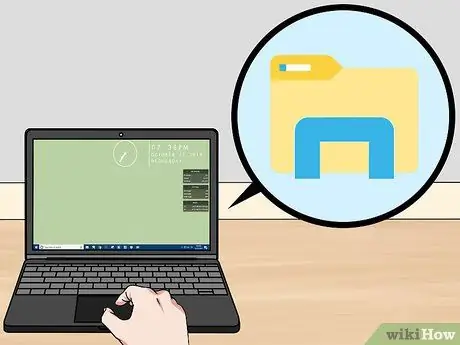
Step 9. Log into the computer connected to the one you are using and open a new "File Explorer" window
Click on the icon

located on the desktop taskbar or select the icon
from the menu Start.
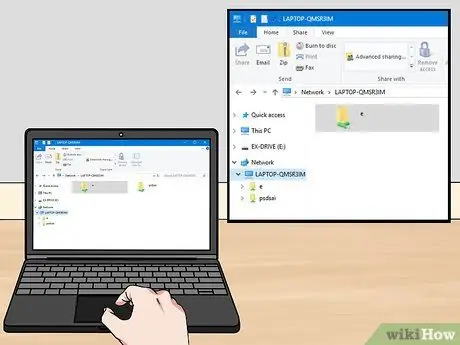
Step 10. Click on the name of the computer to which the one you are using is connected (this is the machine that contains the folder you just shared)
It is listed within the section Net on the left sidebar of the "File Explorer" window.
You may need to scroll down the list to find the entry indicated
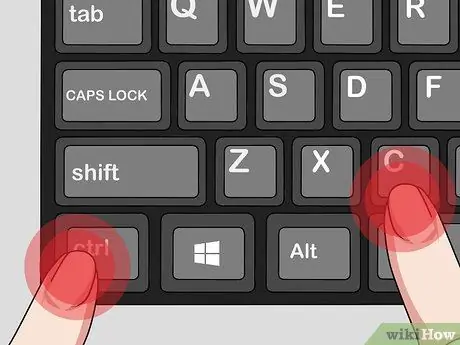
Step 11. Copy the shared folder somewhere on your computer
Select the icon of the directory you want to copy, press the key combination Ctrl + C, navigate to the folder you want to copy it to and press the key combination Ctrl + V.
Method 4 of 5: Share Files between Macs
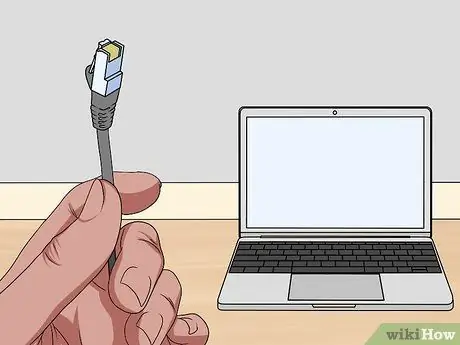
Step 1. Connect the two computers directly to each other using an Ethernet cable
Use a regular Ethernet network cable to connect two Macs together.
Unless both systems to be connected are iMacs (the desktop version of Apple computers), in order to properly wire the network connection, you will need to purchase two USB-C to Ethernet adapters (since most portable Macs have USB-C ports only)
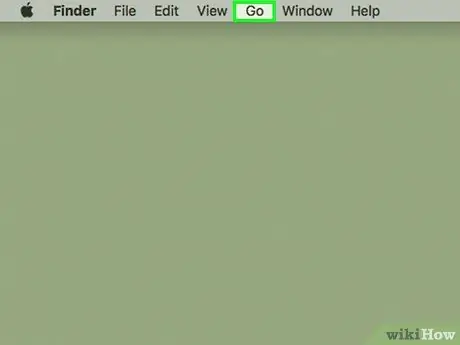
Step 2. Enter the Go menu
It is one of the menus visible at the top of the Mac screen. A list of options will be displayed.
- If the menu Go is not visible, click on an empty spot on the desktop to force it to appear.
- Make sure you perform these steps on the Mac where the data to be shared is stored.
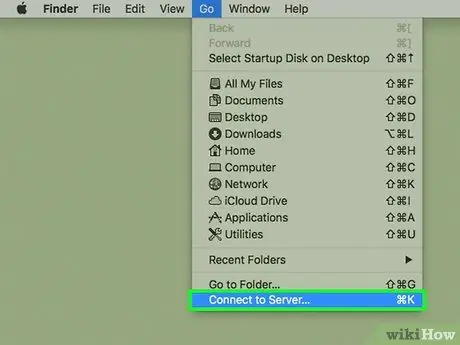
Step 3. Select the Connect to Server option
It should be one of the last items on the "Go" menu starting from the top.
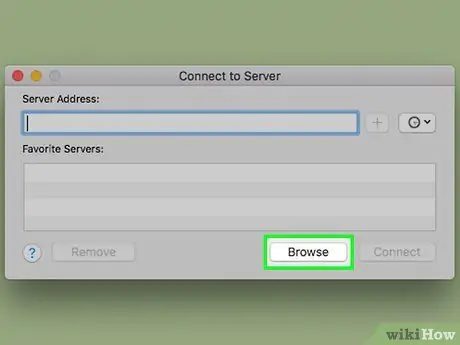
Step 4. Press the Browse button
It is located at the bottom of the "Connect to Server" dialog box. A pop-up window will appear showing all computers available for a connection.
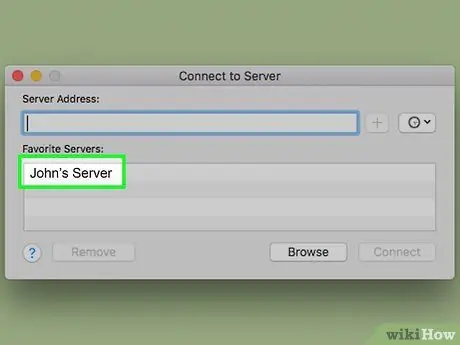
Step 5. Double click on the name of the second Mac
It is listed within the pop-up window that appeared.
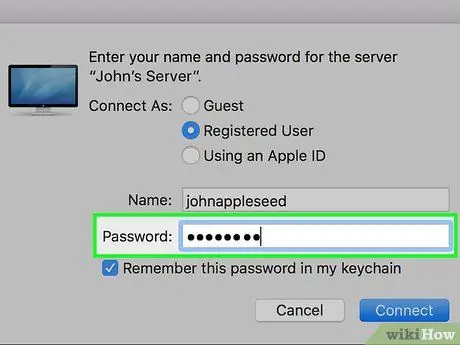
Step 6. When prompted, type the second Mac login password
In this way you will get the permissions to be able to establish the connection to the chosen computer.
If that doesn't work, try using your Mac's login password
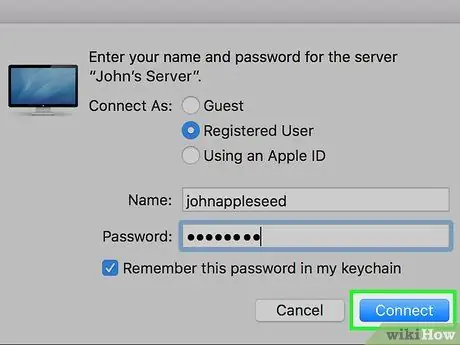
Step 7. Press the Connect button
It is located at the bottom right of the dialog in use.
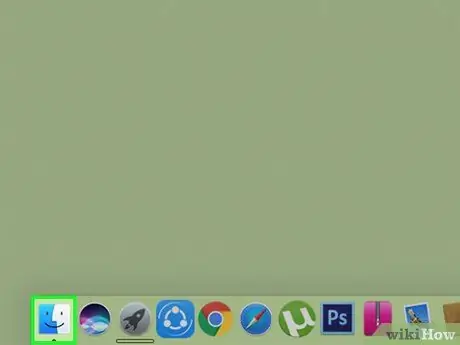
Step 8. Open a Finder window by clicking on the icon
It features a stylized blue silhouette of a human face and is located on the System Dock.

Step 9. Move the files you need from one Mac to another
Locate the files you want to transfer, select them with the mouse and copy them by pressing the key combination ⌘ Command + C. At this point click on the name of the Mac visible in the lower left part of the Finder window and press the key combination ⌘ Command + V.
Method 5 of 5: Share Files between a Windows System and a Mac
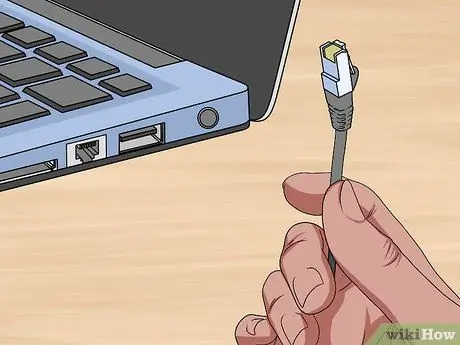
Step 1. Connect the two computers directly to each other using an Ethernet cable
Use a standard Ethernet network cable to connect Mac and Windows system together.
- If you're using a Windows laptop or Mac that only has USB-C ports, you'll need to purchase a USB-C to Ethernet adapter in order to properly wire the network connection.
- If both computers are connected to a wireless network, you can copy the data using the Wi-Fi connection. However, the file transfer speed will be much slower than using a wired connection.
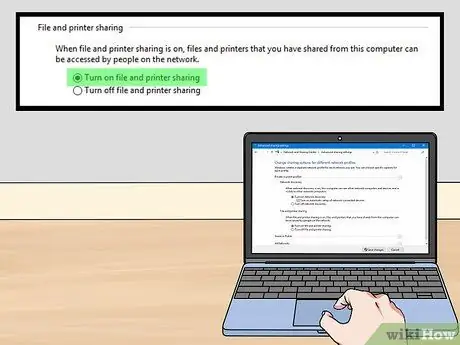
Step 2. Turn on file sharing on your Windows computer
Follow these instructions:
- Go to "Control Panel" and type in the keywords control panel in the menu Start, then select the icon Control Panel when it appears in the search results list;
- Select the link Network and Internet (skip this step if you see "Small Icons" or "Large Icons" at the top right of the window);
- Choose the option network and sharing center;
- Select the link Change advanced sharing settings;
- Choose the item "Enable file and printer sharing";
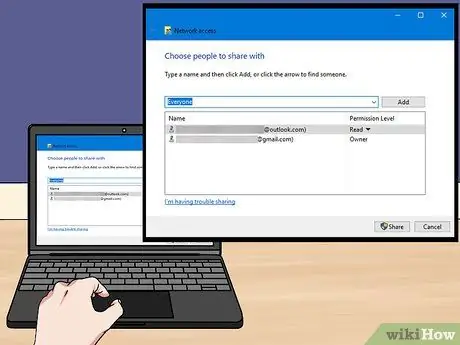
Step 3. Share a specific folder
Follow these instructions:
-
Access the menu Start by clicking on the icon
;
-
Open a "File Explorer" window by clicking on the icon
;
- Select the folder to share with a single mouse click;
- Access the card Share of the "File Explorer" window;
- Choose the option Specific users …;
- Select the item Everyone from the drop-down menu located at the top of the dialog box that appeared;
- Push the button Share;
- Push the button end.
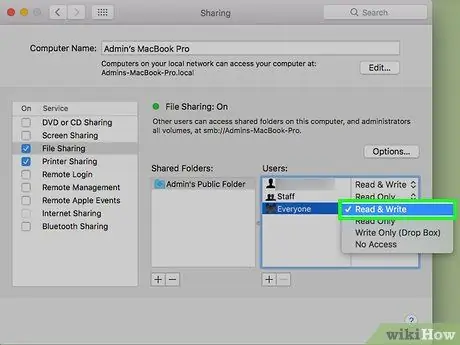
Step 4. Turn on file sharing on your Mac
Follow these instructions:
-
Access the menu Apple by clicking on this icon

Macapple1 ;
- Choose the voice System Preferences …;
- Click on the icon Sharing;
- Select the "File Sharing" check button;
- Change the permissions of the "Everyone" group from "Read Only" to "Read and Write".
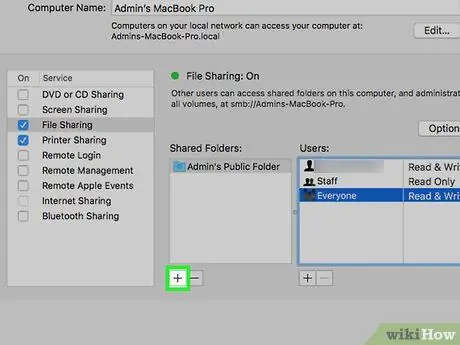
Step 5. Share a folder on your Mac
Push the button + located below the list of shared folders, then double-click the directory you want to share.
You may need to press the button to add the chosen folder to the "Shared Folders" list add.
Step 6. Access the data stored on the Mac using the Windows computer
You can perform this step directly from the "File Explorer" window:
-
Access the menu Start by clicking on the icon
;
-
Open a "File Explorer" window by clicking on the icon
;
- Select the Mac name visible within the section Net located in the left sidebar of the "File Explorer" window;
- Access the shared folder;
- Select the files to copy and press the key combination Ctrl + C;
- Navigate to the folder where you want to transfer the copied data and press the key combination Ctrl + V.
Step 7. Access the data stored on your Windows computer using your Mac
You can perform this step directly from the Finder window:
-
Open a Finder window by clicking on the icon
;
- Select the Windows system name from the left sidebar of the window;
- Access the shared folder;
- Select the files to copy and press the key combination ⌘ Command + C;
- Navigate to the folder on the Mac where you want to transfer the copied data and press the key combination ⌘ Command + V.
Advice
- To copy or move one or more files or folders from one computer to another you can use a USB memory drive (a normal thumb drive or external hard drive).
- If you want to use more advanced features, you should learn the principles of networking.


