This tutorial shows how to edit a nose in an image using Adobe Photoshop.
Steps
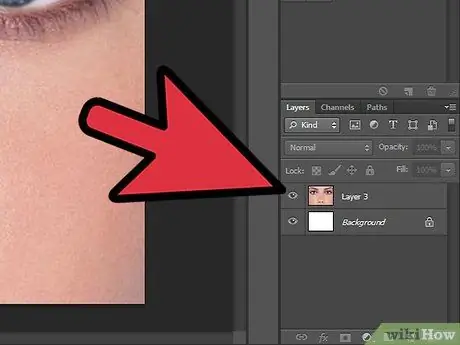
Step 1. Open the image you want to edit and use the 'Ctrl + j' key combination to duplicate it in a new layer
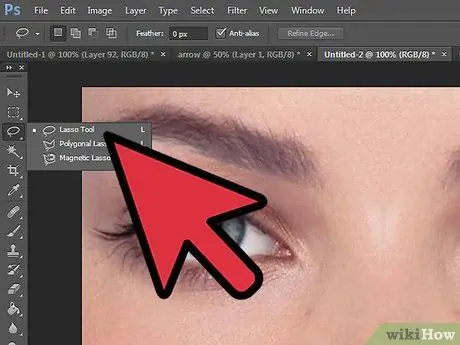
Step 2. Select the 'Lasso' tool and use it to create the outline of the nose area
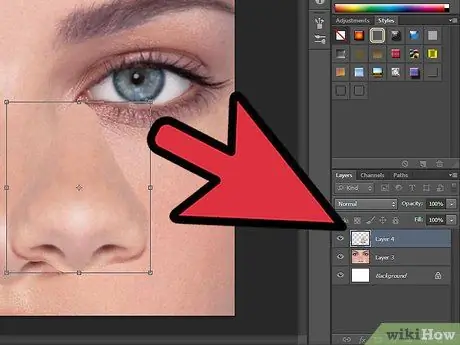
Step 3. Use the key combination 'Ctrl + j' to copy the selected area to a new layer
Use the key combination 'Ctrl + t' to activate the 'Free Transform Path' mode. At this point, you can change the size and shape of the nose.
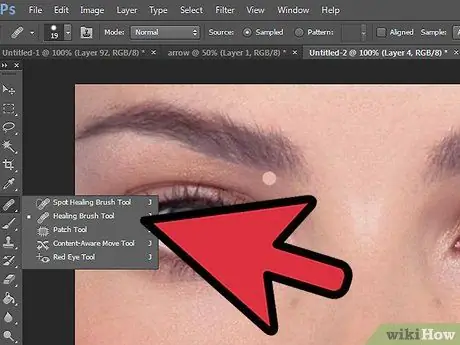
Step 4. Select the background layer you copied earlier
The area at the bottom of the nose will need to be cleaned. To do this, use the 'Healing Brush' tool. This tool works by capturing some color, tone and texture samples from the image. You can copy the color and texture of the area of your interest by holding down the 'Alt' key, while selecting it with the mouse.
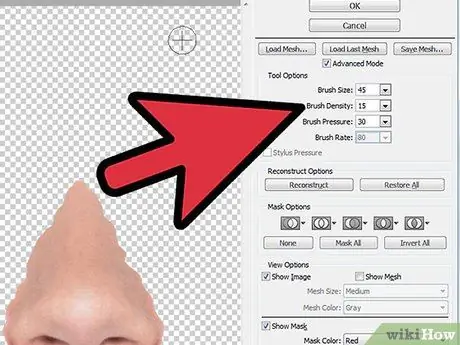
Step 5. To change the shape of the nose, select the layer relative to the nose and choose the 'Liquify' tool
Change the settings as follows: brush size to about 45, brush density to 15 and pressure to 30. Now use the tool to change the nose shape as desired.
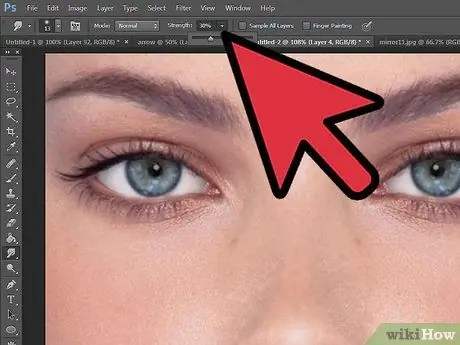
Step 6. Select the 'Smudge' tool from the toolbar and set an 'Intensity' value of approximately 30%
Use it to blend the contours of the nose to make them more natural.


